
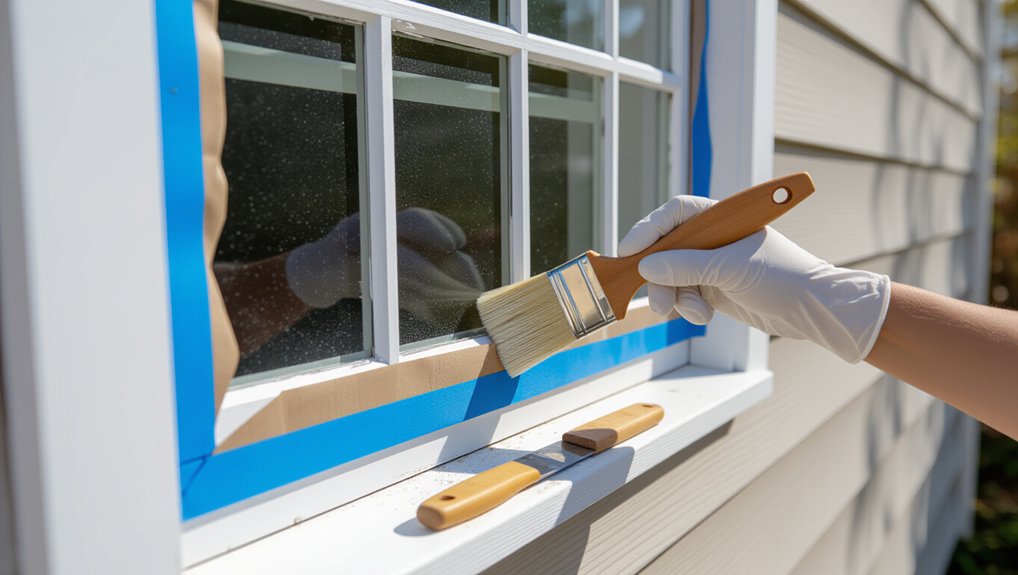
Clean the frames with warm soapy water, treat mildew, rinse, and let everything dry overnight. Mask glass, hardware, and weatherstripping with painter’s tape set on the existing paint break. Scrape loose paint, feather edges with 80–120 grit then 150–180, vacuum, and wipe clean. Caulk trim joints (not weep paths) and repair glazing, then prime bare spots with a compatible exterior primer. Apply two thin acrylic topcoats, tip off, and remove tape after curing. Keep going for tool and timing specifics.
Key Takeaways
- Wash, treat mildew, and fully dry frames; scrape loose paint, feather-sand edges, then vacuum and wipe clean for strong adhesion.
- Mask glass and hardware with painter’s tape and film, aligning to existing paint breaks and pressing edges tight to prevent paint bleed.
- Repair rot, gaps, and failed caulk; re-glaze cracked putty and avoid sealing weep paths so water can drain.
- Prime bare wood or exposed areas with a compatible exterior primer, brushing into profiles and end grain and back-brushing to level.
- Apply two thin exterior topcoats with an angled sash brush, maintain a wet edge, watch for sags, and remove tape after paint cures.
Choose Paint, Primer, and Tools for Exterior Window Frames
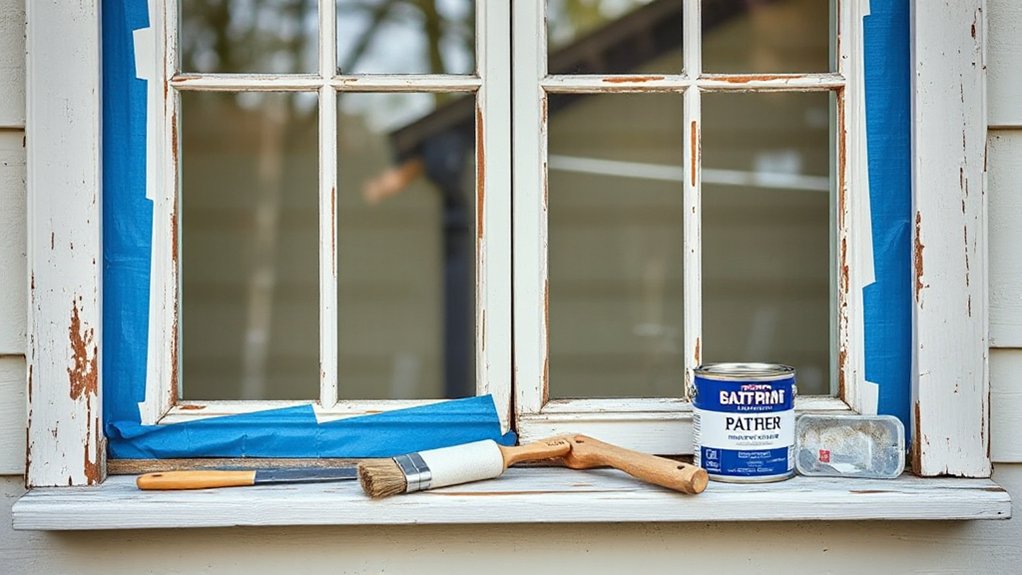
Before you open a can, match your paint system and tools to the frame material and the exposure it sees. For wood, choose an exterior acrylic primer and topcoat; use stain-blocking primer if tannins or prior oil bleed-through is likely. For metal, specify a rust-inhibitive, direct-to-metal primer and a compatible enamel. For vinyl or composite, confirm the coating is rated for plastics and stays flexible. Plan your Color selection to meet HOA rules and heat gain limits; dark tones can warp some substrates. Select a paint finish: satin balances durability and cleanability, while semi-gloss sheds water fastest. Use a 1–2 in angled sash brush, mini-roller for flats, painter’s tape, and a razor scraper for edges.
Wash, Cover, and Inspect Exterior Window Frames First
Before you paint, you’ll wash the frames to remove embedded grime and kill mildew so the coating can bond properly. Next, you’ll mask the glass, trim, siding, and hardware to control overspray and keep cut lines crisp. Finally, you’ll inspect every joint and sill for cracks, soft spots, and rot, then mark defects for repair before priming.
Clean Grime And Mildew
Although you might want to jump straight to sanding and priming, start by removing every trace of dirt, chalking, and mildew from the exterior window frames so the new coating can bond reliably. Check weather considerations first: pick a dry day above 50°F, out of direct rain, and let surfaces dry fully.
Mix warm water with a mild detergent, then scrub with a nylon brush, working top-down into profiles, joints, and glazing stops. Rinse clean and wipe standing water. For mildew, apply a 1:3 bleach-to-water solution or a labeled mildewcide; keep it wet for 10 minutes, then rinse thoroughly. If you’ve got heavy chalking, use a TSP substitute and rinse again. Inspect for residue that could affect color coordination, then let the frame air-dry overnight.
Mask Glass And Surroundings
A clean, dry frame still needs careful masking so paint stays on the wood or trim—not on the glass, siding, or hardware. Run painter’s tape along the glass line, then press it tight with a putty knife to seal the edge and prevent bleed-through. For crisp sightlines, align tape to the existing paint break; this supports historical accuracy and keeps muntin profiles consistent.
Cover the sash hardware, locks, and weatherstripping with tape or removable masking film, leaving moving parts unbound. Drape plastic or a drop cloth over siding and the sill, and tape the top edge so wind can’t lift it. If you’ll use decorative techniques (striping, two-tone bands), snap reference marks and mask those boundaries now, measuring from fixed points for repeatable layout. Remove tape only after paint flashes.
Check For Damage And Rot
Once the frame’s washed and the surrounding surfaces are covered, inspect every component for moisture damage and decay so you don’t trap rot under fresh paint. Probe sills, lower rails, and glazing stops with an awl; sound wood resists and shaves cleanly. If the tool sinks, fibers crumble, or you see dark staining, you’ve likely got Wood rot. Check joints for gaps, failed caulk, and soft end grain where water wicks in. Scrape blistered paint to expose the substrate and confirm it’s firm. Verify glazing putty isn’t cracked or detached, and look for rusted fasteners that telegraph through coatings. Note prior finishes (oil vs latex) and test a small spot so your primer and topcoat maintain paint compatibility. Repair before priming.
Scrape Peeling Paint Without Damaging the Glass
Before you pick up a scraper, protect the glass and control your cutting angle so you remove only failed paint, not the window surface. Tape the glass edge with painter’s tape, then add a thin metal or plastic shield where you’ll work. Use a sharp pull scraper or carbide shave hook; keep the blade skewed and nearly flat to the wood, and draw it toward you with steady pressure. Stop when you reach sound paint with firm adhesion; don’t chase stain or bare wood. Work in short passes along muntins and glazing lines to avoid catching the putty. Preserve crisp profiles for historical authenticity, and note color contrast changes that reveal old edges and prior repaint boundaries. Clean blade edges often to prevent skips.
Sand Smooth, Then Remove Dust and Residue
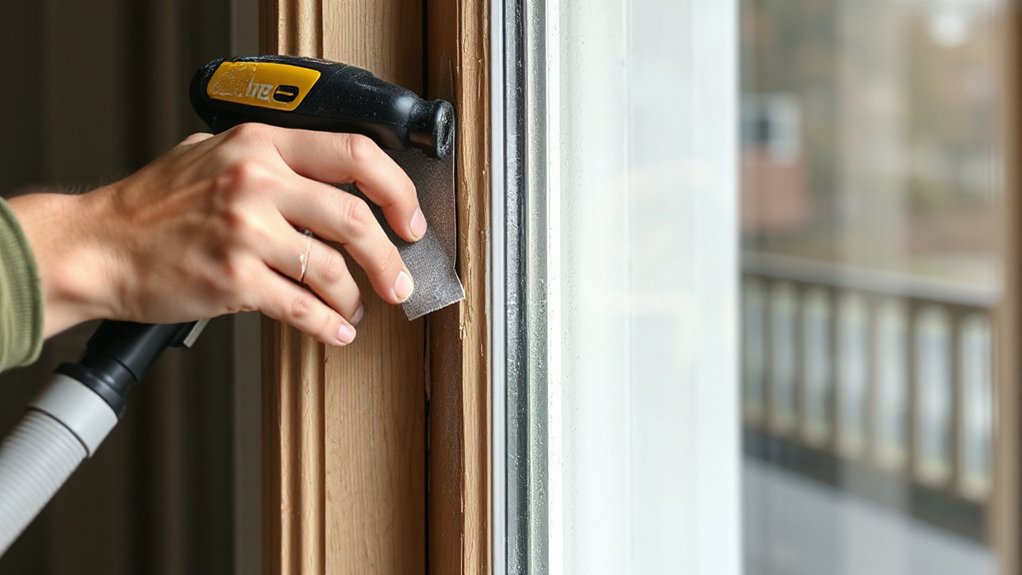
After you’ve scraped back to sound edges, sand the shift zones until the old paint feathers smoothly into the exposed wood and any remaining coating. Start with 80–120 grit on a sanding block to level ridges, then switch to 150–180 grit to refine scratch patterns. Keep the block flat so you don’t dish profiles or round crisp corners that guide brush techniques later. Vacuum thoroughly with a soft brush attachment, then blow out muntin edges and corners. Wipe with a damp microfiber or tack cloth, turning it often, until it comes away clean. If you hit oily residue or chalking, scrub lightly with a degreasing cleaner and rinse, then let the surface dry fully. Clean prep directly improves paint durability and adhesion over time.
Caulk Trim Joints and Repair Glazing Gaps
With the surfaces clean and fully dry, seal the moving joints that will otherwise pull water behind the paint film. Cut the nozzle small and Caulk joints where trim meets siding, stool meets jambs, and casing meets head. Tool a tight, concave bead so it bridges the gap without smearing onto the glass. Don’t caulk the underside of the sill or any weep paths; you need drainage. Let the bead cure per label.
Next, Repair glazing by inspecting the putty line around each pane. Scrape out loose, cracked compound and any voids at the glass-to-wood shoulder. Pack fresh glazing compound into gaps with a putty knife, then knife it to a smooth, continuous fillet and clean the sightline with a razor. Allow it to skin over fully.
Prime Exterior Window Frames So Paint Bonds
Select a primer matched to the frame material and exposure—bonding acrylic for sound paint, stain-blocking alkyd or shellac for tannins and weathered spots. Mask the glass edges, glazing, and seals with clean, straight tape lines so you don’t bridge moving joints. Apply primer in a uniform film, brushing into profiles and end grain, then back-brush to level and eliminate runs.
Choose The Right Primer
Why does primer choice matter so much on exterior window frames? Because UV, moisture, and thermal cycling punish weak adhesion and let tannins and corrosion telegraph through your topcoat. Match primer chemistry to the substrate: use bonding acrylic for previously painted, intact coatings; choose oil/alkyd stain-blocker for resinous wood or knots; select rust-inhibitive metal primer (zinc phosphate) for steel; use self-etching primer for bare aluminum. If you’ve mixed materials, prioritize the least compatible surface and confirm your topcoat’s recoat window. Check your color palette and finish selection early—some primers tint to improve hiding and reduce topcoat build. Apply at the specified film thickness, brush into profiles, and spot-prime bare areas after sanding dust removal.
Mask Glass And Seals
Primer only performs as specified when it lands on clean, properly prepped frame stock—not on glass, weatherstripping, or glazing seals—so mask those surfaces before you prime. Start with glass protection: clean the pane edge, then apply 1 in. painter’s tape 1/16–1/8 in. off the frame line so the primer can bridge to the wood or metal without touching the glass. Burnish tape with a plastic putty knife to prevent bleed-through. Cover larger areas with masking film, overlapping tape by 1/2 in. For seals, inspect glazing and gaskets; replace failing caulk before masking, and base your sealant selection on exterior-rated flexibility and paintability. Don’t tape over wet sealant; allow full cure. Press tape tightly into corners and muntin joints.
Apply Primer Evenly
Once the glass and seals are masked, apply primer in a thin, continuous coat so it keys into the substrate and gives your topcoat a stable bond. Choose a primer matched to the frame: stain-blocking for tannin bleed, rust-inhibiting for metal, bonding primer for glossy PVC or previously painted surfaces. Stir thoroughly, then cut in edges with a sash brush, working primer into profiles and corners without flooding joints. Roll flat sections with a small foam roller and immediately tip-off to level brush marks. Maintain a wet edge and overlap passes to avoid lap lines. Let it flash and recoat only within the stated window. Primer color can influence Color options and coverage, while compatibility affects final finish types.
Mask the Glass for Sharp, Clean Lines
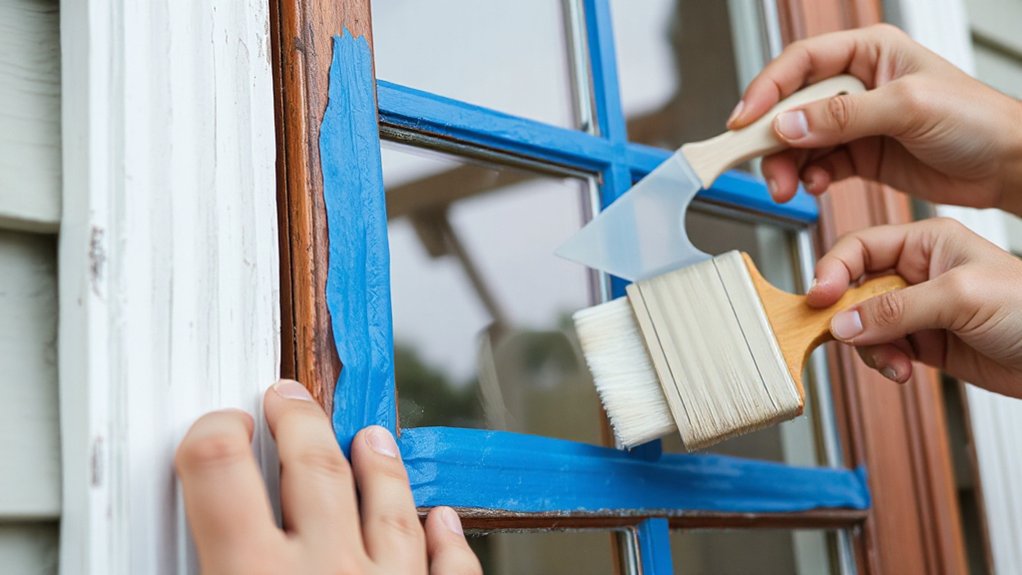
Before you pick up a brush, mask the glass to control your cut lines and keep paint off the panes. Use exterior-grade painter’s tape (blue or green) and press it tight to the glazing line with a plastic putty knife so paint can’t creep under. Work in short runs, overlapping tape ends by 1/8 inch to prevent gaps.
Leave a consistent reveal: align the tape just inside the frame-to-glass boundary so you don’t expose raw primer later. For divided lites, tape each pane separately and square the corners with a razor for crisp geometry. Cover the field of glass with masking film or paper, sealing its edge to the tape. This prep protects decorative accents and keeps weatherproof finishes looking intentional, not smeared. Remove dust first.
Paint Exterior Window Frames Evenly (No Drips)
After the tape and masking go on, load your brush lightly and apply paint in thin, controlled coats to keep the film level and drip-free. Start at the top rail, then work down the stiles, maintaining a wet edge. Tip off each section with the brush held at a low angle to smooth ridges and pull excess paint away from corners where runs start. Don’t press hard; you’ll force paint under the tape. Watch the lower edges and sash stops for sagging, and back-brush immediately. If you’re using a semi-gloss paint finish, keep strokes uniform to prevent lap marks. For Color coordination, keep sheen consistent across adjoining trim so light reflects evenly. Allow full recoat time before applying the second coat.
Frequently Asked Questions
How Long Should Exterior Window Frame Paint Cure Before Rain Exposure?
You should let exterior window frame paint cure 24–48 hours before rain; wait 72 hours if humidity’s high. This maximizes paint adhesion and minimizes weather impact. Check product TDS, temperature, dewpoint, and film thickness.
Can I Repaint Window Frames in Cold or Very Humid Weather?
You can, but you shouldn’t unless specs allow—haste makes waste. For Winter painting, keep substrate above 50°F and rising. In Humid conditions, stay under 80% RH; extend dry times, prevent blushing/poor adhesion.
How Often Should Exterior Window Frames Be Repainted for Best Protection?
Repaint exterior window frames every 5–10 years for best protection, sooner if peeling appears. You’ll extend paint durability by prepping properly, choosing UV-stable products, and matching color selection to sun exposure and local weathering.
How Do I Safely Paint High Windows Without Removing the Glass?
Like Icarus, don’t fly too high: you’ll use a stabilized extension ladder, tie-off, and harness. Do window cleaning first, then mask glass. You’ll do primer application with a brush, maintaining three-point contact.
What Should I Do if the New Paint Starts Bubbling or Peeling Quickly?
Stop painting, scrape failed film, sand to sound edges, and clean thoroughly; poor paint adhesion signals inadequate surface preparation or moisture. Dry, degloss, prime bare areas, then repaint within recoat windows, following manufacturer specs.
Conclusion
Once your primer’s cured and your topcoats have leveled, you’ve sealed the frame, protected the glazing, and restored clean sightlines—without pulling the glass. Do a final pass: cut tape at the paint line, peel back at 45°, and spot-seal any pinholes. One useful benchmark: well-prepped exterior paint systems can last 7–10 years before repainting under normal exposure. Keep hinges and weep paths clear, and you’ll avoid premature failure.
About the Author



