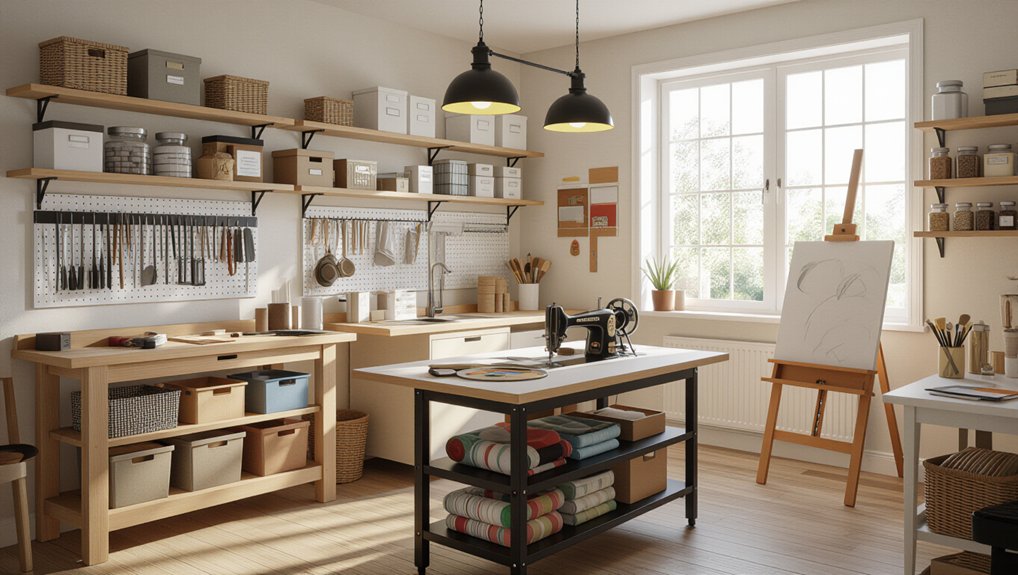
Start by mapping your room flow with a bubble diagram, keeping main paths 36 inches wide and pinch points clear of door swings. Break the space into zones: planning/admin by a wall grid, a durable main bench with edge stops, a messy prep area near the entry on wipeable flooring, and a clean finishing surface near daylight but 12–24 inches off glass. Add labeled storage by zone, high-CRI lighting, quad outlets every 4–6 feet, ventilation, plus a small reset counter—next you’ll refine each zone’s setup.
Key Takeaways
- Plan workflow with a bubble diagram, keeping main circulation paths 36 inches and widening pinch points near work surfaces.
- Define distinct zones—build, prep, clean assembly/finishing, storage, and admin—to prevent dust cross-contamination and support smooth project progression.
- Place precision and finishing zones near natural light, 12–24 inches from windows, and route messy, high-traffic work closer to the entry.
- Equip each zone with tailored storage and surfaces: labeled bins, shallow drawers, vertical dividers, wipeable tops, and separate dusty or solvent supplies.
- Match lighting, power, and ventilation to zones using high-CRI LEDs, task lights, outlets every 4–6 feet, and filtered intake/exhaust for clean airflow.
Sketch Your Hobby Room Workflow First
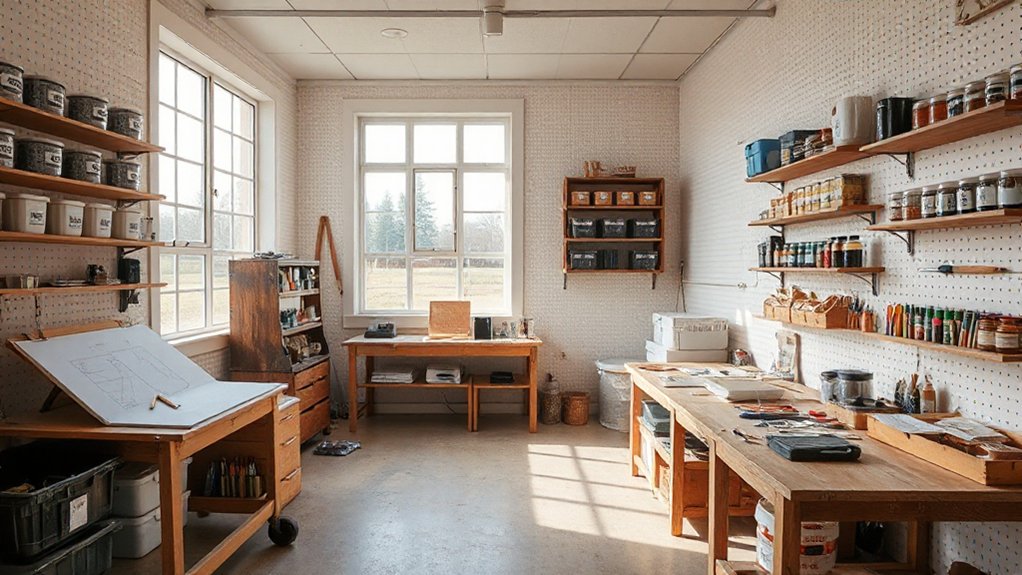
Before you buy storage or pick finishes, map how you’ll actually move through the room from start to cleanup. Start with a quick bubble diagram, then translate it into measured paths: keep primary circulation at 36 inches, widen pinch points near work surfaces, and note door swings. Plot where you’ll stand, sit, and turn, then size clearances around chairs and stools so ergonomic furniture fits without shuffling. Mark task heights and reach ranges; place heavy tools within a forearm’s reach and reserve higher shelves for light supplies. Layer creative lighting onto the route: bright, glare-controlled task beams at benches, softer fill along walkways, and shadow-free illumination at cleanup points. Finally, annotate power, ventilation, and wipeable materials where mess happens most.
Pick the Hobby Room Zones (Quick Checklist)
Once you’ve sketched your workflow, lock in the room’s zones with a quick checklist so every square foot earns its keep. Start with a primary making bench: durable top (laminate, butcher block, or stainless), edge stops, and a cut‑safe mat. Add a clean assembly/finishing surface with craft paper or silicone sheet protection. Define a materials‑prep zone: cutting, sanding, trimming, with a sacrificial board and tool dock. Reserve a storage zone: labeled bins, shallow drawers, vertical slot dividers, and clear-front cabinets for fast inventory—core to Hobby room organization. Include a reference/admin zone: notebook, device stand, charging strip, and wall grid. Finally, claim a photo/display zone for documentation and inspiration. These Creative zone layouts keep tools close and surfaces protected.
Place Each Zone by Light, Traffic, and Mess
Place your precision zone—cutting mat, task chair, and tool caddy—tight to the window line so you get clean daylight on measurements and finishes. Push messy, high‑traffic work like sanding, painting, or wet cleanup toward the entry and hard, wipeable flooring, keeping it off your quiet bench path. Use clear circulation lanes between zones so you’re not carrying dust and spills past fabric, paper, or electronics.
Position Zones Near Windows
Where should each hobby zone go so daylight works for you instead of against you? Start with window placement: put precision tasks where natural light hits your work surface from the side, not straight on. For right‑handed work, keep the window to your left to cut shadows; reverse it if you’re left‑handed. Set desks 12–24 inches off glass so you can manage glare and leave room for cellular shades or a roller screen. Use a matte, light‑reflective desktop (maple, birch ply, or white laminate) to bounce daylight deeper into the room. Keep shelving perpendicular to the window so spines and bins don’t block light. Add a high‑CRI task lamp for consistent color when clouds roll in.
Separate Messy High-Traffic Areas
How you route movement through the room determines whether dust, spills, and clutter stay contained or migrate onto your clean work surfaces. Put the “dirty” zone near the entry: cutting mats, spray booth, sanding station, or wet sink. Keep a straight, unobstructed path to it so you don’t brush past shelves or drying racks. Use durable, wipeable finishes—sheet vinyl or sealed concrete underfoot, washable semi-gloss on walls, and a sacrificial tabletop.
Buffer the clean bench with a divider: a rolling screen, shallow shelving, or a curtain track. Add organized storage right at the messy zone—bins for offcuts, a lidded trash pullout, and pegboard for tools. For noise control, mount machines on rubber pads and add door sweeps.
Set Up a Planning and Design Zone
Before you cut wood, thread a needle, or fire up a printer, carve out a dedicated planning and design zone that keeps decisions clean and materials controlled. Place it near natural light and a clear wall for pinning layouts, swatches, and reference sheets. Use a smooth, wipeable surface like laminate or sealed plywood so paper, fabric, and samples stay pristine. Add shallow drawers for rulers, markers, and labeling tape, plus vertical file slots for patterns and spec pages. Set task lighting to neutral white so Color schemes read accurately, then test Decorative accents against your wall paint and flooring samples. Keep a lidded bin for rejects and a corkboard for next-step lists so you don’t spill into other zones.
Build a Main Workbench Zone for Daily Making
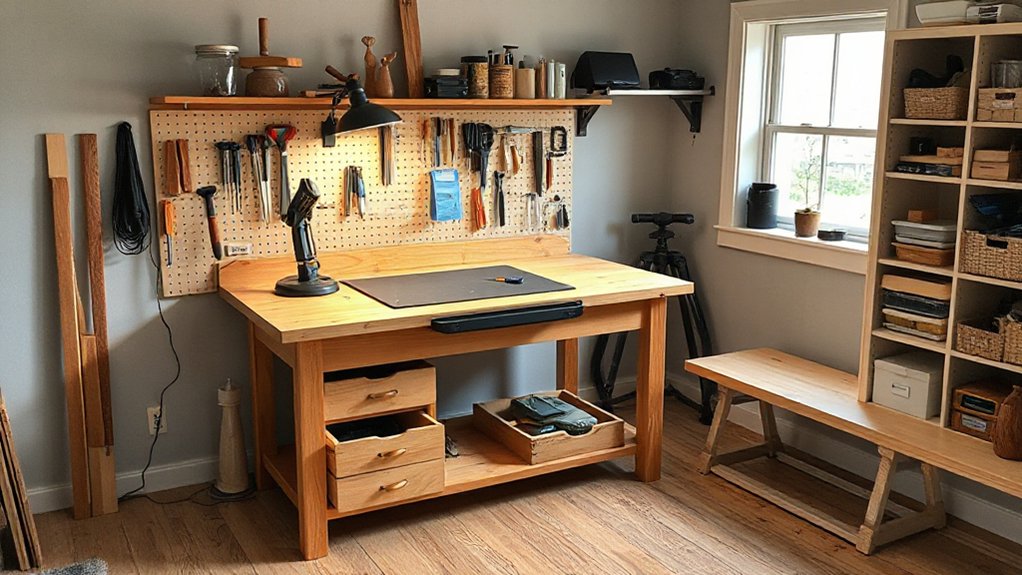
Place your main workbench where you’ve got clean access to power and task lighting, then keep at least 36 inches of clearance behind you for a stool, tool cart, and safe movement. Choose a hard‑wearing top—laminated birch plywood, solid maple, or stainless steel—with a sacrificial cutting mat or replaceable skin where you’ll take the most abuse. Build storage into the zone with shallow drawers for hand tools, vertical slots for clamps, and a lower shelf for bins so the surface stays clear for daily making.
Workbench Placement And Clearance
If you want a main workbench you’ll use every day, anchor it where circulation stays clean and tool access stays tight. Place it on a long wall or as a peninsula so you don’t pinch the room’s primary path. Keep 36–42 inches of clear aisle behind you for turning with stock, and 48 inches if you’ll roll carts past. For Workbench ergonomics, set the front edge where you can stand square without twisting; align it with task lighting and a dedicated power run to avoid trailing cords. For Tool accessibility, keep frequently used hand tools within one arm’s reach and keep machines that need infeed/outfeed aligned to the bench’s long axis. Leave corners open for clamping swing and elbow room.
Durable Surface And Storage
Once your bench sits in a clear circulation lane with comfortable clearance, make the top and storage work as hard as the layout. Choose durable surfaces that match your typical wear: 3/4-inch plywood with a replaceable hardboard skin for crafts, maple for hand tools, or stainless over MDF for wet work. Seal edges, break corners, and add a sacrificial cutting mat zone to protect finish. Keep the workplane flush to adjacent carts so you can stage parts without bottlenecks.Build storage solutions into the bench envelope. Use full-extension drawers for small tools, a shallow top drawer for blades and bits, and a lower cabinet for jigs. Add a pegboard or French cleat rail at eye level, plus labeled bins below for replenishment.
Create a Messy Zone for Paint, Glue, and Cutting

Because paint splatters and glue squeeze‑out are inevitable, designate a dedicated “messy zone” that keeps wet media, blades, and scraps away from your clean work surfaces. Place it near a sink or utility tub and protect the floor with sheet vinyl or a washable mat. Use a stainless, HDPE, or melamine-topped bench and add a disposable kraft-paper roll for quick reset.
Build Mess containment with a shallow tray edge, a silicone drip mat, and a lidded bin for offcuts and gluey wipes. Mount a self-healing cutting mat, ruler rail, and blade cup so sharps don’t wander. Add Safety precautions: task lighting, a first-aid kit, a sharps container, and a ventilated caddy for adhesives. Keep clamps and tape within arm’s reach.
Set Up a Dust-Free Finishing and Drying Zone
Although your build bench can tolerate a little grit, you’ll get cleaner paint, stain, and clear coats by carving out a finishing and drying zone that stays sealed, smooth, and easy to wipe down. Place it downwind of your messy zone and behind a door or curtain to block drift. Use hard surfaces—melamine, sealed plywood, or stainless—and caulk corners so dust can’t hide. Add a shallow, washable mat at the entry.
For dust collection, run a small extractor or filtered intake near floor level, then exhaust high through a window fan with a furnace filter. That airflow management pulls overspray away from wet pieces without blasting them. Hang plastic sheeting to form a booth, and add a level drying rack with drip trays and low-heat lighting.
Plan Hobby Room Storage by Zone
A clean finishing zone only stays clean if your storage keeps dusty, messy supplies out of its airflow, so plan storage the same way you planned your work areas—by function and by containment. Put sanding media, fillers, and powders in gasketed bins; label lids on top faces so you read them while stacked. Keep wet finishes and solvents in a latching, chemical-resistant cabinet with a drip tray, away from paper.
For the build zone, store hand tools on a shallow pegboard or slotted panel sized to your reach, and keep fasteners in clear drawers with dividers. In the assembly zone, use pull-out trays for clamps and jigs so you don’t dig. This Hobby storage approach strengthens Zone organization and keeps every zone predictable.
Match Lighting, Power, and a Reset Spot
When you match lighting and power to each zone—and give yourself a dedicated reset spot—you’ll keep the room functional instead of constantly “making it work.” Put bright, high‑CRI overhead LEDs on separate switches for the build, assembly, and finishing areas, then add adjustable task lights at bench height so shadows don’t land on cut lines or wet edges. Maintain lighting consistency by keeping color temperature uniform across fixtures, and use matte wall paint to reduce glare. For power accessibility, run a surface‑mount raceway with quad outlets every 4–6 feet, plus ceiling drops for tools that live mid‑room. Add a small “reset” counter near the door with a bin, microfiber cloth, and charger dock, so cleanup happens fast and projects restart smoothly.
Frequently Asked Questions
What Flooring Material Best Reduces Fatigue During Long Hobby Sessions?
Cork flooring best reduces fatigue during long hobby sessions because it cushions underfoot and stays warm. Pair it with Anti fatigue mats at workstations and add Decorative rugs in circulation paths for targeted comfort.
How Can I Soundproof a Hobby Room to Avoid Disturbing Others?
You’ll cut noise by sealing gaps, adding mass, and decoupling surfaces: install Acoustic panels on walls/ceiling, lay dense underlayment, caulk outlets, and fit Soundproof doors with perimeter gaskets, thresholds, and solid cores.
What Ventilation Setup Is Safest for Fumes From Resins or Solvents?
Why risk breathing solvent vapors? Install a vented spray booth: sealed work surface, local exhaust hood, and ducted inline fan to outdoors, plus Air filtration. Keep Chemical storage in rated cabinets; maintain negative pressure and makeup air.
How Do I Set a Realistic Budget for Building a Hobby Room?
Start with Cost estimation: measure the room, list zones and materials, then price flooring, cabinetry, lighting, and ventilation. Do Budget allocation by splitting essentials, upgrades, and contingency. Get three quotes and track receipts.
Which Insurance or Safety Precautions Should I Consider for High-Heat Tools?
Check your policy for Insurance requirements covering heat sources and liability. Install noncombustible surfaces, rated extinguisher, and smoke/CO alarms. Use ventilation and metal tool rests. Follow safety gear considerations: gloves, face shield, apron, respirator.
Conclusion
When you zone your hobby room with intention, you don’t just gain space—you gain flow. Keep your planning desk near clean storage and bright, even light. Anchor daily making on a sturdy workbench with a sacrificial top, then push paint, glue, and cutting toward easy‑wipe surfaces and a vented corner. Protect finishing with a dust‑free shelf and drying rack. In the end, measure twice and cut once: every outlet, lamp, and reset spot earns its place.
About the Author