Reform your detached house interior by placing natural stone where it carries the most weight: the entry reveal, a hearth wall, a kitchen island face, and tactile edges like thresholds and ledges. Map daily routes so corners don’t chip, and align joints with doors, mullions, and cabinetry. Choose marble for elegant focal moments, limestone for soft patina, slate for texture, and granite for hard-wearing zones. Seal, clean pH-neutral, and you’ll see what comes next.
Key Takeaways
- Identify high-impact anchor areas for stone, like the entry reveal, hearth wall, island face, and powder-room vanity.
- Place stone where touch matters—thresholds, ledge edges, and backsplash returns—to add close-range texture without overwhelming the room.
- Match stone type and finish to use: marble for focal elegance, limestone for patina, slate for texture, granite for high-traffic durability.
- Align seams and joints with doors, windows, and cabinetry, and confirm structure, studs, and expansion gaps before fabrication and installation.
- Coordinate stone undertones with paint, wood, and lighting, and plan maintenance: sealing, gentle cleaners, and protection from chips and spills.
Decide Where Stone Will Make the Biggest Impact
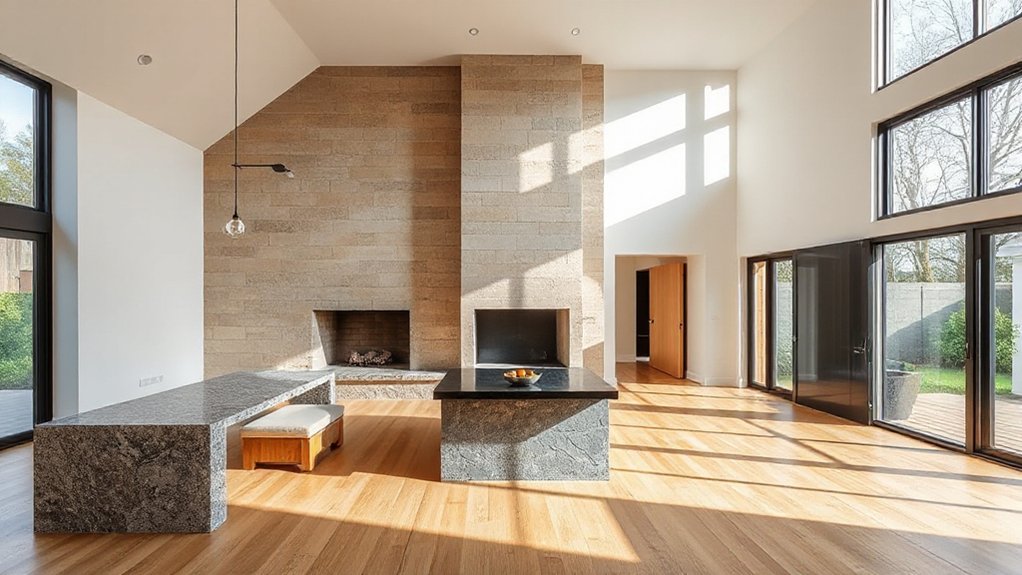
Before you choose a stone type or finish, map where it’ll do the most work visually and tactically in your detached house interior. Start by spotting the “anchor moments” your eye returns to: the entry reveal, the hearth wall, the kitchen island face, or a powder-room vanity surround. Use stone where your hand meets the room—ledge edges, thresholds, and backsplash returns—so texture reads at close range, not only from across the space. Track sightlines to the Outdoor landscape and echo its geology inside, so interior stone feels inevitable, not applied. Prioritize furniture integration: let a slab align with sofa height, wrap a bench plinth, or set a credenza against a veined backdrop that frames it like artwork.
Plan Stone Accents Around Layout, Traffic, and Structure
Once you’ve identified the anchor moments, test each stone accent against the house’s actual circulation and construction, not just the mood board. Map daily routes from entry to kitchen, stair, and living zones, then place stone where it won’t snag movement, chip at corners, or narrow clearances. Align joints with door centers, window mullions, and cabinetry lines so the installation reads intentional, not applied.
Use Natural lighting as your verifier: track sun paths, glare, and shadow breaks, and position textured surfaces where raking light can reveal depth without causing harsh reflections. Respect structure—find studs, slab edges, lintels, and expansion gaps before you commit to heavy cladding. Finally, tune Interior acoustics: balance reflective stone planes with adjacent absorptive elements to prevent echo, especially in double-height rooms.
Choose the Right Stone: Marble, Limestone, Slate, Granite
You’ll choose stone by matching its veining, porosity, and finish to how each surface gets used. Compare marble’s crisp veining and polish to limestone’s softer, matte grain when you want a calmer, more forgiving look, then bring in slate where you need tactile texture and shadow. When durability drives the spec—heavy traffic, heat, or spills—you can’t beat granite’s density and scratch resistance.
Marble Vs. Limestone
Although both stones read as “classic,” marble and limestone behave very differently in a lived-in detached house interior. If you want Marble elegance, you’ll get crisp veining, high reflectance, and a tailored edge profile that sharpens cabinetry lines. You’ll also need to accept etching from acids and commit to sealing, especially on kitchen counters and wet zones.
If you want Limestone versatility, you’ll get a quieter, porous surface that softens light and pairs easily with timber, plaster, and brushed metal. Choose honed or tumbled finishes to reduce glare and disguise wear. Use marble where you control contact—fireplace surrounds, feature walls, vanity tops—and deploy limestone on floors, thresholds, and stair landings where a muted patina feels intentional over years.
Slate For Texture
If the interior needs depth more than shine, slate delivers texture you can feel and read from across the room. You’ll notice its cleft surface, layered grain, and low-sheen finish catching light as shadow, not glare. Use it where you want Texture contrast: a slate hearth against smooth plaster, a feature wall behind open shelving, or stair risers that ground a floating tread.
Choose darker charcoal for graphic weight, or softer green-gray to calm bright oak and brass. Keep joints tight to emphasize stratification, and let edges stay slightly irregular to preserve the quarry narrative. Seal it to deepen tone without gloss, and pair it with warm textiles so every touch becomes a tactile experience. Slate makes space feel authored.
Granite For Durability
Slate brings shadowed texture and a hand-cut story; granite shifts the focus to endurance. You choose it when your detached house needs a stone that won’t flinch at daily heat, spills, or chair drag. Let the Natural patterns do the design work: tight speckling can quiet an open-plan kitchen, while bold veining can anchor an island like a geological drawing.
Specify finish by use. A honed top softens glare and hides micro-scratches; a leathered surface boosts grip and depth, turning Surface textures into a tactile cue. Use thinner slabs for a crisp edge, or go thick to telegraph permanence. Carry the same granite to a hearth surround or stair plinth, and you’ll tie rooms together with one resilient, unforced material gesture.
Match Stone Finish to Light, Paint, and Wood Tones
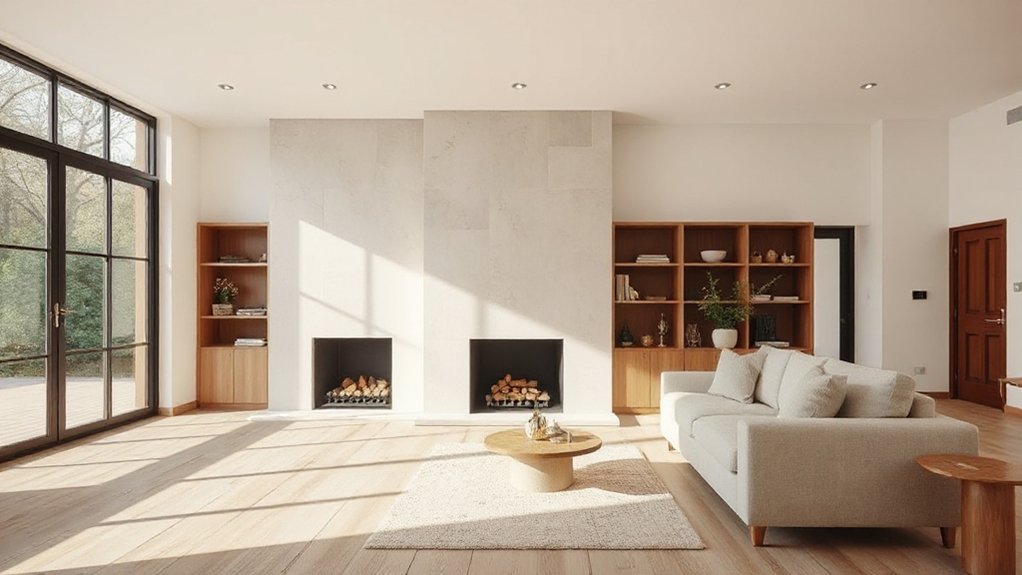
You’ll get the cleanest result when you balance your stone finish with the room’s light—polished surfaces kick light back, while honed or textured faces soften glare. You’ll also want your paint to share the stone’s undertone, so whites don’t turn chalky against warm veining or muddy against cool grays. Finally, echo your wood grain tones in the stone’s flecks and movement, so oak warmth, walnut depth, or ash neutrality reads intentional instead of mixed.
Balance Stone With Light
Hold samples vertically beside your floorboards and trim, then read them at three times of day. You’re aiming for color harmony through shared value and texture: warm oak likes creamy stone; cool ash pairs with blue-gray slate. Let sheen bridge materials, not compete.
Coordinate Paint Undertones
Because stone reflects and absorbs light differently than paint does, you can’t pick a wall color until you’ve nailed the stone’s undertone and finish. Start by reading the stone in daylight and lamplight: is it warm (gold, rust, cream) or cool (blue-gray, green, charcoal)? Then decide if the finish is honed, leathered, or polished; higher sheen bounces highlights and makes adjacent paint look flatter and darker. For Color harmony, pull one quiet mid-tone from the stone’s field, not its veining, and use it as your paint anchor. In paint matching, test large, movable samples beside the stone, angled to catch glare. Finally, keep your chosen paint’s undertone consistent with nearby trim and flooring so progression stay seamless.
Echo Wood Grain Tones
Once you’ve set the stone’s undertone, let the wood grain steer the rest of the palette so the room reads intentional rather than patched together. Pull a mid-tone from your oak, walnut, or ash and repeat it in grout, metal patina, or a linen shade to bridge materials. If your floors run warm, choose honed limestone or travertine with beige veining; if they run cool, pair soapstone or gray marble with a matte finish that won’t fight the sheen of sealed boards. Keep the stone finish aligned to daylight: north light likes warmer stone, south light tolerates cooler. Use paint as a buffer—one step lighter than the wood—to preserve contrast while keeping natural textures continuous across walls, trim, and built-ins.
Use Stone to Zone Open-Plan Living Areas
Although open-plan layouts feel generous, they can read as visually flat without clear anchors, so use natural stone as a crisp zoning tool that doesn’t add walls. Set a low plinth of honed limestone to frame the seating area, or run a basalt threshold strip where lounging shifts to dining; your eye reads the change instantly.
Treat Decorative stone like a “material punctuation.” Wrap a kitchen island base in veined marble to separate prep from conversation, then echo it with a matching stone shelf or side table for continuity. Keep edges slim, joints aligned, and finishes consistent—honed for calm, leathered for warmth. Add Artistic accents through a single slab with dramatic movement, oriented like artwork, so the zone feels intentional, not busy. Pair stone with warm wood to avoid hardness.
Build a Fireplace Surround That Fits the Room’s Scale
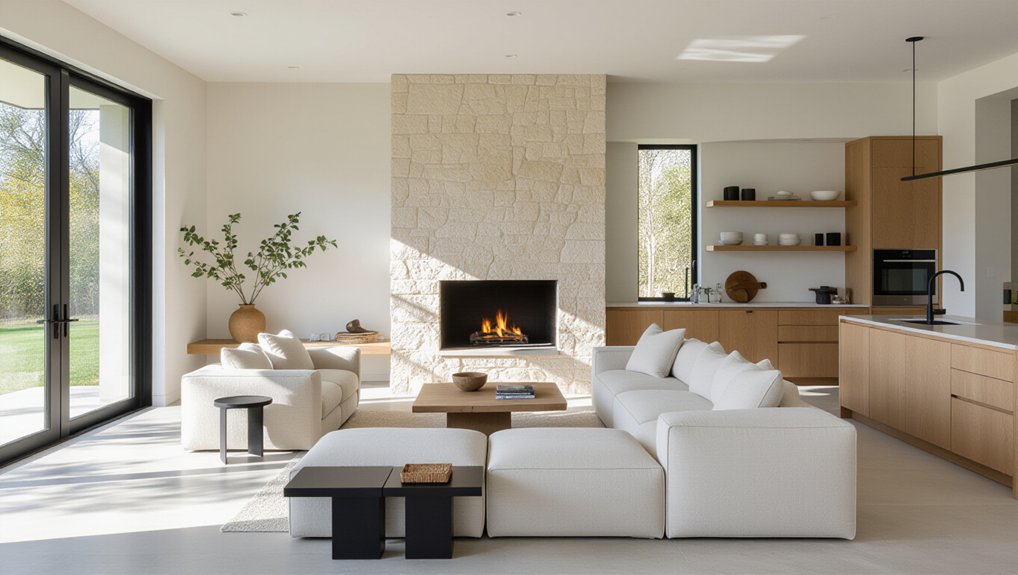
Start by measuring the firebox opening, wall width, and required clearances so the surround reads proportionate rather than oversized. Then you’ll choose a stone and edge profile—honed limestone with a tight arris, or split-face granite with a deeper reveal—that matches the room’s massing and light. Finish by detailing the mantel and hearth thickness, overhang, and joints so the assembly feels intentional, durable, and quiet.
Measure Proportions And Clearances
Before you commit to stone thickness or a profile detail, measure the room and the firebox so the surround reads intentional at every distance. Start with elevation: map mantel height against sightlines from seating and entry, then scale the legs to match ceiling volume and adjacent openings. Keep the surround’s overall width aligned to nearby casework or window bays so it doesn’t feel adrift.
Verify clearances to combustibles and appliance specs, then add breathing room for expansion joints and grout lines. Dry-lay a taped outline on the wall and floor to test massing, Color contrast, and Texture variation against existing finishes. Maintain consistent reveals to flooring, baseboard returns, and hearth edges, and confirm door swings and traffic paths won’t clip the projection. Mark all dimensions before fabrication begins.
Choose Stone And Profile
With your dimensions and clearances locked in, the stone and profile choices decide whether the surround feels calibrated to the room or visually heavy. Start by reading the house’s material vocabulary: oak floors, plaster walls, black steel, or brass all push you toward different stones. Use Natural patterns to set the tone—linear veining can extend wall height, while clouded breccia broadens the composition. Match scale with quarry cut: large-format slabs simplify busy rooms; smaller modules add rhythm to minimal spaces. Then choose a profile that controls shadow: a thin eased edge stays crisp; a deeper chamfer adds depth without bulk. Let Cultural symbolism guide restraint—select stones tied to local geology or craft traditions, and keep the surround’s geometry quiet.
Detail Mantel And Hearth
Once you’ve settled on stone and profile, the mantel and hearth become the scale-setters that make the surround feel intentional rather than oversized. Start by mapping sightlines: seated eye height, TV edge, adjacent openings. Keep the Decorative mantel deep enough for shadow, not clutter—typically 8–10 inches—then match its thickness to your stone’s visual weight. If the room reads airy, chamfer the underside; if it’s grounded, leave a crisp arris. For Hearth design, extend the slab to anchor furniture groupings, but stop short of interrupting circulation; 16–20 inches often balances protection and proportion. Choose a honed finish for touchability, ease of cleaning, and softer reflectance. Align joints with the firebox edges so every reveal looks deliberate.
Create a Textured Stone Feature Wall Without Visual Clutter
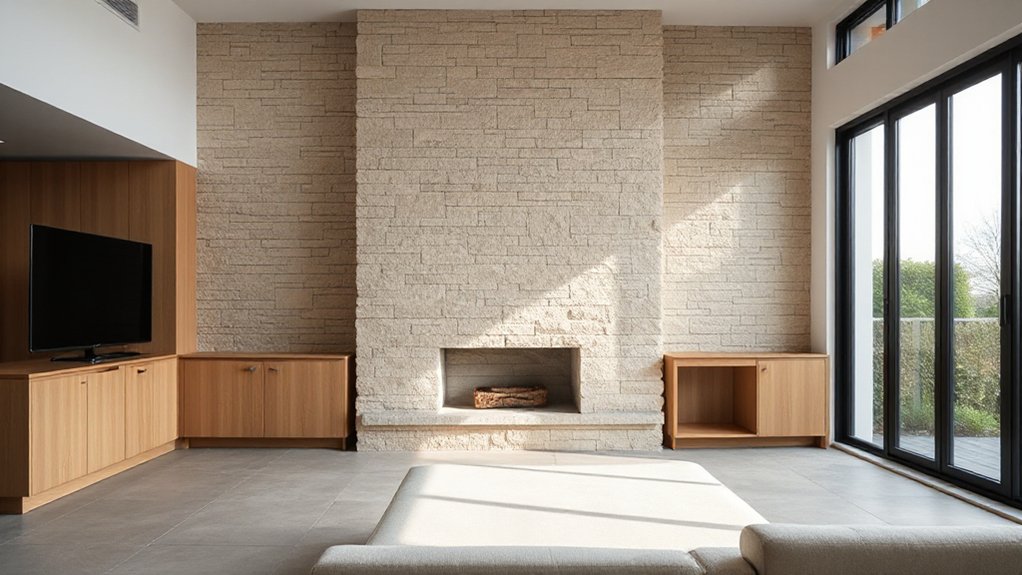
Although textured stone reads as inherently bold, you can build a feature wall that feels calm by tightening the material palette and controlling the wall’s “noise” at every scale. Start with color consistency: choose one stone family, then lock in a narrow range of veining and undertone so the surface reads as a field, not a collage. Use fewer module sizes and align courses to a clear datum, especially at corners and openings. You’ll get Textural contrast by pairing the rough face with quietly finished neighbors—matte plaster, flat-sawn oak, or microcement—rather than adding more patterns. Recess outlets, hide LEDs in a shadow reveal, and cap edges with a slim return to avoid busy trim. Finish with restrained grout lines and consistent joint depth.
Choose Kitchen Countertops and Island Stone by Durability
Because the kitchen punishes surfaces with heat, acids, pigments, and constant abrasion, you should choose countertop and island stone by wear performance first, then tune color and veining to the room. Favor dense granites, quartzite, or engineered quartz for stain resistance and low porosity; reserve marble for low-use baking zones only if you’ll accept etching. Specify a honed finish when you want glare control and better scratch camouflage, or polished when you’ll wipe spills fast. Match edge profiles to impact risk: eased for durability, ogee for fragility. Build Stone color options around maintenance reality—midtones hide crumbs, darks show dust, whites reveal staining. Demand robust installation techniques: full-slab support, level substrates, seam placement away from sinks, and proper reinforcement at cutouts.
Detail Backsplash, Splash Zones, and Heat-Safe Clearances
Countertops handle the abuse, but the backsplash controls where water, oil, and heat actually land, so you’ll want to detail it with the same performance-first mindset. Run stone to the underside of uppers or a full-height slab behind the range to eliminate grout-line splash traps. Treat corners as splash zones: return the material past the sink edge, and cap junctions with a tight, silicone-shadow joint. Keep seams off faucet centers and outlet cutouts, and specify eased edges where you’ll wipe daily. For heat, maintain manufacturer clearances to cooktops and specify noncombustible substrates behind ranges; don’t rely on sealers as fire protection. Use decorative inlays only where they won’t interrupt cleaning paths. If you add wall paneling, stop it short of wet/grease zones.
Pick Bathroom and Shower Stone for Slip and Stain Resistance
When you choose stone for a bathroom or shower, prioritize traction underfoot and stain tolerance before you chase veining. Start by matching finish to wet use: honed or textured surfaces usually deliver better Slip resistance than high-polish, which can turn slick with soap film. Favor stones with tighter pore structure for easier upkeep; dense granite and many quartzites resist daily moisture better than soft, porous limestones.
Then design for real-world chemistry. Shampoo dyes, body oils, and hard-water minerals test stain resistance, so select a stone that tolerates mild cleaners and accepts penetrating sealer evenly. Ask for performance data, not showroom anecdotes: request DCOF values, absorption rates, and sealer recommendations from your fabricator. Run a small stain-and-rinse test on offcuts before you commit.
Get Edges, Grout Lines, Joints, and Transitions Right
Even if you’ve picked the right stone and finish, sloppy edges and poorly planned joints can make the whole installation look cheap and fail early. Treat geometry as part of the design: decide where full tiles land, center grout lines on focal axes, and avoid skinny slivers at corners. Prioritize Edge finishing—factory bullnose, mitered returns, or metal trims—so exposed perimeters read intentional and feel smooth to the touch. Keep grout consistency by holding joint widths with spacers, mixing batches to the same viscosity, and tooling lines to a uniform profile. Plan movement joints at changes of plane and long runs, and align progressions to thresholds or shadow gaps. At stone-to-wood or stone-to-plaster, use clean reveals and backing support so nothing chips or telegraphs.
Seal, Clean, and Maintain Stone for the Long Term
Clean geometry and tight joints give stone its tailored look, but the finish only stays that way if you control what soaks in, what sits on the surface, and how you remove it. Start by matching Stone sealing techniques to porosity: use a penetrating impregnator for honed limestone and travertine, and a breathable enhancer only when you want deeper tone. Seal after the stone dries, flood-coat evenly, then buff dry so you don’t leave a sticky film.
Clean with pH-neutral soap and soft pads; skip vinegar, bleach, and abrasive powders that etch calcite. Wipe spills fast, especially oils, wine, and rust-prone water. For Long term maintenance, refresh sealer on wear paths, use felt glides, and keep mats at entries.
Frequently Asked Questions
How Much Do Natural Stone Accents Increase Resale Value in Detached Houses?
You’ll typically raise resale value about 2–5% with well-executed natural stone accents, as buyers pay for durability and finish. You’ll also consider stone maintenance and stone color options to match local tastes.
Do I Need Permits or Inspections to Add Stone Features Indoors?
Like laying brick in a tight arch, you’ll often need permits or inspections for indoor stone features. Check Building codes and Permit requirements for load-bearing, fire-rated surrounds, and substrate anchoring; call your city inspector.
What Lead Times Should I Expect for Sourcing and Fabricating Stone?
You’ll typically wait 1–3 weeks for Stone sourcing, then 2–6 weeks for Fabrication timelines, depending on slab availability, vein-matching, edge profiles, and finish. Book templates early, confirm lead-safe shipping, and schedule install buffers.
How Can I Reduce Stone Installation Dust and Disruption During Renovation?
Like a well-tuned airlock, you’ll contain mess by using wet-cutting, HEPA vacuums, taped poly barriers, and negative air for dust control. You’ll stage offsite fabrication, schedule loud cuts, and add mats for noise mitigation.
Are There Eco-Friendly or Recycled Natural Stone Options Available?
Yes—you can choose recycled or low-impact natural stone. Specify Recycling options like reclaimed slabs, offcuts, and terrazzo aggregates. Source from Eco friendly sources: local quarries, verified suppliers, and stone with EPDs.
Conclusion
You’ll get the best results when you place stone where it truly matters, then plan every slab around circulation, structure, and sightlines. Choose marble, limestone, slate, or granite for the right balance of beauty and brawn, and match finish to light, paint, and timber tones. Use stone to subtly segment open-plan zones, then refine edges, grout, and joints for crisp continuity. Seal, scrub gently, and sustain its surface.
About the Author