Start by confirming your townhouse bylaws, HOA rules, zoning, and permits allow a basement guest suite, then map required inspections for framing, plumbing, electrical, HVAC, and insulation. Check finished ceiling height, stair and hallway clearances, and add code-compliant egress plus interconnected smoke/CO alarms and firestopping. Fix moisture first with grading, crack sealing, drains, and rigid foam insulation. Plan privacy, soundproof with mineral wool and 5/8-inch Type X drywall, and add a compact bath near existing stacks—more smart details follow.
Key Takeaways
- Confirm zoning, building codes, and HOA bylaws allow a guest suite, then secure required framing, plumbing, electrical, HVAC, and insulation permits.
- Validate finished ceiling height, stair geometry, and code-compliant egress windows or doors before finalizing the bedroom and hallway layout.
- Control moisture first: fix drainage, seal cracks and rim joists, add a capillary break, and choose foam plus mineral wool over fiberglass.
- Build for fire and sound: use 5/8-inch Type X drywall, mineral wool, sealed penetrations, and solid-core doors with sweeps or gasketing.
- Place the bathroom near existing stacks, vent the fan outdoors, add GFCI and anti-scald valves, and keep access panels for shutoffs and cleanouts.
Confirm Your Townhouse Basement Guest Suite Is Legal
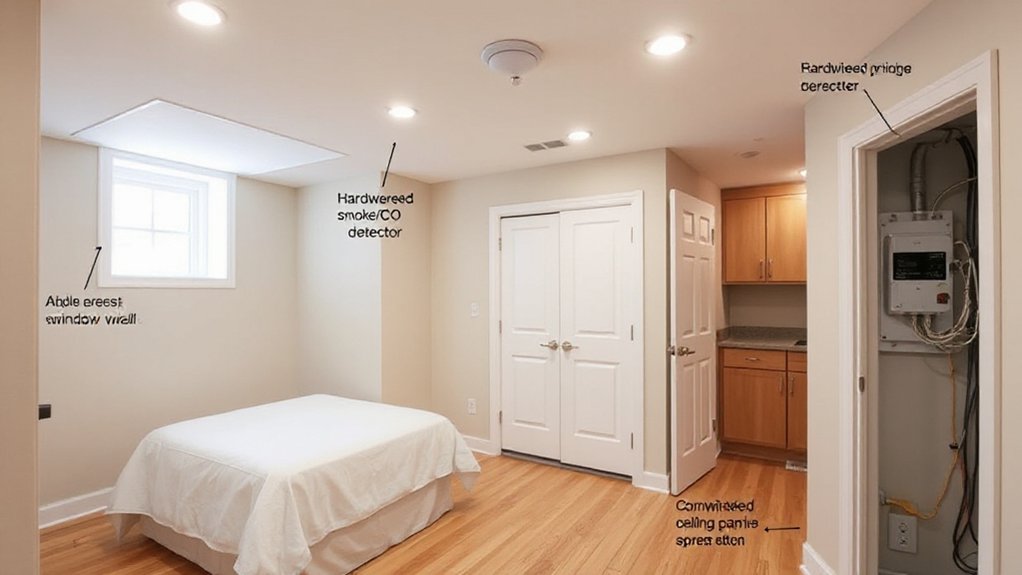
Before you pick finishes or hire trades, confirm your townhouse basement can legally function as a guest suite under local zoning, building code, and any HOA or condo bylaws. Call your planning department to verify permitted use (guest suite vs. rental), parking rules, and whether you must record a covenant. Pull written HOA approval early; fines and forced removal cost more than permits.
Next, map your scope to required permits: framing, plumbing, electrical, HVAC, and insulation. Ask whether separate meters, sound ratings, or energy-code upgrades apply, and budget for plan review and inspections. Keep drawings simple but complete, showing room labels, fixture counts, and mechanical routes. Align Home decor choices with code-listed materials, and coordinate exterior work like landscaping changes with site-plan limits and drainage rules.
Check Egress, Ceiling Height, and Fire Safety
Because inspectors focus on life-safety first, you should verify egress, ceiling height, and fire protection early so you don’t pay to reframe or relocate mechanicals later. Measure finished ceiling height under beams and ducts, and confirm your local minimums before you plan soffits. For Emergency exits, you’ll typically need a code-compliant egress window or exterior door with required clear opening, sill height, and window well dimensions; don’t assume an old hopper window qualifies. Check stair width, headroom, landings, and handrails, since these often trigger costly corrections. For Fire safety, confirm smoke/CO alarm locations and interconnection requirements, add a rated door where required, and protect penetrations with approved firestopping. Verify tempered glass near stairs and bathrooms too.
Plan a Private Basement Guest Suite Layout
You’ll start by defining clear bedroom and bath zones that meet required clearances and keep plumbing runs short to control costs. You can boost privacy by placing the bedroom farthest from the stairs and buffering it with a hall, closet wall, or the bathroom. You’ll also plan storage into dead space—under-stair closets, recessed shelving, and wardrobe built-ins—so the suite stays uncluttered without expanding the footprint.
Define Bedroom And Bath
Once you’ve confirmed the basement’s clear ceiling height, egress options, and plumbing access, lock in the bedroom and bath footprint so the rest of the guest-suite plan doesn’t fight the code or the budget. Place the bedroom where you can meet emergency-escape window size and well depth, and leave enough wall length for bedroom essentials like a bed, nightstands, and a closet opening without blocking egress.
Keep the bath tight to existing stacks to cut concrete work. Lay out bathroom fixtures with code clearances: 15 inches from toilet centerline to side wall, 21 inches in front, and a 30-inch-wide shower minimum where required. Plan a 32-inch door or wider for access, verify venting, and specify GFCI and dedicated circuits.
Maximize Privacy And Storage
After you’ve set the bedroom and bath footprint, tune the layout for privacy and storage by treating the stair landing as a buffer and pushing “quiet” uses deeper into the basement. Add a short hall or pocket door so sightlines from the stairs don’t hit the bed, boosting guest privacy without major framing. Place the bath between the stairs and sleeping area to act as a sound block, and insulate plumbing walls for noise control. Keep egress paths clear and maintain required hallway widths.
Build storage solutions into dead zones: under-stair closets with solid-core doors, recessed shelving between studs, and a linen cabinet near the bath. Specify moisture-resistant materials, seal slab joints, and leave service access to shutoffs. Use LED closet lighting with door switches to meet safety needs.
Fix Moisture and Insulation Before Finishing
Before you hang drywall or build out partitions, eliminate moisture pathways and bring the basement envelope up to code-level insulation, because finishing materials won’t survive persistent dampness. Start with a moisture audit: check grading, gutters, and downspout extensions; seal rim joists and penetrations with foam; patch cracks with hydraulic cement; and add an interior perimeter drain or sump if water shows up. Run a dehumidifier to keep RH near 50%, and confirm you’ve got safe Ventilation strategies—balanced HRV/ERV or a code-approved bath fan to the exterior. For Insulation materials, skip faced batts against concrete; instead use rigid foam or closed-cell spray foam, then frame a service wall with unfaced mineral wool if needed. Install a continuous vapor retarder where your climate code requires it.
Soundproof the Basement Guest Suite for Sleep
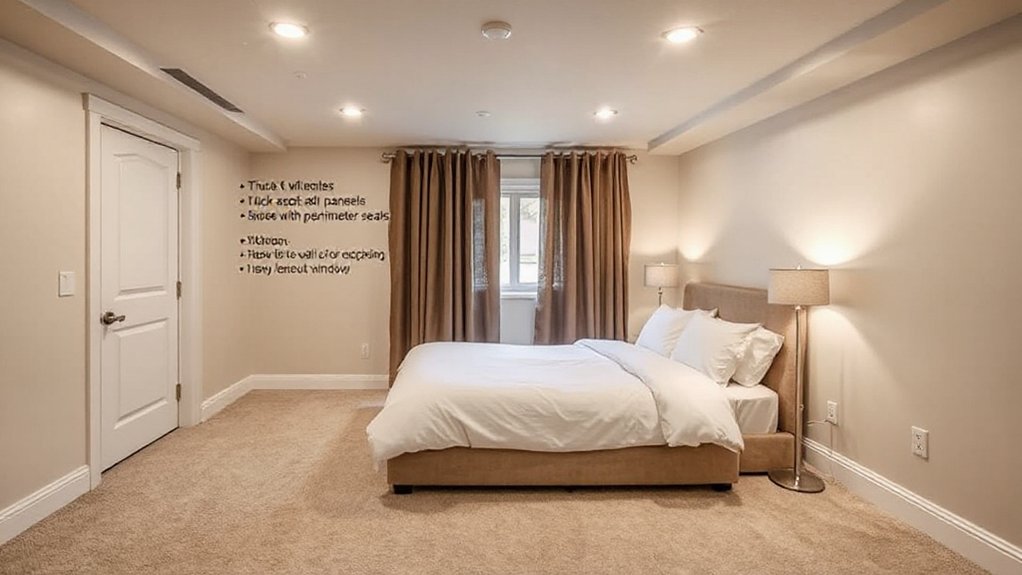
Even if you’ve solved moisture and insulation, you won’t get a truly sleep-friendly guest suite unless you control noise from footsteps, plumbing, and mechanicals. Start with the ceiling: decouple joists using resilient channel or sound-isolation clips, then hang 5/8-inch Type X drywall for code-friendly fire resistance and mass. Seal every perimeter and penetration with acoustical sealant; don’t leave gaps around boxes, pipes, or ducts.
Use budget-smart soundproofing techniques inside cavities: mineral wool batts outperform fiberglass for mid/high frequencies and don’t trap moisture. Wrap drain lines with pipe insulation and add isolation hangers so plumbing doesn’t drum. Add a solid-core door with perimeter gasketing and an automatic door sweep. Choose acoustic materials rated for STC and verify assemblies meet local requirements.
Brighten the Basement With Lighting and Color
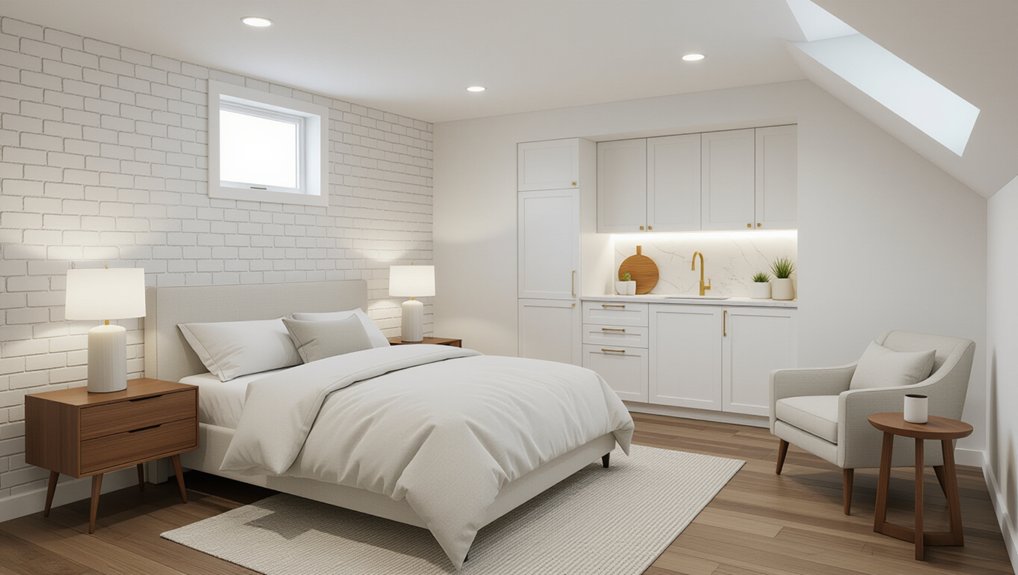
Because most basement windows sit high and throw limited daylight, you’ll get the biggest payoff by layering code-compliant lighting with light-reflective finishes. Start with recessed or low-profile LED lighting fixtures on a dedicated switch, then add a bedside sconce and a task light at the desk so guests don’t rely on one harsh source. Put lights on dimmers rated for LEDs, and keep clear access to required egress paths and electrical panels. Choose high-CRI, 2700–3000K lamps for warm, accurate skin tones, or 3500K if you want a cleaner hotel feel. For Color schemes, stick to light neutrals with one saturated accent on textiles or art. Use semi-gloss trim and mirrors to bounce light without extra wattage.
Choose Basement-Safe Floors, Walls, and Ceilings
After you brighten the space, you’ll protect your guest suite by choosing finishes that handle below-grade moisture without failing inspections. You can keep costs predictable by prioritizing moisture-resistant flooring—like LVP, tile, or sealed concrete—over materials that swell or wick water. For the walls and ceiling, you’ll reduce mold risk by using mold-resistant drywall or panel systems paired with proper vapor control and code-approved fastening details.
Moisture-Resistant Flooring Options
When you’re converting a townhouse basement into a guest suite, moisture control has to drive every finish choice, starting with flooring and extending to walls and ceilings. Start with a slab moisture test and verify required clearances at stairs and doors so finished floor height stays code-compliant. Choose rigid-core LVP or porcelain tile over a thin uncoupling or drainage underlayment; both handle minor seepage and clean up fast. For warmer, quieter feet, use sealed cork or linoleum labeled for below-grade installs—Eco friendly options that still meet durability needs. Avoid carpet and solid hardwood. Specify a vapor-retarding underlayment only where the manufacturer allows, and keep expansion gaps at the perimeter. Finish with slip-resistant textures and decorative finishes that hide grit.
Mold-Resistant Wall Systems
Even if your slab stays dry most of the year, treat basement walls like they’ll see periodic humidity spikes and design the assembly to dry without feeding mold. Skip fiberglass against concrete; it traps moisture. Start with a continuous capillary break: closed-cell spray foam or rigid foam board sealed at seams. Then frame a non-load-bearing 2×4 wall, hold it off the foundation, and use unfaced mineral wool for sound and fire performance. Install a Class III vapor retarder (latex paint) unless your local code demands more. Hang paperless drywall or fiberglass-faced gypsum and seal penetrations. Keep baseboard gaps minimal but don’t bury the bottom edge. Pair these mold resistant wall systems with basement humidity control: a sized dehumidifier, drains clear, and return-air paths.
Add a Bathroom and Storage for Guest Comfort
Because a guest suite feels unfinished without private essentials, you’ll get the most comfort per dollar by adding a compact, code-compliant bathroom and smart storage that doesn’t steal headroom or circulation space. Place the bath near existing stacks to limit excavation and plumbing runs, and confirm venting, backwater protection, and minimum clearances before framing.
Choose durable Bathroom fixtures: a 30-inch vanity, comfort-height toilet, and acrylic shower with integrated niche. Specify an exhaust fan ducted outdoors, GFCI protection, and a listed shower valve with anti-scald. Use moisture-rated lighting and slip-resistant flooring.
For Storage solutions, build shallow closets between joists, add under-stair drawers, and install wall-mounted shelving to keep floors clear. Seal penetrations, add access panels, and leave service clearance for shutoffs and cleanouts.
Frequently Asked Questions
How Much Does Converting a Basement Into a Guest Suite Typically Cost?
You’ll typically spend $30,000–$80,000 to convert a basement into a guest suite. Budget for Basement waterproofing, permits and regulations, plumbing/electrical, egress windows, insulation, drywall, flooring, and HVAC upgrades. Get itemized bids upfront.
How Long Does a Basement Guest Suite Renovation Usually Take?
You’ll typically finish in 6–12 weeks. Test the theory that “quick renos save money”—they don’t if inspections fail. Schedule Basement waterproofing early and coordinate Electrical wiring with permits, trades, and inspections.
Do I Need to Hire an Architect or Designer for This Project?
You don’t always need an architect, but you should hire one if permits, Historic preservation, or layout changes apply. Bring in Structural engineering for walls/beam cuts. A designer helps finishes while controlling costs.
Will a Basement Guest Suite Increase My Townhouse Resale Value?
Yes, you’ll likely boost resale value; finished basements can raise value about 10–20% in some markets. Keep it code-compliant and cost-conscious: prioritize Basement lighting for egress, plus Plumbing upgrades with permitted rough-ins and inspections.
How Can I Furnish a Basement Guest Suite on a Tight Budget?
Shop secondhand, prioritize a safe bed, egress-clear layout, and washable textiles. Use budget friendly decor: paint, LED lighting, mirrors. Follow DIY furnishing tips: build shelves, refinish dresser, add rug, curtains, side table.
Conclusion
Turn your townhouse basement into a guest suite that feels less like a cellar and more like an Odyssean haven—earned through smart planning. You’ve checked permits, egress, ceiling height, and fire safety, then stopped moisture before it starts. You’ve laid out privacy, added insulation and sound control, and used bright, efficient lighting to lift the space. With basement-rated finishes, durable flooring, and a compact bath plus storage, you’ll welcome guests safely—without overspending.
About the Author