


Lifestyle and Design Online
Bring Style & Comfort to Your Home with Lifestyle & Design Online
At Lifestyle & Design Online, we believe every home should reflect personality, comfort, and timeless style. Founded by internationally experienced interior designer Julia, our platform shares inspiring ideas, expert insights, and practical guidance for creating elegant living spaces that truly feel like home. With experience across London, New York, Paris, Miami, and Dubai, Julia combines classic sophistication with modern functionality to help homeowners discover interiors that are both beautiful and livable. From contemporary apartments to charming period properties, Lifestyle & Design Online offers thoughtful inspiration designed to enhance everyday living while making interior design approachable, refined, and effortlessly stylish for every type of home.
Professional Design Inspiration For Modern Homes
Lifestyle & Design Online was created by Julia, a passionate interior designer with years of international experience designing residential spaces across the world. Her creative journey began in London before expanding into New York, where she collaborated with renowned designers on luxury interior projects. Over the years, her expertise has evolved through work in cities including Paris, Miami, and Dubai, allowing her to understand a wide range of architectural styles and design preferences.
Today, Lifestyle & Design Online serves as a destination for stylish inspiration, practical design advice, and creative ideas that help homeowners transform spaces with confidence, elegance, comfort, and individuality at the heart of every project.
Expert Interiors Services For Modern Homes
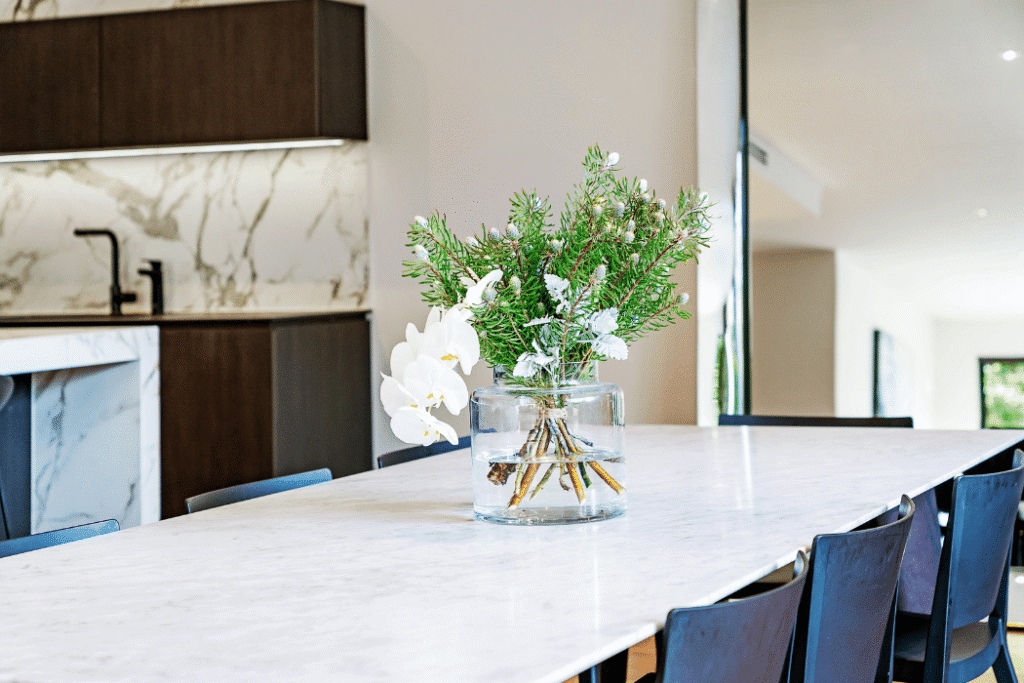
Interior Design
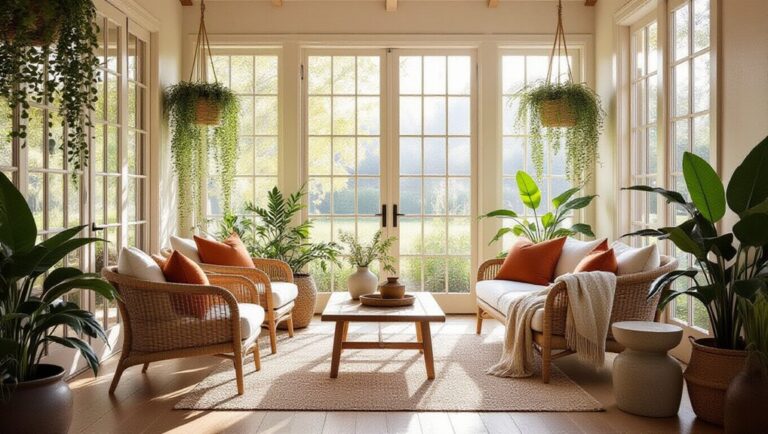
Creative design ideas, styling inspiration, space planning, colour palettes, furniture selection, and décor guidance for modern and classic interiors.
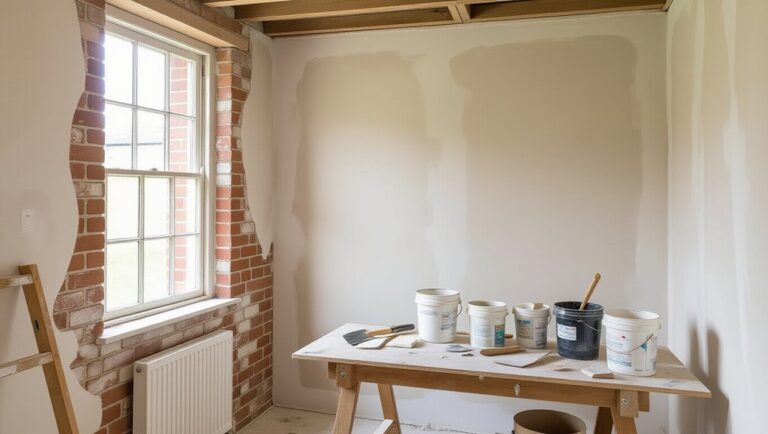
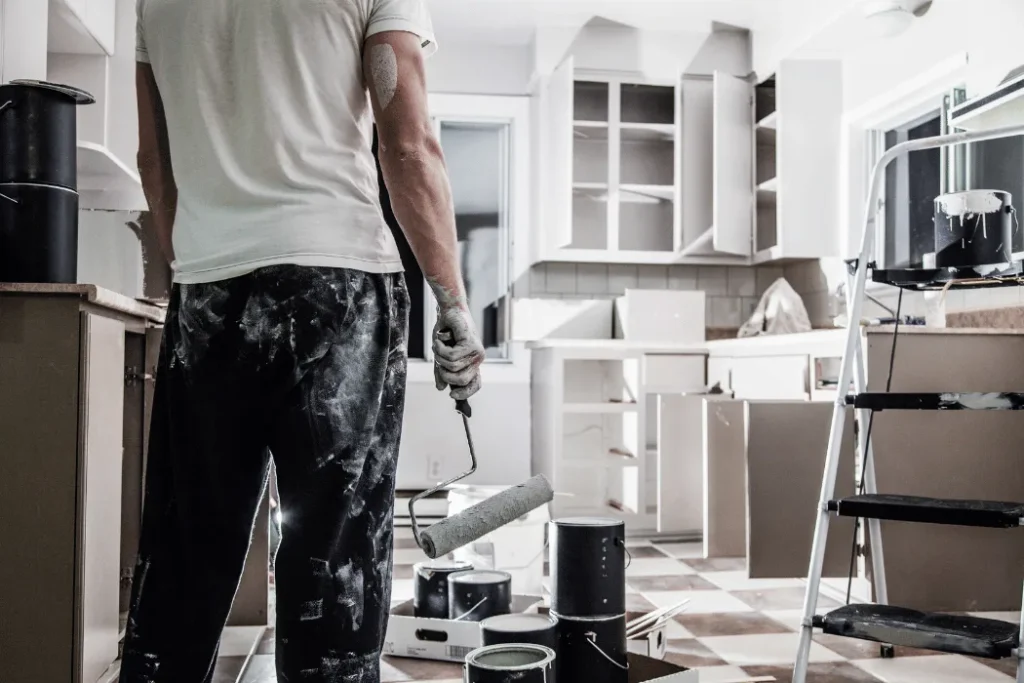
Interior Reforms
Expert advice on home transformations, layout improvements, renovations, and redesigning spaces to improve both functionality and appearance.

Interior Repairs
Practical solutions for maintaining interiors, repairing damaged spaces, updating finishes, and improving the long-term quality of your home.
Expert Exteriors Services For Modern Homes
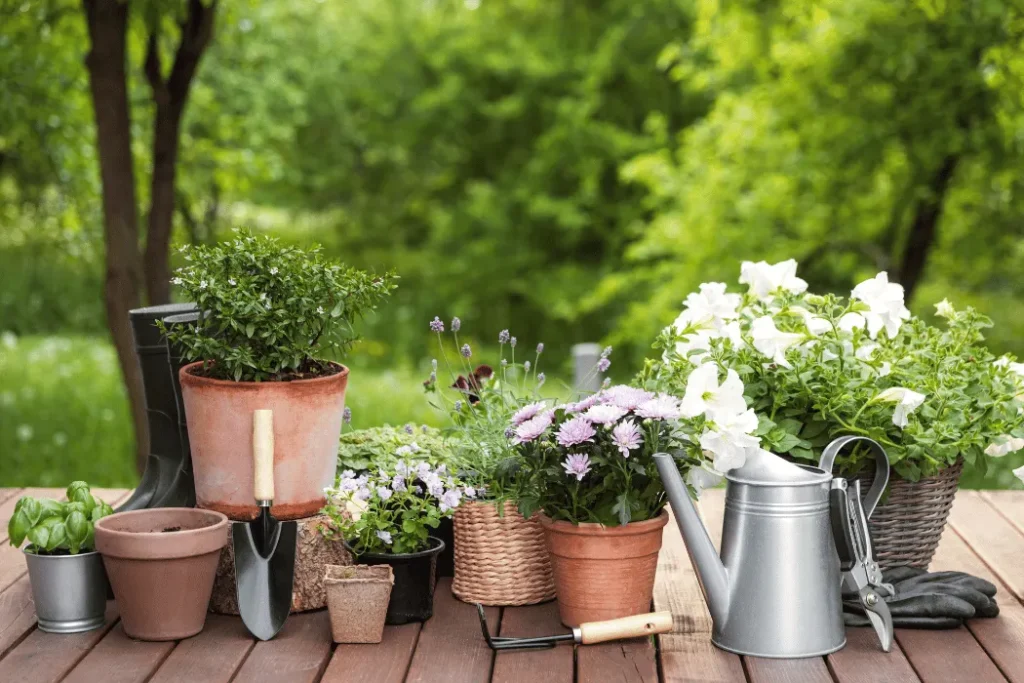
Gardens
Beautiful landscaping ideas, outdoor styling inspiration, garden planning, and tips for creating elegant and relaxing outdoor environments.
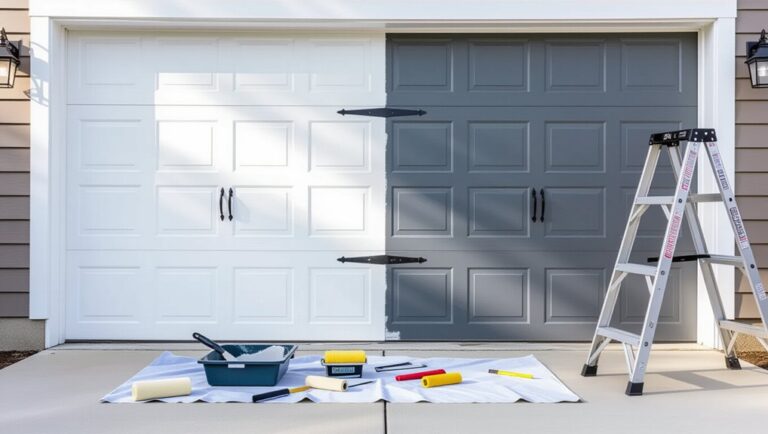
Repairs
Guidance on exterior maintenance, structural improvements, outdoor renovations, and keeping properties visually appealing and well-maintained.
Expert Property Services
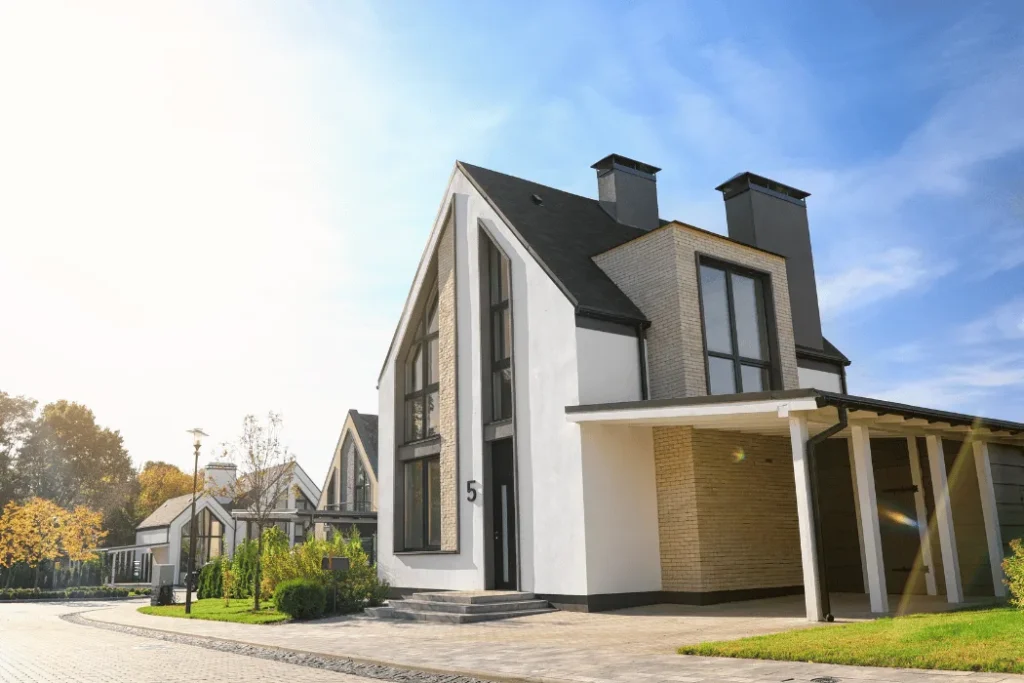
Buying And Selling
Helpful insights into preparing homes for sale, improving property presentation, and making informed buying decisions with confidence.
Investments
Expert perspectives on property investment opportunities, value enhancement, and creating interiors that increase long-term property appeal.
Lifestyle & Design Online For Creative Home Improvements
At Lifestyle & Design Online, we understand that exceptional design is about more than appearance alone. A thoughtfully designed home improves comfort, functionality, and emotional connection to the space. Through years of international experience, Julia has developed a refined approach that balances sophistication with practicality, helping readers discover ideas suited to modern lifestyles.
Whether updating a single room, redesigning an entire property, or searching for inspiration for a future project, our content is created to guide, inspire, and simplify the design journey. Every article and idea is carefully curated to help homeowners create spaces that feel welcoming, elegant, personal, and timeless.
Start Your Home Transformation With Lifestyle & Design Online Today
Why Choose Lifestyle & Design Online
International Design Experience
Expertise shaped by projects across London, New York, Paris, Miami, and Dubai
Timeless Design Philosophy
- We focus on elegant interiors that remain stylish beyond changing trends.
Practical & Inspiring Ideas
Our content combines creativity with useful guidance homeowners can actually apply.
Personal Approach To Design
- We believe every space should reflect individuality, comfort, and lifestyle needs.
Wide Range Of Design Knowledge
From modern apartments to period properties, we cover diverse interior and property styles.
Frequently Asked Questions & Expert Answers
Lifestyle & Design Online shares interior design inspiration, renovation ideas, property advice, and practical home improvement tips created by internationally experienced interior designer Julia.
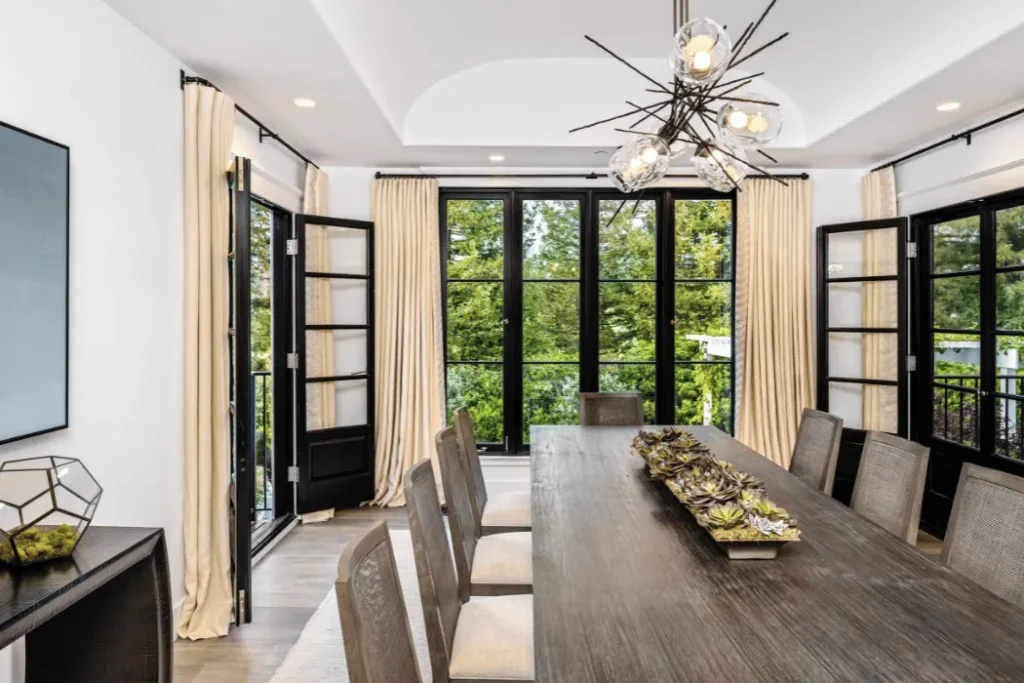
We feature modern apartments, family homes, luxury interiors, contemporary spaces, and elegant period properties designed with comfort, functionality, and timeless style in mind.
Our approach combines international design experience, timeless aesthetics, practical living solutions, and personalized ideas that help create beautiful, welcoming, and functional interiors.
Yes, we share useful advice on interior reforms, home renovations, repairs, layout improvements, and property updates to help homeowners improve their spaces effectively.
Good interior design improves comfort, functionality, organization, and visual appeal while creating a space that reflects personality, supports modern living, and enhances everyday experiences.
Hear What Our Clients Are Saying
— Emily Carter
“We spent months searching for interior inspiration before discovering Lifestyle & Design Online. The content provided timeless ideas, modern styling concepts, and practical guidance that helped us improve both the appearance and functionality of our home. The creative approach made every space feel more elegant and welcoming.”
— Michael Thompson
“Lifestyle & Design Online became one of our favorite sources for home inspiration during our property redesign. The articles are informative, beautifully written, and filled with ideas that balance luxury, comfort, and practicality. We gained valuable inspiration that helped us transform our interiors with confidence.”
— Sophia Reynolds