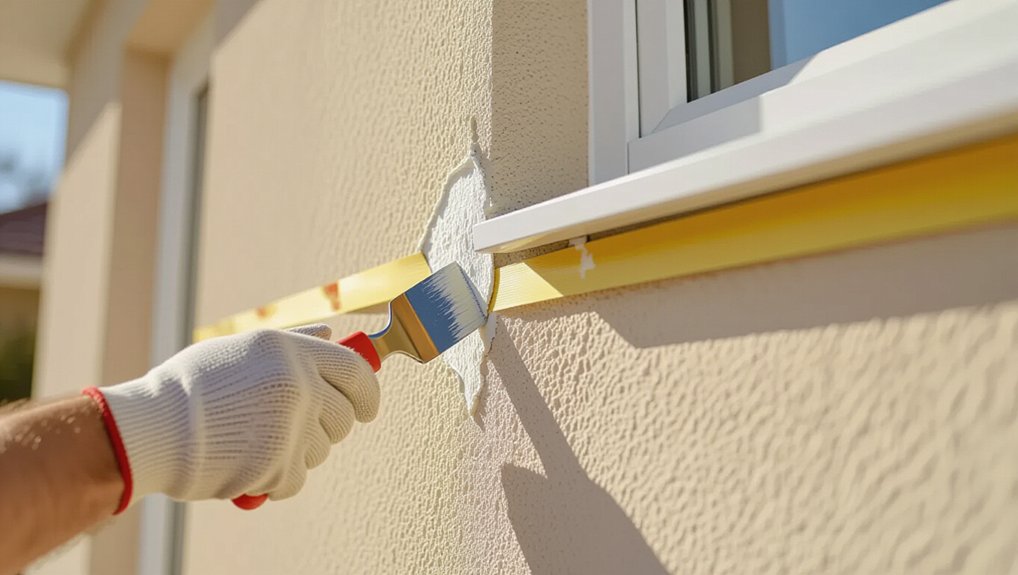
Inspect the render in dry daylight and mark crack ends to confirm they’re not moving. Put on gloves, eye protection, and a P2/P3 mask, then cut a shallow 2–3 mm V-groove with sound shoulders. Brush and vacuum until clean and dry. Pack a compatible exterior-grade flexible filler in thin passes, pressing firmly, and let each layer cure. Sand flush (120–180 grit), match texture, then prime repairs before topcoat. Keep going to pick the best materials.
Key Takeaways
- Inspect cracks in dry daylight, measure width, and monitor with dated marks or tell-tales to confirm no ongoing movement.
- Cut a shallow 2–3 mm V-groove along the crack, ensuring sound edges, then brush and vacuum until clean and dust-free.
- Use a compatible exterior-grade flexible filler, packing in thin layers and letting each pass cure to reduce shrinkage and improve bond.
- Sand cured filler flush with 120–180 grit, feather edges, and recreate surrounding render texture by stippling or dabbing for an invisible repair.
- Prime repairs with a compatible masonry primer once fully dry, then paint; stop and reassess if cracks reopen during curing.
Identify Cosmetic vs Moving Render Cracks
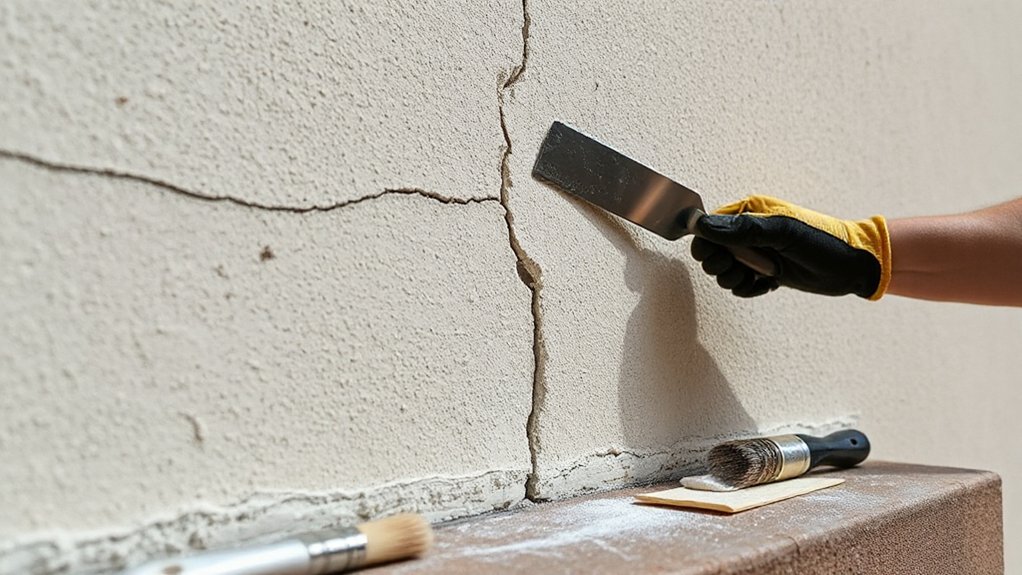
Before you reach for filler or paint, you need to confirm whether the crack is purely cosmetic (shrinkage or surface crazing) or a moving crack driven by ongoing structural or thermal movement. Start with a close visual check in dry daylight: hairline, random, shallow cracks usually indicate shrinkage; stepped, diagonal, or widening cracks suggest Structural movement. Measure width with a crack gauge, then mark both ends in pencil and date them. Fit a simple tell-tale or apply a strip of brittle tape/plaster across the crack; inspect weekly for splits or offset. Check for related symptoms: sticking doors, fresh mortar gaps, damp staining, or bulging render. Consider exposure cycles—sun, frost, Render expansion—on long elevations. Work off stable access and wear eye protection.
Choose the Right Filler for Exterior Render Cracks
Choose a filler that matches your render type (cement, lime, or polymer-modified) so you don’t create a weak, incompatible repair. If the crack shows any movement or sits on an exposed elevation, you’ll need a weatherproof, flexible exterior-grade filler to prevent re-cracking and water ingress. Before you apply it, confirm the cured filler can be overpainted with your chosen exterior coating and follow the manufacturer’s safety instructions.
Match Filler To Render
Why does filler selection matter so much on exterior render? Because you’re bonding to a mineral surface that expands, sheds dust, and may contain lime or cement. If you mismatch materials, you’ll lose filler adhesion, get edge lift, and telegraph repairs through paint. First identify the render type: cement, lime, acrylic-modified, or polymer render. Read product data sheets and select a filler rated for exterior masonry and compatible with that binder. For cement/lime, use a cementitious repair filler; for acrylic render, use an acrylic-compatible filler. Check grain size too: match fine or textured finishes so your patch feathers cleanly. Tinting matters: choose a shade close to existing Render color to reduce show-through. Wear gloves, eye protection, and a P2 mask when sanding.
Weatherproof Flexibility Needs
Because exterior walls move with heat, wind load, and moisture cycling, you need a filler that stays flexible after cure and won’t crack or de-bond as the render expands and contracts. Prioritise elastomeric exterior-grade fillers or polymer-modified repair mortars rated for hairline cracks, not rigid interior spackle. Check the datasheet for movement accommodation and resistance to UV, rain, and freeze–thaw.
Control moisture absorption by selecting low-porosity products or those designed to shed water while remaining vapour-permeable; trapped moisture can drive blistering and microcracking. Make sure the filler tolerates thermal expansion by bonding to mineral substrates without becoming brittle. Apply within stated temperature and humidity limits, wear gloves and eye protection, and avoid overfilling—build in thin passes to reduce shrinkage and edge lift.
Paint Compatibility Check
Before you commit to a filler, confirm it’s compatible with your planned exterior paint system or you risk flashing, peeling, or a visible “patch halo” after weathering. Check the paint datasheet: acrylic masonry, silicate, or elastomeric coatings can react differently with cementitious, acrylic, or epoxy fillers. Do a small on-site test patch on cured filler, then apply your primer and topcoat to verify paint adhesion and drying. If the paint beads, stays tacky, or pulls away on tape, switch filler or primer.
Control Color matching by using a paintable filler and a tinted primer where specified. Wear gloves and eye protection, and sand cured filler with dust extraction or a P2 respirator. Remove all dust before coating.
Gather Tools for Small Render Crack Repair
Before you start filling, you’ll gather the essential repair tools—putty knife, margin trowel, mixing tub, and a crack raker or scraper—for controlled application and profiling. You’ll also stage cleaning and prep supplies like a stiff brush, vacuum, mild detergent, clean water, and masking tape so the crack’s edges bond properly. Finally, you’ll run a safety gear checklist: nitrile gloves, safety glasses, dust mask/respirator as needed, and stable access equipment so you’re protected throughout the repair.
Essential Repair Tools
When you’ve confirmed the crack is small and non-structural, assemble the right tools so you can clean, open up, and fill it without weakening the surrounding render. Wear safety glasses, gloves, and a P2 dust mask. Use a sharp utility knife or crack-chasing tool to lightly V-groove the line, and a stiff putty knife to test edges for soundness. Keep a small cold chisel and hammer for stubborn lips, but work gently to avoid spalling. For filling, use a caulking gun (for acrylic exterior filler) or a margin trowel and flexible filling knife (for patch mortar). Have mixing bucket, paddle, and measuring cup for consistent ratios. Finish with a sanding block and straightedge. Plan color matching and primer selection early.
Cleaning And Prep Supplies
Although the crack looks minor, you still need proper cleaning and prep supplies to remove dust, salts, algae, and loose fines so the filler bonds to sound render. Stock a stiff nylon brush, masonry scraper, and a handheld wire brush for stubborn laitance. Use a pump sprayer with clean water and a mild render-safe biocide for algae, then rinse and allow full drying. Keep sugar soap or detergent for greasy deposits, plus clean rags and a sponge. You’ll also need a vacuum or soft paintbrush to de-dust the chase after you widen it. For edge quality, use masking tape and a straightedge to control feathering, supporting texture blending. Finally, have a sample card, tint pots, and notes for accurate color matching before you commit to paint.
Safety Gear Checklist
Even if the crack repair seems straightforward, you need a basic safety kit to control dust, protect your eyes and hands, and prevent slips while working at height. Start with a quick hazard assessment: check unstable render, overhead cables, wet ground, and ladder placement before you open any materials. Wear Personal protective equipment: safety glasses or sealed goggles, a P2/P3 dust mask for sanding, and nitrile or cut-resistant gloves for tooling and scraping. Add hearing protection if you’ll use power tools. Use long sleeves and durable trousers to reduce abrasion from gritty render. For access, choose a rated ladder or platform, fit non-slip footwear, and use a stabiliser where possible. Keep a first-aid kit nearby and wash hands after handling fillers.
Clean and Dry the Render Before Filling
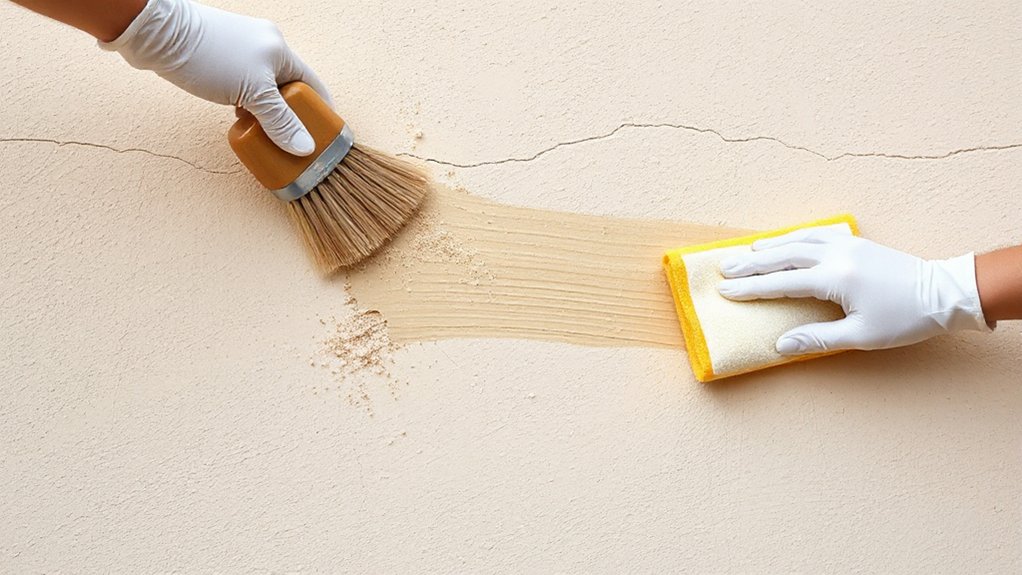
Before you reach for any filler, clean the render thoroughly and let it dry out completely, because dust, loose paint, algae, and trapped moisture will weaken adhesion and can cause the repair to fail. Start by brushing down the wall with a stiff nylon brush to remove friable render and chalking. Wash with a mild biocide or exterior cleaner, following the label, and rinse with low pressure so you don’t drive water into the substrate. Scrape away flaking paint edges, then wipe residual dust with a damp sponge. Check Surface moisture by taping clear plastic over the area for a few hours; condensation means you must wait. Don’t fill if the wall feels cold or looks dark. Dry conditions protect paint adhesion and repair strength.
Rake Out Hairline Cracks for Better Grip
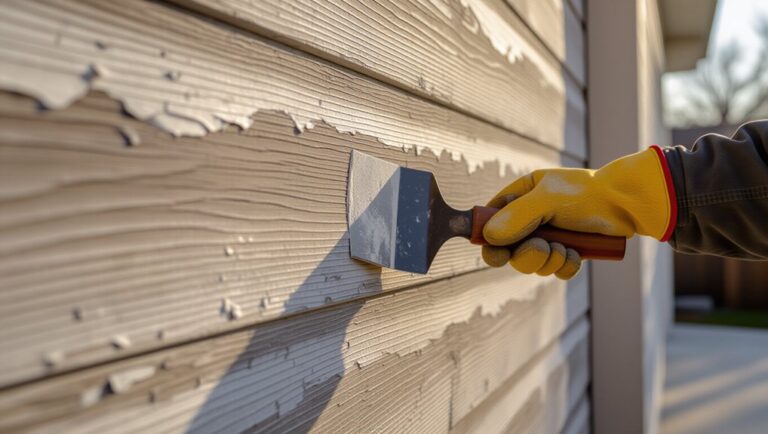
Once the render is clean and fully dry, open up hairline cracks so the filler can key in rather than just skin over the surface. Use a sharp scraper, crack rake, or utility knife, and apply light pressure to avoid spalling the edges. Aim for controlled crack expansion: turn a tight line into a shallow V-groove with sound shoulders, typically 2–3 mm wide, following the crack’s full length. Keep the tool aligned with the crack to prevent wandering cuts. Wear gloves, eye protection, and a P3 dust mask; raking dry render creates fine alkaline dust. Brush out loosened grit with a stiff nylon brush, then vacuum. Your surface preparation is complete when the groove is uniform and debris-free.
Fill Exterior Render Cracks in Thin Passes
After you’ve raked and cleaned the groove, pack a compatible exterior crack filler into the V-cut in thin passes so it bonds through the depth rather than shrinking and cracking on the surface. Load a filling knife and press firmly to push material against both sides of the render, then strike off lightly without dragging debris back in. Let each pass firm up per the manufacturer’s recoat time before adding the next layer; rushing traps moisture and weakens adhesion.
Work from the deepest point outward, keeping the filler slightly proud to allow for Crack expansion and minor render movement. Don’t bridge wide gaps in one go—use multiple lifts and, if specified, embed reinforcing mesh. Wear gloves and eye protection, and stop if the crack is damp or actively growing.
Sand Smooth and Match the Render Texture
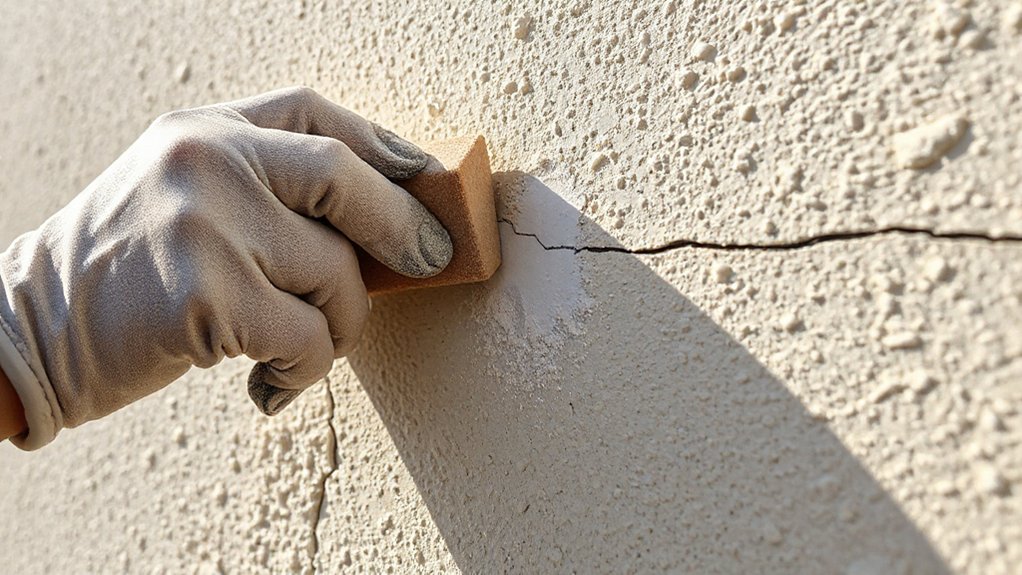
When the filler has fully cured, sand it flush with the surrounding render using a sanding block and 120–180 grit abrasive so you don’t dish the patch or expose aggregate. Wear eye protection, gloves, and a P2 mask, and vacuum dust as you go to keep the surface clean and your lungs protected. Feather the edges with light, even strokes, checking flatness by skimming a straightedge across the repair.
For texture blending, recreate the existing finish while the surface is dust-free: lightly stipple with a damp sponge, dab with a stiff brush, or roll with a short-nap roller to mimic nearby peaks and pits. For color matching, avoid burnishing; stop sanding once the sheen and porosity match adjacent render. Inspect in raking light and rework high spots only.
Prime Repairs to Avoid Patchy Paint and Re-Cracking
Because fresh filler and exposed render absorb moisture and paint at different rates, you should prime every repair with a compatible masonry primer/sealer to lock down dust, equalise porosity, and reduce shrinkage-driven hairline re-cracking at the patch edge. Wear gloves, eye protection, and a respirator if you’re spraying. Brush off all sanding residue, then apply primer only to sound, dry substrate; don’t seal damp render or you’ll trap moisture and cause blistering. Use a small brush to cut in edges and force primer into microcracks, then feather out to prevent Surface discoloration and picture-framing. Let it cure fully per the datasheet before topcoating. If cracks reopen during curing, stop and assess structural movement; priming won’t compensate for ongoing substrate stress.
Frequently Asked Questions
How Long Should Repairs Cure Before Applying Exterior Paint?
Let repairs cure 7–14 days before exterior paint; follow the manufacturer’s curing time. You’ll confirm dryness, firm adhesion, and stable weather. Prioritize paint preparation: clean, de-dust, prime compatible substrates, and wear PPE.
Can I Repair Render Cracks in Winter or During Damp Weather?
Yes, but you shouldn’t; like using a sextant on a jobsite, you must manage conditions. For winter repair in damp weather, you’ll dry substrate, heat gently, avoid frost, and extend cure time.
Will Crack Repairs Affect Colour Matching With Existing Painted Render?
Yes, your crack repairs can affect color matching, since fillers prime differently. Use consistent Repair techniques, spot-prime, then repaint whole panels for Color consistency. Test small areas first, follow drying times, and wear PPE.
When Should I Call a Professional for Recurring Exterior Render Cracking?
Like Pandora’s box, recurring render cracks signal deeper issues. You should call a professional when cracks reopen quickly, widen, or follow corners/openings. Request a Structural assessment; attempt only cosmetic improvements after moisture control and safe access checks.
Are There Fillers Compatible With Silicone-Based or Masonry Paints?
Yes—you can use silicone fillers under silicone-based paints and masonry fillers under masonry paints; verify label compatibility and permeability. You should apply on clean, dry render, prime if required, and wear gloves, goggles.
Conclusion
Once you’ve confirmed the crack is cosmetic, you’ll get the best result by choosing a flexible exterior filler, prepping clean, dry render, and raking out hairlines for key. Apply filler in thin passes, let each layer cure fully, then sand and texture-match to avoid visible ridges. Prime the repair before topcoating so paint bonds evenly and won’t flash. Work safely: wear eye protection, a dust mask, and gloves—your finish can look a million times better.
About the Author