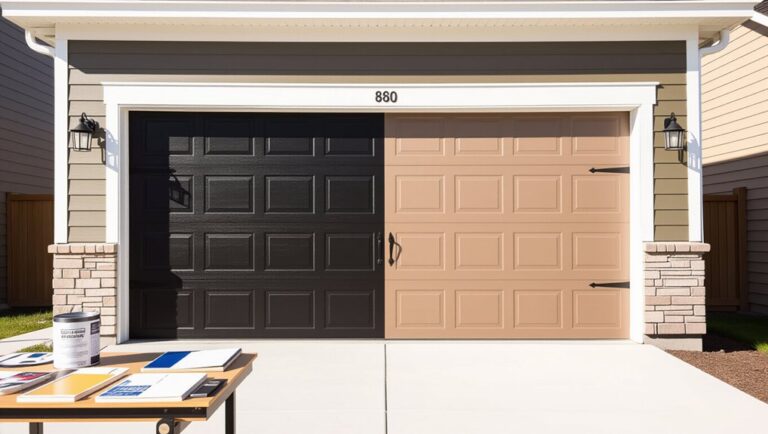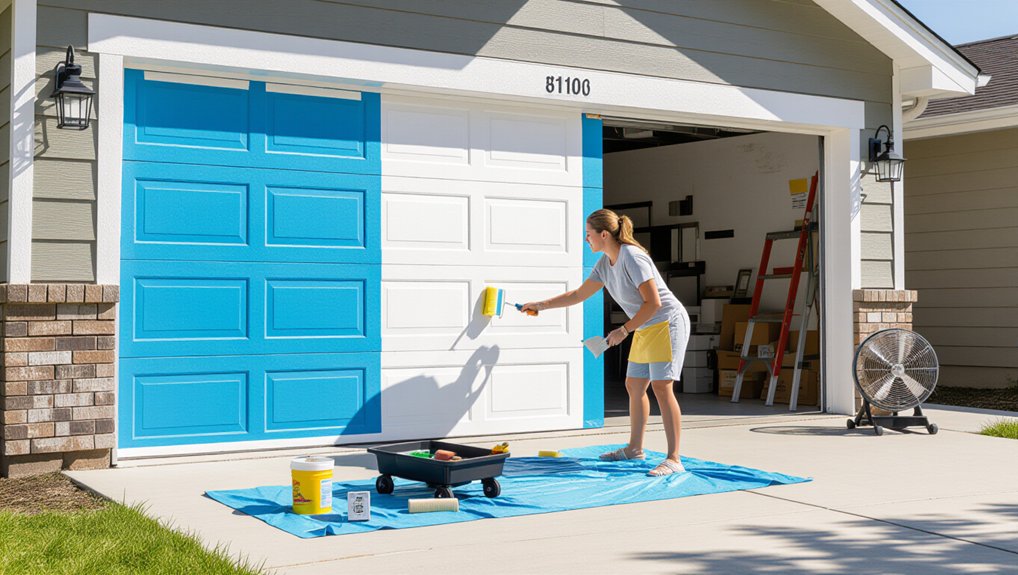
Paint in early morning or evening shade, and keep the door’s surface 50–90°F using an IR thermometer and shade cloth. Wash, degrease, dry, then sand/degloss (180–220 grit), vacuum, and tack-wipe. Mask hardware and weatherstrips. Prime and topcoat with a heat-rated exterior acrylic/urethane system, adding a manufacturer-approved extender. Apply thin coats panel-by-panel, top-down, maintaining a wet edge; roll, then back-brush immediately. Let it cure before closing—next you’ll see curing and troubleshooting steps.
Key Takeaways
- Check forecast and surface temperature; paint only in shade when the door is 50–90°F and not within 5°F of dew point.
- Clean, degrease, rinse, and dry fully; sand 180–220 grit and degloss until uniformly dull, then vacuum and tack-wipe lightly.
- Mask hardware, glass, and weatherstripping; burnish tape edges and set up shade coverings that still allow airflow for solvent escape.
- Prime with a heat-rated compatible primer; apply thin coats panel-by-panel, keep a wet edge, and back-roll immediately to prevent lap marks.
- Topcoat early morning or evening; add approved extender, keep paint shaded, recheck temperature every 20 minutes, and let coats cure fully before closing.
Plan Your Hot-Weather Garage Door Paint Job
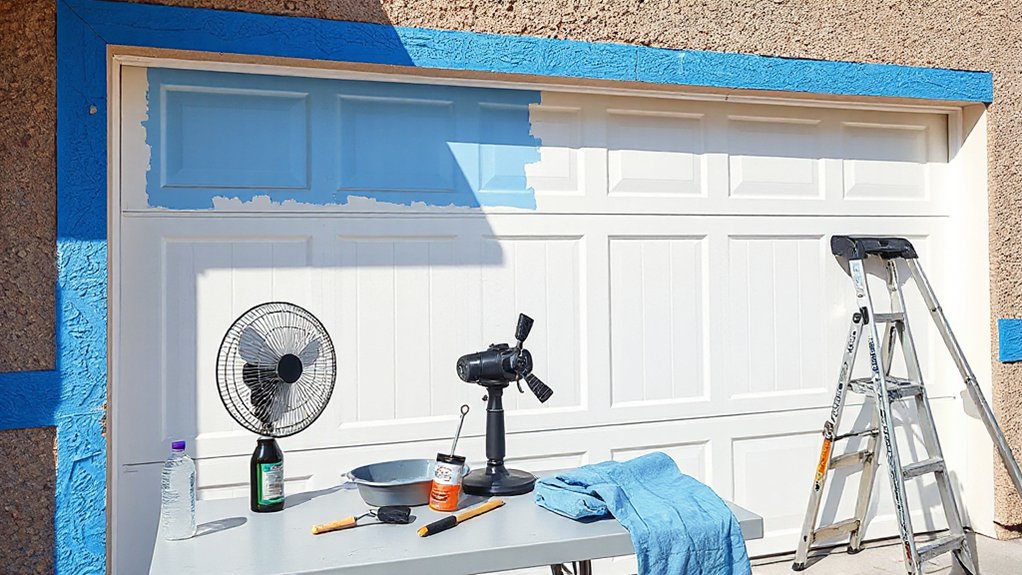
Before you open a paint can, map out the job around heat, sun exposure, and cure time so the finish levels properly instead of flashing off too fast. Check the forecast for temperature, humidity, wind, and overnight lows, then choose a compatible paint system rated for high-heat application. Calculate door area and panel count from your Garage door design so you stage materials, ladders, and masking efficiently. Wash, degrease, and dry the surface, then plan a tight sequence: scuff, dust-off, spot-prime bare metal or wood, and maintain a wet edge. Do hardware maintenance next: tighten hinges, lubricate rollers, remove or mask handles, and protect weatherstripping. Set up shade, fans, and a clean mixing station before you start.
Paint Early or Late to Avoid Direct Sun
Schedule your painting window for the coolest part of the day so the door stays out of direct sun. Start in the early morning while the surface temperature is low and the paint’s open time is stable. If mornings aren’t feasible, switch to evening shade and keep working only while the panel remains uniformly cool.
Choose Cool Morning Hours
Two timing rules keep your paint from flashing off too fast in hot weather: start at dawn or wait until late afternoon, and keep the door out of direct sun while you work. Choose the cool morning window when air temperature is lowest and humidity hasn’t dropped yet, so your primer and topcoat level before they skin over. Check the surface temp with an IR thermometer; don’t paint if the door reads above the product limit. Keep the door closed between coats to protect Garage door insulation from heat gain and to stabilize panel temperature. Open only as needed for edges. Inspect and tighten weather resistant hardware early, before paint, so you won’t disturb curing film later. Plan mixing, cutting-in, and rolling passes in a continuous sequence.
Work In Evening Shade
If you can’t finish in the cool morning window, shift your work to evening shade so the sun doesn’t heat the panels and force the paint to tack up mid-pass. Track the sunline on the door and start on the side that’s fully shaded, moving panel by panel as the shadow advances. Do basic shade maintenance: close curtains, park vehicles to block glare, and set a canopy if needed, but keep airflow for solvent flash. During evening prep, wash dust, degloss, and blow out seams so falling grit won’t land in wet film. Check surface temperature; aim near ambient, not hot-to-touch. Use smaller batches, maintain a wet edge, and stop if dew forms.
Check Garage Door Surface Temp (Safe Ranges)
A quick surface-temperature check keeps you from painting a garage door that’s too hot for proper flow and adhesion. Use an infrared thermometer; don’t guess from Garage temperature or air readings. Measure the center panel and a sun-exposed edge, then average three scans taken 6–12 inches away. For Paint safety and performance, keep the surface between 50°F and 90°F; stop if it’s above 95°F, or if it’s within 5°F of the dew point. If you can’t calculate dew point, check for tacky condensation or a cool, clammy feel. Recheck every 20 minutes as the sun shifts and as the door’s metal skin heats unevenly. If temps rise, pause and wait for shade.
Use Exterior Paint That Handles Heat and UV
Choose an exterior paint formulated with UV inhibitors so you minimize chalking and premature breakdown. Select heat-tolerant paint types (typically premium 100% acrylic latex or urethane-modified systems) that maintain film integrity when the door surface runs hot. Prioritize color fade protection by using lightfast pigments and matching the sheen and color to the door’s sun exposure.
Choose UV-Resistant Formulas
Because a garage door bakes in direct sun, you’ll get longer-lasting results by using an exterior paint system rated for high heat and UV exposure. Select a label that explicitly states UV protection and verifies outdoor durability via ASTM or equivalent performance claims. Prioritize products that list lightfast pigments and UV absorbers or hindered amine stabilizers; these additives slow chalking and color shift. Check the technical data sheet for formulation stability at elevated temperatures, including recommended substrate and ambient ranges, recoat windows, and maximum service temperature. Confirm the system approach: compatible primer and topcoat from the same line, with documented adhesion and gloss retention. Avoid unknown “contractor blends” without published specs. Choose tint bases engineered for sun exposure, not interior colorants.
Select Heat-Tolerant Paint Types
When you’re painting in hot weather, pick an exterior paint chemistry that stays stable under heat load and direct UV rather than softening, flashing too fast, or losing gloss. Choose 100% acrylic latex for most steel or wood doors; it keeps film integrity at elevated surface temps and tolerates thermal cycling. For aluminum or previously factory-coated doors, use an acrylic urethane or direct-to-metal acrylic rated for exterior heat exposure. Avoid bargain vinyl-acrylic blends; they can tack up and block when panels close. Match the system: apply Heat resistant primers that specify high-temperature service and strong adhesion, then topcoat within the stated recoat window. Finish with UV protective finishes that list exterior durability and controlled dry time. Check product data sheets for maximum application temperature limits.
Prioritize Color Fade Protection
Even if you nail surface prep and cure time, intense sun and elevated door-skin temperatures can bleach pigments and break down binders fast, so you need a coating system built for UV and heat stability. Choose 100% acrylic exterior paint or a urethane-modified acrylic rated for high exposure; these resins resist chalking and maintain gloss better than vinyl-acrylic blends. For dark colors, confirm the label lists heat-reflective or “cool color” pigments to reduce Color fading on sun-facing panels. Specify a satin or semi-gloss finish, since higher sheen sheds UV-driven oxidation more effectively than flat. If the system allows, apply a compatible clear coat with dedicated UV protection additives. Verify the product meets ASTM D522 flex and exterior durability claims.
Add Extender and Pick the Right Roller Cover

To keep your paint workable long enough to level out in hot weather, mix in a manufacturer-approved extender at the specified ratio and stir thoroughly to maintain consistent viscosity. You’ll gain key extender benefits: longer open time, reduced lap marks, and improved flow without over-thinning. Don’t exceed the label limit, or you can weaken film build and gloss consistency.
Next, match roller cover options to your door’s profile and coating type. Use a 1/4–3/8 inch microfiber or woven cover for smooth steel or aluminum panels to minimize stipple. For lightly textured surfaces, step up to 1/2 inch to carry more paint and maintain a wet edge. Choose a solvent-resistant core for alkyds, and keep covers lint-free to prevent nibs.
Clean the Garage Door (Remove Chalk and Grease)
Because hot sun bakes oxidation and oily residue into the surface, you need to strip chalk and grease off the garage door before any primer or topcoat goes on. Start early, when panels are cool, and work in shade—key weather considerations. Rinse loose dust, then wash with a phosphate-free TSP substitute or a dedicated siding/metal degreaser. Scrub from bottom to top to prevent streaking, focusing on handles, bottom rails, and around hinges where road film collects. For chalk, use a soft nylon brush and plenty of water until rinse water runs clear. For grease spots, dwell cleaner 3–5 minutes, then agitate and rinse thoroughly. Don’t let cleaner dry on the door. Dry with microfiber towels and wait until fully dry. This garage maintenance step prevents fisheyes.
Sand and Degloss for Maximum Adhesion
Once the door is clean and dry, you need to degloss and scuff-sand the surface so primer can mechanically bond instead of skating on a slick, sun-baked finish. Start with a chemical deglosser on a lint-free rag, working in small sections and keeping a wet edge; wipe residue before it flashes. Follow with 180–220 grit sanding to uniformly dull the sheen. Use a sanding sponge on panels and profiles, and a flat block on stiles and rails to avoid rounding edges. Vacuum dust, then tack-wipe lightly. Check your work under raking light: you want an even, matte scratch pattern with no glossy islands. This Surface preparation step drives reliable adhesion techniques and reduces peeling under heat cycling.
Mask Hardware and Shade the Door While Painting

Before you crack open primer, mask off hinges, handles, rollers, weatherstripping, and any glass with painter’s tape and masking paper so you don’t glue moving parts shut or leave a ragged cut-in line. Burnish tape edges with a putty knife, then trim cleanly with a sharp utility blade. For Hardware masking, wrap latch tongues and hinge barrels, but keep tape off bearing faces so the door still cycles for testing.
Next, control surface temperature. Set up Shade covering with a pop-up canopy, tarp, or shade cloth on the sunward side, leaving airflow for solvent escape. Work in sections as the shadow moves, and pause if the panel feels hot to the touch. Heat accelerates drying and telegraphs lap marks.
Prime for Uniform Color and Even Sheen
Select a primer that matches your garage door material and the topcoat system, and confirm it’s rated for high-temperature application. Apply it in thin, even coats to prevent lap marks and flashing as the surface heats and cools. Let each coat dry to the manufacturer’s stated recoat time before moving on, since heat can skin the surface while leaving the film soft underneath.
Choose The Right Primer
A high-quality bonding primer is the fastest way to lock in uniform color and an even sheen on a garage door, especially when heat accelerates drying and can magnify lap marks. Choose a primer matched to your door’s substrate: galvanized steel needs an etching or galvanized-metal primer, bare wood needs a stain-blocking exterior primer, and previously painted surfaces often accept acrylic bonding primer. Verify primer compatibility with your topcoat system (waterborne over waterborne, or use a bridging bonding primer when switching chemistries). For surface preparation, remove chalking, oils, and oxidation; then dull gloss with sanding to create a mechanical key. Spot-prime exposed bare areas and rust after treatment. In hot weather, select a fast-bonding, high-solids formula rated for exterior temperatures.
Apply Thin, Even Coats
Because heat flashes primer fast and can freeze roller texture in place, you’ll get the most uniform color and even sheen by applying thin, even coats rather than trying to cover in one pass. Load your roller lightly, then roll off excess on the tray’s ramp to prevent ridges. Work panel by panel, keeping a wet edge and maintaining consistent pressure. Use a 3/8-inch nap for smooth steel, 1/2-inch for textured or wood, and back-roll immediately to level stipple. Cut in with a brush only where the roller can’t reach, then feather into the field. If Color selection calls for a deep topcoat, tint the primer and keep coverage even. For paint storage, keep primer shaded and sealed so viscosity stays consistent.
Allow Proper Dry Time
In hot weather, even an extra 15–30 minutes of dry time can be the difference between a smooth film and a patchy, uneven sheen. You should treat label recoat times as minimums and extend them when the surface feels warm or tacky.
You’ll get uniform color and consistent gloss only if each layer cures before the next. Check weather conditions: high heat, direct sun, and low humidity can skin the surface while trapping solvent underneath; wind can accelerate flashing and cause lap marks. Test readiness by pressing a clean fingertip in an inconspicuous area—no imprint, no drag. If you’re priming, let primer fully dry, then scuff lightly and remove dust before topcoating. Don’t close the door until it’s fully hardened.
Paint Panels Top-Down in the Right Order
Why start at the top? Gravity makes any minor runs travel downward, so you’ll catch and level them before they cure in hot air. Begin with your uppermost horizontal panel, then move to the next panel below, keeping your sequence consistent across the door width. On raised-panel doors, coat recessed fields first, then stiles and rails, finishing with outer edges last to reduce lap marks. Maintain the same stroke direction panel to panel for uniform sheen. Your color selection affects heat gain: darker tones warm faster, shortening open time, so adjust pace and tool choice accordingly. Monitor paint texture as you work; if it starts to rope or pebble, lighten pressure, reload, and feather passes. Finish with the bottom panel.
Keep a Wet Edge by Working in Small Sections
Although hot weather speeds up drying, you can prevent lap marks by keeping a continuous wet edge and limiting each pass to small, manageable sections. Plan your section size so you can recoat an adjacent area within 60–90 seconds. Work one stile, rail, or panel segment at a time, stopping at natural breaks like panel edges or trim lines. Load your applicator consistently and maintain the same film thickness across the section to avoid ridges. Keep your paint bucket shaded, and practice smart paint storage by closing the lid between dips to reduce skinning and viscosity changes. Stir often to maintain uniform solids for reliable Color matching, especially when you must pause and restart later.
Roll, Then Back-Brush to Prevent Lap Marks
Once you’ve rolled on a small section, back-brush it immediately to level the film before heat locks the texture in place. Use a high-quality synthetic brush and pull light, continuous strokes in one direction, following the panel’s length. Don’t scrub; you’re tipping off the coating, not moving material. Keep your brush technique consistent: overlap each stroke by about a third and feather the edges into the still-wet area. Reload the roller as needed, then back-brush again before the sheen dulls. Watch paint consistency closely; if it starts dragging or setting up on the brush, stop and reload rather than pressing harder. Maintain uniform pressure to eliminate lap marks and roller stipple.
Cure Paint so the Garage Door Won’t Stick (and Fix Fast Issues)
With the finish leveled and lap marks controlled, shift your focus to curing, because heat can leave the surface dry to the touch while the film underneath stays soft and tacky. Keep the door open 6–10 inches and run a fan across, not at, the panels to avoid dust. Don’t close the door until it passes a thumbnail test: press lightly in a hidden spot; it shouldn’t imprint or feel grabby. If you must close it, dust weatherstrips with talc and block contact points with wax paper. If sticking occurs, stop, separate gently with plastic shims, and slice any bridges with a sharp utility knife. Maintain garage door insulation clear of wet edges to protect paint durability.
Frequently Asked Questions
How Long Should I Wait Before Washing the Door After Painting?
Wait 14 days before washing, so your coating fully cures. Use gentle water only. Follow painting techniques and weather considerations: hotter, humid, or thick coats extend cure time; cooler, dry conditions shorten it slightly.
Can I Paint Over Old Oil-Based Paint With Latex in Hot Weather?
Yes, you can, but you must manage oil based versus latex Paint compatibility. You’ll clean, degloss, and sand, then prime with a bonding primer. In hot weather, you’ll paint early, avoid direct sun.
What’s the Best Way to Stop Insects and Dust From Sticking to Fresh Paint?
You’ll reduce bugs and grit by controlling airflow and timing: apply at dawn, close doors/windows, mist nearby surfaces, use wet drop cloths, and screen lights. For Insect prevention and Dust control, tack-rag, strain paint, cover.
How Do I Store Leftover Paint and Extender Safely in High Temperatures?
Store leftovers in sealed original cans, label dates, and wipe rims. For Paint storage, move them indoors to 50–80°F; you can’t rely on garages. Use temperature control: shade, insulated box, never freeze, avoid sparks.
Will Painting the Garage Door Affect My Home’s Warranty or HOA Compliance?
Like a checklist, you’ll usually keep coverage if you follow HOA guidelines and manufacturer specs. Check your Garage warranty for finish exclusions, get HOA color approval in writing, document prep/paint, and use approved materials.
Conclusion
Paint in heat like you’re steering a ship through a narrow channel: timing and control keep you off the rocks. You’ve planned for shade, verified surface temperature, and chosen UV-tough exterior paint with extender and the right nap. You’ve worked top-down, panel by panel, holding a wet edge, then rolled and back-brushed to erase lap marks. Now let the coating cure fully so it won’t tack and stick; correct drag immediately.
About the Author