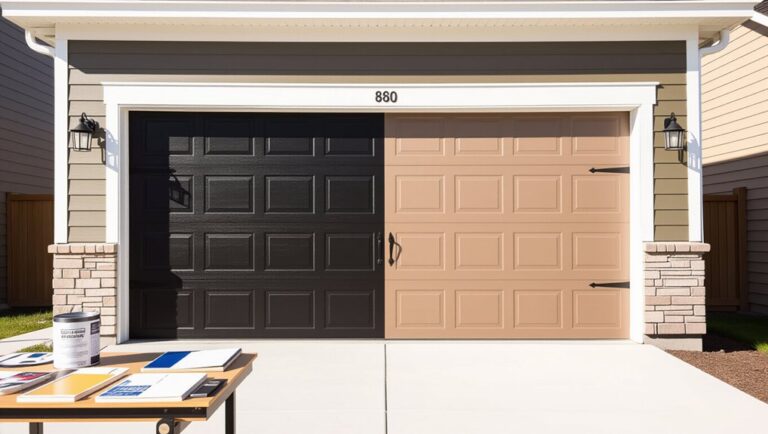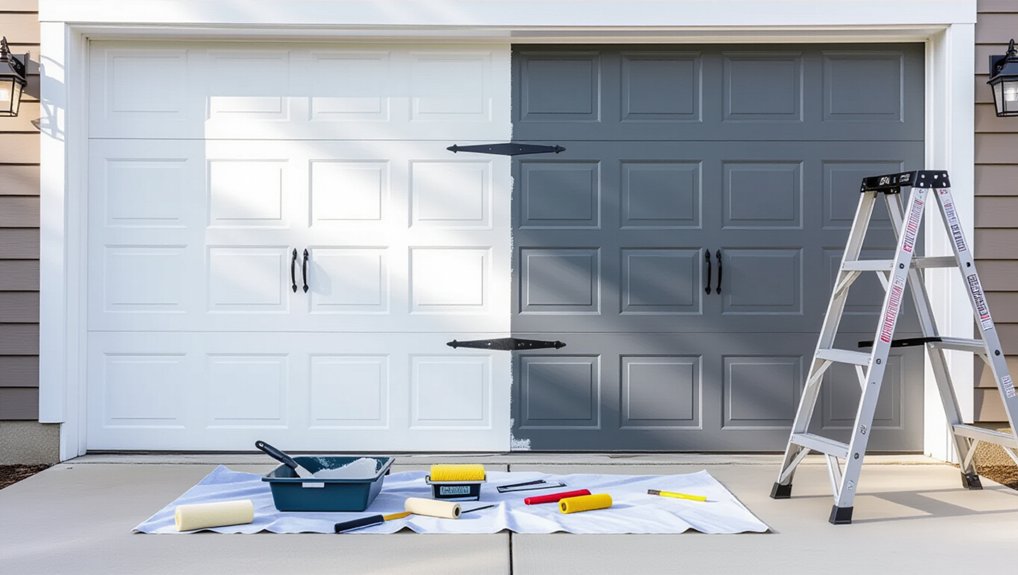
Repainting a faded garage door doesn’t need to break the bank. Set a budget for primer, exterior topcoat, degreaser, sandpaper, tape, PPE, and add 10–15% for waste. Replace the door only if panels are cracked, rust-through exists, or hardware fails; otherwise paint it. Run quick tests: wipe for chalking and do a tape pull for peeling. Scrape, sand 80–220 grit, clean, and spot-prime bare areas. Paint recessed panels first, then rails/stiles, top-to-bottom, keeping a wet edge. Keep going for deeper tips.
Key Takeaways
- Decide paint vs replace: repaint if it opens smoothly and damage is cosmetic; replace for rust-through, cracks, or failed hinges.
- Budget essentials: primer, exterior topcoat, degreaser, sandpaper, tape, PPE; measure area and add 10–15% for waste and touch-ups.
- Prep cheaply but thoroughly: wash, scrape loose paint at 15–30°, sand 80–150 grit, finish 180–220, then vacuum and wipe clean.
- Repair and prime smart: fill dents thinly, wire-brush rust, use rust converter, and spot-prime bare metal with a compatible corrosion-inhibiting primer.
- Paint under proper conditions: 50–85°F, 40–70% humidity, no wind/rain; roll and brush top-to-bottom, panels first, keeping a wet edge.
Set a Realistic Garage Door Painting Budget
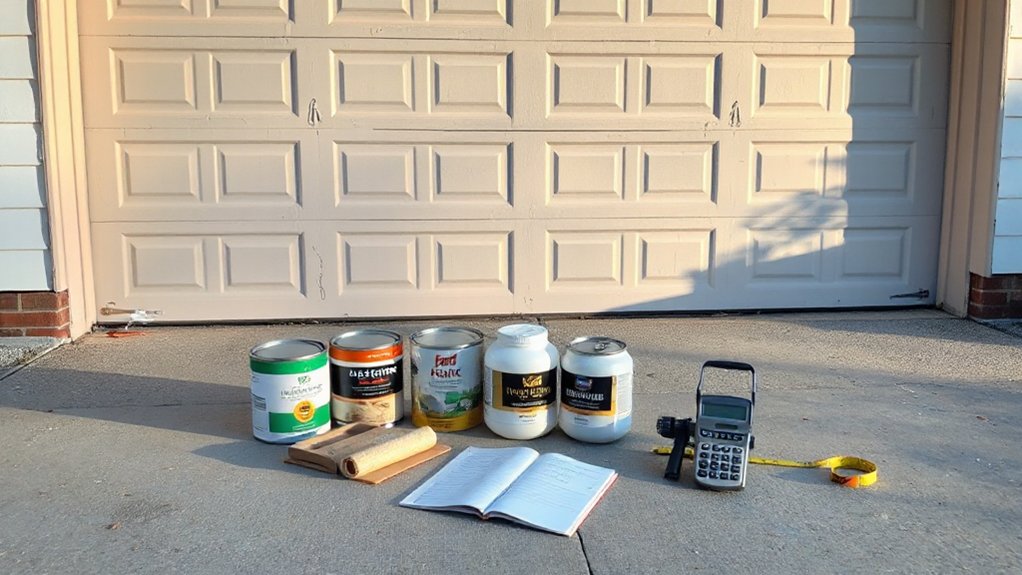
Before you buy paint, set a hard budget by pricing the essentials you can’t safely skip: a quality exterior primer and topcoat rated for your door’s material, degreaser/cleaner, 120–220 grit sandpaper or sanding pads, painter’s tape and plastic, and basic PPE (nitrile gloves, safety glasses, and at least an N95 when sanding). Next, measure the door’s square footage and check the can’s coverage rate; add 10–15% for waste and touch-ups. Choose weatherproof coatings with UV and moisture resistance to reduce recoats. If your door has peeling paint or surface rust, budget for a wire brush, rust converter, and extra primer. Reserve a small contingency for replacement rollers/brushes and solvent cleanup. Track every item; this is Garage door maintenance, not guesswork.
Should You Paint or Replace the Garage Door?
Although repainting usually costs far less than a new door, you should choose paint only if the door is structurally sound and the failure is cosmetic. Start by deciding whether the surface problem is worth fixing or whether the assembly is nearing end-of-life.
1) Replace if you see cracked panels, delamination, heavy rust-through, or failed hinges/sections that compromise safe operation under spring tension. Don’t “paint over” sharp edges or weakened metal.
2) Replace if you want major performance gains: upgraded Garage door insulation can cut heat loss and reduce condensation that accelerates corrosion.
3) Paint if the door opens smoothly, seals still work, and you only need UV and moisture protection. Prioritize Paint durability with exterior-grade products matched to steel, aluminum, or wood, so the finish won’t chalk, peel, or trap water.
Check if the Garage Door Is Paint-Ready (Quick Tests)
Your door passes the “paint vs. replace” decision only if the surface will actually hold a new coating, so run a few fast checks to confirm it’s paint-ready. First, wash a small area, let it dry, and rub with a white rag; heavy chalking means you’ll need extra cleaning and scuffing for paint durability. Next, do a tape test: stick painter’s tape to the old finish, burnish, then pull; if flakes lift, you must scrape until sound. Check for rust or rot with a screwdriver; soft spots or deep pitting require repair before paint. Inspect seams and bottom edges for moisture staining. Finally, verify smooth operation—binding panels crack coatings—so basic Garage door maintenance comes before painting. Wear gloves and eye protection.
Pick Budget Paint by Door Material (Steel/Wood/Vinyl)
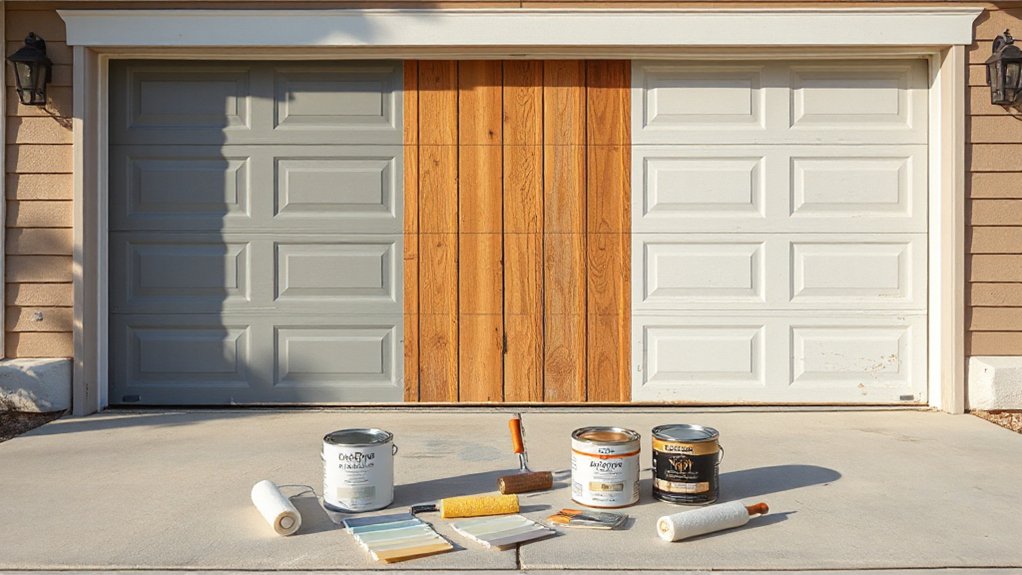
Once you’ve confirmed the surface will hold paint, match the coating to the door material so you don’t waste money on a finish that peels. Put on gloves, eye protection, and a respirator, and keep doors open for ventilation.
Steel: choose an exterior acrylic latex or direct-to-metal (DTM) waterborne enamel; spot-prime bare metal with rust-inhibiting primer. Avoid cheap interior wall paint. Wood: use an exterior acrylic latex house paint, but prime first with stain-blocking, exterior bonding primer to seal tannins and prevent blistering. Vinyl: don’t use standard enamel; pick vinyl-safe exterior acrylic or urethane-modified acrylic for flexibility. Keep paint off weatherstrips to protect Garage door insulation, and maintain clear hardware edges for Security enhancements.
Choose a Fade-Resistant Garage Door Color
Next, choose a garage door color that resists UV fade by checking the label for UV-stable pigments or exterior-rated colorants before you buy. For longer color life and cooler surface temps, you’ll typically get better results with lighter shades, so test a small swatch in direct sun while wearing gloves and eye protection. Then match that color to a durable exterior paint system (primer + topcoat) rated for your door material and full-sun exposure.
Understand UV-Resistant Pigments
Although any paint can look sharp on day one, UV exposure quickly breaks down weak colorants, so you’ll want pigments engineered to resist fading. Start by reading the label or TDS: look for “lightfast,” “exterior-grade,” and UV protection claims tied to inorganic pigments (titanium dioxide, iron oxides) rather than dye-based tints. Next, confirm the color system: factory-tinted paints usually deliver better pigment dispersion and pigment longevity than in-store hand tints. Then, match pigment choice to substrate—metal doors benefit from corrosion-inhibiting primers that prevent underfilm rust stains that mimic fade. For safety, wear nitrile gloves and a respirator when sanding old coatings; dust can carry degraded pigment and additives. Finally, test a small swatch, cure it fully, and recheck in sun.`
Select Lighter Color Shades
UV-resistant pigments slow fading, but your color choice still sets the baseline for how hard the sun has to work to change the finish. Pick lighter, lower-saturation shades (off-whites, light grays, pale taupes) because they reflect more UV and heat, reducing surface temperature swings that accelerate oxidation and chalking.
1) Inspect the door in full sun and note the hottest panels; avoid dark accents there.
2) Use Color matching tools or swatches outdoors; indoor lighting hides undertone shifts.
3) Choose a shade one step lighter than your target to offset future fade.
4) Keep contrast modest between trim and panels to mask minor uneven fading.
5) Record the color code for safe touch-ups and consistent paint durability across batches.
Match Durable Exterior Paints
Before you commit to a color, match it to an exterior-grade paint system that’s built for sun and weather so the finish doesn’t chalk, crack, or fade early. Start by checking the label: choose 100% acrylic exterior paint or a manufacturer-approved garage-door coating with UV inhibitors. Confirm it’s rated for your door material (steel, aluminum, vinyl, or wood) and for horizontal-to-vertical exposure. Next, pick a color formula with lightfast pigments; avoid bargain tints that fade fast. For Color blending, have the store tint from the same base and record the batch number for touch-ups. Improve paint durability by pairing the paint with the correct primer and a compatible topcoat if specified. Wear gloves and a respirator when sanding and solvent-cleaning.
Cheap Tools and Supplies Checklist (No Extras)
If you buy only what the job demands, you can repaint a faded garage door safely without blowing your budget. Step 1: Wear nitrile gloves, safety glasses, and a P100 or N95 respirator; you’ll limit solvent and dust exposure. Step 2: Get a stable step stool and a drop cloth; prevent slips and overspray on concrete. Step 3: Buy a 2-inch angled synthetic brush, a 4-inch foam roller, and a small tray; they cover panels fast without heavy texture. Step 4: Add 120/220-grit sanding sponges and a tack cloth; light scuffing supports paint durability. Step 5: Use painter’s tape and plastic sheeting to mask hardware and weatherstripping for cleaner edges. This checklist supports routine Garage door maintenance and safer repainting.
Clean the Garage Door Fast (DIY Cleaner Recipes)
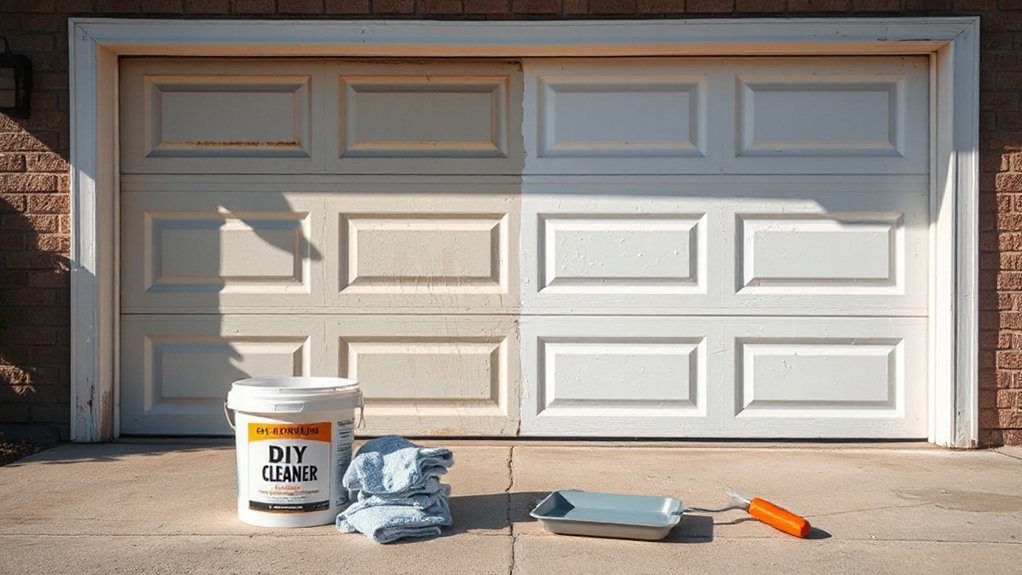
Although repainting feels like the main event, you’ll get longer-lasting adhesion by stripping off chalky oxidation, road film, and mildew first. Put on nitrile gloves, eye protection, and close windows; you don’t want overspray or fumes drifting indoors.
Mix a fast DIY wash: 1 gallon warm water + 2 tbsp dish soap + 1/2 cup white vinegar. For mildew, use 1 gallon water + 1/2 cup oxygen bleach (not chlorine) and keep it off plants. Wet the door, sponge from top down, and scrub panel seams with a soft brush. Rinse thoroughly, then towel-dry edges near Garage door insulation to prevent wicking. Finally, wipe the bottom seal and jambs with clean water so Weatherproof sealing compounds bond cleanly later. Let it dry 2 hours.
Scrape Peeling Paint Safely Without Gouges
Once the door dries, scrape only what’s loose so you don’t carve grooves into metal, wood, or vinyl. Put on safety glasses, cut-resistant gloves, and a dust mask, then set a drop cloth to catch chips for easy disposal. Use a sharp paint scraper or putty knife at a low angle (about 15–30°) and push with steady pressure, working with the panel direction. Stop when the edge resists; don’t pry. Keep your other hand behind the blade path, and retract tools when moving ladders. For stubborn curls, score the flake edge lightly and lift in short strokes. This Garage door maintenance step protects primer adhesion and keeps paint color schemes looking crisp, not ragged.
Sand for Smooth Results (Grit Guide)
After you’ve scraped the loose paint, sand the door to level ridges and feather every hard edge so primer can grip evenly. Start with 80–100 grit on a sanding block or random-orbit sander for heavy texture; keep the pad flat to avoid gouges. Switch to 120–150 grit to refine scratches and blend transitions. Finish with 180–220 grit where you’ll do primer application, especially on glossy areas, so the surface has a uniform, dull sheen. Wear eye protection, a P100 respirator, and gloves; old coatings may contain lead—don’t dry-sand without dust control. Vacuum with a HEPA unit, then wipe with a damp microfiber for final surface preparation. Let it dry before priming fully.
Patch Dents, Cracks, and Rust Spots Cheaply
Next, you’ll spot and assess every dent, crack, and rust spot in good light, then mark them so you don’t miss repairs, and wear gloves and eye protection as you work. You’ll use a budget-friendly filler, apply it in thin layers, and sand flush after curing to keep the surface flat for paint. For any rust, you’ll remove loose scale and treat the metal with a rust converter or primer before painting so the corrosion doesn’t bleed back through.
Spot And Assess Damage
Before you touch a paintbrush, inspect the entire garage door in bright daylight so you can fix defects that will telegraph through the new finish. Wear gloves and safety glasses, then wash off dirt so you’re not mistaking grime for damage. Scan each panel edge-to-edge; circle dents, hairline cracks, and peeling areas with painter’s tape. Probe suspicious spots with a screwdriver tip: solid metal rings, while rusted steel feels soft or flakes. Check bottom weather seal and nearby garage door accessories like handles and hinges for rubbing or corrosion that could scar fresh paint. Note gaps, binding, or misalignment; these signal moisture intrusion. Photograph every marked defect and prioritize repairs during seasonal maintenance, especially after winter salt or coastal humidity exposure.
Budget-Friendly Fill And Sand
A small, inexpensive repair kit and a careful sanding routine will flatten dents, seal cracks, and stop light rust so it won’t bleed through your new paint. Put on gloves, eye protection, and a dust mask, then clean the area with degreaser and let it dry. Scuff with 120-grit to expose solid material; feather the edges. Press a budget exterior filler or two-part putty into dents and hairline cracks with a plastic spreader, slightly overfilling. After it cures, sand flush with 180-grit, then finish with 220-grit for a uniform profile. Vacuum dust and wipe with a tack cloth. If gaps around panels affect Garage door insulation, re-caulk after sanding as part of Weatherproofing techniques before priming.
Treat Rust Before Painting
Once your filler is sanded flush and the surface feels uniform, hunt down every rust speck and treat it so it won’t creep back under the new coating. Put on gloves, eye protection, and a dust mask, then wire-brush or sand to bright metal using budget tools like a drill brush, sanding sponge, or 80-grit paper. Vacuum dust and wipe with a degreaser; don’t trap contaminants.
Apply Rust treatment: use a phosphoric-acid converter for pitting, or a rust remover gel for light oxidation. Follow label dwell time, then rinse or wipe as directed and dry completely. Spot-prime bare steel immediately with a corrosion-inhibiting metal primer. Feather edges with 120–180 grit so the primer blend smoothly, and recheck for orange bleed before topcoating.
Mask Trim, Handles, and Concrete in Minutes
Although masking feels like a small step, it’s the fastest way to prevent overspray and sharp-edge paint ridges on your trim, handles, and the slab. Put on nitrile gloves and safety glasses, then sweep and wipe the perimeter so tape bonds. Use 1–2 inch painter’s tape on jamb trim, pressing the edge with a plastic putty knife for a tight seal. Cover Garage door hardware with tape first, then a small bag or plastic wrap, and secure it with a second tape band. For windows, mask muntins with narrow tape to protect paint texture from bleeding lines. Lay rosin paper or a drop cloth on the concrete, overlapping 2 inches up the door frame, and tape seams flat to prevent trip hazards. Remove loose tape now.
Decide if You Need Primer (and Which Kind)
Before you buy paint, inspect the door’s surface so you don’t skip primer where it’s needed—or waste money where it isn’t. Check for bare metal/wood, chalky oxidation, peeling edges, rust, or glossy factory finish. Wear gloves and eye protection; sand a small test spot and wipe dust. If the surface powders on your finger or shows exposed substrate, prime.
Make your primer choice by material and problem: use rust-inhibitive metal primer on steel; bonding primer on glossy aluminum or previous oil paint; stain-blocking primer on tannin-prone wood; masonry primer only if you’re coating adjacent concrete. Spot-prime repairs; full-prime only if failures are widespread. Verify label color compatibility with your topcoat (latex vs oil) and tintable base requirements.
Pick the Best Weather Window to Paint
Before you paint, you’ll check the forecast and verify the door-surface temperature and humidity fall within your paint label’s limits. Next, you’ll block out a dry window with no rain expected during cure time, since moisture can ruin adhesion and finish. Finally, you’ll avoid windy periods to reduce overspray, airborne debris, and unsafe ladder or door movement.
Check Temperature And Humidity
When you paint in the wrong weather, the coating won’t level or cure correctly, so start by checking temperature and humidity and picking a stable window. Review your paint label first; many exterior coatings apply best around 50–85°F. Plan for Temperature effects: cold slows cure and increases brush marks, while heat flashes solvents and causes lap lines. Use an infrared thermometer on the door surface, not just air temp. Next, measure Humidity impact with a cheap hygrometer; aim for roughly 40–70% RH. High humidity can trap moisture, dull gloss, and delay recoat times; very low humidity can speed drying and reduce leveling. Paint when readings hold steady for several hours, and set reminders to recheck mid-job.
Avoid Rain And Wind
Stable temperature and humidity readings don’t matter much if rain or wind hits the job, so lock in a calm, dry weather window next. Check the forecast for at least 24 hours of zero precipitation, low gusts, and steady conditions through cure time. Avoid painting when winds exceed about 10–12 mph; overspray travels, debris sticks to wet film, and doors can slam unexpectedly. Schedule early morning after dew dries, or late afternoon before temperatures drop, but finish before evening moisture forms. Close nearby windows, move vehicles, and mask adjacent surfaces to control drift. Keep the door secured on tracks, and don’t paint during thunderstorms. These Weather precautions and Safety tips prevent fisheyes, wash-off, and unsafe ladder work.
Brush vs Roller vs Sprayer: Cheapest Good Option
Although a sprayer can lay down the smoothest finish, a roller-and-brush combo is usually the cheapest “good” option for a faded garage door because it minimizes tool cost and overspray risk while still giving you solid coverage. Start by choosing a 3/8-inch nap roller for smooth or lightly textured metal, plus a quality angled sash brush for edges and recessed details. For safety, wear gloves, eye protection, and a respirator if you’re in a garage or using solvent-based products. Roll paint onto broad areas, then immediately brush tight corners to prevent misses and guarantee uniform film build. Save sprayers for large, open-driveway jobs: they require masking, calm air, and cleanup time. For Color matching, test a small swatch. Better film thickness improves paint durability.
Paint Panels in the Right Order (No Lap Marks)
A roller-and-brush setup only looks professional if you keep a wet edge, so paint your garage door panels in a strict top-to-bottom order to prevent lap marks. Start on a cool, shaded side, and stop if the surface feels hot. Set ladders on level ground, wear gloves and eye protection, and keep pets clear.
Begin with the top row: paint the recessed panel first, then its surrounding rails and stiles. Move horizontally across that row, then drop to the next row, always finishing a complete section before breaks. Keep your working width small so edges stay wet. Plan your color using Color psychology (lighter tones read cleaner, darker tones feel heavier). Minimize Environmental impact by mixing only what you’ll use and sealing cans immediately.
Stop Streaks and Roller Lines While Painting
When you see streaks or roller lines forming, you’re usually working with paint that’s too thick, a roller that’s too dry, or a surface that’s warming up and flashing off too fast. Pause and fix the cause before you keep rolling, or you’ll lock defects in.
1) Stir thoroughly, then strain; keep Color consistency by boxing paint in one bucket. 2) Load the roller evenly and roll it out on a grid; don’t “dry roll” the panel. 3) Work in small sections, maintaining a wet edge; overlap 50% with light pressure. 4) Back-brush immediately using controlled Brush techniques: tip off in one direction with a dampened synthetic brush. 5) Stand safely, control cords, and avoid windy debris that can drag lines.
Dry Time, Recoat Time, and When to Close the Door
Once you’ve laid down a smooth coat, you need to track dry time by temperature, humidity, and airflow so the paint can set without dust, bugs, or fingerprints. Next, you’ll plan your recoat window using the label specs, because recoating too soon can wrinkle the finish and waiting too long can reduce adhesion. Finally, you won’t close the door until the paint is fully cured enough to resist sticking at panel seams and weatherstrips, so you don’t bond the door shut or damage the fresh film.
Understanding Dry Time
How long does your fresh paint really need before you touch it, recoat it, or close the garage door? Start by separating Dry time from paint curing: dry means the surface has flashed off and won’t smear; curing means the film has hardened through and resists dents, tape, and sticking.
Step 1: Check the label for “dry to touch” and “handle” times; don’t guess. Step 2: Test in a hidden corner with a light fingertip press—no tack, no fingerprint. Step 3: Keep airflow moving and temperature steady; humidity and cold slow drying and raise sticking risk. Step 4: Before closing, confirm panels don’t feel rubbery and weatherstripping won’t imprint. If you must close early, do it gently and reopen soon.
Planning Recoat Windows
Dry-to-touch tells you the surface won’t smear, but your schedule depends on the recoat window and the point at which the door can safely run without sticking. Check the label for minimum and maximum recoat times; temperature, humidity, and airflow can shift both.
Step 1: Record ambient conditions and start a timer when you finish a coat. Step 2: At the minimum recoat time, do a light finger drag in an inconspicuous spot; if it pills or feels tacky, wait 30–60 minutes and retest. Step 3: Stay inside the max window or you’ll need a scuff-sand for adhesion. Keep Garage door insulation and seals covered so overspray doesn’t bond; use weatherproofing techniques like masking thresholds and wiping drips before they skin.
Safe Door Closing Timing
Because a freshly painted garage door can stick to its stops, seals, or track hardware, you should treat “safe to close” as a separate checkpoint from dry-to-touch and even from “ready to recoat.” Step 1: verify you’ve passed the label’s minimum “time to handle/return to service” (not just recoat time) and that the surface feels firm under a light finger drag. Step 2: confirm the recoat window; if you’re inside it, keep the door open and locked-out so you don’t trap solvents. Step 3: do a contact test: press painter’s paper against seals for 30 seconds; if it lifts cleanly, you can close briefly. Step 4: close halfway first, watch for tack, then fully latch for door security. Maintain garage insulation by avoiding prolonged gaps.
Protect the Finish and Keep It Looking New
Once the paint has fully cured, lock in that fresh finish with a compatible clear topcoat or protective wax, then set up simple maintenance habits to prevent premature fading. Confirm the label matches your paint type, and wear gloves and eye protection. Apply in thin, even passes, keeping ventilation on and ignition sources off.
Next, focus on weatherproofing techniques: inspect bottom seal, side stops, and top trim; replace cracked vinyl; and caulk gaps with paintable exterior sealant to block UV and moisture. Clean quarterly using mild soap and a soft brush; rinse thoroughly to avoid residue. Touch up chips immediately, then reseal the spot. For garage security, keep hinges and locks lubricated, tighten hardware, and verify the door closes flush so seals seat and finish stays protected.
Frequently Asked Questions
Can I Paint a Garage Door in Direct Sunlight Without Ruining the Finish?
You shouldn’t paint in direct sunlight; it’ll flash-dry and streak. For garage door types, work in shade: wash, scuff-sand, prime, then coat thinly. Choose paint color options early, and apply morning/evening.
How Do I Prevent Paint From Sticking the Door to Weatherstripping?
Stop sticky sealing: mask weatherstripping for weatherstripping protection, and avoid paint adhesion by taping edges. Let coats cure fully. Dust silicone-free talc on seals. Open/close door briefly between coats; ventilate, wear gloves.
What’s the Safest Way to Paint Around Garage Door Windows Without Masking Leaks?
Seal edges with removable glazing tape; don’t paint onto seals. Do window cleaning, dry fully, then brush away from glass in thin coats. Maintain paint ventilation, and inspect weep holes after curing. Remove tape immediately.
Can I Repaint Over Old Oil-Based Paint With Latex on a Budget?
Yes—you can, but that “old-timer” coat can betray you. For oil based vs latex, degloss, wash, and scuff-sand; apply bonding primer; then latex. Paint adhesion tips: ventilate, wear PPE, test small patch.
How Do I Remove Accidental Paint Drips From Concrete After Drying?
Scrape dried drips with a razor scraper, then apply a citrus or solvent gel for paint removal; let it dwell. Scrub with a stiff nylon brush, rinse, and finish concrete cleaning using a pressure washer. Wear gloves.
Conclusion
You’ve set a budget, confirmed the door’s paint-ready, and matched paint to steel, wood, or vinyl. Now finish like a disciplined mechanic—almost like you’re tuning a Model T. Let each coat flash off per label, recoat on schedule, and don’t close the door until it’s fully cured. Work top-to-bottom, keep a wet edge, and correct runs immediately. Finally, add UV-resistant sealer and rinse dirt routinely to slow fading.
About the Author