First, you document the crack’s length and width, mark its ends with a date, and check for red flags like sagging, stains, soft drywall, or widening. If it’s stable and dry, you resecure any loose drywall with screws, then score the crack into a shallow V, vacuum dust, and apply mesh or paper tape bedded in setting-type joint compound. Feather, sand lightly, prime high-build, and repaint; next you’ll see how to match textures and prevent repeats.
Key Takeaways
- Measure and mark the crack ends with dates; monitor for widening, sagging, staining, soft drywall, or fastener pops.
- Eliminate causes first: fix leaks, control humidity, and limit attic or floor loads above the crack.
- Refasten any loose drywall to framing with screws, then score the crack into a shallow V to remove weak edges.
- Vacuum dust, apply mesh or paper tape, and bed it in setting-type joint compound to resist re-cracking.
- Feather, sand lightly, then prime with high-build primer and repaint or texture-match to seal microfractures and prevent spread.
Are Hairline Ceiling Cracks Normal or Serious?
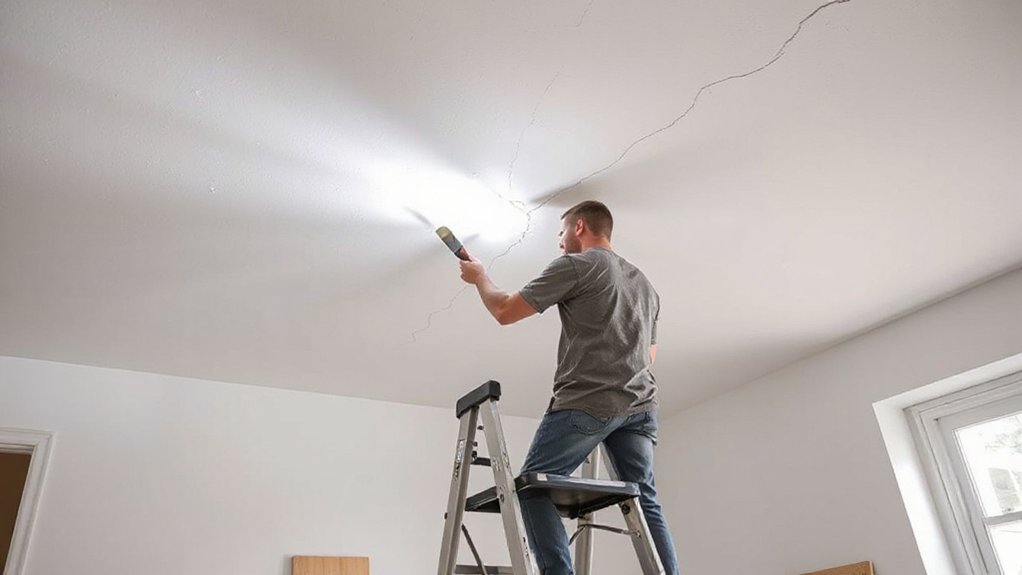
Although a thin crack in your ceiling can be harmless, you shouldn’t assume it’s “normal” until you’ve checked what’s driving it. Treat it as a condition to classify: benign cosmetic, maintenance-related, or safety-relevant. First, document length, width, and location; measure with a crack gauge or feeler card and mark endpoints with date. Next, inspect for accompanying red flags: sagging, recurring widening, damp staining, soft drywall, or fastener pops near the line. If any appear, restrict loads above, avoid drilling, and consider prompt professional evaluation.
If the crack stays stable, you can prioritize Ceiling crack prevention through humidity control and joint reinforcement, balancing repairs with aesthetic considerations like paint sheen and texture matching.
What Causes Hairline Ceiling Cracks in Homes?
When you pinpoint what’s stressing the ceiling assembly, you can tell a harmless finish crack from movement that needs attention. Most hairline cracks start with differential movement: seasonal framing shrinkage, truss uplift, or minor foundation settlement that transfers strain to drywall joints. Poor joint finishing, fastener pop, or insufficient backing can telegraph as a straight, narrow line.
You should also evaluate Moisture effects. Roof leaks, plumbing seepage, or high indoor humidity can swell gypsum, soften joint compound, and loosen tape; drying then shrinks materials and opens a fissure. Temperature cycling around attic spaces increases expansion-contraction at seams. Watch for Structural implications if cracks widen, offset, or form stair-step patterns near walls, because that can indicate ongoing load redistribution or deflection. If you see staining, sagging, or active drips, isolate the area and limit access.
Tools and Materials to Repair Hairline Ceiling Cracks
You’ll work faster and safer if you stage essential crack-repair tools first: a utility knife, putty knife, sanding sponge, vacuum, and a stable step ladder with eye and dust protection. Then you’ll choose the best patching materials for hairline ceiling cracks—lightweight spackle or setting-type joint compound, plus fiberglass mesh tape where movement is likely. With the right kit, you can prep, fill, feather, and sand with controlled dust and predictable results.
Essential Crack Repair Tools
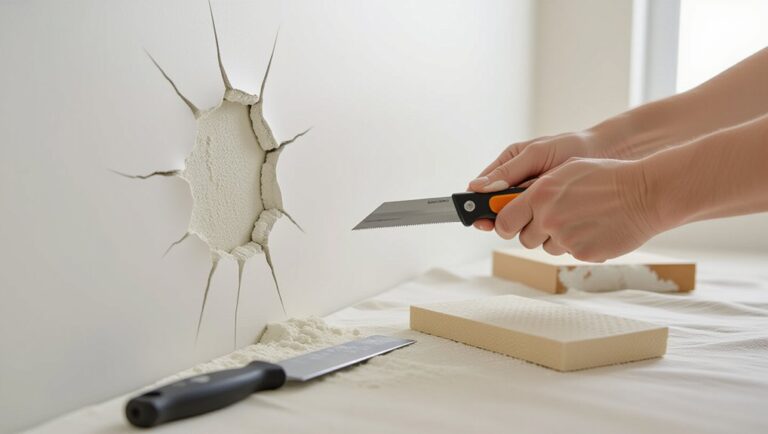
Before you open a ceiling crack, stage the right tools and materials so the repair stays clean, bonds properly, and doesn’t fail under minor movement. Wear safety glasses, a P100 dust mask, and nitrile gloves; set a drop cloth and painter’s tape to protect trim and decorative ceiling designs. Use a headlamp to rake light across the surface and map the crack. Score it with a sharp utility knife, then widen slightly with a 5-in-1 tool to remove loose edges. Keep a vacuum with a brush nozzle close to control dust. Use a stiff putty knife and sanding block for feathering, plus a damp sponge for final wipe-down. A caulk gun helps with controlled application in some alternative repair methods. Keep a step ladder rated for your weight.
Best Patching Materials
Although hairline ceiling cracks look minor, the patching material you choose determines whether the repair stays bridged through seasonal movement or telegraphs back through paint. For most drywall ceilings, use a setting-type joint compound (20–45 minute) for the first fill; it shrinks less and hardens fast, reducing re-cracking. For feathering and final skim, switch to lightweight topping compound for easier sanding and smoother Color matching under paint. If the crack sits on a joint or keeps returning, embed fiberglass mesh tape or paper tape in compound to reinforce. On plaster, use a plaster patch or bonding compound made for lime/gypsum. Follow label Drying time, ventilate, and wear eye protection and a respirator when sanding dust.
Open, Clean, and Tape Hairline Ceiling Cracks
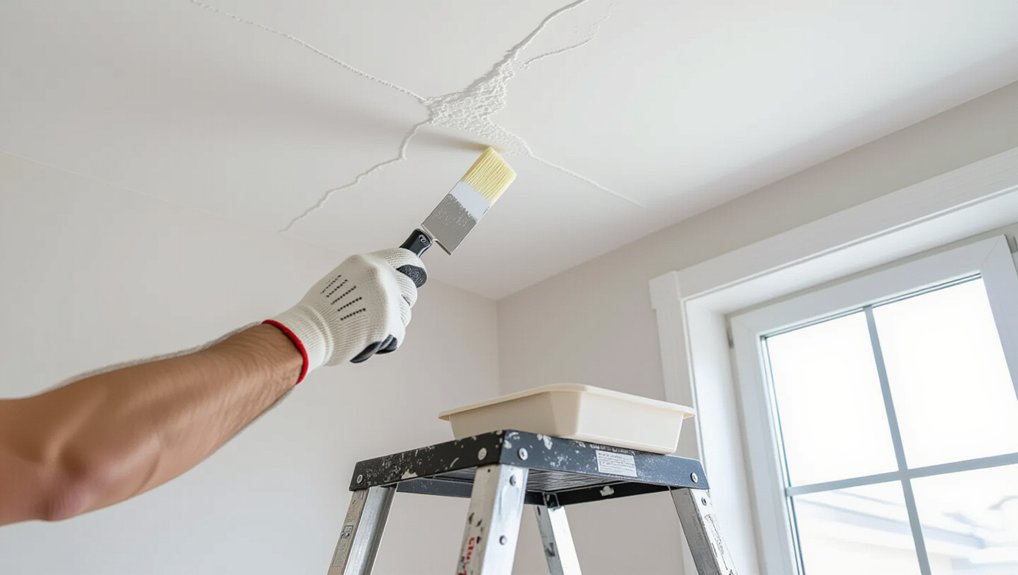
Score the hairline crack to widen it slightly into a shallow V-groove, and keep your cut controlled to avoid gouging the surrounding drywall. Vacuum and brush out all dust and debris, then wipe the channel clean so the compound can bond properly. Apply fiberglass mesh tape centered over the crack, press it tight, and you’re ready for the first coat.
Widen Crack Slightly
Once you’ve confirmed the crack is cosmetic and the ceiling surface is dry, widen the hairline crack slightly so your filler and tape can bond to solid material instead of loose paint. Put on safety glasses and a respirator, then score along the crack with a sharp utility knife at a shallow angle. Use light pressure and multiple passes to control crack expansion and avoid tearing the paper face of drywall. If you’re working on plaster, switch to a carbide scraper and keep the edge flat to prevent gouging. Open the crack just enough to expose firm substrate on both sides, typically 1–2 mm. Stop if the crack widens rapidly, changes direction, or reveals movement—those signs suggest possible structural impact. Keep your ladder stable and hands clear.
Remove Dust And Debris
After you’ve opened the crack to solid material, remove every trace of dust and loose debris so your tape and filler don’t bond to contamination. Wear safety glasses and a P2/N95 respirator, and keep a drop cloth below. Start with Dust removal: vacuum the crack using a brush attachment, working along its length to pull grit from the edges. Follow with debris cleaning: drag a stiff nylon brush through the groove, then vacuum again. Wipe the area with a barely damp microfiber cloth to capture fines; don’t soak gypsum or you’ll weaken the surface. Let the ceiling dry fully. If residue persists, use a tack cloth lightly. Finish by inspecting with a torch; no particles should dislodge when you tap nearby.
Repair Hairline Ceiling Cracks Step by Step
Where do you start when a faint line opens up across your ceiling? First, put on goggles and a respirator, then shut off power to nearby fixtures. Score the crack lightly with a utility knife to open loose edges without damaging Decorative ceiling patterns. Vacuum again, then wipe with a damp sponge and let it dry fully for Moisture prevention. Apply a stain-blocking primer into the crack line if discoloration suggests water. Press fiberglass mesh tape centered over the crack. With a 6-inch knife, bed the tape in setting-type joint compound, feathering thinly 2–3 inches past each side. Let it set, then add a second thin coat, wider than the first. Sand lightly with 220-grit, keeping dust controlled.
Match Ceiling Texture and Repaint the Repair
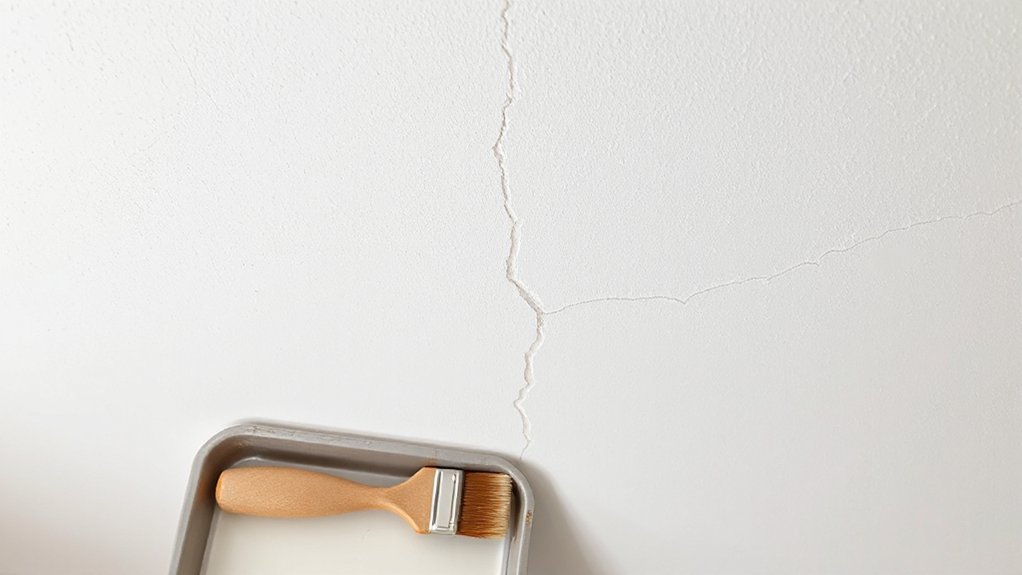
Although the crack repair may look flat and clean, you’ll get the most invisible result by matching the surrounding ceiling texture before you repaint. Put on goggles and a respirator, then mask walls and fixtures. Identify the existing finish (orange peel, knockdown, popcorn) and practice Ceiling texture matching on scrap drywall. For orange peel, mist thinned joint compound through a texture gun; for knockdown, apply texture, wait until it dulls, then lightly drag a knockdown knife. Feather texture 8–12 inches past the patch edge to avoid a hard halo. After it dries, spot-sand high points with a pole sander and vacuum dust. Prime the repair with a stain-blocking, high-hide primer. Use controlled Repainting techniques: roll in multiple directions with the same nap, and blend into the surrounding field.
How to Keep Hairline Ceiling Cracks From Returning
Because hairline ceiling cracks usually come from movement—not just a failed skim coat—you’ll keep them from returning by stabilizing the substrate and building a flexible repair system. First, confirm the cause: check attic access for truss uplift, inspect fastener pops, and verify there’s no active moisture. Wear eye protection and a respirator when sanding or cutting. Refasten loose drywall to joists with drywall screws, then widen the crack slightly to remove weak edges. Bed paper tape in setting-type compound, add a fiberglass mesh strip only for non-tapered joints, and finish with two thin coats. Use a high-build primer to bridge microfractures and equalize sheen, especially under Interior lighting effects. Maintain stable humidity, and choose compatible Decorative ceiling finishes.
Frequently Asked Questions
Will Repairing a Ceiling Crack Affect My Home’s Resale Value?
Yes, repairing a ceiling crack can boost resale value if you diagnose Ceiling crack causes and document Repair techniques. You’ll reduce buyer concerns, prevent moisture or structural risks, and show safe, code-minded maintenance. Avoid sloppy patching.
Can I Repair Hairline Ceiling Cracks in a Rental Without Landlord Approval?
You usually can’t—it’s a million times safer to get landlord approval first. Check lease, local Tenant rights, and Repair permissions. Document cracks, avoid structural alterations, use PPE, test for lead/asbestos, and request written consent.
How Long Should I Wait Before Hanging Lights or Fans Near the Repaired Area?
Wait at least 24–48 hours, or until full repair drying time per product label. You’ll confirm hardness, no tackiness, and stable substrate first. For lighting safety, mount into joists, avoid patch-only anchors, and recheck daily.
Do Hairline Ceiling Cracks Affect Insulation or Energy Efficiency?
Usually they don’t, yet they can: a fine crack stays cosmetic, while a gap drives Energy loss. You should inspect for airflow and moisture; seal promptly to limit Insulation impact and prevent mold.
Will Homeowners Insurance Cover Recurring Hairline Ceiling Crack Repairs?
Homeowners insurance usually won’t cover recurring hairline ceiling crack repairs unless a covered peril caused them; document damage for Insurance claims. For Crack prevention, monitor movement, control moisture, and address structural shifts early to limit hazards.
Conclusion
Treat hairline ceiling cracks like a windshield chip: ignore it, and one cold snap can turn it into a spiderweb. A home inspector once logged that nearly 30% of minor drywall calls started as “just a line.” You’ve already opened, cleaned, taped, and skim-coated—now finish methodically. Verify the area’s dry, wear eye protection, and sand with a vacuum attachment. Prime, match texture, repaint, and control humidity to keep that line from coming back.
About the Author