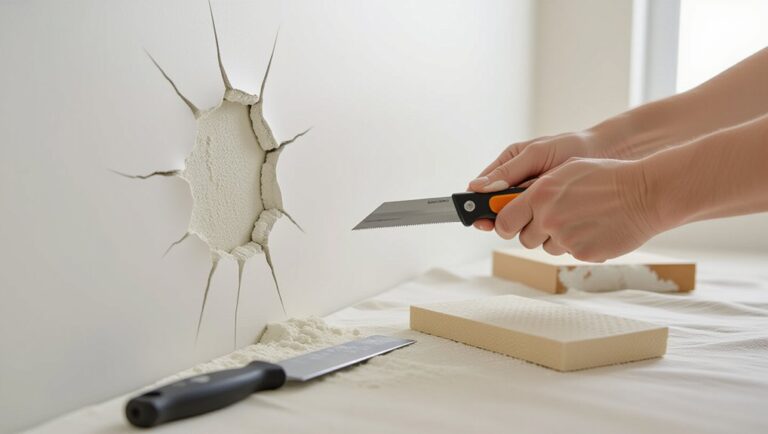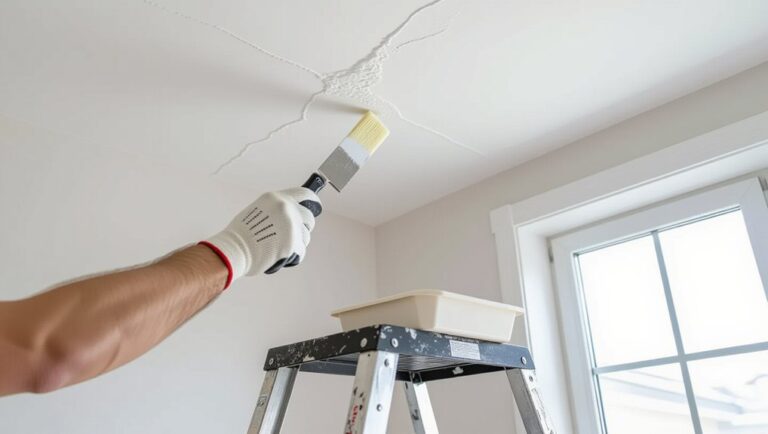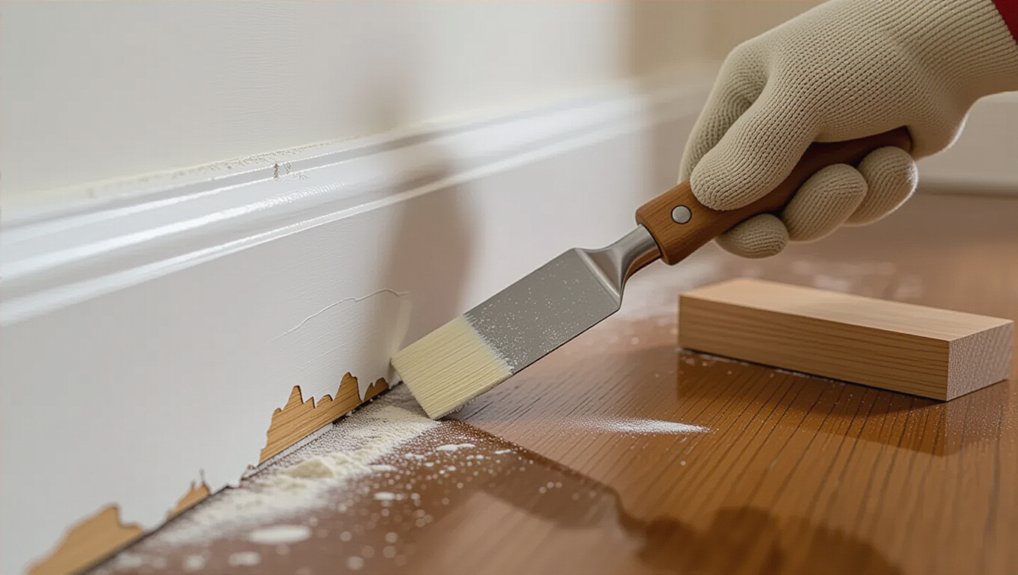
Inspect with a bright torch, press for soft spots, and probe suspect areas; rot, swelling, or loose boards mean replacement, while chips and cracks are repairable. Scrape flaking paint, cut out failed filler, then vacuum and wipe clean. Fill dents with fine filler, rebuild profiles with epoxy, and sand 80–120 then 180–240 grit. Caulk gaps neatly, spot-prime bare patches, then apply two thin coats. Keep going to master clean joints and perfect profile matching.
Key Takeaways
- Inspect with a torch and probing tool to distinguish surface chips from rot, swelling, or looseness needing replacement.
- Decide repair vs replacement by comparing time and cost; replace when repair materials exceed about half the replacement cost.
- Match existing profile and dimensions by measuring height/projection and using a cardboard template before buying timber or moulding.
- Prep properly: scrape flaking paint, cut out failed filler, vacuum dust, wipe clean, and spot-prime bare wood for strong adhesion.
- Repair cracks and chips with glue, clamps, epoxy filler, sanding, then caulk gaps and finish with primer and paint for a seamless look.
Inspect Skirting Board Damage (Chips, Cracks, Rot)
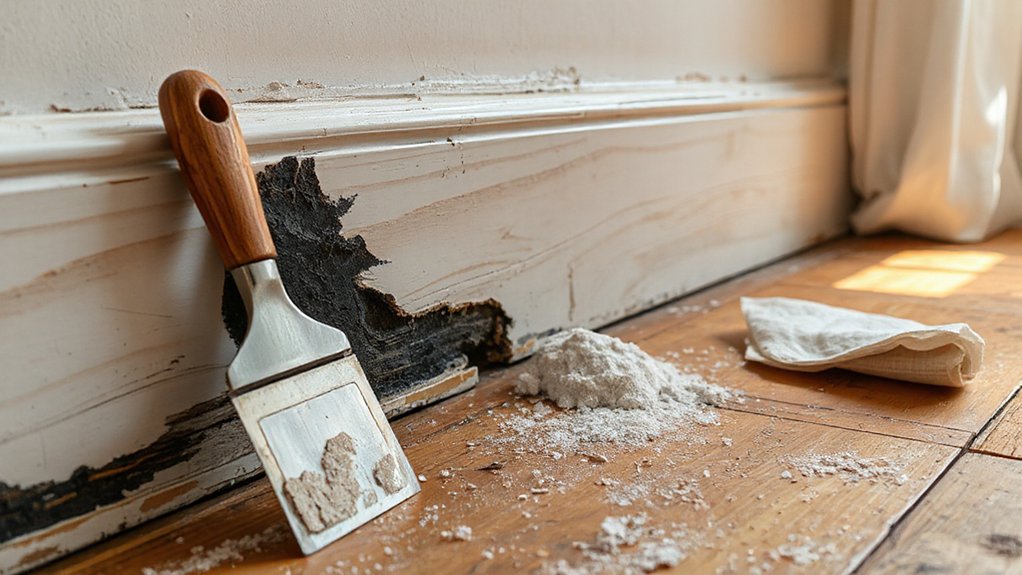
Before you reach for filler or a pry bar, take a few minutes to inspect the skirting board so you fix the right problem. Run a bright torch along the length to highlight shadows from chips and hairline cracks. Press gently with a fingernail or screwdriver handle; solid timber won’t dent, but soft spots suggest rot or water damage.
Next, check joints and mitres at corners for gaps that signal movement. Look for bubbling paint, black staining, or a musty smell near floors and radiators. Probe any suspect area with an awl; if it sinks easily or crumbles, mark the boundary of decay. Note the profile—Decorative molding and Skirting board styles affect where damage hides, especially in grooves and beads. Photograph and measure damaged sections.
Repair or Replace Skirting Boards? Quick Decision Guide
Start by rating the damage: if it’s surface chips or small cracks, you can repair; if it’s soft rot, swelling, or loose sections, you’ll likely replace. Next, total the materials and labour time for each option, then choose the one that gets you a solid result fastest within budget. Finally, check you can match the existing profile, height, and corners—if you can’t, replacing a whole run will look cleaner.
Assess Damage Severity
Although a scuffed skirting board often looks worse than it is, you can decide whether to repair or replace it in a few quick checks: first, press along the length with your thumb or a screwdriver handle—if it feels solid, a repair will usually do; if it flexes, crumbles, or sounds hollow, plan to replace that section. Next, probe any dark staining; if the tip sinks easily or the fibres lift, you’re dealing with rot and replacement is safer. Check joints and corners: hairline gaps need filler, but separated mitres mean the board has moved or the fixings have failed. Sight along the top edge for bowing; minor waves sand out for aesthetic enhancement. If it’s original trim, prioritise historical preservation by keeping sound lengths and only swapping damaged pieces.
Compare Cost And Time
If you’re on the fence, compare repair vs replacement by pricing materials and counting labour hours side by side. Start with Budget planning: list filler, wood hardener, sandpaper, primer, paint, and fasteners for repairs; then price full lengths, adhesive, nails, and finishing supplies for replacement. Next, time each task. Repair usually takes 30–90 minutes per section plus drying time; replacement often takes 1–3 hours per wall, including removal and refitting. Add tool access: if you’d need to buy a saw or nail gun, replacement costs jump. Factor disruption: repair keeps rooms usable sooner, while replacement creates more dust and cleanup. Finally, use material selection to set a threshold: if repair materials exceed half the replacement total, replace.
Match Style And Fit
Before you decide to repair or replace, check whether you can match the existing skirting’s profile and dimensions, because a perfect fix still looks wrong when the shape doesn’t line up. Identify the skirting style (ogee, torus, chamfered, or square) and note any quirks like a stepped top edge. Measure the matching height from finished floor to top, and measure thickness and projection.
Next, remove a short, hidden offcut or make a cardboard template of the profile. Take it to a timber merchant to find a like-for-like moulding. If you can’t source it, you’ll either replace a full wall run, or add a decorative cap to unify lines. Dry-fit, check corners, then commit to repair or replacement.
Gather Tools, Filler, Caulk, and Safety Gear
Once you’ve checked the damage, gather everything you’ll need so you can work in one clean run: a filling knife, sandpaper (80–120 grit then 180–240), a utility knife, a caulk gun, a paintable decorator’s caulk, wood filler (fine for dents, two-part epoxy for deep chips), a damp cloth, and a vacuum or brush for dust; add safety glasses, gloves, and a dust mask so you don’t breathe sanding debris or catch splinters while you cut and smooth the board. Choose filler to suit your skirting’s profile, especially around decorative accents and historical styles. Lay a dust sheet, set good lighting, and keep a waste bag nearby. Test caulk flow on cardboard, and cap it between uses. Decant a small amount of filler, then reseal tins to stop drying. Keep water handy for wiping squeeze-out and your knife.
Strip Loose Paint and Scrape Out Failed Filler
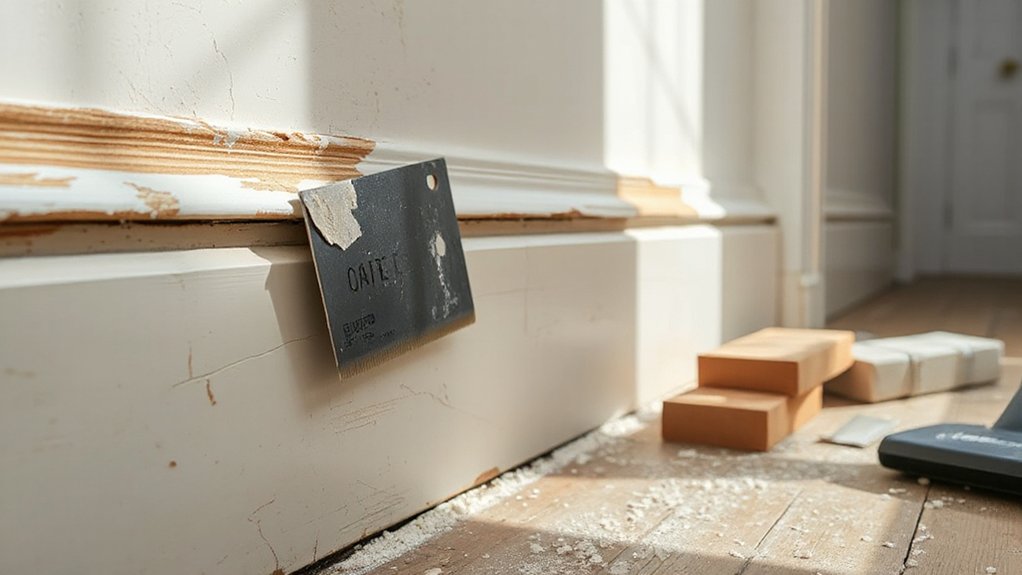
Start by spotting any paint that’s bubbling, flaking, or lifting, and mark those sections along the skirting board. Use a scraper or putty knife to lift off the loose paint and cut out any cracked or powdery filler until you reach firm, sound material. Vacuum or brush away dust, then wipe the area clean so the surface is ready for fresh filler and paint.
Identify Loose Paint Areas
Although the skirting might look fine at a glance, you need to hunt down every bit of loose paint and failed filler so the repair doesn’t peel later. Start by wiping dust off so edges show clearly. Use a bright work light held low to the board; raking light highlights lifted paint and hairline cracks. Run your fingertips along the profile and around decorative accents to feel ridges, bubbles, or hollow-sounding spots. Mark suspect areas with pencil. Check corners, radiator pipes, and door frames first, as knocks usually start there. Use color contrast: mist on a little water or wipe with a damp cloth so loose edges darken and stand out. Press lightly with a putty knife to test adhesion; if it shifts, circle it for removal later.
Scrape Away Failed Filler
Where do you begin when the skirting’s surface looks patchy or lumpy? Start by removing anything that’s no longer bonded. Run a wide filling knife along the board to lift curled paint edges. Keep the blade shallow so you don’t gouge the timber.
Next, target failed filler. Tap it lightly with the knife handle; hollow-sounding areas usually break free. Slide a scraper under the edges and pry up in small sections. For deep cracks, use a utility knife to score the perimeter first, then lever the filler out. Stop when you reach firm material that won’t flex or crumble. Bag the debris as you go to keep your Skirting maintenance tidy. If old filler keeps failing, note possible Filler alternatives for the repair stage later.
Clean And Prep Surface
Once you’ve removed anything loose or hollow, focus on getting a clean, keyed surface so the next repair bonds properly. Start by running a sharp scraper along the skirting to lift flaking paint, keeping the blade flat so you don’t gouge edges or profiles.
Next, dig out any failed filler with a narrow chisel or a 5-in-1 tool until you reach solid material. Feather the surrounding paint with 80–120 grit paper, then finish with 180 grit to remove ridges. Vacuum dust from corners, then wipe with a damp cloth and let it dry fully.
Check details against your decorative styles and historical designs: preserve crisp mouldings, don’t round them over. Finally, spot-prime bare wood and exposed filler lines.
Fill Dents and Chips With the Right Filler
Before you sand or repaint, fill every dent and chip so the skirting board sits flush and won’t telegraph imperfections through the finish. Choose a filler that matches your Material options: lightweight spackle for shallow dings, two-part wood filler for deeper gouges, and flexible decorator’s caulk only for tiny edge nicks.
Step 1: Scrape out loose fibres and dust, then wipe clean.
Step 2: Press filler in with a putty knife, slightly overfilling.
Step 3: For Decorative patterns, use a narrow blade or a damp brush to shape grooves before it sets.
Step 4: Let it cure fully per the label.
Step 5: Shave high spots with the knife, then sand smooth with 120–180 grit.
Step 6: Spot-prime the repair to check for dips.
Fix Cracked Skirting Boards and Split Corners
After you’ve filled and sanded dents, tackle any cracks along the board and corners that have split open, because paint won’t hide movement. Run a sharp utility knife along the crack to open it slightly and remove loose paint. Vacuum dust, then inject wood glue (or grab adhesive for MDF—check your Material options). Clamp the split corner tight; if clamps won’t fit, pin it with 18-gauge brads or drive two countersunk screws from the face into the return piece. Wipe squeeze-out fast. Once cured, skim over the seam with fine filler, sand flush, and re-check alignment with a straightedge. If the profile has chipped, rebuild the edge with epoxy filler and a shaped scrap for crisp Decorative accents. Prime repaired areas.
Caulk Gaps Between Skirting Boards and Walls
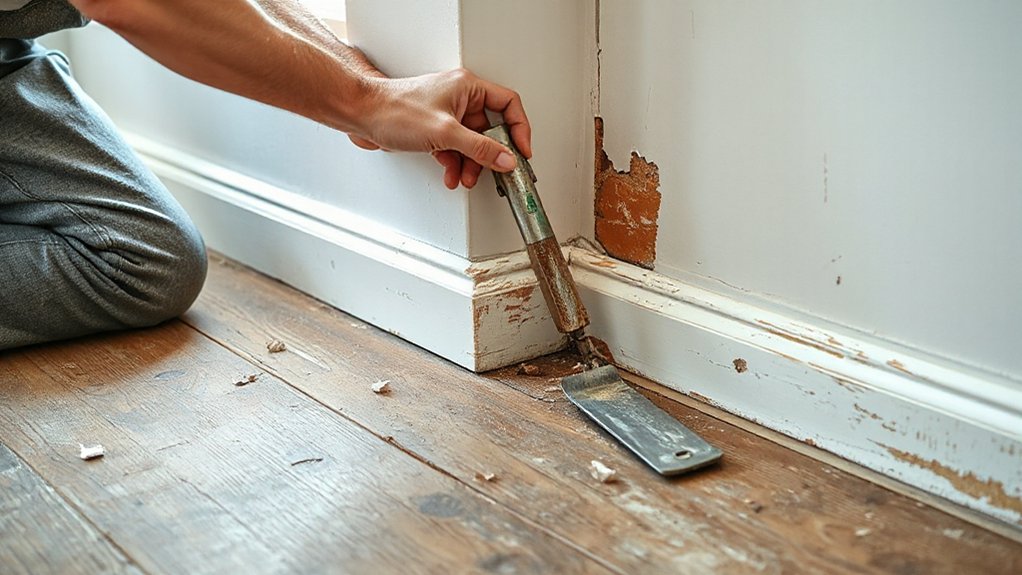
Even if your boards look solid, gaps along the top edge will telegraph through paint and collect dust, so seal them with a paintable decorator’s caulk. Start by vacuuming the joint, then wipe the Wall surface and skirting with a damp cloth and let it dry. Mask above the board for a crisp line. Cut the nozzle at a 45° angle to match the gap width, puncture the seal, and load the tube into a gun. Run a steady bead, keeping consistent pressure and speed for clean Caulk application. Tool it immediately with a damp finger or profiling tool, pressing caulk into the gap and smoothing the face. Peel tape before it skins. Let it cure fully, then lightly sand any ridges. Prime and paint.
Treat and Patch Rotten or Swollen Skirting Boards
Check the skirting for soft, crumbly timber, dark staining, or raised edges so you can spot rot and swelling early. Cut back to sound wood, brush on wood hardener, and let it cure before you pack the area with a suitable filler or epoxy patch. Once it’s set, sand flush and seal with primer/paint to lock out moisture and stop the damage coming back.
Identify Rot And Swelling
Wondering if your skirting board’s damage is just cosmetic or a sign it’s failing? Start with a close visual check in good light. Look for bubbling paint, dark staining, and lifted joints that spoil skirting aesthetics, especially around corners and radiators. Press your thumb along the bottom edge; if it dents or feels spongy, suspect rot.
Next, probe with a screwdriver or awl. Sound timber resists; rotten areas crumble or accept the tip easily. Check for swelling by running a straightedge along the face; a bulge or waviness often means moisture ingress. Sniff for a musty odour and look for powdery debris. Finally, compare profiles so repairs match historical styles before you mark the damaged zones for patching.
Apply Wood Hardener Treatment
Once you’ve marked the soft or swollen sections, strip back to clean, sound timber before you harden anything. Cut away punky fibres with a sharp chisel and vacuum the dust so the treatment can penetrate. Mask adjacent flooring and walls to protect your paint finish from drips.
Shake the wood hardener, then flood it onto the exposed area with a disposable brush, working along the wood grain and into end grain. Let it soak in, then reapply until the surface stays glossy for a minute. Keep the room ventilated and avoid skin contact; the solvent flashes off fast. Allow the hardener to cure fully as directed on the tin. Test with a fingernail—if it doesn’t dent and feels glassy, you’re ready for the next stage.
Patch, Sand, And Seal
After the hardener cures, how do you rebuild the missing profile and leave it paint-ready? Start by cutting back any crumbly edges to sound timber. Mix a two-part epoxy filler, then press it into the void in thin lifts so it bonds and won’t slump. Overfill slightly. While it’s “green,” slice the excess with a sharp chisel to match the original moulding line.
Once fully set, sand with 80 grit to shape, then 120 and 180 to refine. Use a sanding block to keep flats crisp and a folded paper edge for beads and coves. Vacuum dust, then seal with a stain-blocking primer. This locks porous filler and supports Decorative finishes, especially when you’re matching older Historical styles exactly.
Replace a Damaged Skirting Section (Step-by-Step)
If the damage runs too deep to patch cleanly, replacing just the affected section of skirting gives you a stronger, neater result without redoing the whole wall. First, mark the cut lines beyond the split, keeping clear of nails. Score paint along the line, then cut the board with a multi-tool or fine saw. Pry the section off gently with a bolster and scrap wood to protect plaster. Next, measure the gap and match the profile to existing Decorative molding and Skirtingboard styles. Cut a replacement piece to length, mitre any returns, and test-fit. Apply grab adhesive to the back, pin into studs, and countersink nails. Fill nail holes and seams, then prime the new timber before painting.
Sand Skirting Boards Flat (No Visible Ridges)
While filler and fresh paint can hide small imperfections, they won’t disguise a ridge you leave behind, so sand the skirting dead flat before you finish. Start by masking adjacent flooring and walls, then check the board with a torch held low to highlight high spots. Use 80–120 grit on a sanding block for flats and a folded sheet for moulded profiles; keep strokes long and parallel to the board. Feather out repairs at least 100mm past the patch so you can’t feel an edge. Vacuum dust, then run your fingertips along the join and across the profile; if you feel a step, sand again. Finish with 180 grit for Skirting maintenance and crisp decorative finishes.
Prime Skirting Boards so the Paint Bonds
Once the skirting feels perfectly smooth and dust-free, prime it straight away so your topcoat bonds hard instead of peeling at the repair. Mask nearby flooring if needed, then stir the primer thoroughly. Choose a stain-blocking, adhesion primer for glossy old paint, resinous knots, or patched filler; use shellac-based for heavy tannin bleed, water-based for low odour jobs. Spot-prime bare timber and filled areas first, feathering 2–3 cm onto sound paint so you don’t create a ridge. Then coat the full length for uniform suction and colour. Work along the grain with a quality brush, pushing primer into profile details on Decorative accents common in Historical styles. Let it dry fully, then lightly de-nib and wipe clean.
Paint Skirting Boards Neatly for a Crisp Edge
Let the primer dry fully, then lightly de-nib and wipe off any dust so you’re painting onto a clean, keyed surface. Mask the wall with low-tack tape, press the edge tight, then run a thin bead of caulk along the tape line and smooth it; this seals gaps for a crisp edge.
Stir your topcoat well and confirm Color matching against a dried test patch under room lighting. Choose the right paint sheen to match existing trim (usually satin or semi-gloss). Cut in first: load a quality angled brush, tap off excess, and pull one steady line along the wall edge. Paint the face with long strokes, then “lay off” lightly in one direction. Apply two thin coats. Pull tape off while paint’s still tacky.
Frequently Asked Questions
How Do I Match New Skirting Profiles to Old Victorian or Modern Trims?
You match new skirting by tracing the existing profile, measuring height/thickness, and photographing ends. Take a sample to a millwork shop, compare moulding catalogs, and test-fit offcuts; adjust with scribing for Victorian trims.
Can I Repair Skirting Boards Without Removing Carpets or Flooring?
Yes, you can repair in place. Mask carpet edges, pull it back slightly, and tape. Clean damage, choose filler suited to skirting board materials, apply, sand, prime, paint. Follow these DIY repair tips carefully.
What Paint Sheen Is Best for Skirting Boards in High-Traffic Areas?
Choose a satin or semi-gloss Paint finish; it handles scuffs and cleans easily in high-traffic areas. For Sheen selection: 1) Pick satin for subtler shine. 2) Pick semi-gloss for maximum durability.
How Do I Prevent Skirting Boards From Scuffing Again After Repainting?
Prevent scuffs by sealing paint: apply Protective coatings like water-based polyurethane after curing. Add Skirting maintenance: wipe weekly, use doorstops, stick felt pads on furniture, and touch up chips promptly with matching paint.
Are There Building Regulations for Replacing Skirting in Rented Properties?
Yes—regs usually don’t mandate skirting swaps, but you must guarantee Legal compliance. Picture fresh timber snapping into place: 1) check lease/agent approval, 2) document condition, 3) keep fire exits clear, 4) respect Tenant rights.
Conclusion
Now you’ve sized up the damage, chosen repair or replacement, and prepped your workspace. Strip loose paint, dig out failed filler, then pack dents and chips with the right filler like you’re icing a cracked cake. For rot or splits, cut out the bad section and splice in fresh board. Sand until it feels like one smooth plank. Prime to lock in grip, then paint in steady strokes for a sharp, clean line.
About the Author