
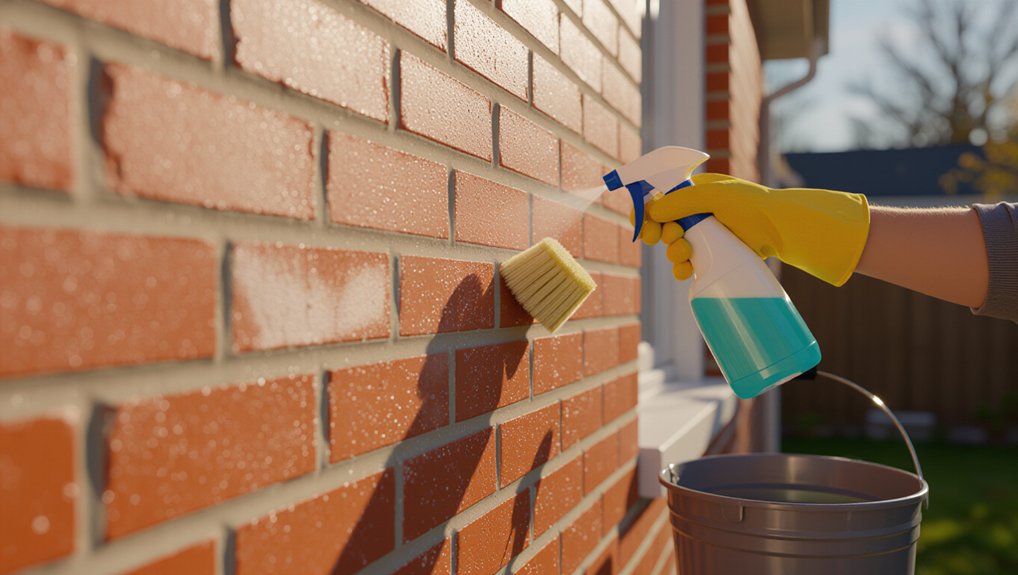
Start by mapping the faded exterior brickwork discoloration in daylight: uniform fading points to UV/weathering, patchy dark zones suggest moisture or algae, and white crystals indicate efflorescence. Wear gloves, goggles, and a respirator, protect plants and metals, and check mortar—if it’s powdery or missing, repair it first. Pre-wet brick, test a small spot, then scrub gently with mild detergent or oxygen bleach and rinse low-pressure. Stop leaks and brush salts dry; seal with a breathable silane/siloxane for longer-lasting results. Keep going to see product choices and step-by-step checks.
Key Takeaways
- Inspect brick in daylight to identify fading, algae, efflorescence, or rust, and photograph areas before any treatment.
- Check mortar for cracking or powdering and repair weak joints before cleaning to prevent water intrusion and brick damage.
- Protect plants, windows, and metal, wear PPE, and pre-wet masonry to limit cleaner absorption and staining.
- Clean gently with mild detergent or oxygen bleach and soft brushes, then rinse low-pressure; avoid muriatic acid and pressure washing.
- After drying and salt removal, restore color with tested limewash or breathable silane/siloxane sealer, and reapply when water stops beading.
Identify What’s Discoloring Your Exterior Brick
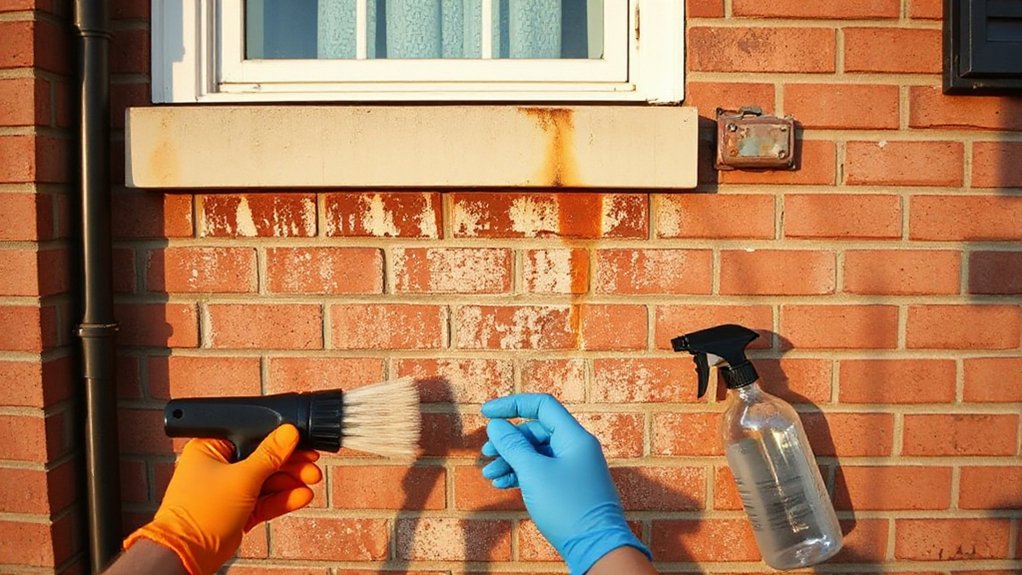
Before you start scrubbing or applying chemicals, you need to pinpoint what’s actually causing the discoloration, because each stain type reacts differently to water, cleaners, and abrasion. Map the Color variation across the wall in daylight: uniform fading suggests UV and weathering; patchy dark zones point to moisture retention, algae, or runoff patterns. Check for white, crystalline haze that returns after rain; that’s typically efflorescence from soluble salts. Look for rusty streaks below metal elements; that indicates iron oxidation. Evaluate Surface texture by touch and oblique light: a powdery film suggests chalking or salt bloom, while a slick, oily spot suggests soot or hydrocarbon deposits. Wear gloves and eye protection, and avoid inhaling dust during dry inspection.
Prep Exterior Brick for Cleaning (Protect Mortar)
Once you’ve identified the stain type, prep the wall so the brick gets cleaned without eroding the mortar joints. Suit up with gloves, eye protection, and a respirator, then wet down nearby plants and cover them with plastic. Protect doors, windows, and metal flashing with tape and poly sheeting. Remove loose grit using a soft brush; don’t rake joints. Inspect mortar: if it’s powdery, cracked, or missing, stop and schedule Mortar reinforcement before any cleaning. Pre-wet the masonry to reduce absorption and limit joint washout. Mask weep holes and vents to keep debris out. Test for previous Brick sealing by misting water; beading means you must avoid aggressive abrasion that can strip coatings and expose mortar. Check ladder footing and electrical clearances.
Start With the Safest Exterior Brick Cleaning Method
You’ll start by testing a small, inconspicuous area to confirm the brick and mortar won’t discolor, etch, or shed under light cleaning. Mix a gentle soap-and-water solution and apply it with a soft brush, keeping pressure low and contact time short. Rinse thoroughly and inspect the test spot before you scale up to the full wall.
Test A Small Area
Where should you start when you’re cleaning faded exterior brickwork? Test a small, inconspicuous area first, because brick, mortar, and any prior sealers react differently to moisture and agitation. Choose a spot with typical sun exposure and staining, then mask adjacent materials. Wear gloves, eye protection, and a respirator if dust may form. Pre-wet the test zone to control absorption, then apply your chosen mild technique with consistent pressure and dwell time. Rinse, let it dry fully, and record results with photos. Check for color shift, efflorescence, mortar softening, or surface etching that could complicate color matching and historical preservation. If damage appears, stop and reassess before scaling up. Measure the test area and repeatability, carefully.
Use Gentle Soap Wash
If your test patch cleaned evenly with no etching or mortar softening, start the full job with a gentle soap wash—the lowest-risk method for faded exterior brick. Mix warm water with a small dose of pH‑neutral dish soap or masonry soap in a bucket; don’t add bleach or acids. Pre-wet the wall to reduce absorption, then scrub from bottom to top with a soft nylon brush so you don’t scar Brick texture or drag grit across faces. Keep joints lightly worked to avoid eroding mortar. Rinse immediately with clean water, working top to bottom, and prevent runoff from drying on the surface. Work in shade, wear gloves and eye protection, and monitor Color variations as you go so you don’t overclean.
Remove Algae, Mildew, and Black Stains on Brick
You’ll first confirm whether you’re seeing algae, mildew, or carbon/efflorescence so you don’t apply the wrong treatment or damage the brick. You’ll then choose a brick-safe cleaner (typically oxygen bleach or a mild detergent) and control runoff with gloves, eye protection, and pre-wetting to limit absorption. After removal, you’ll reduce regrowth by improving drainage, increasing sunlight/airflow, and scheduling periodic low-pressure rinses.
Identify Stain Types
Before you pick a cleaner, confirm what’s discoloring the brick—algae, mildew, general organic grime, or true black staining—because each responds to a different chemistry and dwell time. Start with a dry inspection in daylight, then mist a small area to see whether the stain darkens, smears, or stays fixed. Green film in shaded, damp zones typically signals algae. Gray-white fuzz with a musty odor points to mildew. Uniform brown or soot-like haze near vents suggests organic grime. Deep, sharply defined black patches that don’t lighten when wet can indicate embedded carbon or manganese. Photograph and map locations, noting exposure and runoff paths; accurate ID protects color retention and weather resistance. Wear gloves, goggles, and a respirator during testing.
Safe Brick Cleaning Solutions
How do you strip algae, mildew, and true black staining off exterior brick without etching the face or bleaching the color? Start dry: brush with a stiff nylon bristle to lift biofilm, then pre-wet brick and mortar to reduce absorption. Mix an Eco friendly cleaning solution: oxygen bleach (sodium percarbonate) in warm water per label. Apply with a pump sprayer, keep it wet 10–15 minutes, and scrub lightly. Rinse low-pressure from top down. For stubborn black spots, spot-treat with a quaternary ammonium cleaner or 3% hydrogen peroxide; never use muriatic acid or high-pressure blasting. Wear nitrile gloves, goggles, and a respirator if misting. Test a hidden area first; rinse thoroughly to complete DIY restoration.
Prevent Future Growth
Where does algae and mildew come back first—shaded, damp courses, weep holes, and mortar joints—and what stops it is controlling moisture and leaving a mild, brick-safe residual. Keep gutters clear, extend downspouts, and correct grade so runoff doesn’t soak the wall. Maintain open weep holes and repoint cracked joints to cut capillary water. After cleaning, apply a non-acidic, masonry-approved biocide per label, wear gloves and eye protection, and protect plants and metals. Rinse lightly; don’t drive water behind brick. For Moss prevention, trim vegetation and improve sun and airflow. For Pollen control, rinse façades during peak seasons and keep window screens and soffit vents clean. Inspect quarterly, and retreat small spots early.
Remove Efflorescence and Salt Stains From Brick
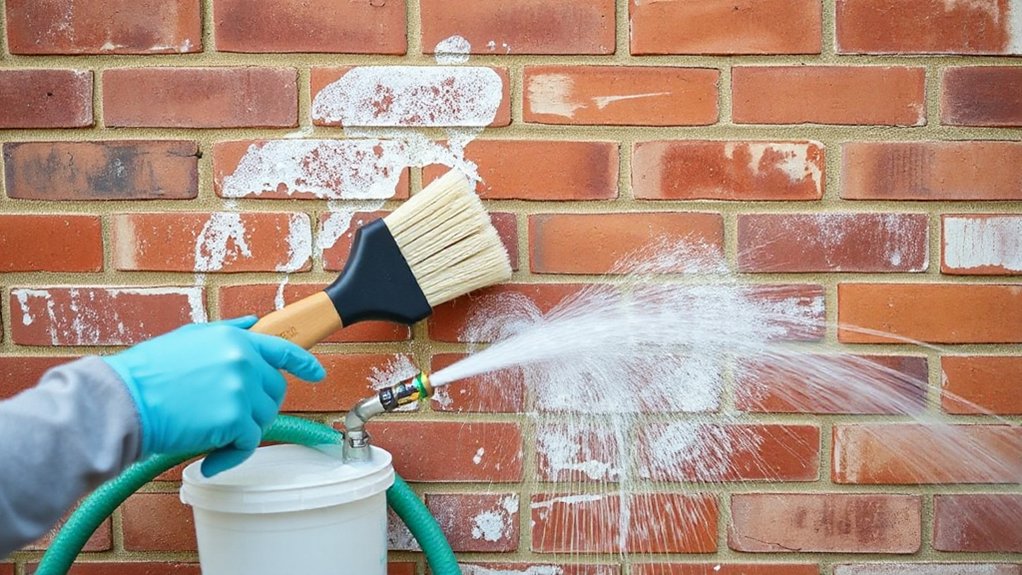
Although efflorescence and salt stains often look like permanent whitening, you can remove them safely by treating the cause first and then cleaning the surface with controlled methods. First, stop moisture migration: fix leaks, redirect downspouts, improve drainage, and let brick dry several days. Wear gloves, goggles, and a respirator; protect plants and metals.
For Efflorescence removal, start dry: brush with a stiff nylon brush and vacuum residue. Rinse lightly with low-pressure water, then allow full drying and reassess. For Salt stain treatment that persists, pre-wet the wall to limit absorption, then spot-clean using a masonry-approved efflorescence cleaner or diluted vinegar (test first). Scrub gently, rinse thoroughly, and neutralize per product directions. Never use muriatic acid or high pressure; both can etch brick and drive salts deeper.
Restore Exterior Brick Color: Stain, Limewash, or Seal
Once you’ve removed efflorescence and corrected the moisture source, you can restore faded exterior brick color with a masonry stain, a limewash, or a breathable sealer—each changes the surface differently and reacts to moisture in its own way. For masonry stain, you’ll brush or spray a tested, mineral-compatible stain onto dampened brick so pigment penetrates pores; mask adjacent materials and wear gloves, goggles, and a respirator. For limewash, you’ll pre-wet, then apply thin coats; it bonds by carbonation, lightens color, and can patina unevenly, so sample panels matter. For a breathable sealer, use only vapor-permeable products to reduce darkening and avoid trapping moisture; follow Exterior finish sealing coverage rates. These Brick color restoration techniques demand pH checks, cure time, and manufacturer compliance.
Protect Exterior Brickwork to Stay Cleaner Longer
After you restore the brick’s color and the surface has fully cured, lock in that work by reducing water uptake and dirt adhesion with the right protective strategy for your wall’s exposure. Choose breathable, silane/siloxane penetrating water repellents for most masonry; avoid film-formers unless the manufacturer approves for historic brick.
Before Brick sealing, confirm the wall is dry, repointed joints are cured, and salts are absent. Mask windows and metals, wear gloves, goggles, and a respirator, and ensure runoff control. Apply from the bottom up to refusal, keeping a wet edge to prevent lap marks. Don’t seal in freezing temps, direct sun, or rain risk.
For Exterior maintenance, rinse gently, inspect annually, and reapply when water stops beading. Document product, coverage, date.
Frequently Asked Questions
How Often Should Exterior Brick Be Professionally Inspected for Structural Issues?
Schedule a professional exterior brick inspection every 3–5 years, and after major storms or seismic events. You’ll catch cracking early, prioritize mortar repair, and verify Brick sealing performance to prevent water intrusion and structural loss.
Can Pressure Washing Damage Brick, and What PSI Is Considered Safe?
Yes, you can cause Pressure damage if you blast brick too hard. You’ll typically stay within a Safe PSI of 500–1,200, use a wide fan tip, keep distance, and avoid mortar joints.
What’s the Best Way to Match New Mortar Color to Existing Brickwork?
For Mortar color matching, you’ll blend trial batches using the same cement, sand source, and pigments, then cure samples wet/dry. You’ll use Brick repair techniques: rake, repoint, and match joint tooling to existing.
Do I Need Permits or HOA Approval to Change Exterior Brick Color?
Yes—you likely need permits and/or HOA approval if you alter exterior brick color. Verify local codes, HOA rules, and fire ratings. Document paint selection, plan Brick sealing, use PPE, and follow manufacturer specs.
How Can I Safely Clean Brickwork in Freezing Temperatures or Winter Conditions?
You can’t safely wash brick below freezing; postpone Winter cleaning or work only above 40°F. You’ll prevent Ice damage by using dry brushing, low-pressure rinsing, heated water sparingly, and immediate drying. Avoid salts.
Conclusion
You’ve diagnosed the discoloration, prepped the site, and cleaned with the least aggressive method first—like using a scalpel before a saw. Now you’ll neutralize and rinse thoroughly, letting the brick dry so you can confirm results and avoid trapping moisture. If color still looks tired, you can restore it with breathable stain or limewash, then seal only where appropriate. Finish by improving drainage and controlling growth, so the brick stays stable, clean, and safe.
About the Author



