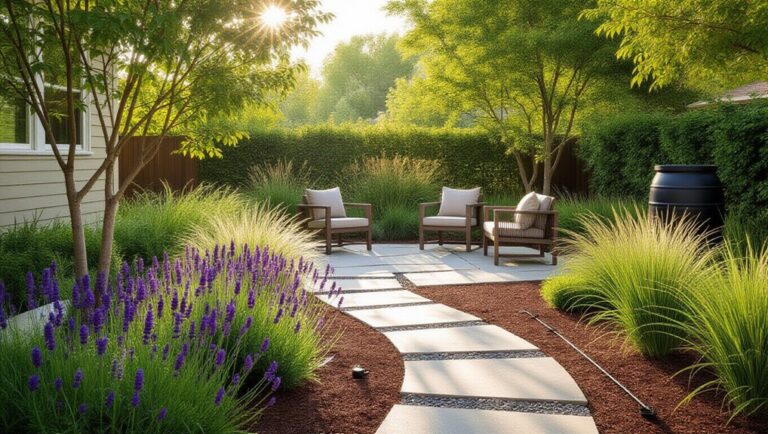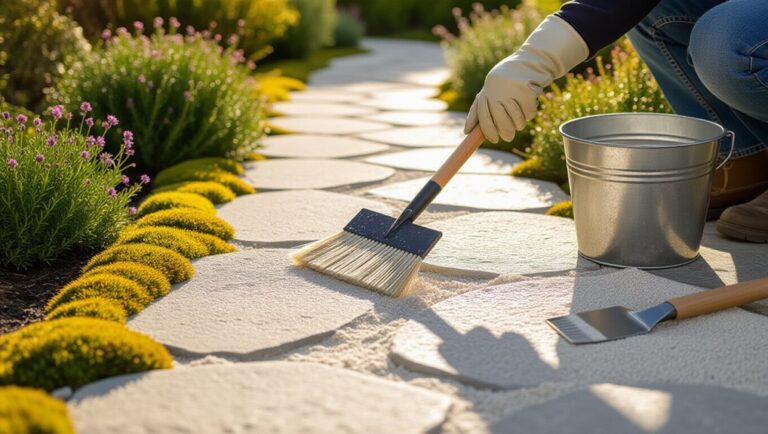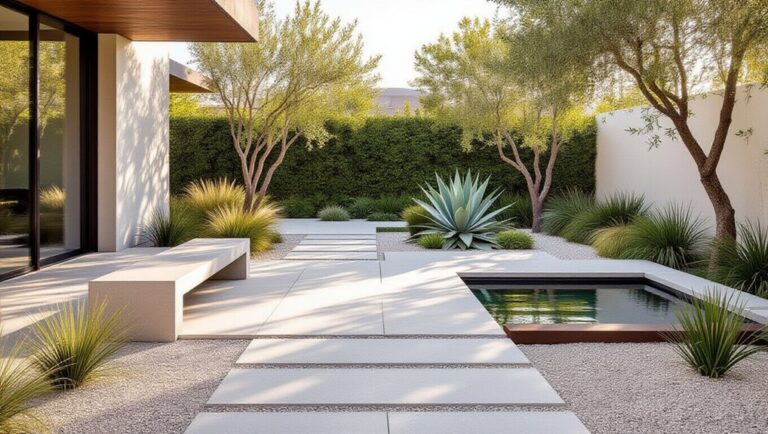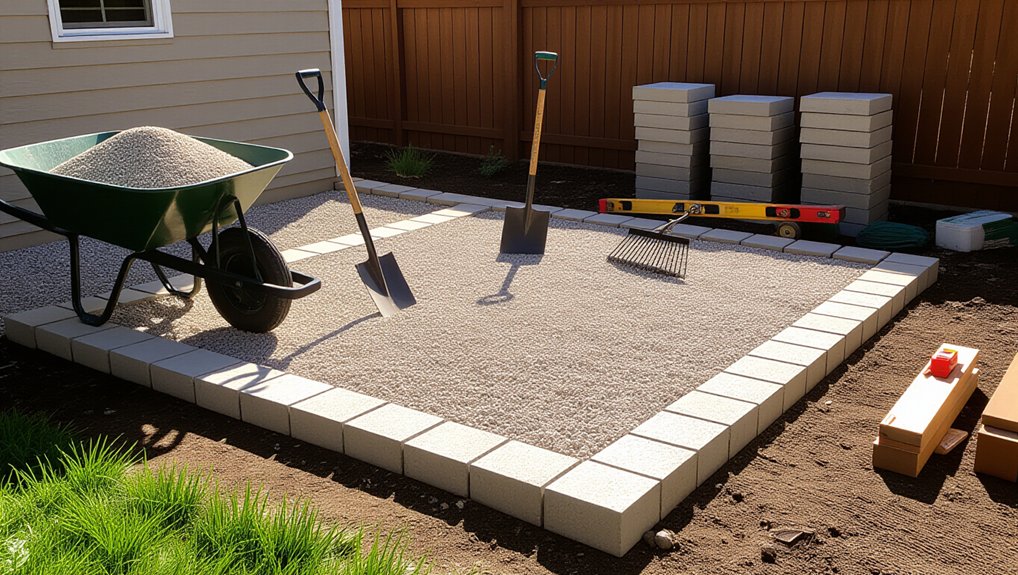
Pick a dry, level site and size it to your furniture plus 24–36 inches of clearance. Stake and string the outline, then set a 1/8–1/4 inch per foot slope away from structures. Excavate 4–6 inches, removing organics and soft spots. Lay permeable geotextile, overlapping seams 6–12 inches, and pin it down. Add 3–4 inches of compactable crushed stone in lifts, mist and plate-compact, then top with 1–2 inches of angular gravel, edge, screed, and compact. Keep going for sizing, quantities, and troubleshooting.
Key Takeaways
- Choose a dry, level site, mark the patio with stakes/string, and plan 24–36 inches of walking space around furniture.
- Set a 1/8–1/4 inch per foot slope away from structures using a line level or laser for reliable drainage.
- Excavate to fit 3–4 inches compacted base plus 1–2 inches gravel, removing organics and keeping the subgrade parallel to the slope.
- Lay permeable landscape fabric with 6–12 inch overlaps and staples, then install rigid edging staked every 12–18 inches.
- Add base and gravel in lifts, lightly mist, and compact each layer; recheck slope and top off low spots for a firm finish.
Choose the Best Spot and Patio Size
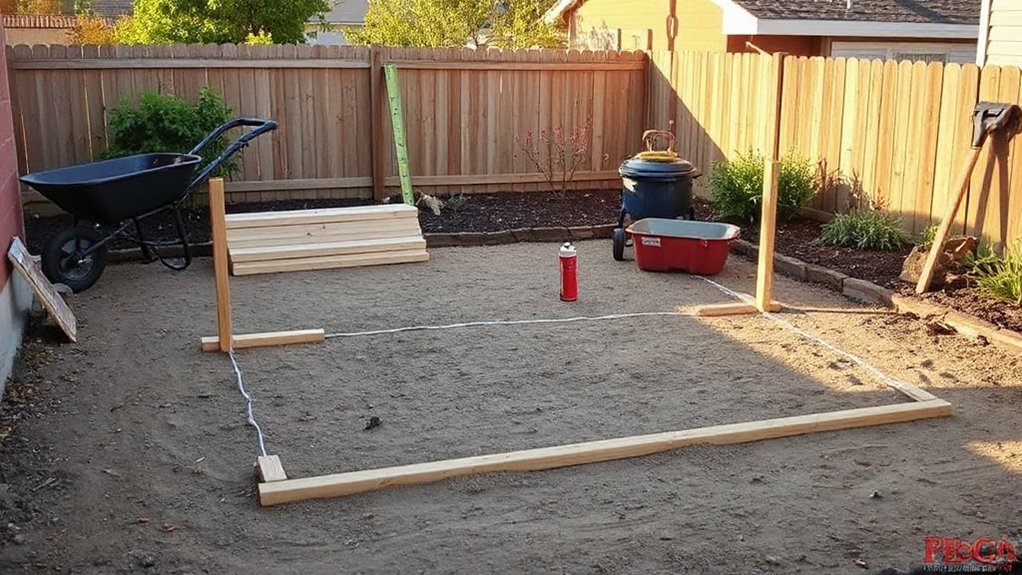
Before you break ground, pick a location that stays dry, drains away from the house, and sits on stable, relatively level soil so your gravel base won’t migrate or rut over time. Verify slope with a 4-ft level; aim for consistent fall away from structures. Call utility locates and keep clear of septic lines, tree roots, and drip edges. Then size the patio to how you’ll use it: measure your garden furniture footprint plus 24–36 inches of circulation on all sides. Mark corners with stakes and string, then spray-paint the outline to confirm sightlines from doors and windows. Plan outdoor lighting runs now, reserving a straight path for low-voltage cable and a protected transformer location. Recheck access for wheelbarrows and compaction equipment.
Pick the Right Gravel and Base Material
With the patio footprint staked and the slope confirmed, lock in the materials that will keep the surface stable and drainable. Choose angular, crushed gravel for the walking layer; it interlocks and resists shifting better than rounded pea gravel. Target a consistent gradation (often 3/8-inch minus) to limit voids while still shedding water. Select gravel color based on heat gain, glare, and how it’ll hide dust; lighter tones run cooler, darker tones read cleaner but show pollen. For the base, specify compactable crushed stone such as “road base” or “crusher run” rather than decorative rock. Evaluate base material alternatives like recycled concrete aggregate, decomposed granite, or limestone screenings, confirming they compact firmly and don’t soften when wet.
How Deep to Dig and Layer Thicknesses
Once you’ve chosen your gravel and base, calculate excavation depth from the top down so the finished surface lands flush with adjacent hardscapes and sheds water. For most small patios, plan 3–4 inches of compacted base (crusher run) plus 1–2 inches of gravel, then add the thickness of edging and any landscape fabric. Dig an extra 1/2 inch to accommodate final grading and minor settlement.
Excavate to undisturbed soil, removing organics and soft spots. Establish a 1–2% slope away from structures. Place base in two lifts (about 2 inches each) and compact each lift; proper soil compaction prevents rutting and washouts. Keep moisture slightly damp for best compaction, but pause work during heavy rain—weather considerations affect stability and grade control.
Estimate Gravel and Base (Simple Formula)
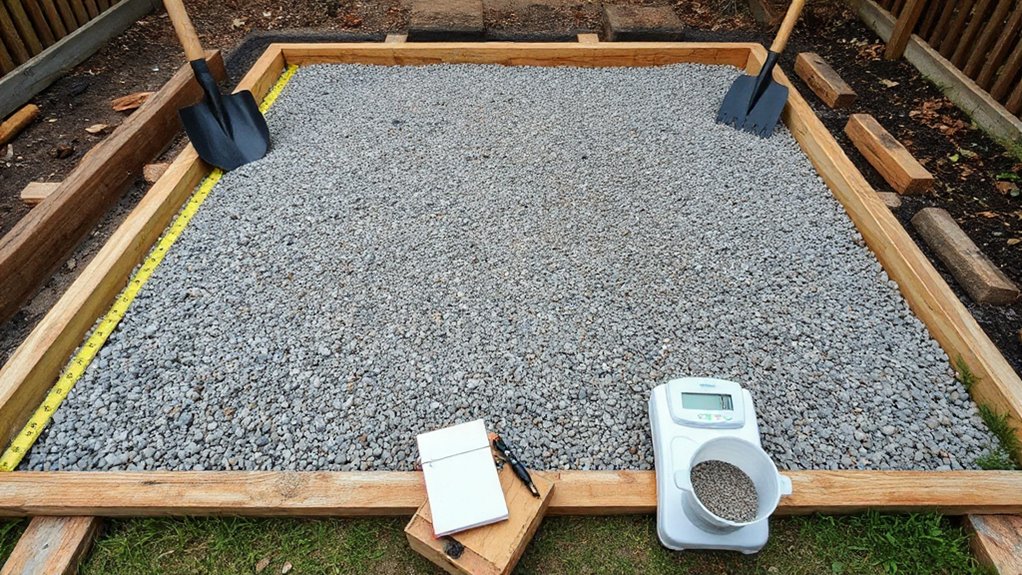
Although gravel patios look simple on the surface, you’ll get cleaner grades and fewer extra trips by estimating materials with a quick volume formula: Volume (cubic feet) = Length (ft) × Width (ft) × Thickness (ft), then convert to cubic yards by dividing by 27. Calculate base and gravel separately using their planned thicknesses. Example: a 10 ft × 8 ft patio with 4 in base (0.33 ft) needs 10×8×0.33 = 26.4 ft³ = 0.98 yd³. A 2 in gravel layer (0.17 ft) needs 13.6 ft³ = 0.50 yd³. Add 10% for compaction and edge waste. Confirm Gravel color by ordering one consistent source, since mixed pits vary. Size quantities to support Patio furniture loads without rutting.
Tools and Materials for a Weekend Build
To build your gravel patio in a weekend, you’ll stage an essential tools checklist first—measuring tape, string line and stakes, square shovel, steel rake, hand tamper or plate compactor, wheelbarrow, and a utility knife for fabric. You’ll also assemble a gravel base materials list: geotextile fabric, edging, crushed stone base (e.g., 3/4-inch minus), leveling gravel or decomposed granite, and optional paver sand depending on your finish. With these items on hand, you can excavate, place fabric, install edging, and compact in a controlled sequence without downtime.
Essential Tools Checklist
Before you break ground, gather every tool and material you’ll need so the build flows in a single weekend without last-minute hardware runs. Bring layout tools: tape measure, mason’s line, line level, marking paint, and a framing square for clean corners. For excavation and grading, you’ll use a flat shovel, trenching spade, mattock, steel rake, and a hand tamper or plate compactor (rental). Cut edging with tin snips or a hacksaw, and keep a rubber mallet and cordless drill/driver with bits for fasteners. Move material with a wheelbarrow and scoop shovel. Wear PPE: gloves, safety glasses, hearing protection, and dust mask. Keep Gardening tips in mind: a stiff broom and leaf blower prevent grit under Patio furniture legs.
Gravel Base Materials List
Once you’ve confirmed your patio’s size and elevation, lock in the gravel base materials so you can excavate, build, and compact in one uninterrupted weekend. Order 3/4-inch minus crushed stone (base course) at 2–4 inches compacted depth; it interlocks and drains. Add a 1-inch bedding layer of 3/8-inch minus or decomposed granite for final grading under pavers or stabilizer grids. Install non-woven geotextile fabric under the base to separate soil and prevent pumping. Include edge restraint (steel, aluminum, or heavy-duty plastic) with spikes to hold your patio design lines. Use polymeric or angular chip gravel (3/8-inch) as a top course if you’re going loose-surface, aligning color with garden aesthetics. Buy extra 10% for compaction loss, cuts, and leveling.
Mark, Slope, and Excavate the Patio Area
You’ll stake the corners and run string lines to lock in the patio’s footprint, then verify squareness by checking diagonal measurements. You’ll set a consistent drainage slope away from structures—typically 1/8 to 1/4 inch per foot—using a line level or laser. With the elevations established, you’ll excavate uniformly to the required base depth so there’s room for compacted base material and your final gravel layer.
Stake And String Layout
Although gravel patios look forgiving, a precise stake-and-string layout determines whether the finished surface drains properly and stays square. Set corner stakes beyond the planned perimeter so excavation won’t disturb them. Run mason’s line between stakes at a consistent reference height and tighten it until it doesn’t sag. Measure diagonals to confirm squareness; adjust one stake until both diagonals match. Mark the outline with marking paint directly under the string, then offset a second line to show excavation limits. Check clearances for patio furniture and traffic paths, aligning edges with your garden design. As you excavate, keep the strings up as control lines, and recheck measurements after removing soil so the footprint doesn’t drift. Use a line level only to verify uniform string height.
Establish Proper Drainage Slope
After you’ve locked in the patio footprint with stakes and string, establish a consistent drainage slope before you mark or excavate. Aim for 1/8–1/4 inch fall per linear foot, sloping away from the house and toward a safe discharge area, not neighboring lots. Choose your high point at the structure side, then use a line level or rotary laser to set the low-point string height at each corner.
Transfer those elevations to the ground with marking paint or landscape flags so you can keep grade references visible. Check diagonals again to confirm the slope didn’t skew your rectangle. Walk the layout and visualize runoff paths around planned patio furniture, keeping water off seating zones and preserving garden aesthetics. Re-verify slope after any string adjustments, then lock the reference strings tight.
Excavate To Base Depth
With the drainage slope set and your reference strings locked, start cutting the patio area to the required base depth while preserving those elevations. Mark the cut line using paint or a flat shovel along the string perimeter. Excavate in thin lifts, checking depth at corners and midpoints with a tape to the string line. Target total depth for fabric, 4–6 in. compactable base, and 2–3 in. gravel, adjusting for your edging height. Keep the subgrade parallel to the slope so water sheds away from structures. Remove organics, roots, and soft pockets; replace with compactable material. Rake smooth, then tamp or plate-compact until firm. A clean, consistent excavation keeps garden aesthetics crisp and prevents patio furniture wobble later.
Add Landscape Fabric and Overlap Seams
Once you’ve compacted the base, roll out landscape fabric to separate the gravel from the subgrade and slow weed growth without trapping water. Use a non-woven, permeable geotextile rated for ground contact; avoid thin “weed barrier” sheeting that tears during placement. Cut pieces to fit the excavation, extending fabric up the inside faces of your edging or forms so fines can’t migrate sideways. Maintain a minimum 6–12 inch seam overlap at every joint, shingling the upper sheet over the lower in the direction water will flow. Keep seams flat and wrinkle-free to prevent voids. Pin the fabric every 24–36 inches with U-shaped landscape staples, adding fasteners along overlaps and at corners. Trim only after everything’s secured.
Lay, Wet, and Compact the Base Layer
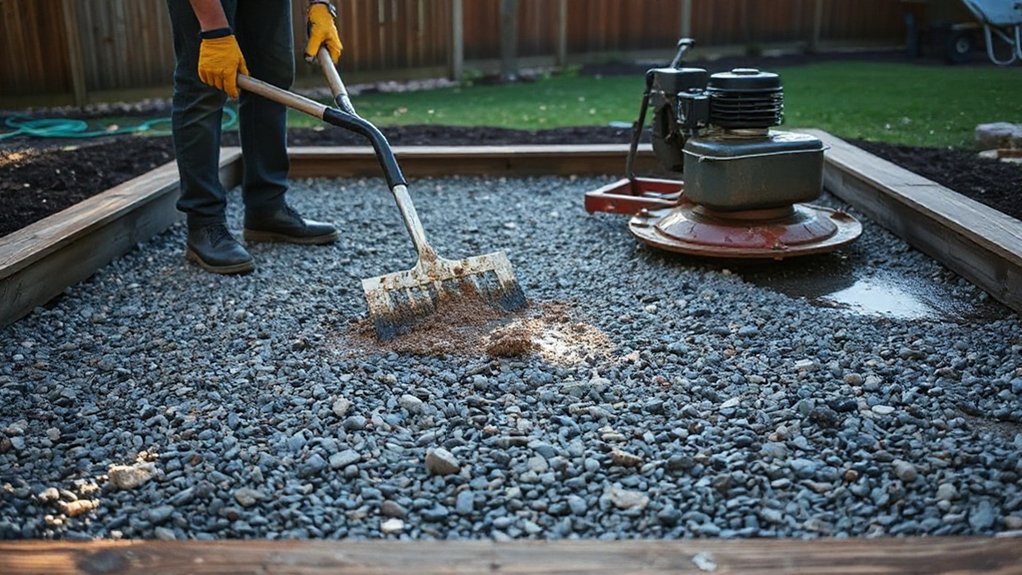
Before you spread any surface gravel, install a compactable base layer (typically 3/4-inch minus/crusher run) to create a dense, load-bearing platform that won’t rut or shift. Place base material in 2–3 inch lifts, then rake to consistent thickness and slope for drainage. Don’t dump the full depth at once; thin lifts compact uniformly and prevent soft pockets. For moisture control, mist each lift with a hose until it’s damp like a wrung-out sponge, not soupy or running. Compact with a plate compactor, making overlapping passes in a crosshatch pattern, and focus along corners and gradual points. Verify soil compaction by checking for minimal footprinting and a firm, ringing sound under the plate. Add another lift and repeat until you reach design thickness.
Install Edging, Add Gravel, Level, and Maintain
After the base locks in tight and drains correctly, set rigid edging to contain the gravel and prevent lateral creep under foot traffic and furniture loads. Stake it every 12–18 inches, keep the top just above finished grade, and follow curves with segmented sections. Install landscape fabric up the inside face to stop fines migration.
Add gravel in 1–2 inch lifts, then rake to thickness. Use angular 3/8-inch minus or pea gravel per design, and screed with a straight 2×4 to establish a consistent plane. Lightly mist and compact with a plate compactor or hand tamper to reduce shifting under patio furniture. Recheck slope away from the house at 1/8–1/4 inch per foot. Maintain by topping off low spots, resetting edging stakes, and sweeping debris from decorative accents.
Frequently Asked Questions
Can I Build a Gravel Patio Over Existing Grass Without Digging?
Yes, you can, but you shouldn’t skip prep. You’ll smother grass with geotextile, add edging, then compact base stone and gravel. This improves garden aesthetics; material options include decomposed granite or pea gravel.
Do I Need a Permit or HOA Approval for a Small Gravel Patio?
You might need a permit and HOA approval, depending on local Permit requirements and your covenants. You should call your building department and review HOA guidelines, setbacks, drainage, and impervious-surface limits before installing gravel.
How Do I Prevent Weeds From Growing Through the Gravel Long-Term?
You prevent weeds long-term by excavating 4–6 inches, compacting, installing overlapping geotextile fabric, adding 3–4 inches of angular gravel, and edging tightly. For weed prevention and long term maintenance, spot-treat, regrade, and top up annually.
Will Gravel Patios Attract Ants, Moles, or Other Pests?
Gravel patios can attract ants and occasional rodents if crumbs, moisture, or voids persist—imagine tunnels under shifting stones. You’ll limit issues with Pest prevention: compacted base, edging, drainage. Gravel maintenance: rake, remove debris, spot-treat nests.
How Do I Keep Gravel From Scattering Onto the Lawn or Walkway?
Install rigid edging and a compacted base to contain stone; sweep often. In Landscaping design, specify proper Gravel selection: angular 3/8” or 1/2” aggregate. Add a geotextile and maintain 1–2% slope.
Conclusion
You’re almost done, but don’t rush the last pass. Recheck slope for positive drainage, then confirm the fabric overlaps stay buried and tight. Walk the surface and spot any soft zones before they become ruts. Add the final gravel lift, rake to grade, and compact in thin passes. Now set edging fasteners and lock the perimeter. The payoff comes tomorrow—after a light watering—when you see whether it holds perfectly.
About the Author