Pick a watertight bowl, urn, or trough that suits your space and sound goals, then hide a reservoir (below-grade tote or tucked basin) with a grate and river rock. Set a submersible pump sized to your lift (about 80–150 GPH for 6–12 inches, 200–400 GPH for 18–30 inches), run UV-rated tubing with a valve, and test flow at half-open. Tune spray by lowering drop height, angling outlets, and topping off weekly. Keep going for placement and concealment tips.
Key Takeaways
- Choose a watertight container and low-splash style (bubbler or small recirculating fountain) sized for your space and wind exposure.
- Build a hidden reservoir if needed: dig, add geotextile and sand, level the basin, and cover with a grate and river rock.
- Install an outdoor-rated submersible pump with compatible tubing, clamps, and a flow-control valve to create a closed recirculating loop.
- Use a GFCI outlet and route cords safely; fill to the pump minimum line, then tune flow and outlet angle to reduce spray and noise.
- Conceal hardware with stones and plants, and maintain weekly top-offs, monthly filter rinses, seasonal descaling, and winter pump storage indoors.
Choose a No-Plumbing Water Feature Style
Whether you’re working with a tiny patio or a wide garden bed, the first design decision is choosing a no-plumbing water feature style that matches your space, sound preference, and maintenance comfort. For tight footprints, pick a tabletop bowl, urn, or bubbler where vertical height creates presence without stealing circulation. If you want masking sound, choose a recirculating fountain with a tighter splash zone and a deeper basin to reduce misting. For calmer visuals, a reflecting dish or trough reads modern and supports garden aesthetics with clean edges and still water. In hot, windy sites, avoid high jets; select low-flow bubbling to prioritize water conservation and limit evaporation. Wherever you place it, confirm sightlines from key seating, sun exposure for algae risk, and access for topping off and cleaning.
Fast Plan: Simplest DIY Setup by Space
Start by matching the simplest no-plumbing setup to your footprint: a balcony or patio needs a stable, wind-safe basin placement and a hidden pump cord path. If you’re tight on square footage, you’ll get a cleaner look with a tabletop or corner feature that uses a compact reservoir and a defined splash zone. Next, you’ll pick the quickest layout for each space so the feature reads intentional, not improvised.
Balcony Or Patio Setup
If you’re working with a balcony or compact patio, you can build a no-plumbing water feature that looks intentional and stays low-maintenance by treating it like a small piece of outdoor furniture. Choose one stable footprint: a weatherproof trough or glazed pot on a plant stand, positioned where splashes won’t hit doors and where you can reach a nearby outlet. Hide the reservoir behind a tall planter, and route the pump cord along the railing with UV-rated clips. For Urban gardening, match finishes to your containers—matte black, warm terracotta, or concrete—and repeat that material elsewhere for cohesion. Keep water depth shallow for safety, add a smooth landing stone, and you’ll boost wildlife attraction without inviting mosquitoes; run the pump daily and refresh weekly.
Tabletop Or Corner Setup
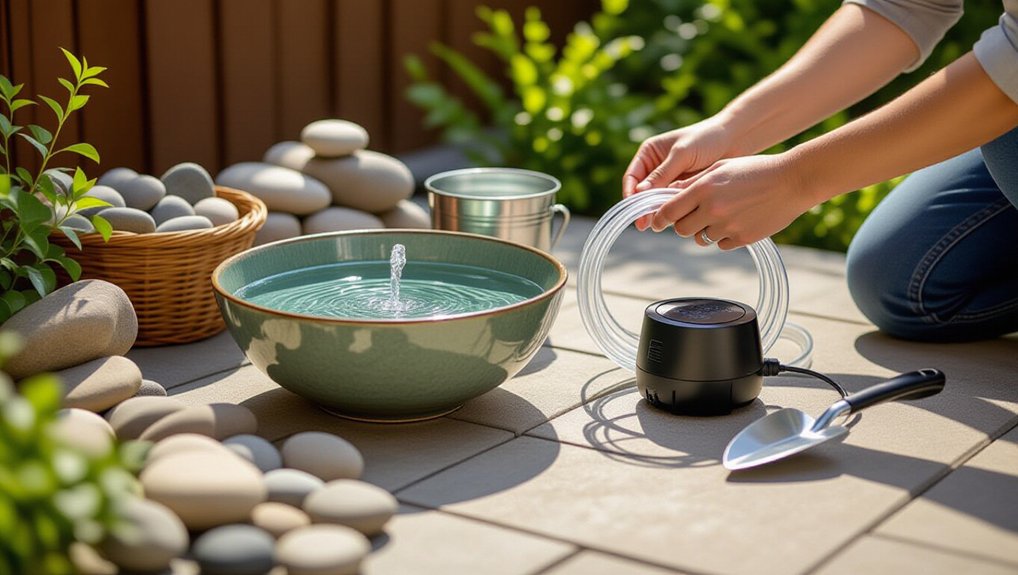
Because a tabletop or corner feature sits close to where you relax, keep the build compact and intentional: set a shallow, glazed bowl or cube vessel on a waterproof tray, drop in a small submersible pump, and run the cord straight to a nearby outlet behind the table leg or along the baseboard with low-profile clips. Hide the pump under a rinse-clean layer of decorative stones, leaving the intake clear. Add a short riser tube and a small spout rock so the flow sounds soft, not splashy. Top off with distilled water, then float or pot a Water plant in a mesh cup to stabilize the look and help clarity. Aim the return stream toward the vessel wall to reduce ripples. Finish by wiping drips and aligning the tray to protect surfaces.
Materials List for a No-Plumbing Fountain
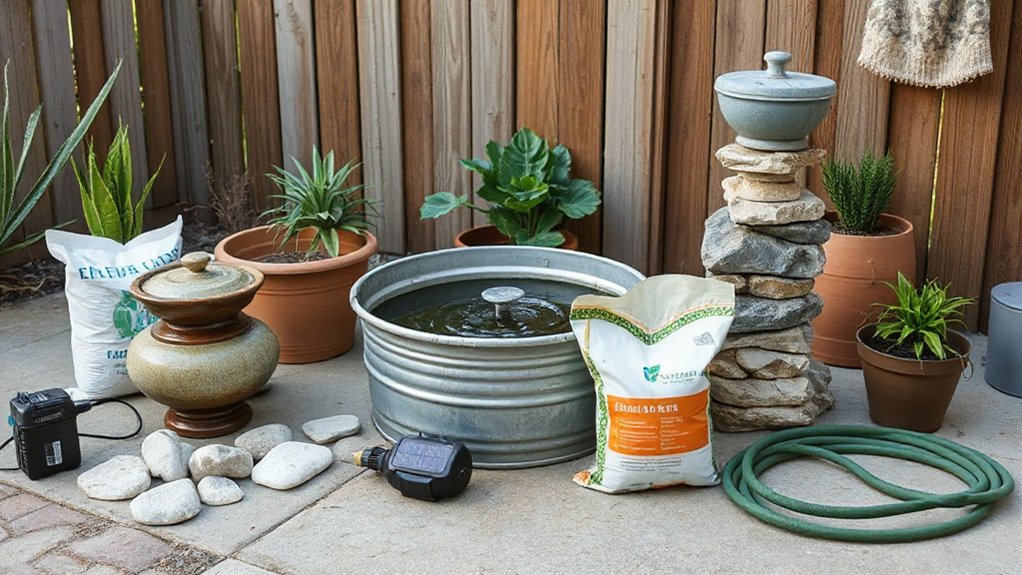
Whether you’re building a sleek modern basin or a rustic barrel bubbler, you’ll get the cleanest, quietest result by choosing materials that work as an integrated system: a watertight vessel sized for your space, a submersible pump matched to your desired water height and sound level, flexible tubing with secure fittings, a hidden reservoir (or internal liner) to prevent leaks, and a stable topper—like a drilled stone, spillway, or fountain head—supported by a grate and screened intake to keep debris out. Add a pump bag or prefilter, a check valve to prevent backflow, and a flow-control inline valve for tuning. Use black UV-resistant tubing and stainless clamps. Plan a GFCI plug and outdoor-rated cord cover. For water chemistry and wildlife attraction, include a small skimmer net, test strips, and enzyme clarifier. Keep extra filter media on hand.
Pick a Container and Hidden Reservoir Method
Before you buy a pump or drill a topper, lock in your container and hidden-reservoir strategy, since those two choices determine how much water you can store, how often you’ll top off, and how clean the finished feature looks. Choose a vessel that matches the site: glazed ceramic for patios, concrete for stability, or resin for lightweight decks. For a “disappearing” look, set a watertight tote or basin below grade, cover it with a grate, then hide the grate with river rock; you’ll get a larger reserve without a bulky visible bowl. Add a removable access stone so you can rinse debris fast. If you want Aquatic plants, keep a separate planting pocket or shallow inner bowl. Prioritize Water safety: anchor the top layer, eliminate pinch gaps, and avoid open deep water.
Size the Pump (GPH) for Your Fountain Height
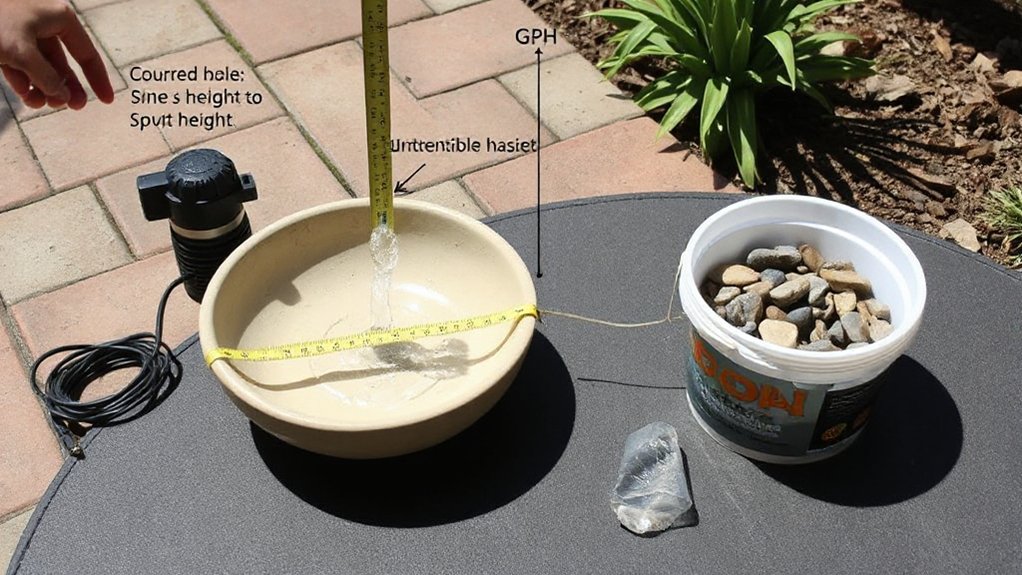
Now that you’ve locked in the vessel and hidden-reservoir layout, match the pump’s flow rate (GPH) to the height you want the water to rise, since lift—not basin size—drives performance. Start with your target fountain height, then read the pump curve: you need the GPH the pump delivers at that vertical head, not its “open flow” rating. As a rule, choose a pump whose max head is at least 1.5× your intended lift, so you’ve got tuning range.
For a gentle bubbler, aim for 80–150 GPH at 6–12 inches. For a small jet or spill, target 200–400 GPH at 18–30 inches, then fine-tune with a valve. Keep tubing short, smooth, and wide to protect flow.
Power It Safely Outdoors (GFCI, Solar, Cords)
Because water and electricity share the same footprint in a DIY fountain, you’ll get the cleanest—and safest—setup by designing the power path as deliberately as the basin. Start with a weatherproof GFCI receptacle or a portable in-line GFCI, and keep the plug connection off the ground under an in-use rated cover. Route cords along edges, not across walk lines, and hide them with gravel strips or planting pockets while keeping them accessible for inspection. Choose an outdoor-rated extension cord (12–14 gauge for most small pumps), keep it as short as possible, and create a drip loop before the outlet. If you prefer solar power, use a panel with a proper controller and a battery buffer so flow stays stable. Prioritize outdoor safety: protect cables from mowers, pets, and UV.
Build the Hidden Reservoir + Support Grate
Although the pump and plumbing stay out of sight, the hidden reservoir does the heavy lifting—holding enough water to keep the basin stable while a support grate carries the visible “dry streambed” finish above it. Excavate a clean-edged pit sized for a sturdy basin or reservoir box, keeping the rim just below finished grade so your surface materials read continuous. Set a geotextile underlayment, then level a compacted sand bed to prevent rocking and protect liners. Drop in the basin, check level in two directions, and backfill evenly to lock it in place. Add hidden water storage volume with modular vaults if you need longer run time. Cap it with a rigid support grid, shimming as needed so stone sits flat without sagging.
Set Up the Recirculating Loop (Tubing, Valve)
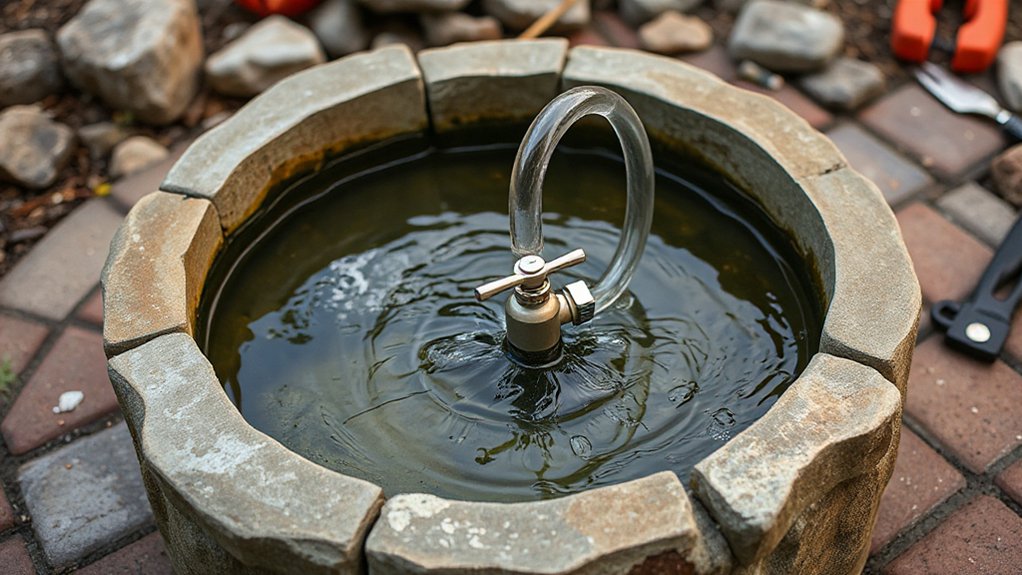
Once the reservoir and grate sit solid and level, lay out a clean recirculating loop that keeps water moving without telegraphing any hardware at the surface. Run flexible tubing from the pump outlet to your feature’s inlet, hugging the basin wall and tucking it under stone edges for a seamless read. Cut cleanly, warm the hose end if needed, and seat it fully on barbed fittings. Add an inline ball valve near the pump where you can reach it through the access gap; this gives you discreet control and simplifies future swaps. Secure connections with stainless clamps and keep bends broad to prevent kinks. Route the power cord on a separate path to reduce clutter and protect Water quality. Plan maintenance routines: leave service slack and label the valve direction.
Test No-Plumbing Flow: Reduce Splash, Tune Sound
With the tubing, valve, and cord routed cleanly, you can power up the pump and tune the flow before you lock in any stonework. Fill the basin to the pump’s minimum line, then open the valve halfway and listen. If you hear a harsh hiss or see spray, reduce flow, lower the drop height, or angle the outlet toward a concave rock face. Use flat, stable stones to create a short “run” that sheets water instead of launching it. Adjust until the sound matches your site: a soft trickle for patios, a brighter babble to mask street noise. Watch for wind-driven splash zones and shift rocks accordingly. Choose eco friendly materials that won’t leach, and refine the cascade for clean, calm aesthetic design.
Hide the Hardware and Maintain It Long-Term
After you’ve tuned the flow, disguise every functional piece so the feature reads like planted stonework, not a pump kit. Tuck the pump under a flat capstone with a finger-width service gap, and route the power cord in a shallow soil trench to the nearest outlet cover. Hide the intake with a dark gravel pocket and a removable screen you can lift without shifting rocks. Use plant integration to veil edges: sedges, dwarf mondo, or creeping jenny soften liner lines while keeping access clear. Add low garden lighting aimed across the water, not at the basin, so cables disappear in shadow and glare stays off paths. For longevity, top off weekly, rinse the prefilter monthly, and descale stones seasonally. Winterize by storing the pump indoors.
Frequently Asked Questions
How Do I Prevent Mosquitoes From Breeding in the Standing Water?
You’ll prevent mosquitoes by keeping water moving and clean: add a small pump, refresh weekly, scrub edges, and use BTI dunks. For Mosquito prevention and standing water management, design concealed circulation and easy-access maintenance points.
Will Local Codes or HOA Rules Restrict a No-Plumbing Water Feature?
Yes—rules can swoop in like a hawk over your courtyard. You should check permitting requirements for electrical, setbacks, and basins; then review HOA restrictions on visibility, sound, lighting, and materials. Document approvals.
Can I Use Rainwater or Distilled Water to Reduce Mineral Buildup?
Yes—you can use rainwater or distilled water to cut mineral buildup. Add water filtration and steady water circulation to keep the basin clear. Test rainwater for debris, and top off with distilled regularly.
What Plants and Fish Are Safe to Add to a Small Recirculating Feature?
Like a living mosaic, you’ll add Aquatic plants like dwarf papyrus, anubias, and water lettuce, plus hardy minnows or guppies; prioritize Fish safety by skipping koi, using shade, filtration, and stable temperature.
How Do I Winterize the Fountain in Freezing Climates?
In freezing climates, you’ll drain the basin, pull the pump, and store it indoors. Add winter maintenance: cover the feature, elevate décor, and use frost protection like insulating wrap to prevent cracking.
Conclusion
You’ve built a water feature that works like a closed-loop jewel—no plumbing, no hassle. With the right container, a hidden reservoir, and a dialed-in pump, you control splash, sound, and scale. Adjust the valve, shift the stones, and let the surface do the styling: shimmer, murmur, calm. It’s design and function in one compact footprint. Now keep it crisp—clean the pump, top off water, and enjoy daily.
About the Author