
You’ll turn a garage into a comfortable living zone by treating it like conditioned space from day one: confirm permits, egress, and required fire separation, then lock in a furniture-first layout with clear exits, outlets, and lighting zones. Air-seal every crack and penetration, test the slab for moisture, and install a proper vapor layer before finishes. Insulate walls/ceiling and upgrade or rebuild the door wall. Add a mini-split plus ventilation and you’ll see the rest.
Key Takeaways
- Confirm permits, egress windows/doors, and fire-rated separations before construction to ensure the garage qualifies as habitable living space.
- Plan the layout early: define zones, clear circulation, storage, and outlet/lighting locations aligned with furniture and task areas.
- Air-seal all cracks and penetrations, weatherstrip doors, and seal garage door edges to eliminate drafts and pollutant infiltration.
- Control moisture by testing the slab, improving drainage, applying concrete sealer, and installing taped vapor barriers under any finished flooring.
- Insulate walls, ceiling, and doors to code, then add dedicated HVAC and ventilation, such as a properly sized ductless mini-split.
Decide If You’re Doing a Full Garage Conversion
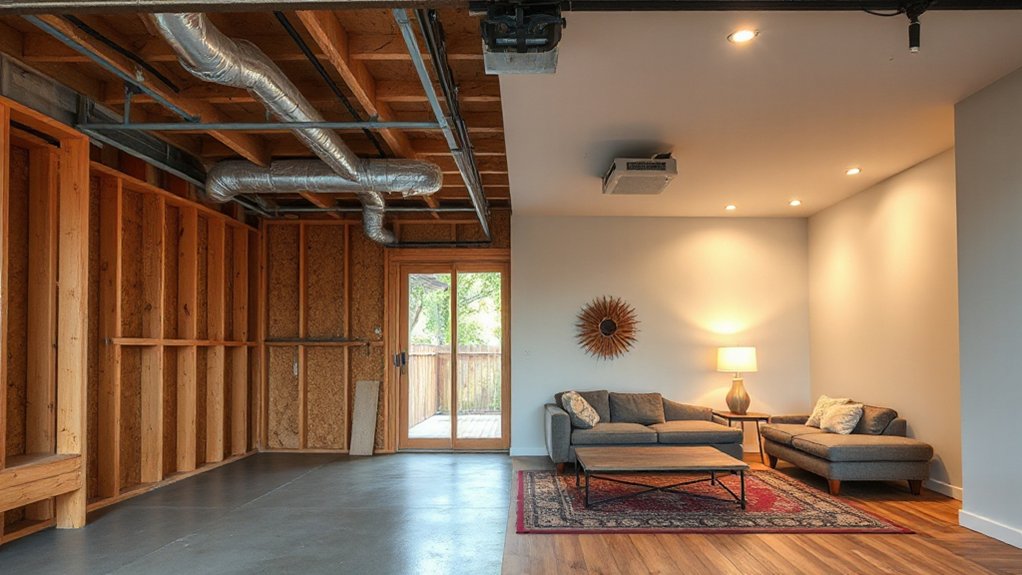
Before you start framing walls or pulling permits, decide whether you’re committing to a full garage conversion or creating a flexible, semi-finished space. A full conversion treats the garage like conditioned interior: continuous insulation, air sealing, dedicated HVAC supply/return, and durable wall and floor assemblies that handle moisture. If you want flexibility, keep the slab exposed or use a floating floor, leave some walls unfinished for storage, and design removable partitions. Map your layout around clear circulation, built-ins, and shallow closets to preserve square footage. Plan lighting zones early so switches, receptacles, and task lights land where furniture will actually sit. Tie Garage aesthetics to practical finishes: washable paint, impact-resistant drywall, and clean base detailing. Expect DIY challenges in leveling floors, integrating mechanical runs, and managing condensation at openings.
Verify Permits, Egress, and Fire-Code Rules
Once you’ve chosen a full conversion or a flexible semi-finish, lock down the rules that dictate what you can build: permits, safe egress, and fire separation. Start by calling your local building department to confirm the building code triggers for changing use from garage to habitable space and whether you’ll need structural, electrical, plumbing, or HVAC sign-offs. Map the permit process early so inspections don’t stall insulation or drywall. Verify egress: bedrooms typically require a compliant window or exterior door with minimum clear opening, sill height, and reachable operation. Check fire-code separations between the house and garage zone—rated door, self-closing hardware, and protected penetrations. Confirm ceiling and wall ratings if there’s living space above, and document everything.
Plan Zones, Entry Points, and Furniture Layout
Because a converted garage often has an awkward footprint and limited openings, you’ll get a safer, more comfortable result by zoning the space on paper first: define the primary living area, any sleeping alcove or office nook, storage/utility locations, and a clear path of travel to every exit.
Set your Entry design early: keep the main door swing clear, provide a landing, and avoid pinch points at hall widths. Place heavier functions (kitchenette, laundry, mechanical closet) on existing service walls to reduce reroutes and protect required clearances. For Furniture arrangement, anchor seating to solid walls, keep walkways unobstructed, and maintain access to windows, panels, and shutoffs. Use multipurpose pieces—sofa bed, drop-leaf table, ottoman storage—to preserve open floor area. Mark outlet locations and lighting zones to match the final layout.
Fix Air Leaks and Moisture Before Finishes
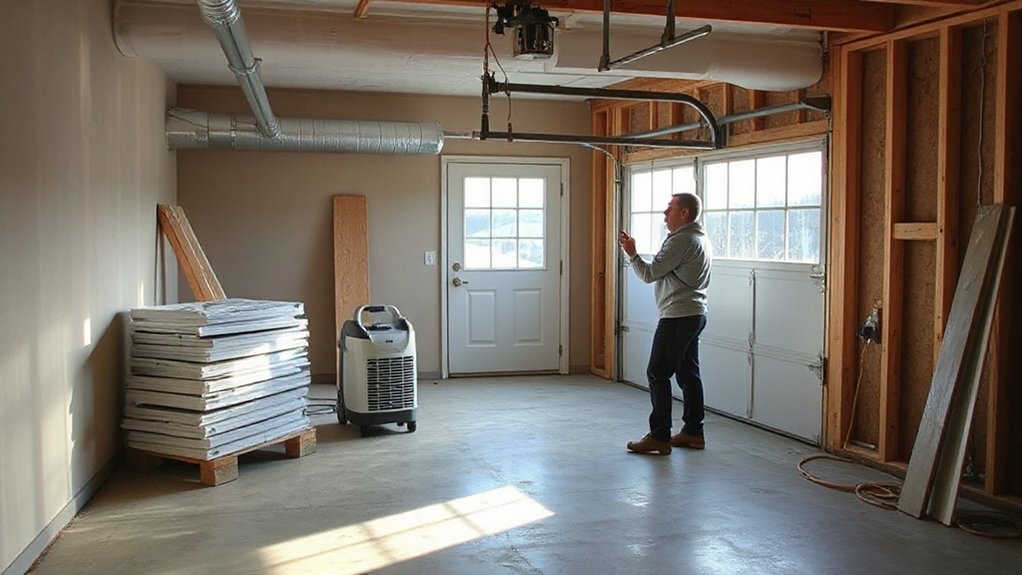
Your zone and furniture plan tells you where comfort matters most, so seal the shell next to lock in that performance. Walk the perimeter with a flashlight and seal every penetration: sill plate cracks, slab-to-wall joints, framing gaps, and utility chases. Use fire-rated sealant where code requires (around gas lines, flues, and any rated assemblies). Add gaskets behind electrical boxes, foam around pipes, and weatherstrip the service door; finish with a tight threshold and sweep. For Sealing gaps at the big door, use side and top stops plus a full-width bottom seal. Then focus on Controlling humidity: verify drainage slopes away, patch slab cracks, and test for moisture. Install a sealed vapor barrier under finishes only where appropriate, and run a dehumidifier to hold 30–50% RH.
Insulate Walls, Ceiling, and the Garage Door
After you’ve sealed air leaks and managed moisture, you can insulate the wall cavities and ceiling to hit your target R-values without sacrificing headroom or code-required clearances. You’ll choose the right assembly for your framing—batts, blown-in, or foam—while maintaining a continuous air/thermal barrier where it matters. Then you’ll upgrade the garage door with a fitted insulation kit or an insulated replacement door so it stops acting like a giant heat sink.
Wall And Ceiling Insulation
Before you hang drywall or lay flooring, lock in a tight thermal envelope by insulating the garage walls, ceiling, and door to meet local code and keep the new living zone stable year-round. Verify stud depth, wiring clearances, and required R-values, then fit batts or cut rigid foam tight to framing with no gaps. Seal seams and penetrations with approved foam or caulk, and install a continuous vapor retarder where your climate zone requires it. For the ceiling, air-seal at top plates, add baffles at eaves, and blow in insulation to the specified depth while maintaining ventilation paths. Use Soundproofing techniques like mineral wool and resilient channel if you want quieter rooms. Plan backing and nailers now for cabinets, shelves, and aesthetic wall finishes later.
Garage Door Insulation Options
Wall and ceiling insulation won’t perform as intended if the garage door remains a thin, leaky panel, so treat it as part of the same thermal and air-sealing boundary. Start with garage door sealing: replace brittle perimeter weatherstripping, add a bottom retainer seal, and adjust the latch so the door compresses evenly against stops.
For insulation, choose code-appropriate insulation materials that fit your door type. For steel sectional doors, install foil-faced polyisocyanurate or EPS panels cut tight to each bay, then tape seams with compatible foil tape. Use a fire-rated cover or facing where required and keep clear of springs, tracks, and safety labels. For one-piece doors, use a bonded kit rated for vibration. Don’t block door vents if your jurisdiction requires them.
Replace or Rebuild the Garage Door Wall
Because the garage door opening was engineered for vehicles—not comfort—you’ll usually need to replace it with a framed, insulated exterior wall that meets local code for structure, air sealing, moisture control, and egress. Start by verifying loads and adding a proper header, king and jack studs, and anchorage to the slab and adjacent walls for structural reinforcement. Sheath with rated panels, integrate a continuous WRB, then flash the sill, jambs, and head to manage bulk water. Use taped exterior foam or cavity insulation to match the rest of your thermal envelope, and seal all penetrations with code-approved sealants. If you keep a door for garage door aesthetics, install an insulated, gasketed unit with a threshold and wind-rated hardware. Plan for windows or a code-compliant exterior door.
Choose Comfortable, Moisture-Safe Flooring
Start at the slab and choose waterproof flooring that can handle garage-grade moisture, such as LVP, sealed concrete with coatings, or tile rated for wet areas. You’ll also need the right underlayment and a continuous vapor barrier where required, with seams taped and edges sealed to control vapor drive and prevent mold. Balance specs for comfort and warmth (cushion, radiant-ready layers) with durability (wear layer, impact rating, slip resistance) so the floor performs like true interior space.
Waterproof Flooring Material Options
Even if your garage looks dry most days, moisture can still creep up through the slab, blow in under the door, or condense during temperature swings, so your flooring choice has to be waterproof, comfortable underfoot, and rated for below‑grade concrete conditions. For resilient, code-smart finishes, prioritize Waterproof flooring with low permeability and stable dimensions. Luxury vinyl plank/tile (LVP/LVT) installs thin, keeps headroom, and handles dampness without cupping. Click-lock, waterproof laminate built for concrete can work if it’s explicitly slab-rated. Porcelain tile is fully waterproof, easy to sanitize, and ideal for radiant-ready slabs, but it feels harder unless you plan area rugs. Rubber or EVA modular tiles add warmth and slip resistance, and you can replace damaged pieces. These moisture resistant options optimize comfort and cleanup.
Underlayment And Vapor Barriers
Where does garage moisture usually cause the most damage—right under your finished floor? Treat the slab like a below-grade surface and assume moisture will migrate upward. Start by testing: tape down plastic for 24–48 hours or use a calcium-chloride/RH test if your flooring spec requires it. If readings are high, apply a compatible concrete moisture sealer or epoxy as your primary moisture barriers. Then install an underlayment that includes a sealed vapor layer, lapped and taped at seams, and turned up at walls before base goes on. Choose vapor retarders rated for slab use (often 6–10 mil), and keep fasteners out of them. Seal penetrations and leave the required perimeter gap to manage movement and inspection access.
Comfort, Warmth, And Durability
Because a garage slab stays colder and can wick moisture long after you finish the walls, your flooring has to deliver comfort without trapping water. Choose a floating system with an integrated vapor-resistant pad, or install a taped 6-mil poly layer under rigid panels rated for basements. Keep materials off the concrete with a dimpled membrane or sleepers, and maintain the required door clearances and egress thresholds. Use LVP or porcelain tile for durability, and avoid wall-to-wall carpet unless you can verify dry conditions year-round. If you add area rugs, pick Cozy textiles you can lift and dry. Finish the zone with slip-resistant profiles and base trim that leaves a small expansion gap. Pair the warmer floor feel with Ambient lighting to reduce glare and improve comfort.
Add HVAC, Ventilation, and Temperature Control
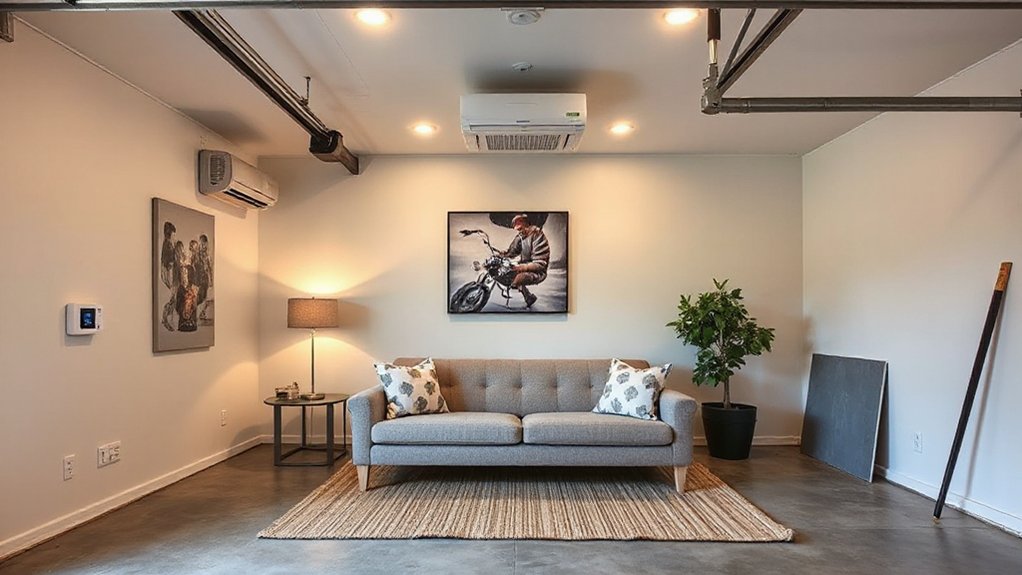
After you air-seal and insulate, you’ll need HVAC and ventilation that can handle a garage’s temperature swings without stealing floor space. Choose a ductless mini-split or slim-duct heat pump sized by a Manual J load calc, not by garage square footage. Use HVAC zoning so the new room runs independently without overconditioning the rest of the house, and seal any penetrations with rated fire-blocking where required.
Meet Ventilation standards with a dedicated, ducted exhaust fan or ERV/HRV that delivers continuous or intermittent airflow per code, with backdraft dampers and exterior termination. Add a programmable thermostat and, in humid climates, a dehumidification strategy to keep dew point controlled and prevent condensation on cooler surfaces year-round.
Add Lighting, Outlets, and Built-In Storage
With heating, cooling, and ventilation set, you can wire and lay out the room so it functions like finished living space. Pull permits, follow NEC, and use a licensed electrician if required. Plan circuits for likely loads, then place GFCI/AFCI-protected power outlets to meet spacing rules and avoid extension cords. Add dedicated receptacles for a mini-fridge, tools, or a desk, and label the panel clearly. Layer lighting: recessed or low-profile fixtures for ambient lighting, plus task lights over a worktop and a switched exterior-rated entry light. Put switches at standard heights and use three-way controls at main entries. Finish by building shallow cabinets between studs, a wall-mounted peg system, and overhead racks that preserve headroom and keep pathways clear.
Frequently Asked Questions
How Much Does a Garage-To-Living Conversion Typically Cost per Square Foot?
You’ll typically pay $100–$250 per square foot, depending on finishes and inspections. You’ll add costs for garage insulation, drywall, HVAC, and Plumbing considerations like drains, venting, and supply lines, per code.
Will Converting My Garage Increase or Decrease My Home’s Resale Value?
It’ll usually increase your resale value if you pull permits, add Garage insulation, and deliver livable square footage; it can decrease value if buyers lose Parking space or you bypass code-required egress, fire separation.
How Long Does a Typical Garage Conversion Project Take From Start to Finish?
You’ll typically finish in 6–12 weeks. Like steering a ship, you’ll chart permits, framing, and inspections. Garage insulation and plumbing modifications often add time. You’ll compress schedules by ordering materials early and coordinating trades tightly.
Can I Do a Garage Conversion Myself, or Should I Hire a Contractor?
You can DIY if you’ve got skills for permits, framing, wiring, plumbing, and insulation, but DIY challenges add risk. Hire a pro when code’s complex; prioritize contractor selection, clear scope, schedule, and inspections.
How Will a Garage Conversion Affect My Homeowners Insurance and Property Taxes?
Like adding weight to a scale, you’ll often raise property taxes and possibly your Insurance premium. You must report new square footage, permits, and Garage insulation upgrades, and update coverage limits, liability, and endorsements.
Conclusion
You’ve mapped the scope, checked permits and egress, and built a layout that uses every inch. You’ve sealed leaks, managed moisture, insulated the shell, and replaced the door wall for a proper envelope. You’ve chosen flooring that won’t trap damp, then added HVAC, ventilation, lighting, outlets, and storage to code. Now that garage feels like a real room—like a warm hearth in a lantern-lit cottage—efficient, safe, and ready for daily life.
About the Author