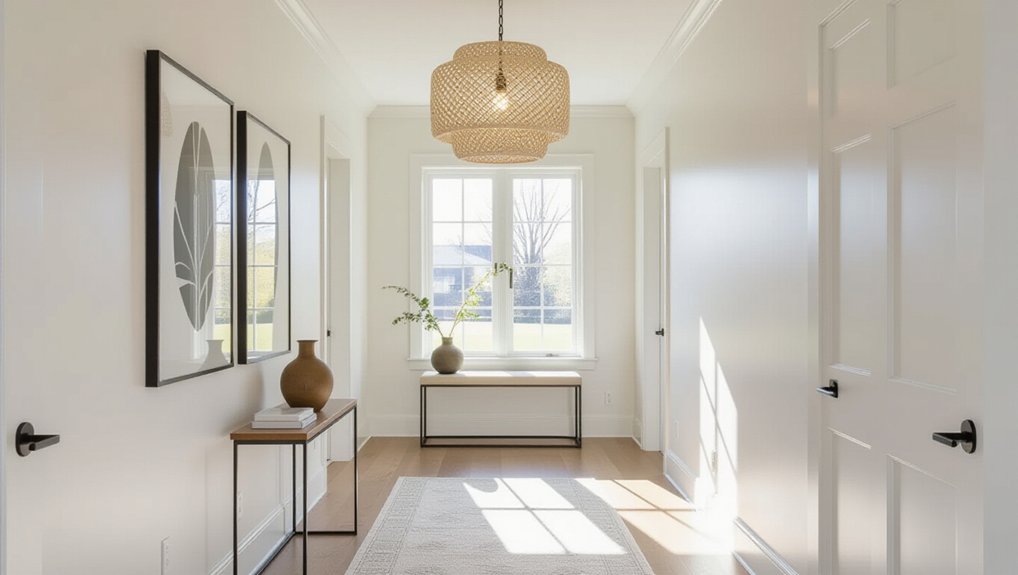
You’ll get a stylish hallway by measuring the circulation line, door swings, console depth, and key “pause points” (entry, midpoint, art wall) before you pick a statement light. Match the fixture to ceiling height: flush mounts for low ceilings, pendants or chandeliers for taller ones, always keeping 7 ft clearance. Space repeats about 6–8 ft apart, then layer sconces and a compatible dimmer. Choose high-CRI (90+) LEDs, 800–1100 lumens, and 2700–3000K to keep colors true—next, you’ll see how finishes and placement refine it.
Key Takeaways
- Measure hallway width, door swings, and “pause points” to place statement fixtures intentionally and avoid glare or shadows.
- Choose fixture types by ceiling height: flush mounts for low ceilings, pendants/chandeliers for height, keeping 7 ft minimum clearance.
- Space repeated fixtures about 6–8 ft apart, centered on the circulation line, and align key lights with consoles, art, or runner midpoints.
- Use high-CRI (90+) LEDs at 800–1100 lumens per fixture, with 2700K warm or 3000K crisp tones to suit decor.
- Layer overhead lights with sconces and compatible dimmers, and coordinate finishes with hardware or frames for a cohesive, designed look.
Measure Your Hallway for Statement Interior Lighting
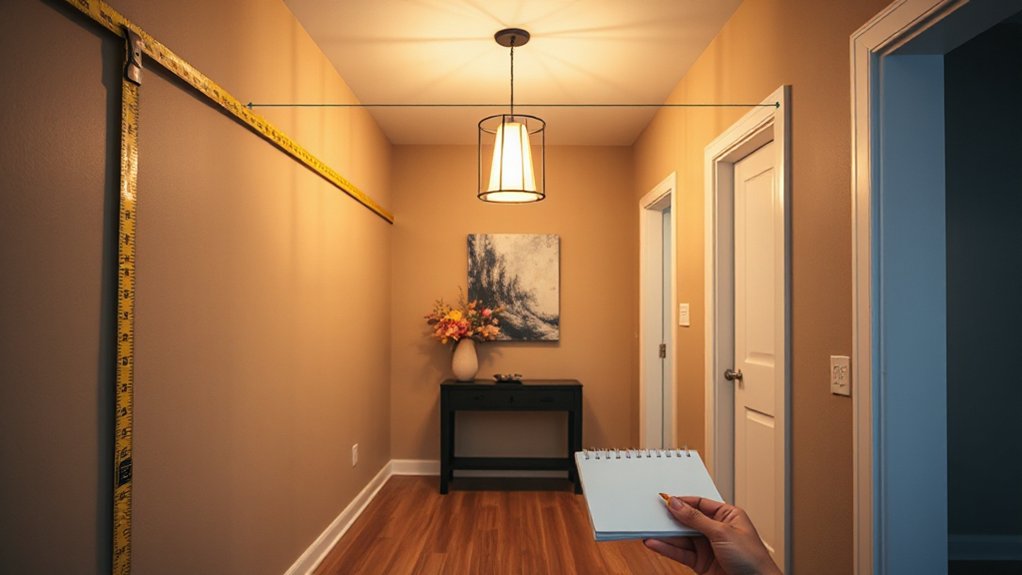
Before you fall for a sculptural pendant or oversized sconce, measure your hallway so the fixture looks intentional—not intrusive. Start with the corridor’s width and clear walking path, then note door swings, console depth, and any tight turns where a bold fixture could snag sightlines. Mark the fixture’s centerline and the visual “pause points” (entry, midpoint, artwork wall) so placement feels curated, not random. Coordinate Artwork placement by confirming the light’s spread won’t create glare on glass or harsh shadows on canvases. Finally, test wall color choices under the bulb’s temperature: warm LEDs flatter creamy paints and brass, while cooler light sharpens whites and blackened metals. Bring swatches, stand back, and adjust before you buy.
Match Statement Interior Lighting to Ceiling Height
Match your statement interior lighting to your ceiling height so the hallway feels elevated, not cramped. If you’re working with low ceilings, choose sleek flush mounts that keep headroom clear while still delivering a high-design look. With high ceilings, you can go for dramatic drops—pendants or tiered chandeliers that pull the eye upward and set a confident, on-trend tone.
Low Ceilings, Flush Mounts
A low hallway ceiling doesn’t mean you have to sacrifice statement lighting—you just need to choose a silhouette that sits close and still reads intentional. Go for a flush mount with a bold profile: a ribbed glass drum, a sculptural plaster disc, or a slim metal halo that feels tailored, not basic.
Use Ceiling textures to your advantage: a subtle plaster swirl or tongue-and-groove paneling looks sharper when light washes outward, not downward. Coordinate Wall colors with the fixture’s finish—warm whites love aged brass, while deep inks pop with satin nickel or blackened steel. Keep the diffuser opal to prevent hotspots, and size it generously so the hallway feels designed, not under-lit. Add dimming for day-to-night control.
High Ceilings, Dramatic Drops
Why let a tall hallway ceiling disappear into shadow when you can use it as a design feature? Choose a pendant or chandelier with a dramatic drop to pull the eye upward and define the corridor’s proportions. Hang it so the lowest point clears head height, yet sits low enough to feel intentional—often centered over a runner or console. Layer warm LEDs and a dimmer so you can shift from bright, welcoming light to evening glow without glare. Echo Architectural accents by selecting finishes that repeat nearby metals, stair spindles, or door hardware. Keep color schemes cohesive: smoked glass for moody neutrals, brass for warm palettes, matte black for modern contrast. Add a slim uplight canopy to softly wash the ceiling and make height feel luxe.
Choose Statement Interior Lighting: Pendant, Flush, Chandelier
Now you’ll choose the fixture type that sets your hallway’s tone: a pendant, a flush mount, or a chandelier. You can place pendants to create an even rhythm down the corridor, select a flush mount that reads clean and modern without looking builder-basic, or size a chandelier to deliver high-impact style without crowding the space. Your goal is a statement that looks intentional from the front door and feels perfectly scaled in motion.
Pendant Lighting Placement Tips
Because a hallway reads like a runway, pendant lighting needs precise placement to look intentional rather than intrusive. Center pendants on the circulation line, not the ceiling joists, and keep the lowest point about 7 feet above the floor so you won’t brush past. In longer corridors, repeat smaller pendants every 6–8 feet for rhythm; in short runs, use one bold drop as a focal marker.
Align each pendant with what you want highlighted: Wall art, a console, or a mirror. If you’re styling a runner, treat rug placement as your guide—hang the pendant over the rug’s midpoint to anchor the vignette. Choose warm dimmable LEDs and consistent color temperature so the space feels curated, not patchy at night.
Flush Mount Style Choices
Pendant drops bring drama, but a flush mount keeps your hallway sleek when you’ve got lower ceilings, tight sightlines, or doors that swing wide. Choose a profile that matches your trim: a thin LED disc for modern millwork, a ribbed glass dome for transitional spaces, or a semi-industrial cage for crisp edges. For Vintage accents, look for aged brass, milk glass, or prismatic shades that nod to heritage without feeling fussy. Prioritize glare control: frosted diffusers soften shadows and make artwork read cleanly as you pass. Get Color coordination right by repeating hardware finishes from nearby knobs, frames, or stair rails, then balance with a warm 2700–3000K lamp tone. If your hallway runs long, align multiple flush mounts for consistent rhythm.
Chandelier Scale And Impact
If you want your hallway to feel designed rather than merely lit, a chandelier delivers instant architecture—provided you scale it to the space. Start with diameter: add your hallway’s width and height (in feet) and convert to inches for a confident size guide. In narrow runs, choose a slimmer profile or linear frame so you keep clear circulation and sightlines.
Then control drop. You’ll want 7 feet of clearance to the floor, and in taller foyers you can hang lower over a runner to create a gallery-like moment. For impact, pick an artistic chandelier with sculptural arms or globe clusters; it reads curated while staying functional. Finish with dimmable modern lighting, warm 2700–3000K, so the sparkle feels welcoming, not harsh.
Plan Spacing and Placement for Statement Hallway Lighting
While a statement fixture sets the tone, its impact depends on smart spacing and placement along the corridor. Start by mapping the hallway’s length, ceiling height, and sightlines from key doorways. Center decorative fixtures on the main axis, then keep consistent gaps so the light rhythm feels intentional, not random. As a rule, aim for 6–8 feet between fixtures in longer halls, and adjust tighter if you’ve got lower ceilings or darker finishes. Place one fixture where you need a visual “pause”—over a console, artwork, or a turn—so it anchors the vignette. Choose LED-compatible options to protect energy efficiency, and confirm clearance above doors and swing paths. Finally, check reflections in mirrors and glossy paint.
Layer Statement Interior Lighting With Sconces + Dimmers
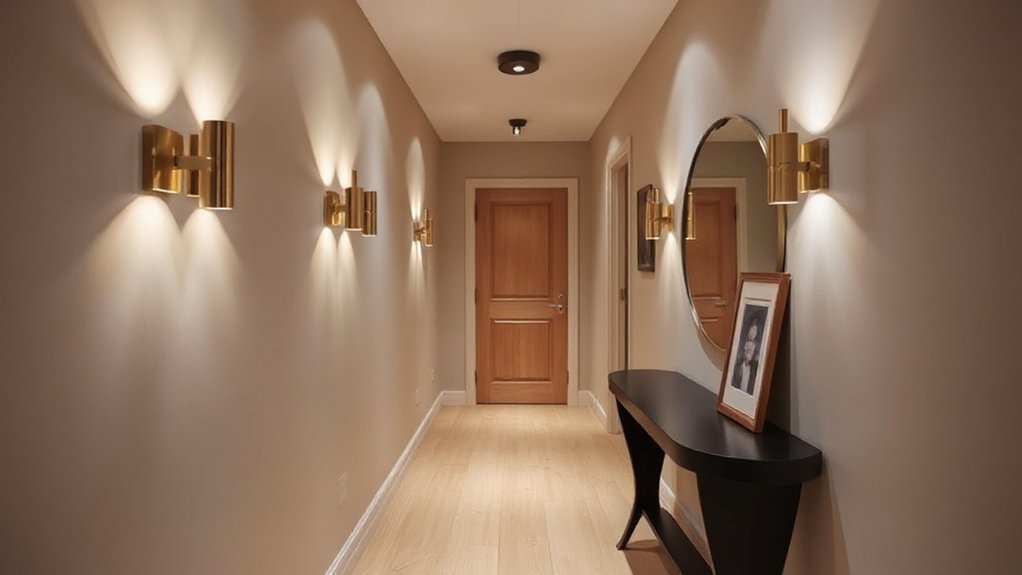
Even when your hallway’s statement fixture steals the spotlight, you’ll get a more polished, designer-grade result by layering it with sconces and dimmers. Add slim, architectural sconces to create flattering vertical glow and reduce harsh shadows on art, mirrors, and millwork. Place them at consistent heights so the run feels intentional, not busy.
Then put your ceiling fixture and sconces on separate dimmers, letting you tune artificial lighting to the moment: bright for arrivals, softer for evenings, and low for overnight wayfinding. If your hallway gets natural light, dimmers help you balance daylight shifts so the space never feels overlit or flat. Choose matching finishes for a cohesive look, or mix metals deliberately to echo hardware and frames.
Pick Bulb Brightness and Color for Hallway Lighting
Because a hallway reads at a glance, your bulb’s brightness and color temperature do most of the heavy lifting in how “finished” the space feels. Aim for 800–1100 lumens per fixture in narrow corridors, then adjust with dimmers for evenings and entertaining.
Choose 2700K for a warm, boutique-hotel glow; go 3000K if you want crisp whites and modern art to look true. Avoid 4000K+ unless you’re matching adjacent task lighting, since it can feel clinical. Pick high-CRI LEDs (90+) so skin tones and paint colors don’t go flat. For bulb longevity and energy efficiency, look for quality drivers, long rated life, and compatible dimming. If your hallway lacks daylight, warmer temps keep it welcoming.
Frequently Asked Questions
How Do I Clean and Maintain Delicate Statement Light Fixtures Safely?
Turn off power, let bulbs cool, and use microfiber cloths. Follow gentle Cleaning techniques: soft brush, diluted soap, no sprays. Add Maintenance tips: tighten fittings, check cords, dust monthly, schedule professional deep cleans.
Are Statement Hallway Lights Energy-Efficient and Compatible With Smart Home Systems?
Yes—you’ll get power-smart, platform-ready performance. Choose LED statement lights to cut energy consumption. Confirm smart compatibility via Zigbee, Z-Wave, or Wi‑Fi, and use dimmers, scenes, and schedules for client-pleasing control.
What Hallway Lighting Styles Best Complement Different Interior Design Themes?
You’ll match hallway lighting to your theme: minimalist with slim LEDs, industrial with metal cages, classic with lantern sconces, modern glam with brass globes. Align ambient accents to color schemes, scale, and finishes.
Do I Need an Electrician, or Can I Install Statement Lighting Myself?
You can DIY install if you’re swapping like-for-like and your wiring’s sound—but here’s the catch: electrical safety. If you’re adding circuits, relocating boxes, or unsure about codes, you’ll want a licensed electrician.
How Can I Reduce Glare or Flicker From Statement Lights in the Hallway?
Choose diffused shades, frosted bulbs, and aim fixtures away from eye level for glare reduction. For flicker prevention, use high-quality dimmable LEDs with compatible dimmers, stable drivers, and tighten connections or replace aging transformers.
Conclusion
When you design hallway lighting, you’re not just filling a corridor—you’re setting the tone. Measure precisely, match the fixture to your ceiling height, and choose a pendant, flush mount, or chandelier that feels intentional. Place lights with even spacing, then layer in sconces and dimmers for flexibility. Pick the right lumen level and a warm-white color. For example, in a 10-foot hallway, a slim globe pendant centered every 6 feet instantly reads custom.
About the Author