
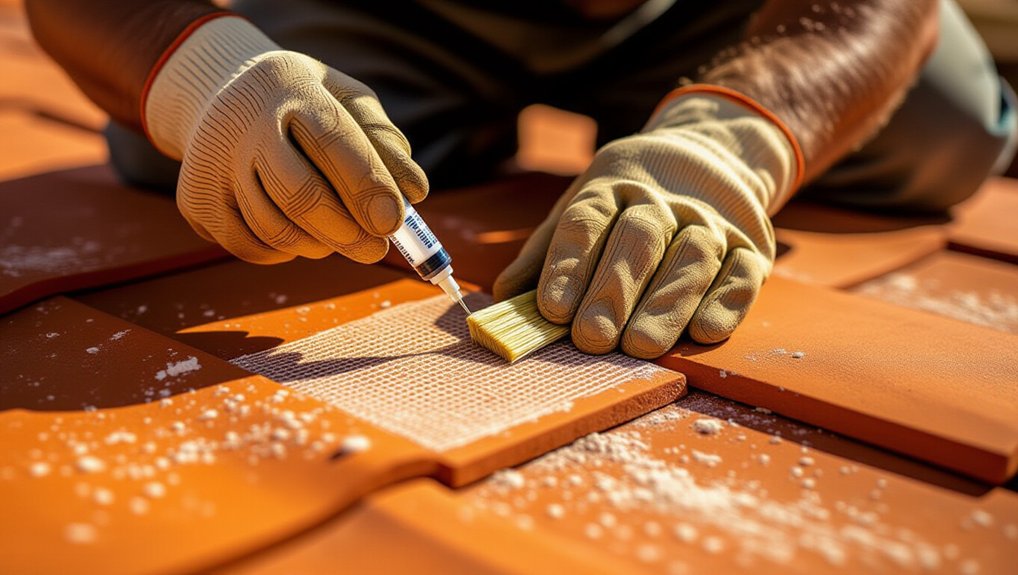
Inspect in good light from the ground first, then access the roof only in dry weather with fall protection, stepping on supported areas. Mark and photograph tight, short cracks that don’t cross nail holes, interlocks, or the pan. Let the tile go bone-dry, brush out grit, and wipe with isopropyl alcohol. Seal hairlines with a flexible roof-safe sealant; for wider splits, epoxy the underside and embed fiberglass mesh. If cracks reopen, plan a matched replacement—next you’ll see how to diagnose causes and prevent repeats.
Key Takeaways
- Inspect tiles in bright light, mark and photograph small cracks early, and avoid walking on unsupported tile edges.
- Repair only tight, short cracks that don’t cross nail holes, interlocks, or the water-shedding pan; replace compromised tiles.
- Clean grit from the crack and wipe with isopropyl alcohol, then let the tile become completely bone dry before sealing.
- Press a flexible, compatible exterior sealant into hairline cracks, tool flush, and let it cure fully before rain exposure.
- For wider cracks, reinforce the underside with exterior epoxy plus fiberglass mesh, then cure before reinstalling the tile.
Spot Clay Roof Tile Cracks Before They Leak
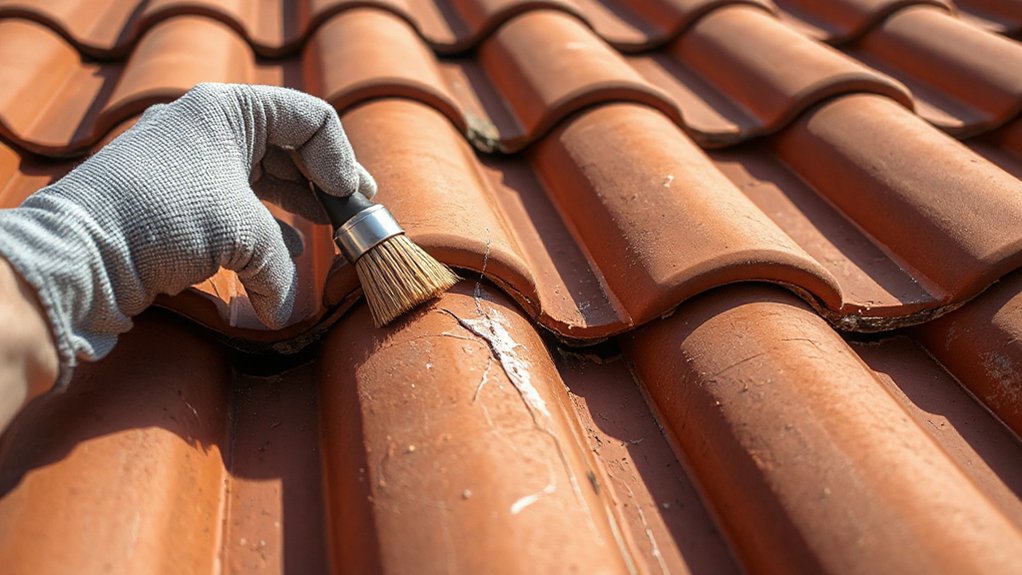
Before a small fissure turns into a ceiling stain, inspect your clay tiles in good light and treat every hairline crack as a potential leak path. Use binoculars from the ground first, then access the roof only with fall protection, stable ladders, and dry, calm weather. Walk on supported areas, step on battens where possible, and avoid tile edges that can snap. Mark suspect tiles with chalk and photograph them for tracking. Look for crescent fractures near fasteners, impact chips, lifted corners, and darkened underlayment lines at overlaps. During Clay tile maintenance, clear debris that hides cracks and check flashing interfaces for water staining. Good roofing material selection also means matching tile profile and thickness so stress concentrations don’t create new cracks.
Is the Clay Tile Crack Repairable or Not?
Although many hairline cracks look minor, you can’t assume they’re repairable until you verify whether the tile still carries load and sheds water correctly. Start by accessing the roof with fall protection and stepping on battens, not tiles, to avoid worsening damage. Inspect the crack’s path: if it’s short, tight, and doesn’t run through nail holes, interlocks, or the headlap area, you can usually repair it. Confirm Clay tile durability hasn’t been compromised by checking for flexing, spalling, or crumbling at the edges. Dry the surface, remove dust, and choose crack sealing techniques suited to clay—flexible, UV-stable sealant or epoxy designed for masonry. Apply sparingly, tool it smooth, and let it cure fully before wet testing.
Red Flags: When a Cracked Tile Must Be Replaced
Even if a crack looks small, you should replace the tile when it compromises the roof’s water-shedding path or the tile’s ability to stay anchored under wind and foot traffic. Replace immediately if the crack crosses the tile’s pan, runs through nail holes, or reaches the headlap, because those zones control drainage and fastening. You should also swap any tile that rocks, has lifted corners, shows spalling, or sounds hollow when tapped, since it can break under loading and expose underlayment. If you see active leakage, stained battens, or granule-like clay debris in gutters, don’t patch—replace and reset adjacent courses. For Historical preservation, source like-for-like profiles and colors. To reduce environmental impact, salvage unbroken tiles and recycle clay where accepted locally.
What Causes Clay Roof Tile Cracks (How to Confirm)
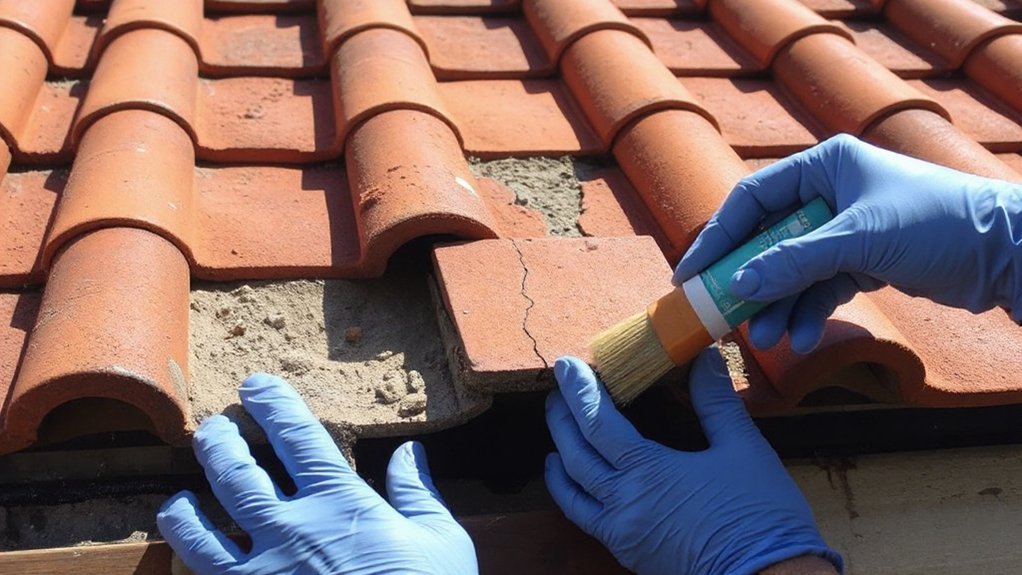
When you identify what caused a clay tile crack, you can confirm whether you’re dealing with a one-off impact or an ongoing stress that will keep breaking repairs. Start by mapping the crack: a sharp, starburst fracture usually indicates impact from a branch or dropped tool, while a long, hairline split often points to thermal movement or deck flexing. Check adjacent tiles and the course below; repeating cracks in a line suggest structural deflection or fastener restraint. Inspect edges for chipping at nail holes, a sign of over-tightened clips or corrosion expansion. Note staining and efflorescence; moisture cycling and freeze-thaw are key Environmental factors. Finally, compare age and firing quality: Historical durability varies, and brittle tiles crack sooner under load.
Roof Safety: How to Walk on Clay Tiles
Once you’ve confirmed a crack’s cause, protect the surrounding tiles so you don’t create new damage while you inspect or repair. Set your ladder on stable ground, tie it off, and wear soft-soled shoes, gloves, and a harness if pitch is steep. Step only where tiles are supported: near the lower third, directly above the batten line, and keep your weight centered. Don’t walk on ridges, hips, or tile corners. Use slow, flat-footed steps, and keep three points of contact when shifting. Avoid wet, dusty, or mossy areas. Stay clear of intake and exhaust paths for Roof ventilation, and don’t compress or dislodge roofing insulation at eaves or penetrations. If tiles flex or sound hollow, back off.
Gather Tools and Materials for Clay Tile Repair
Before you start repairing cracked clay tiles, you’ll need to stage essential safety gear—non-slip footwear, cut-resistant gloves, eye protection, and a stable ladder setup—to control fall and debris hazards. Then gather tile repair materials such as a compatible elastomeric sealant or mortar repair compound, primer if specified, and matching clay dust or pigment for blending. Finish by assembling required hand tools—wire brush, putty knife, caulk gun, small trowel, and a soft brush—so you can clean, fill, and finish the crack without stressing the tile.
Essential Safety Gear
Although patching small cracks in clay roof tiles looks straightforward, you’ll work at height on a brittle surface, so you need the right safety gear first. Start with fall protection: wear a properly fitted harness and connect it to an approved roof anchor with a shock-absorbing lanyard or lifeline. Use a stable extension ladder with a ladder stabilizer, and set it on firm, level ground.
Add Safety equipment that protects against slips and sharp edges. Wear non-marking, high-traction boots, cut-resistant gloves, and long sleeves to reduce abrasion from tile edges. Put on wraparound safety glasses to block grit and windblown debris, and use a NIOSH-rated dust mask when you disturb dry mortar or clay dust. Don’t skip hearing protection if you’ll use power tools.
Tile Repair Materials
Because clay tiles crack and chip easily under point loads, you’ll get safer, cleaner results if you stage all repair materials and tools in advance: a color-matched tile repair mortar or epoxy rated for exterior UV exposure, a compatible primer/bonding agent if the manufacturer specifies it, a margin trowel or putty knife, a stiff nylon brush, a utility knife, a spray bottle or sponge for light dampening, and clean rags for wipe-down. Choose products approved for clay and for your climate so the patch won’t debond, shrink, or chalk. If prior Tile installation used a specific bedding mortar, match chemistry to avoid differential movement. Keep water minimal; you want damp, not saturated, to protect underlayment and roof ventilation paths. Stage a small mixing surface and a sealed waste bag so debris can’t contaminate adjacent laps.
Required Hand Tools
With your repair compounds and consumables staged, set up the hand tools that let you prep cracks cleanly and control placement on a sloped surface: a margin trowel or flexible putty knife for packing mortar/epoxy, a utility knife for trimming loose edges, and a stiff nylon brush for scouring dust without gouging the clay. Add a carbide grout saw or crack-chaser to open hairlines for better keying, plus a narrow pointing trowel for feathering edges. Use a spray bottle for controlled dampening when the system requires it. Keep a shop vac with a crevice nozzle to capture silica dust at the source, and wear cut-resistant gloves. For Historical preservation and Material compatibility, choose tools that won’t chip glazed finishes or contaminate repair beds.
Prep the Cracked Clay Tile (Clean and Dry)
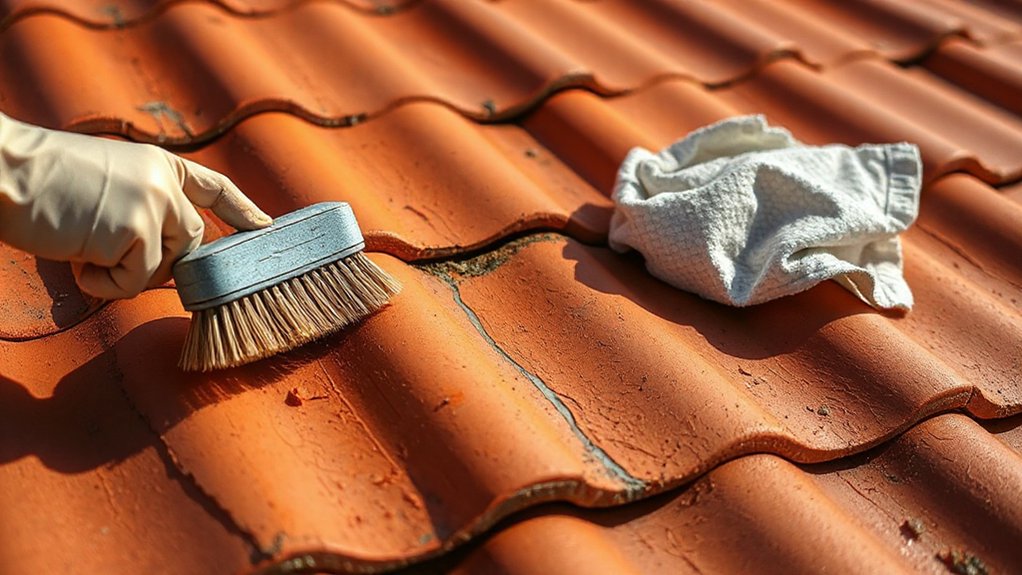
Before you apply any filler or adhesive, prep the cracked clay tile by cleaning it thoroughly and letting it dry completely. Set up safe access: use a stable ladder, roof shoes, and a harness on steep pitches. Brush off grit with a soft nylon brush to protect tile aesthetics and avoid widening the crack. Wash the area with clean water and a mild, non-residue detergent; don’t use acids or a pressure washer, which can erode the fired surface and compromise historical significance on older roofs. Rinse well, then wick standing water away with a lint-free cloth. Let the tile air-dry until it’s bone dry; moisture trapped in pores can prevent bonding and freeze-expand later. Work only in dry weather and shade.
Pick a Sealant for Clay Roof Tile Cracks
Once the tile is clean and bone-dry, choose a sealant that bonds to fired clay, stays flexible through temperature swings, and tolerates UV and rain without shrinking or chalking. Prioritize neutral-cure silicone or MS polymer roof sealants rated for exterior masonry; they adhere well and resist thermal cycling. For higher movement areas, use polyurethane only if it’s labeled non-staining and UV-stable, since some formulas yellow or harden. Avoid rigid epoxies and cementitious fillers on clay tiles; they can crack again and trap moisture. Check the product data sheet for service temperature range, elongation, and cure time. Wear nitrile gloves and eye protection, and ventilate when using solvent-bearing products. These sealant options support crack prevention by sealing out water and limiting freeze-thaw damage.
How to Seal a Hairline Crack in a Clay Tile
Although the crack looks superficial, you should treat a hairline split in a clay tile as a water-entry path and seal it methodically to keep moisture from wicking under the glaze and triggering freeze-thaw spalling. Set a stable ladder, wear gloves and eye protection, and work on a dry, cool day. Brush off grit, then wipe the fissure with isopropyl alcohol so the sealant bonds. Mask both sides with tape for a clean bead. Press a compatible, flexible sealant into the crack, forcing it to wet the edges; don’t just skim the surface. Tool it flush, remove tape, and let it cure per label before rain. This preserves the roof’s Historical significance and reduces environmental impact by extending tile life and limiting landfill waste.
How to Reinforce a Wider Clay Tile Crack
When a clay tile crack widens past a hairline, you need reinforcement—not just sealant—because movement and foot traffic can reopen the split and drive water under the tile. Work from a stable ladder, wear gloves, and avoid stepping on tiles; use roof hooks or a walk board if needed. Lift the cracked tile gently, clean dust from the split, and dry it fully. Butter the underside of the crack with exterior-grade epoxy, then embed an alkali-resistant fiberglass mesh strip across the crack on the underside for crack reinforcement. Add a second epoxy layer to fully wet the mesh, clamp lightly, and cure per label. Reinstall the tile, confirming proper overlap and drainage to protect Clay tile aesthetics and performance.
Blend the Repair: Color Match and Finish (Optional)
If the structural repair looks sound but the patch still stands out, you can blend it for a cleaner finish without compromising drainage. Start by dry-brushing the cured filler to remove gloss and high spots, then wipe dust with a damp cloth. For Color blending, tint an exterior-grade acrylic or silicate mineral stain with small test batches; match the tile’s base tone first, then stipple darker specks to mimic firing variation. Apply thin coats with a foam brush, keeping paint off laps, channels, and nail holes so water can shed freely. For Finish matching, seal only the repaired zone with a matte, breathable masonry sealer that won’t trap moisture. Wear gloves, eye protection, and a respirator when sanding or spraying. Let everything cure fully before walking on tiles again.
Replace the Tile If the Crack Keeps Growing
Even with a solid filler repair, a crack that lengthens, widens, or reopens after a few rain and heat cycles signals ongoing movement, so you should replace that tile rather than keep patching it. Crack expansion often means the tile is flexing, under fastener stress, or no longer seated properly, and continued sealing can trap water and worsen freeze-thaw damage.
Work from a stable ladder and roof hooks, wear cut-resistant gloves, and avoid stepping on unsupported tiles. Lift the overlapping course, remove nails or clips, and slide the failed tile out without prying against neighbors. Install a matching replacement, aligning profile and Tile color, then refasten per the existing system. Recheck overlap and drainage paths before you come off the roof.
Prevent Future Clay Roof Tile Cracks (and When to Call a Pro)
Because clay tiles crack most often from point loading and thermal movement, you can prevent many failures by keeping foot traffic off unsupported areas, replacing failed underlayment or battens that let tiles flex, and maintaining proper fastening so tiles stay seated without over-tension. Use walk pads, distribute weight with roof ladders, and never step on tile centers. Clear debris from valleys and keep gutters flowing so freeze-thaw and backing water don’t stress tiles. Inspect annually for slipped tiles, corroded nails, and mortar at hips and ridges; re-seat before movement propagates cracks. For Historical preservation and aesthetic considerations, match tile profile, color, and finish, and avoid incompatible sealants. Call a pro if you see widespread cracking, structural sag, active leaks, or you must lift multiple courses near skylights or ridges.
Frequently Asked Questions
Will Sealing a Crack Affect My Roof Warranty or Insurance Coverage?
Sealing a crack can affect coverage if you use unapproved materials or skip required documentation. For Warranty implications, follow manufacturer specs and authorized installers. For Insurance considerations, notify your carrier, keep photos, and retain repair invoices.
Can I Repair Cracks During Cold Weather or Right Before Rain?
You can’t reliably repair cracks in cold weather or before rain; it’s like mortaring a bridge in a storm. Temperature sensitivity ruins curing, and moisture shortens sealant longevity. Wait for dry, mild conditions; use fall protection.
How Long Should the Sealant Cure Before the Roof Is Exposed?
You should give sealant application at least 24 hours’ curing time before exposure; wait 48 hours for heavy rain or foot traffic. Follow label specs, keep tiles dry, and stop work if temperatures drop below limits.
Are There Fire-Rating Concerns When Using Roof Sealants on Clay Tiles?
Yes—fire-rating concerns exist; you must choose a listed, noncombustible sealant that won’t reduce the tile assembly’s rating. Like a lab torch test I saw, wrong caulk smoked. Prioritize fire safety and material compatibility.
Can Repaired Tiles Be Pressure-Washed, or Will That Reopen Cracks?
You can pressure-wash repaired tiles, but you’ll reopen cracks if you use high PSI or a narrow tip. Choose a low-pressure Cleaning method, keep distance, and confirm Sealant compatibility before washing. Wear fall protection.
Conclusion
You’ve tracked small clay tile cracks before they turn into leak highways, and you’ve reinforced what’s salvageable without gambling on safety. Treat each repair like stitching a sail before the storm: clean, bond, clamp, and cure with care. If a crack widens, spider-webs, or returns, replace the tile—don’t chase failure. Walk only on supported areas, use fall protection, and schedule a pro inspection when damage clusters or the roof feels unstable.
About the Author



