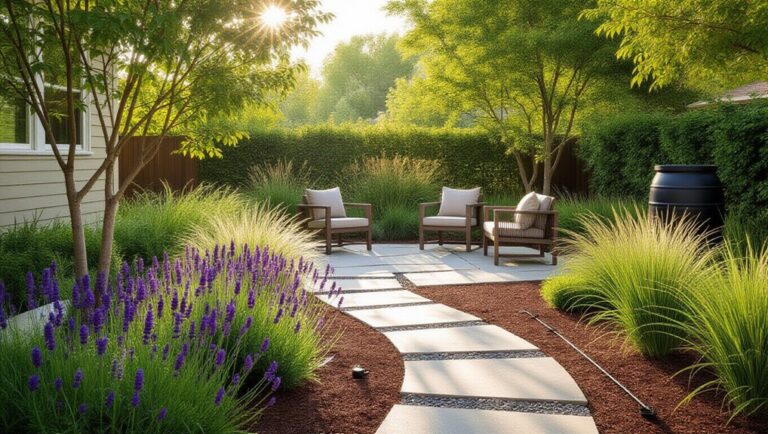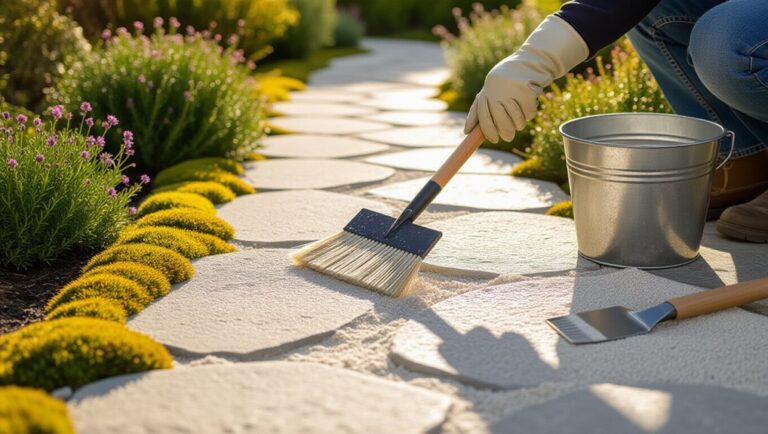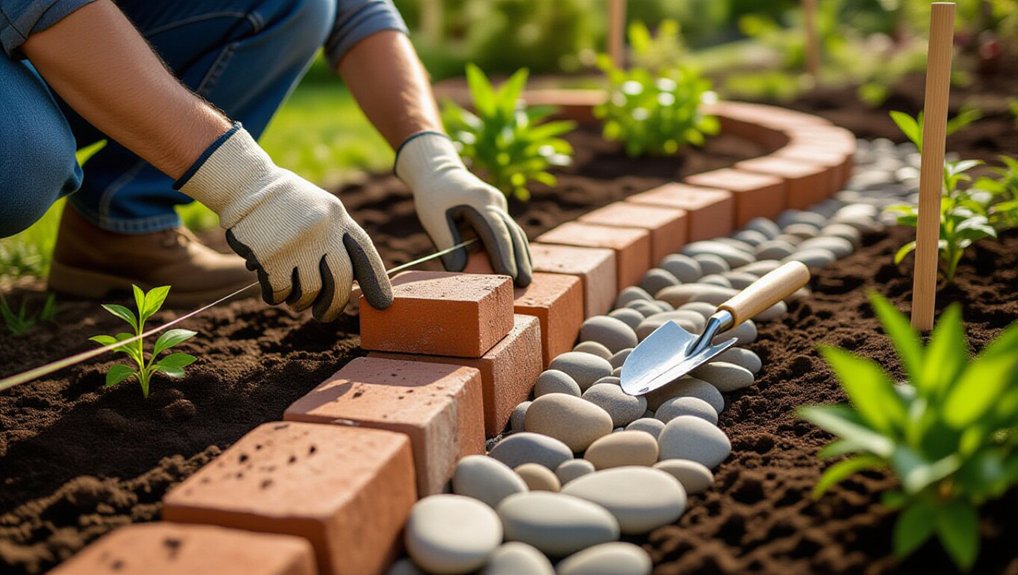
Start by choosing a budget border: recycled plastic installs fast but can heave, while bricks/pavers last longer if you level them. Mark your bed line with stakes and taut string, using a hose for smooth curves and stakes every 12–18 inches. Excavate a consistent trench 2–3 inches deep, tamp a firm base, and keep a slight 1–2% slope for drainage. Set edging 50–75 mm below grade and stake flexible runs every 300–450 mm. Next, you’ll see step-by-step builds for brick, gravel, and timber.
Key Takeaways
- Choose a budget edging material—recycled plastic, bricks, logs, stone, or bottles—balancing cost, looks, and long-term shifting or heave.
- Plan the border line with stakes, string, or a hose, then mark it using chalk, spray paint, or a shallow spade cut.
- Size the bed and trench for plant type: 10–15 cm annuals, 20–30 cm perennials, 30–45 cm shrubs, plus 5–10 cm edge clearance.
- Excavate and level a consistent trench, tamp the base, and add sand or compacted gravel under pavers for stability and drainage.
- Install edging flush to grade, stake flexible edging every 30–45 cm, backfill and tamp, then inspect quarterly and re-tamp after heavy watering.
Choose Your Garden Border Style (Fast Comparison)
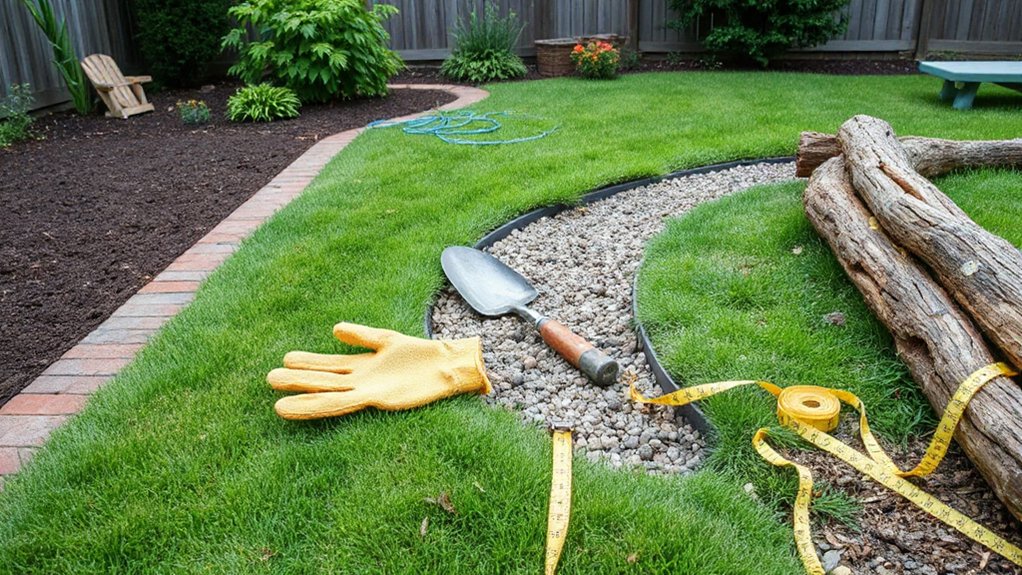
Before you buy materials, you’ll need to choose a border style that matches your garden’s layout, the edging job you want it to do (visual definition vs. soil/mulch containment), and how much time you’re willing to spend on installation and upkeep. For fastest install, use recycled plastic edging: it’s light, flexible, and clean, but it can heave and looks utilitarian. For maximum containment, choose pavers or bricks set tight; they resist mower strikes, improve garden aesthetics, and last, but require more leveling. For low cost and a natural look, use untreated logs or stone; expect shifting and periodic reset. For plant compatibility, avoid pressure-treated wood near edibles and choose non-leaching materials where soil pH matters. Match height to mulch depth and maintenance tools.
Plan the Layout: Curves, Corners, and Bed Lines
Start by marking your border’s curves and corners with stakes and a taut string, adjusting until the flow looks consistent and the turning points are clean. Then define clear bed lines by tracing the string line with marking paint, sand, or a shallow spade cut so you’ve got a fixed reference. When the layout reads as one continuous line with no kinks, you’re ready to set your budget edging accurately.
Mark Curves And Corners
Once you’ve defined the bed’s rough footprint, mark the curves and corners on the ground so your border materials follow a clean, repeatable line. For a flower bed curve, use a garden hose or rope as a flexible template, then pin it with short stakes every 12–18 inches to lock the radius. Keep gradual shifts; avoid tight bends that force gaps between units. For corners, decide whether you want a sharp 90° or a softened chamfer, then place two stakes at the corner endpoints and pull string between them to verify alignment. Walk the line from multiple angles and adjust until it reads smooth. This step also helps you stage decorative accents evenly and prevent awkward spacing later. Measure twice before moving on.
Define Clear Bed Lines
Although your hose-and-stake guide gives you a workable outline, you’ll get a cleaner border if you define the bed line as a fixed edge you can measure and dig to. Snap a chalk line for straight runs, or mark curves with short dots of spray paint every 6–12 inches so the radius stays consistent. Set a tape measure reference from a permanent point (patio corner, fence post) and record key offsets. Then cut the line: drive a half-moon edger or spade vertically 2–3 inches deep, keeping the blade plumb. Remove the sod strip to create a visible trench that won’t wander. This sharp edge limits grass creep, preserves soil fertility by reducing mixing, and guides planting techniques like spacing and mulch depth accurately.
Size It Right: Width, Depth, and Edge Restraint
Set your border’s dimensions first: measure the planned width for plant spread and access, then mark the required depth for your edging and any base layer. Keep the cut consistent with a string line or spray paint so the trench stays uniform along curves and corners. Choose an edge restraint (plastic, metal, brick, or timber) that matches that depth and can be staked or pinned to prevent creep and heave.
Measure Width And Depth
How wide and deep should your border be to stay crisp without wasting material? Start by marking the outline with string and stakes, then measure from the path edge inward. Set width by plant spacing: allow mature spread plus 5–10 cm clearance from the edge to prevent spillover. For mixed beds, use the largest plant’s spacing to define the minimum width.
Next, set depth based on soil preparation needs. Strip turf and excavate 10–15 cm for annuals, 20–30 cm for perennials, and 30–45 cm for shrubs. Keep the base level; check with a straight board and spirit level every 1 m. Slope the surface 1–2% away from hardscape to shed water and reduce erosion.
Choose Edge Restraints
Once you’ve confirmed the border’s width and excavation depth, choose an edge restraint that matches both so the line stays sharp and the soil doesn’t creep onto the path. For budget builds, use recycled brick, pressure-treated timber, or flexible plastic edging; pick a height that sits 10–20 mm above grade and extends at least 50–75 mm below finished soil to resist heave. Set rigid units on a 25–40 mm compacted gravel bed, then backfill and tamp to lock alignment. For curves, stake flexible edging every 300–450 mm to prevent bowing. Verify the inside face stays flush with your Soil preparation grade so water drains correctly. Maintain Plant spacing by aligning restraint lines to the planting plan, avoiding root-zone pinch points.
Cheap Materials That Actually Last Outdoors
Although “cheap” often signals short-lived, several low-cost edging options hold up outdoors because they resist rot, UV exposure, and soil movement. Choose pressure-treated lumber rated for ground contact, and separate it from soil with gravel to slow moisture wicking. Use recycled plastic edging for stable curves; it won’t splinter and tolerates freeze–thaw. Galvanized steel strips stay straight and resist corrosion when you backfill tightly and avoid standing water. Salvaged brick or concrete pavers last if you bed them on compacted sand and lock joints with fines. Avoid untreated pine and thin, uncoated metal. As you set your border, keep soil amendments inside the bed to reduce heave at the edge, and plan pest control gaps so mulch doesn’t bridge into lawns.
Tools You’ll Need (Nothing Fancy)
Durable budget edging still fails if you can’t cut, level, and anchor it accurately, so set yourself up with a small, basic tool kit. Bring a tape measure and marking paint or line to set consistent lengths and corners. Use a hand saw or snips matched to your edging material; keep a utility knife for trimming weed fabric.
For alignment, pack a 24-inch level, a straight board, and a rubber mallet for seated joints. You’ll also need a small sledge or hammer and stakes/pins to lock sections in place without cracking. Wear gloves and eye protection when cutting. If you’re integrating a garden ornament or planning later planting techniques, add a trowel and hand fork for tight adjustments.
Prep the Ground for a Clean, Straight Edge
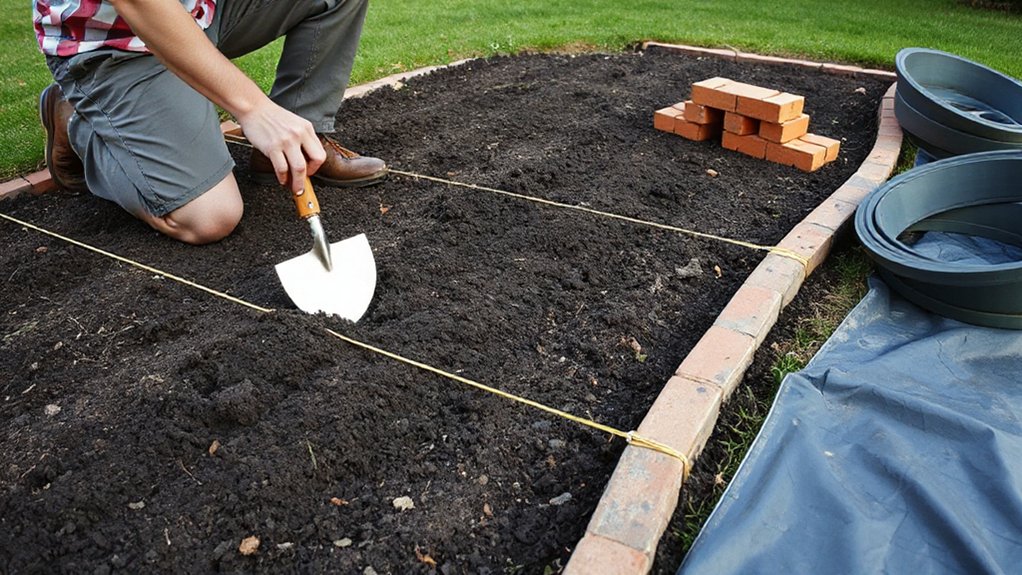
Before you install any budget edging, lay out the border line and prep a shallow, uniform trench so the material seats straight and stays put. Stretch a mason’s line between stakes or use marking paint for curves, then verify alignment from multiple angles. Cut the edge with a spade, keeping the blade vertical to prevent undercutting. Excavate a trench 2–3 inches deep or to your edging’s thickness, maintaining consistent depth with a ruler or marked stick. For soil preparation, remove loose roots, stones, and clods; rake the base flat and lightly tamp for a firm bed. For weed control, strip sod completely and pull perennial runners; don’t bury vegetation. If weeds are persistent, top-dress the trench base with a thin layer of sand to expose regrowth for removal.
Cheap Brick or Paver Border: Step-by-Step
In 6 straightforward steps, you can set a cheap brick or paver border that holds its line without mortar. 1) Snap a stringline for the finished face and mark curves with paint. 2) Excavate a trench 2–3 in deeper than the paver thickness and 4–6 in wider than the unit. 3) Add 2 in of compactable base (road base), mist lightly, and compact in lifts. 4) Screed 1 in of bedding sand level to the stringline. 5) Set bricks/pavers tight, tap to grade with a rubber mallet, and keep top edges flush. 6) Sweep polymeric sand into joints, mist per label, then backfill soil. Maintain watering techniques that don’t erode joints, and inspect gaps that shelter garden pests.
Gravel Border That Won’t Spread or Sink
Although gravel looks simple, you’ll only get a clean, stable border if you lock the stones in place and build a firm, drained base underneath. Mark the edge with a string line, then excavate a trench 4–6 in. deep and 6–8 in. wide. Compact the subgrade, maintaining a slight fall away from beds for drainage. Lay permeable landscape fabric, overlap seams 6 in., and pin every 12–18 in. Add 2–3 in. of crushed stone, wet it, and compact again to prevent sinking. Install flexible edging or a metal strip flush to grade to stop spread. Top with 1–2 in. of angular gravel. Keep soil amendments inside beds, and rake monthly to disrupt garden pests.
Timber or Bottle Edging: Quick Builds + Upkeep Tips
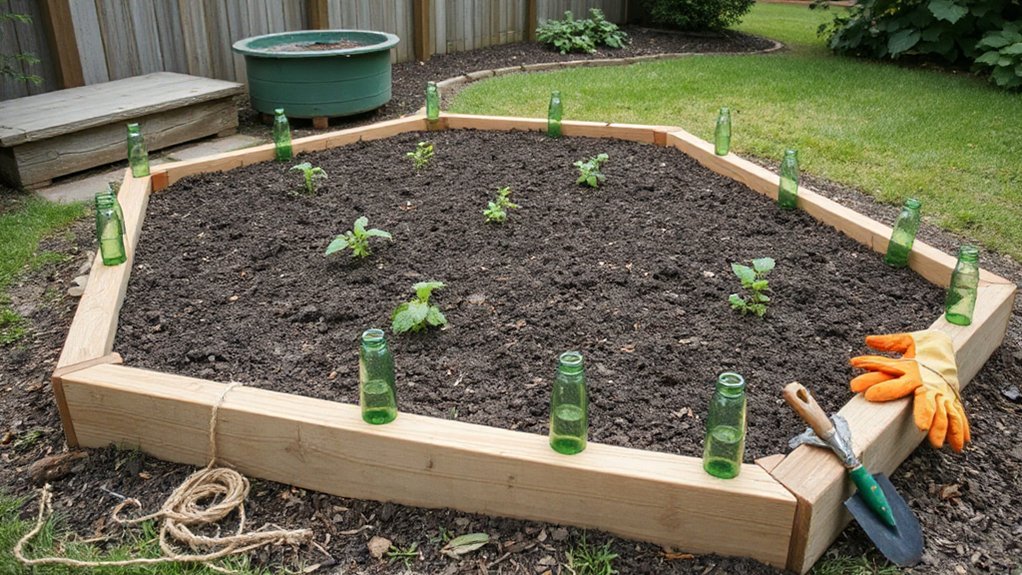
When you need a fast, low-cost border, timber offcuts or upcycled bottles give you a defined edge with minimal digging. For timber, cut pieces to equal lengths, pre-drill, and stake them flush with soil level to prevent mower strikes. For bottles, remove labels, invert, and set neck-down in a narrow trench; backfill and tamp to lock alignment.
Check level every 1–2 meters and correct with compacted soil, not loose mulch. Seal timber ends or use rot-resistant species to slow decay. To deter garden pests, keep gaps tight and avoid creating hidden cavities. With watering techniques, aim drip lines inside the border so runoff doesn’t undermine posts; after heavy watering, re-tamp any settled sections. Inspect quarterly, replace cracked bottles, and re-stake loosened timber.
Frequently Asked Questions
How Do I Keep Garden Borders Safe Around Kids and Pets?
Keep borders safe by choosing rounded edges, stable installs, and non-toxic finishes. In your garden border design, avoid sharp stakes. For border material choices, use smooth stone, sealed timber, or rubber edging, and anchor securely.
Do I Need Permission or Permits for a Front-Yard Border?
You might need permission or permits for a front-yard border; check local zoning, HOA rules, and utility easements. Garden border materials and border design ideas affecting height, drainage, or excavation often trigger approvals and inspections.
How Can I Prevent Weeds Without Using Chemical Herbicides?
Skip chemicals: block light and smother seedlings. Research shows 90% of weed seeds germinate in the top 2 inches. Layer cardboard, then Mulch options (3–4″). Add weed barrier fabrics only under gravel.
What’s the Best Way to Manage Drainage Near a Garden Border?
Grade soil away from the border and add a shallow swale, then loosen subsoil to reduce soil compaction for drainage improvement. Install perforated pipe in gravel if pooling persists, and avoid overwatering, too.
How Do I Fix a Border Damaged by Frost Heave or Settling?
Sure, let frost “redecorate” your edge: you’ll restore it by lifting displaced sections, regrading, and compacting a gravel base. Reset edging to level, backfill, and tamp. For border repair after frost damage, improve drainage.
Conclusion
Think of your border like the curb on a road: it controls flow. When you skip edge restraint, gravel migrates—one weekend job I watched a 50 mm strip vanish into the lawn after three heavy rains. If you follow the steps—measure twice, set a consistent depth, compact the base, and lock the edge—you’ll get predictable lines and lower maintenance. You’re not decorating; you’re building a small retaining system that stays put.
About the Author