
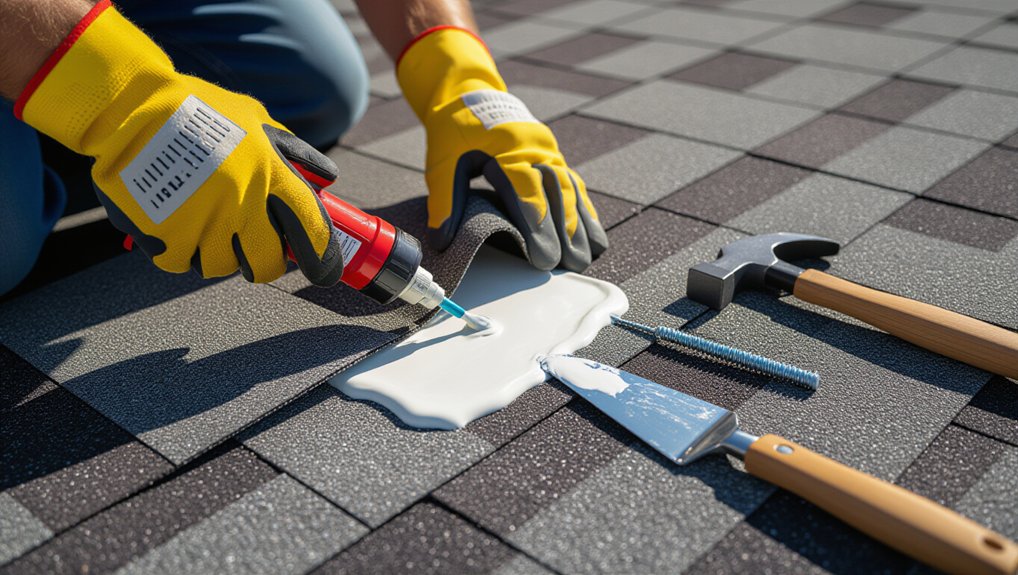
Pick a warm, dry day (about 60–80°F), use fall protection, and gently lift the curled shingle edge with a plastic putty knife. Dry the contact area completely, brush out grit and granules, and confirm the deck isn’t spongy or stained. Apply small dabs or a thin bead of ASTM D4586 asphalt roofing cement, press the tab flat, and wipe squeeze-out. Add a nail only if it lands under the next course and stays within the manufacturer nail line. Next, you’ll see when curling signals bigger problems and how to prevent it.
Key Takeaways
- Work on a warm, dry day and use ladder, non-slip boots, and a harness to safely access the curled shingle edges.
- Gently lift the curled tab with a plastic putty knife, then remove grit and debris and confirm the shingle and deck are fully dry.
- Apply small dabs or a thin bead of ASTM D4586 asphalt roofing cement (or manufacturer-approved sealant) under the lifted edge.
- Press the tab flat and weight it briefly; immediately wipe squeeze-out to avoid water damming and visible smears.
- If edges won’t stay down, check for ventilation or installation issues, and replace cracked/brittle shingles instead of forcing them flat.
Fix Curled Shingle Edges in 30 Minutes
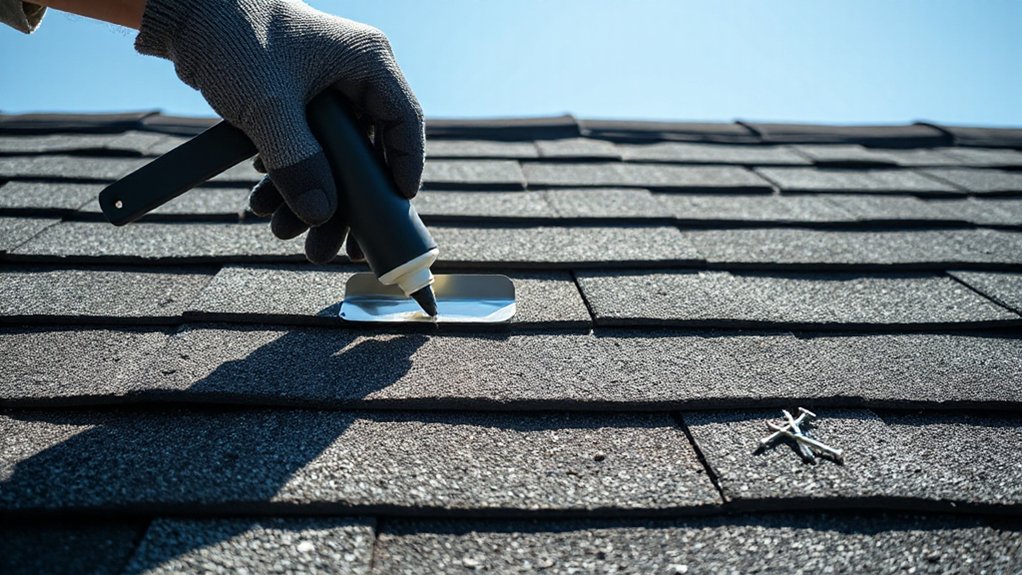
If you catch curling early and the weather cooperates, you can reset a few lifted shingle edges in about 30 minutes using roof-rated asphalt roofing cement and galvanized nails—provided the shingles aren’t brittle, torn, or near the end of their service life. Work on a dry roof within the cement’s temperature range, and use fall protection. Gently lift the tab, clear grit, then trowel a quarter-size dab of cement per manufacturer instructions. Press the shingle flat and fasten only where allowed: place a galvanized roofing nail in the designated nail line, not exposed, then seal the head with cement. Don’t bridge ventilation paths. Match granule color to preserve Creative design and roofing aesthetics. If you can’t comply, hire a licensed roofer.
What Causes Asphalt Shingles to Curl?
If your asphalt shingles are curling, you’re usually seeing heat-and-moisture cycling that breaks down the mat and distorts the tabs over time. You should also check attic intake and exhaust ventilation, because inadequate airflow can trap heat and moisture and accelerate curling in ways that may violate local code requirements. Finally, confirm the shingles were installed per the manufacturer’s instructions (nailing pattern, adhesive activation, underlayment), since improper installation can void warranties and create leak risk—stop and consult a licensed roofer if you find structural deck damage.
Heat And Moisture Damage
Although asphalt shingles are designed to tolerate sun and rain, repeated heat cycling and trapped moisture break down the asphalt binder and distort the mat, which makes the edges curl. When your roof surface overheats, the shingles soften, then contract as they cool, stressing sealant strips and lifting corners. Moisture trapped under laps or around flashing can accelerate granule loss and mat distortion, especially where debris holds water. Keep roof penetrations properly flashed to manufacturer specs and local code, and don’t smear incompatible mastics that can void warranties. If you’ve added solar panels, verify standoff mounts don’t compress courses or trap runoff. Stay current on gutter cleaning so water doesn’t back up under the drip edge and wet the shingle edges repeatedly.
Poor Attic Ventilation
When your attic can’t exhaust hot, humid air, heat builds up beneath the roof deck and bakes the shingle underside, which weakens the asphalt binder and stresses the sealant strip until edges start to lift and curl. You’ll often see this when intake at soffits is blocked by Attic insulation or when exhaust vents are undersized or obstructed, leaving the roof system outside typical design temperatures. Moisture trapped in the attic can also raise wood moisture content, causing Roof decking to swell, then dry and shrink, telegraphing movement to the shingles. Verify ventilation meets local code (commonly balanced intake/exhaust and minimum net free area) and keep baffles clear. If you find mold, wet insulation, or soft decking, stop and consult a qualified roofer or inspector.
Improper Shingle Installation
Even with adequate attic airflow, shingles can still curl if the roof was installed in a way that prevents proper sealing and support. If you’ve got high nails, under-driven nails, or fasteners placed outside the manufacturer’s nail line, the shingle can’t clamp the courses and wind uplift starts prying edges. Too few nails per shingle, missing starter strips, or misaligned starter adhesive also keeps the first course from bonding at the eave. If the installer overhangs shingles past the drip edge beyond the spec, edges can flex and lift. Mixing products, or using the wrong underlayment or ventilation components, can void roofing warranties. Even shingle color matters: darker blends run hotter, amplifying defects. Follow manufacturer instructions and local code.
When Curled Shingles Mean Hidden Roof Damage
If your shingles keep curling back after re-fastening or sealing, treat it as a possible symptom of underlying roof system failure rather than a cosmetic defect. Persistent curl often tracks to Hidden roof damage: wet or delaminated sheathing, softened decking at eaves, or compromised underlayment that’s no longer providing code-required secondary water shedding.
You should perform a Roofing material inspection focused on root causes, not just tabs. Look for granule loss, blistering, nail back-out, and uneven courses that indicate deck movement or chronic moisture. Check ridge and edge ventilation balance; heat buildup can deform asphalt and accelerate adhesive strip failure. If you see staining, spongy feel, or recurring uplift after proper fastening, document conditions and consult a licensed roofer, since concealed decay can trigger structural and warranty liabilities.
Safety Checks Before You Climb Up
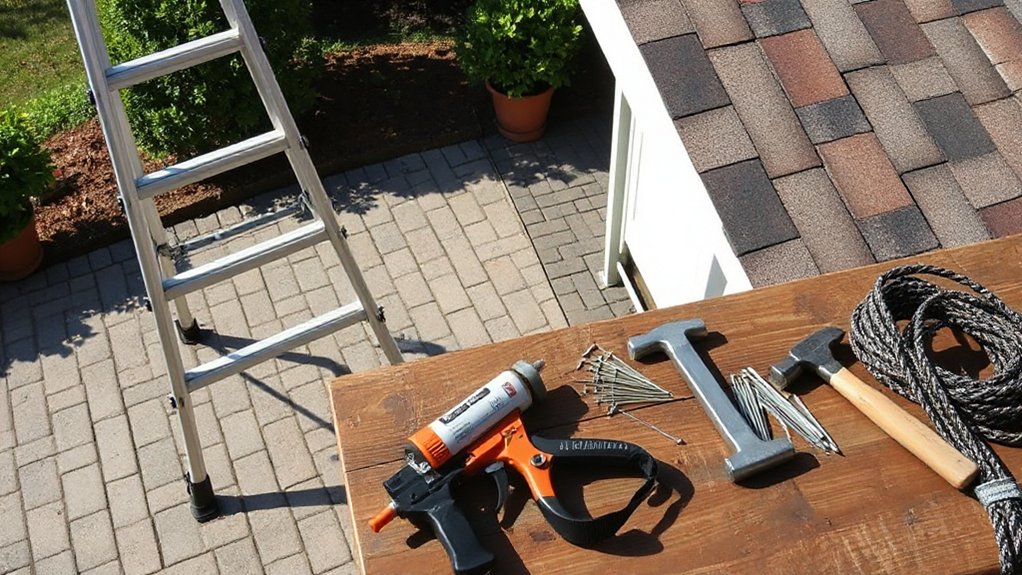
Before you step onto the roof, run a brief, documented safety check that aligns with OSHA fall‑protection expectations and basic ladder standards, because a curled-shingle repair still qualifies as elevated work with injury and property‑damage exposure. Verify weather: no rain, frost, or winds that reduce traction. Inspect the roof edge for rot, sag, or loose gutters that can fail under load. Confirm you’ve got stable footing and a clear drop zone below.
For ladder safety, set the ladder 4:1, extend it at least 3 feet above the eave, lock spreaders, and tie off when feasible. Wear personal protective equipment: non‑slip boots, gloves, eye protection, and a rated harness with an approved anchor. Don’t work alone; keep a phone on you.
Tools and Materials for Curled Shingle Repair
You’ll need essential repair tools—utility knife, flat pry bar, hammer or roofing nailer, caulk gun, tape measure, and a chalk line—so you can lift tabs, re-seat edges, and fasten without damaging the mat. Choose code-appropriate materials such as ASTM-rated roofing nails, manufacturer-approved asphalt roofing cement or sealant, replacement shingles that match type and exposure, and compatible underlayment or flashing where required. Verify all products meet your local building code and the shingle warranty requirements, and don’t substitute adhesives or fasteners that aren’t listed for roofing use.
Essential Repair Tools
Although curled shingle edges often look like a simple glue-down job, code-compliant repairs require the right tools and materials to avoid water intrusion, wind uplift, and voided warranties. Start with a stable extension ladder, roof anchors, and a personal fall-arrest system rated for your weight. Use a flat pry bar and hook blade to lift tabs without tearing the shingle texture or scuffing roof color. Keep a chalk line and tape measure to maintain manufacturer exposure and offset. A hammer or pneumatic nailer with depth control helps you avoid overdriven fasteners that fail uplift requirements. Bring a headlamp, inspection mirror, and moisture meter to confirm the deck isn’t damp. Finish with a magnetic sweeper and sealed waste container to manage debris and liability.
Recommended Roofing Materials
With your safety gear and hand tools staged, focus next on materials that restore the shingle’s seal and fastening pattern to manufacturer specs and local code. Use ASTM D4586 asphalt plastic roof cement or the sealant approved in your shingle installation guide; unapproved mastics can void roofing warranties. For reattachment, install the same type, length, and corrosion-resistant roofing nails required for your deck thickness and wind zone; don’t substitute staples. Keep matching replacement shingles on hand so shingle color, exposure, and granule blend stay consistent and repairs don’t telegraph. If tabs are torn or brittle, replace the course rather than glue-only fixes. Add underlayment patches only if you expose felt or synthetic, and lap per code.
Choose the Best Adhesive for Curled Shingles
When should you reach for adhesive instead of a fastener to fix a curled shingle edge? Use adhesive when nailing would violate the manufacturer’s nailing pattern, risk puncturing a concealed water path, or land too close to an exposed edge. Stay within IRC/IBC requirements and your shingle warranty; if the roof is steep, high-wind, or brittle, stop and call a licensed roofer.
Choose ASTM D4586 asphalt roof cement for standard asphalt shingles, or a manufacturer-approved polyurethane sealant for enhanced flexibility and UV resistance. Avoid generic construction adhesive; it can off-gas, soften, or void warranties. Confirm temperature range, cure time, and compatibility with granules. For Adhesive types, match chemistry to substrate; for Application techniques, control bead size to prevent squeeze-out and water damming.
Lift the Curled Edge and Clean Debris
You’ll carefully lift the curled shingle edge with a flat pry bar, keeping fasteners intact and avoiding damage to the mat or underlayment. You’ll remove any trapped grit, leaves, or old adhesive so the bond line meets manufacturer instructions and local code requirements. You’ll then dry the area completely and prep the surfaces per the adhesive label, stopping and calling a pro if you find rot, soft decking, or widespread lifting.
Safely Lift Shingle Edge
How do you lift a curled shingle edge without cracking the mat or tearing the seal strip? Work on a warm, dry day (about 60–80°F) so asphalt stays pliable. Use fall protection and set ladders per OSHA; don’t proceed on steep or slick slopes. Slide a thin plastic putty knife under the tab, starting at the corner, and lift only enough to access the underside—avoid prying against the granule surface. If the sealant resists, stop and warm it gently with indirect sun or a low setting heat gun held back; open flames aren’t code-compliant. Keep nails untouched. This controlled lift supports Shingle cleaning and prepares edge reinforcement without damaging the shingle’s water-shedding plane.
Remove Trapped Debris
Why does that shingle edge keep re-curling even after you lift it? Trapped grit, granules, and organic matter can prop the tab up and wick water, defeating any temporary flattening and accelerating deck deterioration.
With the tab gently lifted per manufacturer limits, slide a plastic putty knife under the edge and pull out packed debris. Don’t pry against the mat or you’ll risk tearing or breaking the seal line. Brush loose granules away with a soft hand brush; avoid wire brushes that can strip surfacing. If you see buildup from moss removal, clear it completely so it can’t dam water. Finish by removing adjacent leaf litter tied to gutter cleaning, since overflow can push debris back under the shingle edge. If the mat is cracked, stop and consult a pro.
Dry And Prep Surface
Before any adhesive or fastener can hold, the curled tab and the roof deck beneath it must be clean and fully dry. Gently lift the shingle edge with a flat bar without cracking the mat or tearing the seal strip. Brush out grit, pine needles, and granules, then vacuum if needed so nothing props the tab back up. Wipe the contact area with a dry cloth; don’t use solvents that can soften asphalt or alter roof color. If moisture’s present, pause—use sunlight and airflow, not open flame, and never trap dampness under cement. Confirm the deck isn’t punky; repair rot per local code before re-securing. Stay within manufacturer instructions to protect your shingle warranty, and document conditions.
Apply Roofing Cement Under Curled Edges
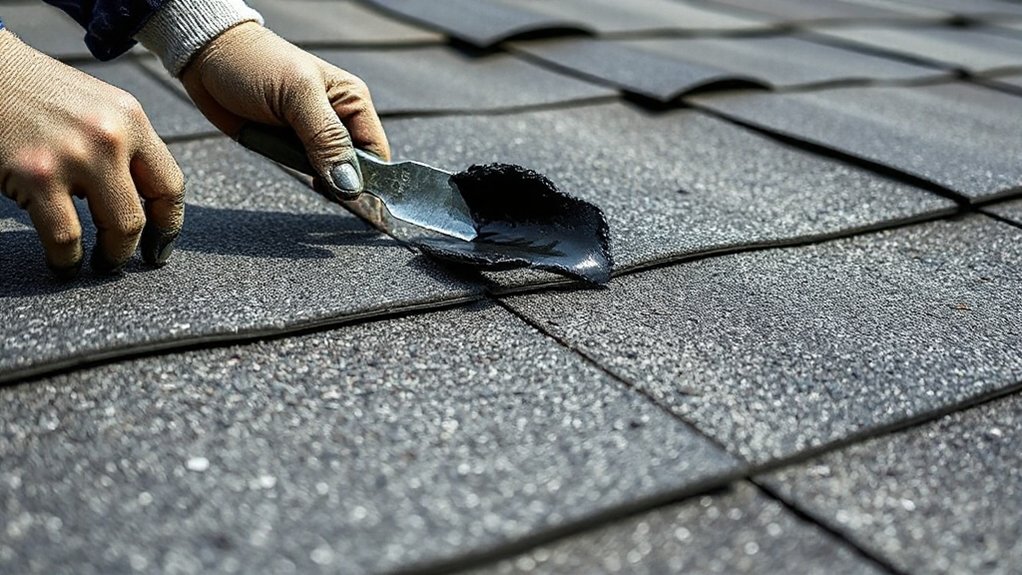
Once the shingle is dry and you’ve confirmed the deck and underlayment aren’t saturated, you can bond the curled edge down with asphalt roofing cement. Use a product listed for asphalt shingles and follow the manufacturer’s temperature limits and cure times to maintain code-acceptable performance.
Gently lift the tab without cracking it, then apply a thin, continuous bed (about a quarter-size dab every few inches) to promote shingle adhesion without excessive squeeze-out. Press the edge flat and wipe any exposed cement immediately; exposed mastic can trap debris and accelerate aging. Don’t bridge over gaps, blisters, or soft decking—cement isn’t a structural fix. For roofing repairs on steep, high, or brittle roofs, you should stop and use a qualified roofer.
Add Nails Only When Needed (No Leaks)
Roofing cement usually holds a curled tab down on its own, but you can add nails for mechanical restraint when the tab keeps lifting in wind or the factory seal strip won’t re-bond. Use this only if the shingle isn’t brittle and the deck is sound.
Follow manufacturer instructions and local code for Nail placement: drive a 1-1/4-inch galvanized roofing nail just above the shingle’s existing nail line, under the next course, so the head won’t sit in the exposed weather path. Don’t nail through the visible tab or into a gap between sheathing boards. Keep nails flush, not overdriven, to avoid cutting the mat. For Leak prevention, lift the upper shingle gently, fasten, then cover the nail head with a small dab of roofing cement before laying it back down.
Seal Shingle Tabs to Resist Wind Lift
If wind keeps catching a lifted tab, you can restore the shingle’s wind resistance by re-sealing the tab to the course below with a manufacturer-approved asphalt shingle sealant. Work on a dry day above the sealant’s minimum temperature, and follow the shingle maker’s instructions to avoid voiding warranties. Lift the tab gently, clear dust and granules from the bonding area, then apply small dabs (typically quarter-size) in the factory sealant line zone. Press the tab down and weight it briefly to ensure contact. Don’t use roofing tar or excessive mastic; over-application can trap debris and distort courses. Keep sealant off exposed surfaces. This repair improves Wind resistance and supports Shingle longevity without creating new penetrations.
Prevent Shingle Curling: Ventilation and Maintenance
Because curling often starts from heat and moisture stress in the attic rather than a failed shingle bond, you’ll get longer-lasting results by addressing ventilation and routine maintenance in addition to spot repairs. Verify intake at soffits and exhaust at ridge or roof vents; keep net free area balanced per IRC R806 and manufacturer specs, and don’t block baffles with insulation. Use a hygrometer to confirm attic RH stays controlled, and correct bathroom or dryer vent terminations that dump moisture inside. Inspect flashing, underlayment edges, and nail pops annually; replace damaged shingles instead of forcing them flat. Keep gutters clear to prevent fascia rot and edge saturation. These steps improve Shingle durability and protect Roof aesthetics, but hire a licensed roofer if structural decking feels soft.
Frequently Asked Questions
How Much Does Professional Shingle Edge Repair Typically Cost per Square?
You’ll typically pay $150–$400 per square for professional shingle edge repair, depending on access and code requirements. Contractors may use shingle adhesive and roofing nails, plus underlayment, and include permits, warranties, and liability coverage.
Can I Repair Curled Shingles During Winter or Below-Freezing Temperatures?
Yes, you can, but winter repair in cold weather risks poor adhesion and cracking. You should follow manufacturer specs and local code, avoid sealants below rated temps, and defer work if fall hazards increase liability.
Will My Homeowner’s Insurance Cover Repairs for Curled Shingle Edges?
Your homeowner’s insurance usually won’t cover curled shingle edges unless you prove a covered peril caused sudden damage; normal wear is excluded. You’ll need documentation for Insurance coverage and repair claims; contact your insurer and follow code.
How Do I Match Replacement Shingles to My Roof’s Existing Color and Style?
You’ll get reliable shingle color matching by bringing a sun-exposed sample and photos to a supplier, then confirming manufacturer, lot, and profile for roofing style coordination. You must follow local code, document selection, and hire licensed installers.
Are There Local Building Codes or Permits Required for Minor Roof Repairs?
You’ll often need to check local building codes and permit requirements even for minor roof repairs; many jurisdictions exempt small patching. Call your building department, document guidance, and use licensed contractors when required.
Conclusion
You can stop shingle curl fast, but you’ve got to work clean and code-aware. After you lift and bed each edge in roofing cement, fasten only where the deck is sound and penetrations won’t compromise the water-shedding plane. Reseal tabs to meet wind-uplift intent and confirm adhesion. Treat every repaired corner like a seatbelt: small, but critical. If you find soft decking, widespread curl, or flashing damage, stop and call a licensed roofer.
About the Author



