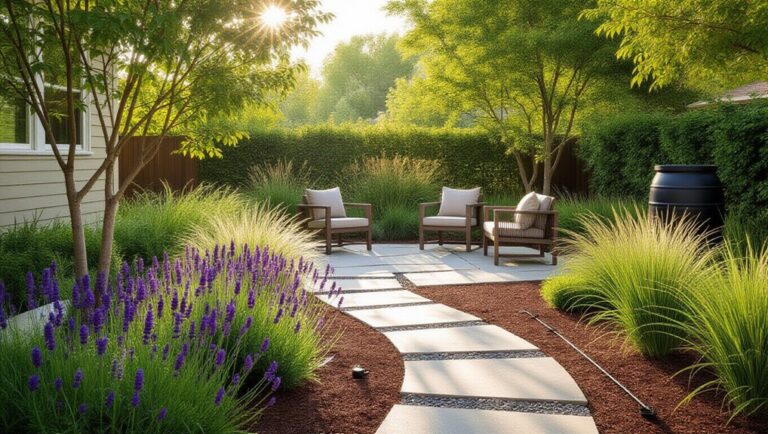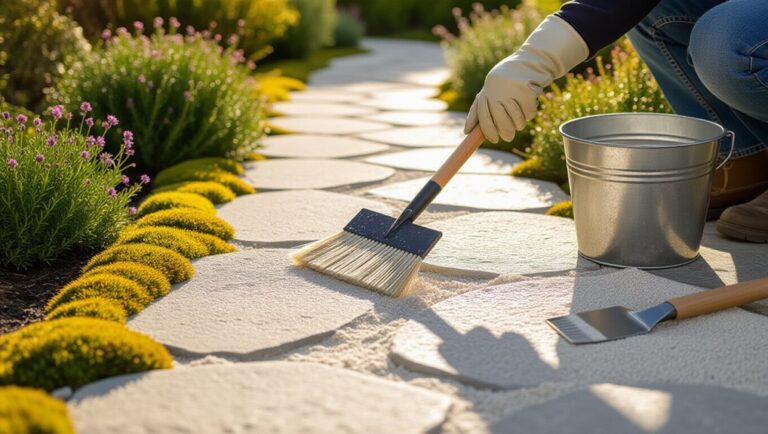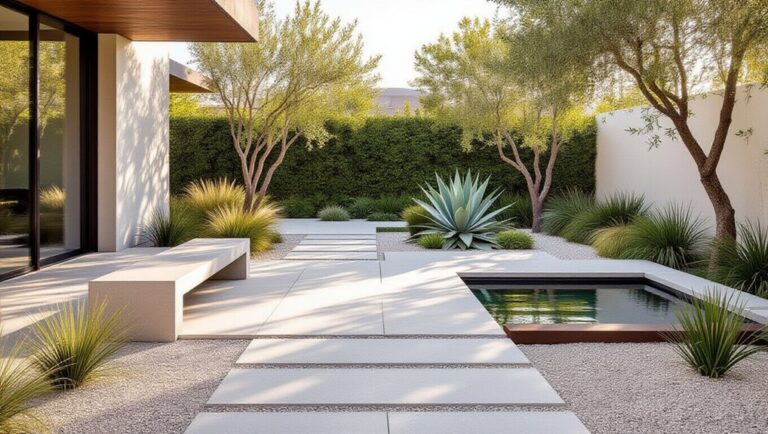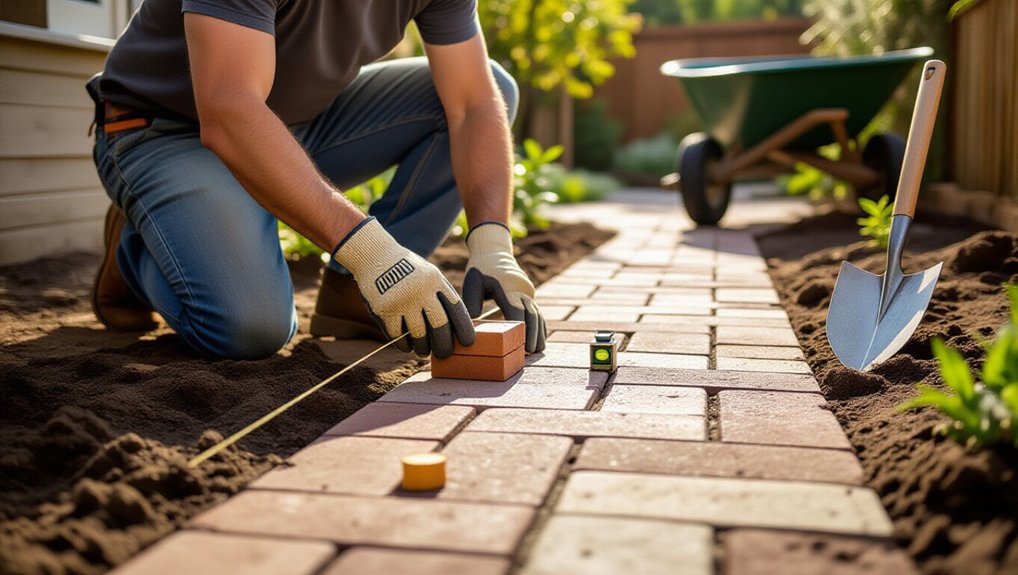
Stake your route first so it works on-site, then set width at 36 in. for walking or 48 in. for carts, keeping a 1–2% cross-slope and about 5% running slope. Choose inert reclaimed brick, stone, or pavers and skip spalled or crumbly pieces. Excavate 6–8 in., compact subgrade, add geotextile on silty soils, then compact 4–6 in. of angular base plus 1 in. leveling screenings. Set units, edge firmly, and sweep joint sand—next you’ll see how to handle steep spots and long-term weed control.
Key Takeaways
- Stake out the route, choosing a 36–48 in. width, 1–2% cross-slope, and under 5% running slope for drainage and safety.
- Source safe reclaimed materials like dense brick, stone, or pavers; avoid crumbling mortar, spalled pieces, treated wood, and sharp rusted metal.
- Excavate 6–8 in., compact the subgrade, and add permeable geotextile over silty soils to prevent shifting and improve drainage.
- Install 4–6 in. of compacted crushed angular base plus 1 in. leveling screenings, keeping the planned slopes consistent.
- Dry-lay, then set pieces level with a mallet; lock edges and sweep sand or polymeric sand into joints to stabilize and block weeds.
Choose a Garden Path Route (Width, Slope, Drainage)
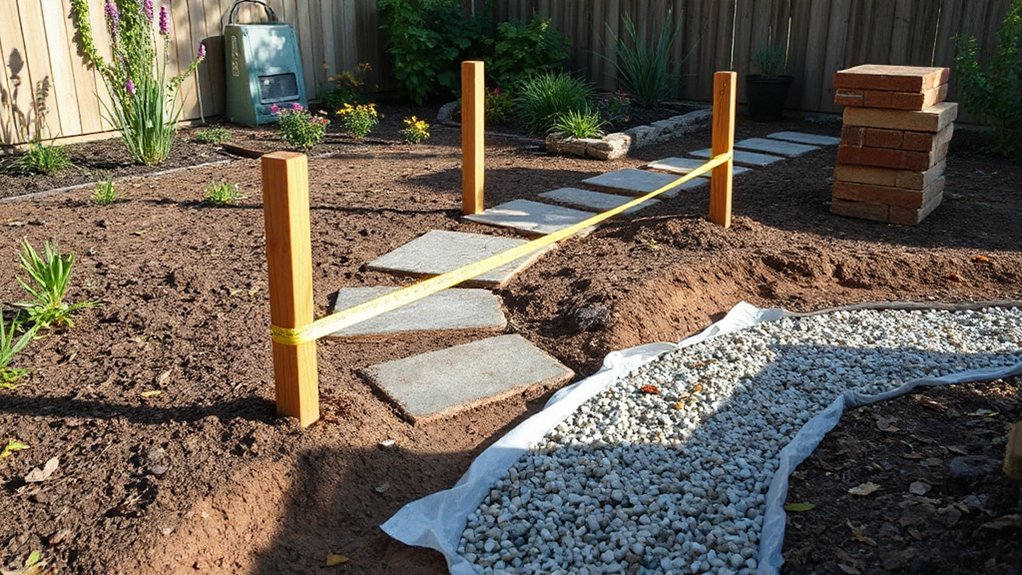
Before you haul in reclaimed brick, stone, or pavers, stake out the route and confirm it’ll function in your site’s real conditions. Set width to match use: 36 in. for one-person traffic, 48 in. where you’ll wheel a cart, and add passing pullouts if it’s a main loop. Keep cross-slope around 1–2% to shed water without feeling tilted, and cap running slope near 5% where possible; if you can’t, plan gentle switchbacks.
Read drainage by watching storms. Route the path on the high side of planting beds, avoid tree root flares, and don’t dam swales. Use subtle curves for Garden aesthetics while preserving refuge corridors for wildlife protection.
Pick Safe Reclaimed Materials for Your Garden Path
Once you’ve laid out the route, choose reclaimed materials that won’t leach contaminants or fail under your site’s freeze–thaw cycles and foot traffic. Prioritize inert, dense units like salvaged brick, granite setts, and concrete pavers; avoid crumbling mortar, spalled faces, and thin tiles that shear. For wood, use naturally durable species (black locust, cedar) and skip treated lumber, creosote ties, or painted boards unless you can verify lead-free coatings. Inspect metal edging for sharp burrs and heavy rust; galvanized stock holds up best in wet soils. Practice Sustainable sourcing by selecting local demolition salvage and surplus to cut transport impacts. Match Material durability to exposure: use frost-rated masonry in cold zones and non-slip textures in shaded, algae-prone areas.
Excavate and Build a Stable Garden Path Base
Safe, durable reclaimed units only perform as well as the base you build under them, so shift your focus to excavation depth, drainage, and compaction. Mark the path, call utility location, and strip sod. Excavate 6–8 in. for pedestrian use; go deeper in clay or frost zones. Maintain a 1–2% cross-slope away from beds to protect plant compatibility and prevent root-zone saturation. Compact subgrade in 2 in. lifts with a hand tamper or plate compactor, correcting soft spots with additional dig-out. Install permeable geotextile over silty soils to reduce pumping while keeping infiltration. Add 4–6 in. of crushed, angular base (¾ in. minus), mist lightly, and compact to refusal. Finish with 1 in. of leveling screenings; check grade for garden safety, then stop.
Set Reclaimed Bricks/Stone for a Level Path
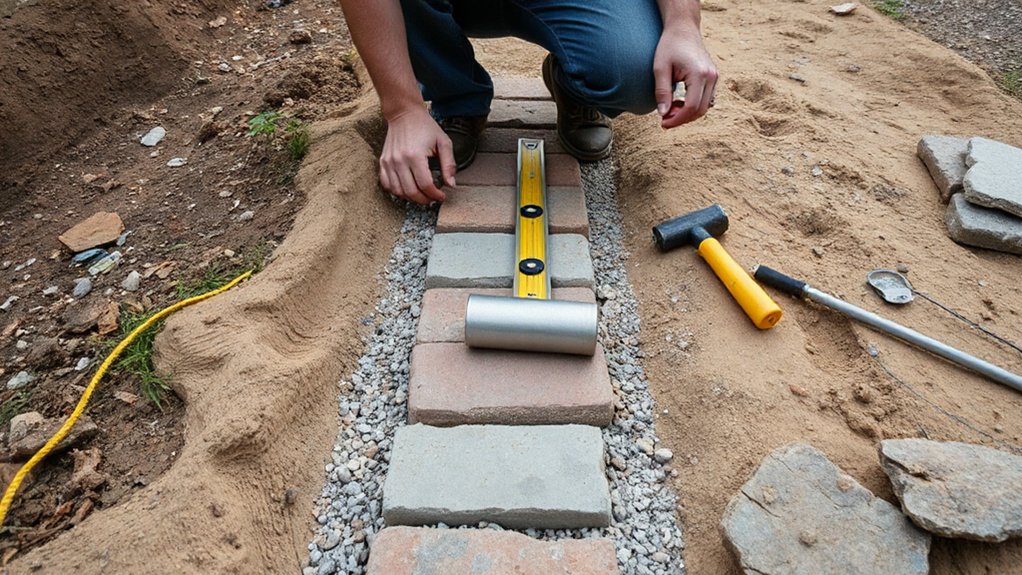
After your base locks in at grade, start setting reclaimed brick or stone from a straight reference line (a taut string or laser) so every unit lands on the same plane. Dry-lay a short run first to preview vintage aesthetics, then pull units and reset in bedding sand or screenings, keeping consistent thickness. Tap each piece with a rubber mallet onto a screed board; don’t drive it through the base. Check every few feet with a 4-foot level and a straightedge, and maintain a slight cross-slope away from structures for drainage. Rotate mixed sizes to break repeating patterns and keep joints even without forcing spalls. Use Eco friendly sourcing: salvage locally, clean with water and a stiff brush, and reject unstable, delaminated stones.
Edge the Garden Path, Fill Joints, Block Weeds
Although your bricks or stones may feel tight underfoot, they’ll creep and spread at the edges unless you lock the field in with a restraint that matches your site—reclaimed brick soldier courses set in a thin mortar bed, salvaged steel or HDPE edging pinned into the base, or even a compacted gravel shoulder where the path meets lawn.
Set edging to finished grade and slope it with the path so runoff exits to a rain garden, not your foundation. Sweep coarse, washed sand or stone screenings into joints, then vibrate or tamp and top up until they’re full. For weed control, skip plastic; lay permeable geotextile only under the base, and cap joints with polymeric sand where freeze-thaw is harsh. In your garden path design, joint color and edging profile handle aesthetic considerations while staying low-impact.
Frequently Asked Questions
How Do I Estimate the Total Cost of a Reclaimed-Material Garden Path?
You estimate total cost by measuring path area, calculating material volume, and pricing reclaimed units plus delivery. Include base, edging, and drainage. Add labor, tools, permits, and 10–15% contingency. Use cost calculation, budgeting tips.
Do I Need a Permit or HOA Approval to Build a Garden Path?
You might need a permit and/or HOA approval, depending on local Permitting requirements and your covenants. You should check setbacks, drainage impacts, and impermeable-area limits. If you’re regrading or near utilities, you’ll need clearance.
How Can I Clean and Sanitize Reclaimed Bricks or Pavers Before Use?
For Brick cleaning, you’ll scrape debris, pressure-wash, then soak in vinegar solution; rinse thoroughly. For Paver sanitization, you’ll apply oxygen bleach, scrub joints, and sun-dry. Capture rinsewater, avoid chlorine, and regrade runoff onsite.
What Tools Should Beginners Buy Versus Rent for This Project?
To keep your budget from taking a dirt nap, you’ll buy a shovel, rake, tamper, level, and stringline for site-specific material selection and design ideas; you’ll rent a plate compactor and masonry saw. Sustainably.
How Do I Maintain the Path Through Winter Freeze-Thaw Cycles?
You’ll maintain it by improving drainage, keeping joints filled, and resetting lifted pieces after winter weather. Add compacted, permeable base, slope away, clear debris, top up grit, and watch for frost heave.
Conclusion
You’ve mapped the route like a surveyor, letting slope and drainage steer water away instead of trapping it. Now your reclaimed bricks or stone sit on a compacted base that acts like bedrock, keeping each step true. Edging locks the line, joint fill stitches the surface, and weed barriers quiet unwanted growth without harsh chemistry. What began as salvaged fragments becomes a durable, low-impact corridor—an efficient conduit through your site, built to last.
About the Author