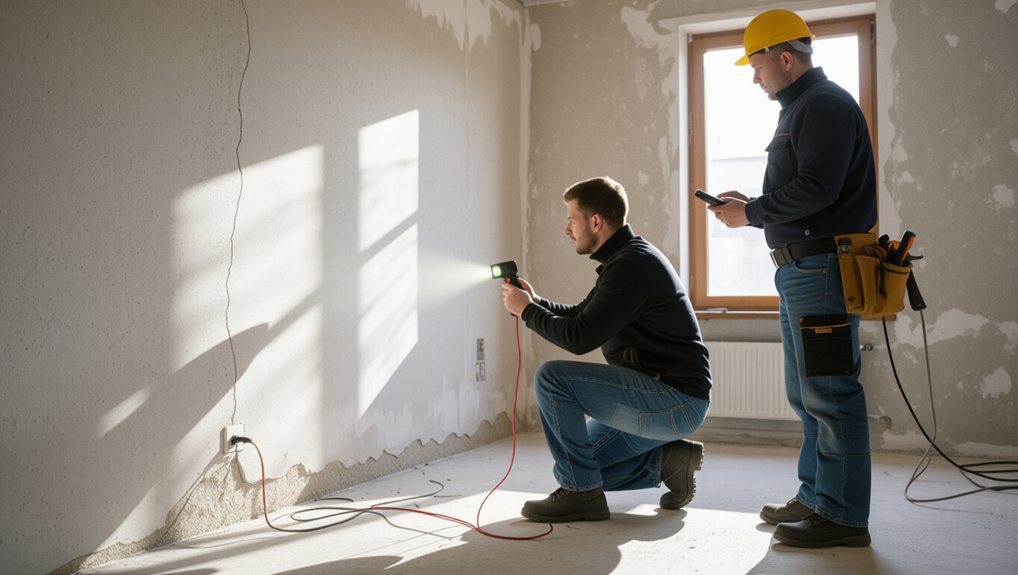
Start your viewing by checking the big four: roof/gutters for sagging, failed flashing, and overflow marks; ground levels and drainage for pooling that drives damp; structural movement via stepped brick cracks, diagonal interior cracks, sticking doors, and uneven floors; and electrics/plumbing for old fuse boxes, mixed breakers, low pressure, corrosion, or hidden leaks. Map damp clues (tide marks, rain-linked patches, or surface mould), then probe timbers for softness, frass, and exit holes. Next comes smart seller questions and surveys.
Key Takeaways
- Verify title, boundaries, rights of way, flood/subsidence risk, and nearby planning notices to avoid costly legal and site surprises.
- Inspect exterior fabric—roofline, flashing, gutters, brickwork, and ground levels—for cracks, staining, sagging, and poor drainage masking damp.
- Inside, check for movement: diagonal cracks, bowed walls, uneven floors, and sticking doors/windows that may indicate settlement or structural issues.
- Identify damp type—rising, penetrating, or condensation—using tide marks, localized rain-linked patches, or mold on cold surfaces and poor ventilation.
- Look for hidden damage in lofts/subfloors: soft timber, musty smells, exit holes, frass, and outdated electrics like old fuse boxes or unsafe wiring.
Viewing Triage: What to Check First
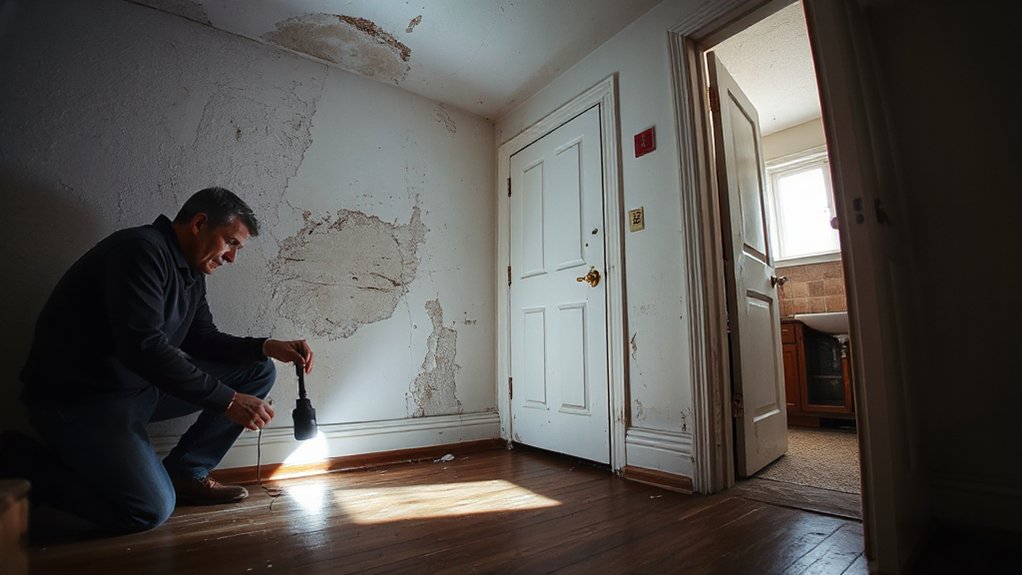
Before you get distracted by finishes and décor, run a fast triage that tells you whether the property’s fundamentals are sound enough to justify a deeper look. Start with location and context: check flood risk, subsidence history, nearby planning notices, and access to services. Next, verify tenure, boundaries, and rights of way against the listing and title plan; unresolved Legal considerations can stall lending and resale. Confirm utilities: mains water, sewer connection, and electrical supply capacity, plus any shared drains or private systems. Ask for recent survey dates, insurance claims, and guarantees, then note anything missing. Finally, sanity-check Property valuation by comparing sold prices for similar homes, adjusted for size and plot, and estimate renovation scope at a high level.
Renovation Viewing Checklist (Inside + Outside)
Start outside and scan the roofline, brickwork, gutters, ground levels, and drainage for cracks, staining, sagging, and signs of movement or persistent moisture. Then move room by room inside and check walls, ceilings, floors, windows, and services for damp, unevenness, poor ventilation, outdated electrics, and plumbing leaks. You’ll catch the biggest hidden risks by following the same checklist on every viewing and noting what needs urgent investigation versus routine renovation.
Exterior Red Flags
Even if the interior looks freshly staged, the exterior often reveals the costly defects you can’t hide with paint. Start at the lot line and work inward. Check Exterior landscaping: uneven grading, new mulch mounded against walls, and sparse planting can signal rushed concealment. Test Garden drainage by spotting puddle stains, algae on hardscapes, or soil channels; confirm downspouts discharge away from the foundation.
Scan rooflines for sagging, mismatched shingles, and failing flashing. Inspect gutters for overflow marks and loose brackets. Examine brick, render, and cladding for step cracks, bulges, or fresh patches. Probe timber trim for softness and peeling. Note driveway and patio heave, wide settlement cracks, and gaps at steps or thresholds.
Interior Inspection Essentials
Once the outside checks out, move indoors and treat the walk-through like a systems audit rather than a décor tour. Start in the basement or lowest level: sniff for damp, check stains on joists, and look for efflorescence or fresh paint. Follow plumbing lines to find active drips, corroded valves, and uneven water pressure at multiple taps. Test every window and door for binding, then scan ceilings for hairline cracks and past patches that may signal movement. Open the consumer unit and note old wiring, mixed breakers, or DIY splices. Check ventilation in kitchens and baths, then measure room layouts; poor Furniture arrangement can hide heat spots or floor sag. Assess lighting placement to spot insufficient circuits, unsafe fittings, or shadowed work areas.
Damp: Rising vs Penetrating vs Condensation
Because “damp” gets used as a catch‑all label, you’ll save time and money by separating it into three common mechanisms before you judge severity or price repairs in: rising damp (moisture drawn up from the ground through masonry), penetrating damp (water entering laterally through defects in the external envelope), and condensation (water vapour from indoor air depositing on colder surfaces). For Damp diagnosis, map staining height and pattern. Rising damp usually shows a tide mark up to about 1m, salt deposits, and decayed skirting; check bridged DPCs and high external ground. Penetrating damp presents as local patches that worsen after rain; inspect gutters, pointing, flashing, and cracked render. Condensation creates surface mould on cold corners and windows; test ventilation, heating consistency, and humidity sources. Plan Moisture mitigation accordingly.
Timber Rot & Pests: Where Problems Hide
You’ll often find timber rot where moisture lingers: window sills, door frames, roof timbers near gutters and valleys, and joist ends built into damp masonry. Check these areas with a firm probe for softness, crumbling fibres, or a musty smell, and note any staining that tracks from leaks. Then look for subtle pest evidence—small round exit holes, fine powdery frass, hollow-sounding wood, shed wings, or irregular nibbling—because early infestations can look like minor surface wear.
Common Rot Hotspots
While fresh paint and new flooring can distract you, timber rot and wood‑boring pests usually show up in the same repeat locations where moisture lingers and airflow stays poor. Start at the base: check skirting boards, joist ends, and subfloor timbers near vents that are blocked or missing; damp here can signal foundation issues or poor drainage. Move to “wet walls” next—behind bathrooms, kitchens, and laundry plumbing—then inspect window sills, door thresholds, and deck ledger boards where flashing often fails. In roof spaces, focus on valleys, chimney abutments, and around bathroom exhausts that vent into the loft. Outside, probe fence posts and pergola feet set in soil. These zones raise the likelihood of pest infestations and structural softening.
Subtle Pest Evidence
Rot hotspots tell you where to look, but pests often leave quieter clues before the timber feels soft. Scan skirting boards, door frames, and window sills for pin-sized exit holes, fine dust, or gritty frass in corners. Tap timber with a screwdriver handle; a hollow sound can indicate galleries. Check paint for blistering or ripples that suggest movement beneath. Inspect loft timbers and subfloors for mud tubes, shed wings, or dark staining along grain lines. Smell for a musty, sweet odour near damp areas.
Record infestation signs room by room, then trace moisture sources that support them: leaking gutters, bridged damp-proof courses, or poor ventilation. Plan Pest prevention early by fixing damp, sealing gaps, and clearing soil contact.
Structural Movement: Cracks and Distortion
Even if a property looks cosmetically tired rather than structurally compromised, cracks and distortion can signal ongoing movement that drives costly repairs. Start outside and trace any cracks; stepped cracking through brickwork or widening gaps at corners often points to Foundation settlement. Inside, check whether cracks run diagonally from door and window corners, and measure their width; anything growing beyond hairline deserves follow-up.
Then test for Wall distortion: sight along skirting boards, window reveals, and long hallway walls for bows, ripples, or out-of-plumb lines. Open and close doors to see if they bind, and check if window frames rack. Look for uneven floors using a ball or level. Ask for past repairs, dates, and monitoring notes, and budget for a structural survey if patterns repeat.
Roof & Gutters: Tiles, Flashing, Staining
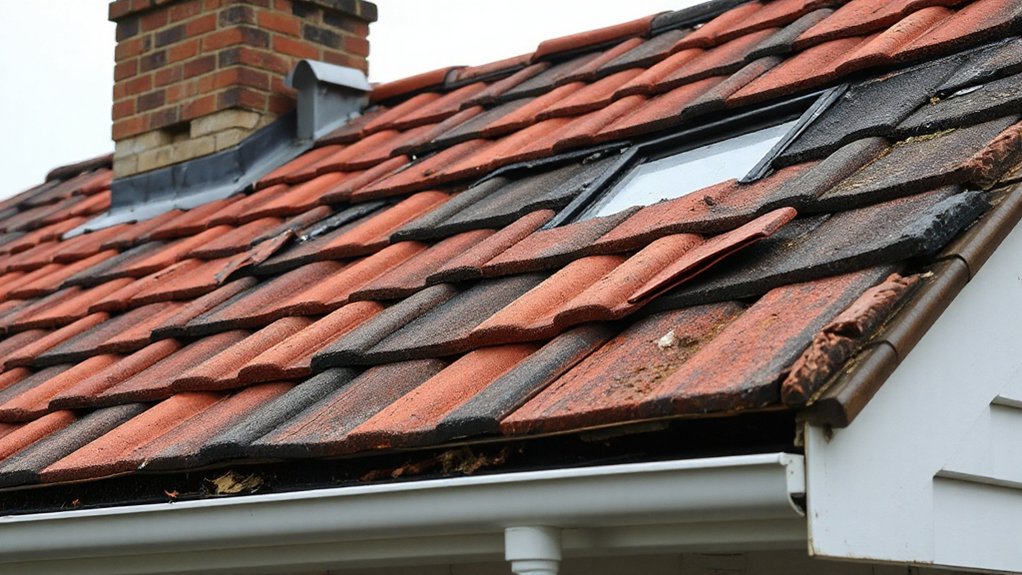
Start your inspection at roof level because small defects in tiles and flashing often cause the most expensive “mystery” damp later. From ground level, scan for slipped, cracked, or mismatched tiles, and look for sagging ridgelines that suggest failed battens. Check valleys and abutments: flashing should sit tight, without lifting, heavy sealant smears, or daylight gaps. Note moss bands and granular loss; they signal poor Tile maintenance and faster water uptake.
Move to gutters and downpipes. You should see consistent falls, secure brackets, and no staining beneath joints. Rust streaks, green algae, and peeling paint on fascia boards point to chronic overflow and blocked outlets. Ask when gutter cleaning was last done, then confirm by checking for silt at hopper heads and puddling at downpipe bases.
Electrics Red Flags: Consumer Unit and Wiring
Before you price in new kitchens and plaster, check the electrics because outdated protection and DIY alterations can turn a “simple refurb” into a full rewire. Start at the consumer unit: you want modern MCBs and RCD/RCBO protection, clear circuit labels, and no scorch marks or mixed brand breakers. A rewire often follows if you see a fuse box with rewireable fuses, missing blanks, or brittle tails.
Next, scan visible wiring. Look for old rubber, lead-sheathed, or fabric-insulated cable, surface trunking added piecemeal, and junction boxes buried under floors. Test a few sockets for loose fit, heat discoloration, or back-to-back spurs. Ask for recent Electrical safety certification and installation test results; no paperwork means unknown condition.
Plumbing Red Flags: Pressure, Pipes, Leaks
You can spot plumbing red flags fast by checking water pressure at multiple taps and timing how quickly hot water arrives, because weak or fluctuating flow can signal supply restrictions, failing valves, or undersized pipework. You should inspect visible pipes for corrosion, mineral buildup, and mismatched materials, since these often indicate age-related failure or past patch repairs. You’ll also want to look for active leaks and indirect clues—damp staining, warped skirting, musty odours, or fresh paint in isolated areas—so you can estimate the likelihood of hidden damage.
Water Pressure Warning Signs
Although a dated kitchen or tired paint job looks obvious, weak or erratic water pressure can signal deeper plumbing trouble that’s expensive to correct. Test multiple fixtures in sequence: run a cold tap, then flush a toilet, then turn on the shower. If pressure drops sharply, your supply may be undersized or poorly balanced. Check hot and cold separately; slow hot-only delivery can point to a struggling water heater or restrictive valves. Note the flow rate by timing how long it takes to fill a 1-gallon container; inconsistent results between faucets suggest localized restrictions. Listen for surging, sputtering, or “hammer” when you shut taps, and watch for pressure swings during appliance cycles. Ask for recent pressure-regulator adjustments.
Pipe Corrosion And Leaks
Even if the water pressure seems fine, corroded pipes and active leaks can hide behind walls and under floors until they turn into a full repipe or structural repair. Start by checking exposed supply lines at the water heater, under sinks, and in the basement or crawlspace. Look for green-blue staining on copper, rust blooms on galvanized steel, pitting, flaking, and mismatched repair couplings—common signs of pipe degradation. Run fixtures, then watch shutoff valves and joints for weeping, mineral crust, or fresh water tracks. Smell for mustiness near cabinets and baseboards, and inspect ceilings below bathrooms for discoloration or soft spots. Ask for prior invoices and insist on professional leak detection, including moisture readings and pressure testing.
Insulation & Ventilation: Cold Spots and Mould
When a renovation property feels cold in patches or smells faintly musty, insulation gaps and poor ventilation usually sit behind the symptoms. Walk each room slowly and note temperature changes near external walls, bay windows, loft hatches, and suspended floors. Check for draughts at skirting boards and around recessed lights, which often signal missing or compressed insulation. To gauge Insulation effectiveness, ask for EPC details, then verify by inspecting loft depth, wall build-ups, and any thermal-bridge staining.
Next, assess ventilation systems. In kitchens and bathrooms, run extractor fans and confirm they vent outdoors, not into loft voids. Look for condensation on glazing, peeling paint, and black speckling at corners or behind furniture. Test trickle vents and openable windows; stagnant air usually predicts recurring mould.
Hazardous Materials: Asbestos and Lead Risks
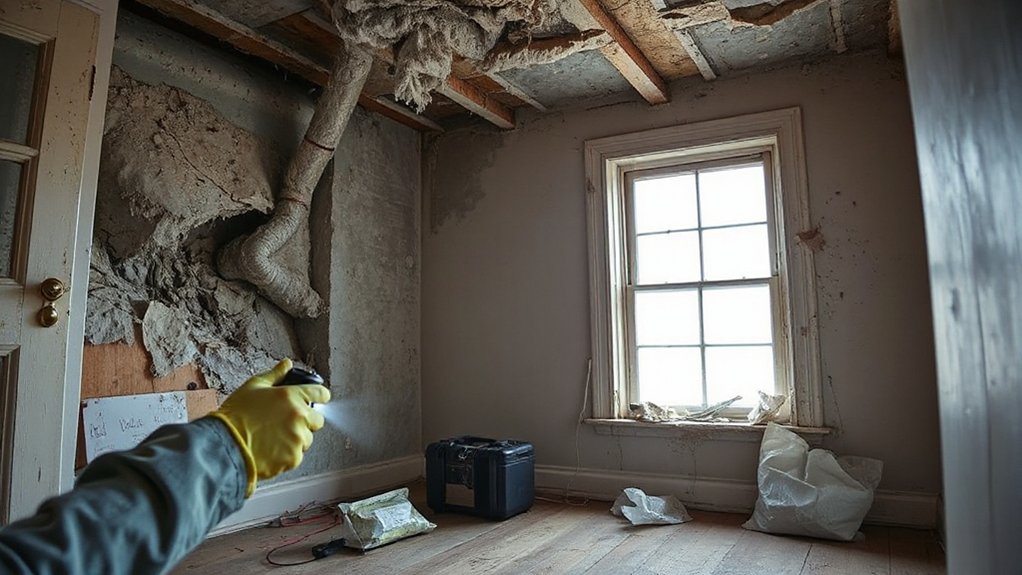
Cold spots and mould often lead you to open up walls, ceilings, and floor voids—and that’s where hazardous materials can come into play. In homes built before the 1990s, treat textured ceilings, pipe lagging, old vinyl tiles, soffits, and cement sheets as potential asbestos until tested. Don’t sand, drill, or demo suspect products; you can release fibres and contaminate the site. Arrange a licensed survey and lab sampling, then budget for removal or encapsulation and clearance certificates.
For lead, assume risk in pre-1978 paint, especially on windows, skirting, and stair rails where friction creates dust. Use lead test kits for screening, confirm with XRF or lab tests, and plan controlled prep, HEPA cleanup, and safe disposal to reduce property hazards.
Seller Questions That Reveal Hidden Costs
Before you fall in love with the floorplan, press the seller on specifics that turn “minor renovation” into a budget blowout. Ask why they’re selling now and whether any offers fell through; Seller motivations often hint at undisclosed defects or timing pressure. Request a dated list of all repairs in the last 10 years, who did the work, and whether permits were pulled and signed off. Ask what’s currently not working: heating zones, AC, electrics, plumbing, windows, drainage, and appliances. Pin down known water events: roof leaks, basement seepage, plumbing failures, and insurance claims. Clarify included vs excluded items and any remaining warranties. Finally, challenge pricing strategies: What upgrades does the price assume, and what estimates support it?
Surveys to Book: and When to Walk Away
Even if the seller seems transparent, you should book the right surveys early because defects that look “cosmetic” can hide structural movement, damp ingress, or unsafe services. Start with a RICS Level 3 survey for older or altered homes, then add targeted inspections: damp and timber, drainage CCTV, roof and chimney, and an EICR plus gas safety check. If you suspect subsidence or major cracking, commission a structural engineer before exchange. Use findings to price repairs, update your investment analysis, and test whether the deal still works in the current Property market. Walk away if the survey shows ongoing movement without a clear cause, pervasive wet rot, failed drains under foundations, or electrical rewire needs that breach your budget and timeline.
Frequently Asked Questions
How Do I Estimate Renovation Costs Accurately Before Making an Offer?
Estimate renovation costs by doing line-item Budget planning, measuring quantities, and pricing materials plus labor. Get three bids for contractor selection, add permits, design fees, and a 15–25% contingency, then verify comps.
Do I Need Planning Permission or Building Control Approval for My Intended Changes?
Yes, you usually do—unless you enjoy surprise visits from officials. You must check local rules for Building permits, then commission Structural assessments. File planning for external/usage changes; get building control for structure, electrics, drainage, fire.
What Insurance Coverage Is Required for a Property Undergoing Renovation?
You’ll need specialist renovation insurance meeting Insurance requirements: buildings cover during works, public liability, employers’ liability if you hire labour, contractor’s all-risks, and vacant-property cover. These coverage essentials protect fire, theft, damage, injuries, and delays.
How Long Do Typical Renovation Projects Take From Purchase to Completion?
You’ll typically finish in 3–12 months, depending on scope, permits, and contractor availability. Use Property inspection tips early to avoid delays, and lock Renovation financing upfront so materials, labor, and contingencies stay funded.
Can I Live in the Property During Renovation, and What Are the Practical Risks?
Yes, you can, but it’s like camping in a war zone. Plan Temporary living zones; expect construction hazards: dust, noise, blocked utilities, unsafe wiring, exposed nails. Secure permits, isolate work areas, schedule inspections, keep exits clear.
Conclusion
When you buy a renovation property, you’ll save money only if you spot defects early and price them in. Use your first viewing to triage structure, damp, timber, and services, then confirm with a targeted survey before you exchange. Don’t ignore “minor” clues: in one UK study, around 1 in 5 homes**** showed damp problems, and damp often signals ventilation, drainage, or structural faults. If costs stay unclear, you should walk away.
About the Author