
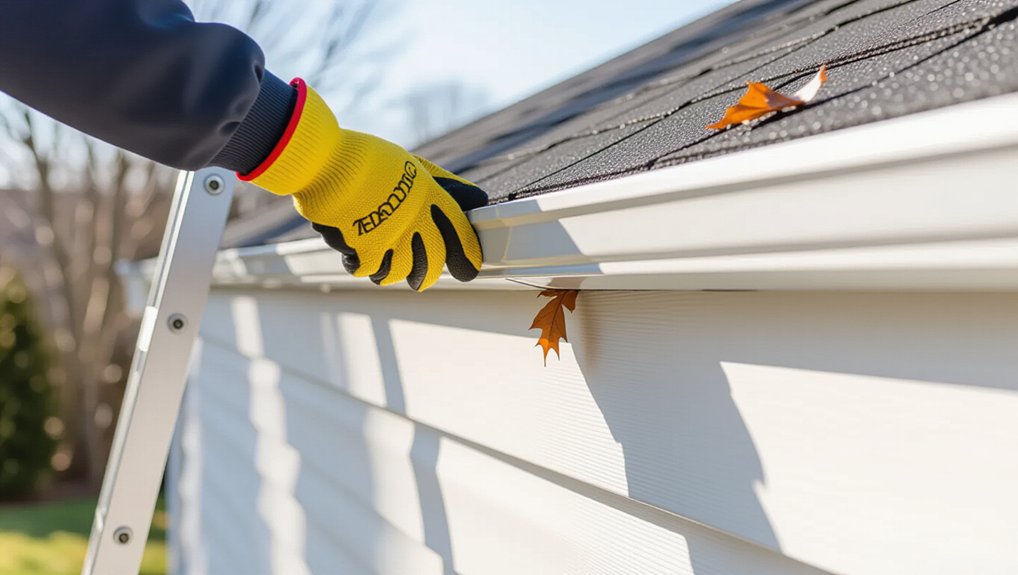
Stand 10–20 ft back and sight along the fascia; you’ll spot dips, waves, or gaps where the gutter tilts or pulls away. After rain, look for dark leak streaks at end caps and miters, drip marks under low spots, and water sheets spilling over the front lip. Gently tug accessible sections to detect loose hangers or rotted fascia. Note repeat overflow points that suggest poor slope or wide hanger spacing. Next, you’ll learn how to confirm and document each fault safely.
Key Takeaways
- Stand 10–20 ft back and sight along the fascia for gaps, tilts, or sections pulling away.
- Look for dips, waves, pooling water, or dark “tide lines” after rain—common early sagging indicators.
- Check for overflow sheets over the front lip and drip marks beneath low spots, showing water is pooling.
- Tug the gutter gently to find loose hangers, stripped screws, or rotted fascia; confirm hangers are spaced 24–36 inches apart.
- Inspect joints, corners, and end caps for lifted sealant, hairline gaps, popped rivets, or dark streaks that signal chronic leaks and separation.
Do a Ground-Level Gutter Check (Safe, Fast Clues)
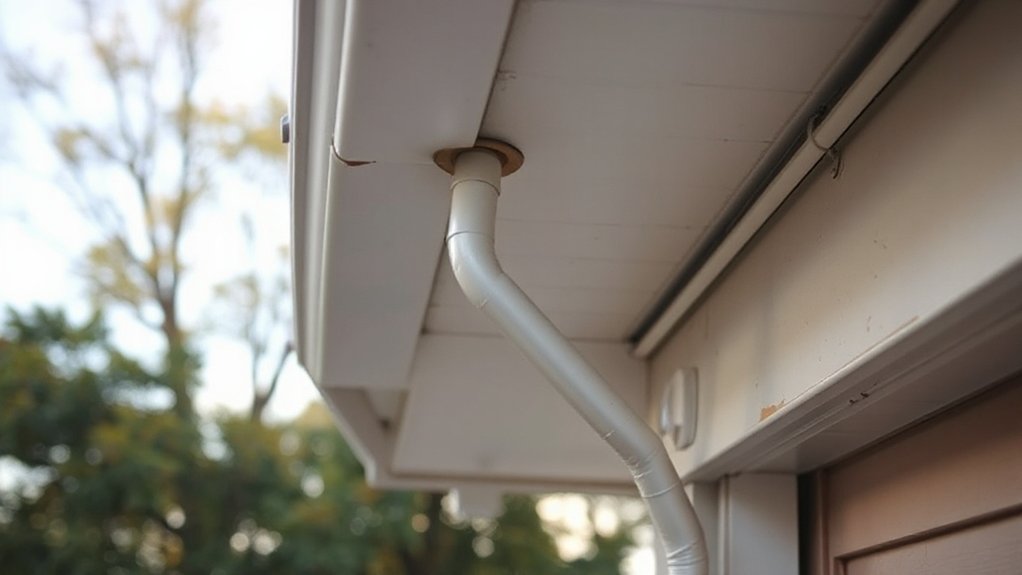
Before you climb a ladder, you can spot many signs of sagging or separation from the ground with a quick, methodical scan. Stand back 10–20 feet and sight along the fascia line; you’re looking for gaps between gutter and fascia, pulled fasteners, or sections that tilt away from the roof edge. Check end caps and miters for dark streaks that indicate chronic leakage. After rain, look for water marks on siding, eroded soil at downspout outlets, and splash patterns under seams. During Gutter cleaning or debris removal, note if overflow occurs at one joint rather than uniformly—this can signal a localized detachment. Use binoculars, stay clear of power lines, and document findings with photos.
Find Gutter Sagging: Dips, Waves, Pooling
Although a gutter can look “attached,” sagging usually shows up as subtle dips, waves, or spots where water pools instead of flowing to the downspout. From a stable ladder setup or binoculars at ground level, sight along the gutter’s top edge; you’re looking for low points that break the intended straight line. After rain, check for standing water by noting dark “tide lines,” sediment fans, and drip marks beneath a dip. Probe for Gutter debris buildup at those low areas, since added weight worsens deflection and can force overflow behind the fascia. Watch for Plant growth or moss in joints or corners; it signals chronic moisture and poor drainage. If water sheets over the front lip, you’ve likely found a sagging section.
Check Gutter Hangers and Loose Fasteners
Once you’ve spotted a low spot or overflow area, inspect the hangers and fasteners that should be holding the gutter tight to the fascia. Set your ladder on firm ground, maintain three points of contact, and wear cut-resistant gloves. Check that hidden hangers sit every 24–36 inches and that bracket straps aren’t bent. Tug the gutter gently; any movement suggests loose screws, nails backing out, or rotted fascia. Look for missing ferrules, stripped screw heads, or fasteners that miss solid wood. Match replacements to your gutter material (aluminum, steel, vinyl) to prevent galvanic corrosion or cracking. Re-drive screws into sound framing, or shift slightly to new wood. As maintenance tips, add longer stainless fasteners and tighten after storms.
Spot Gutter Separation at Seams, Corners, End Caps
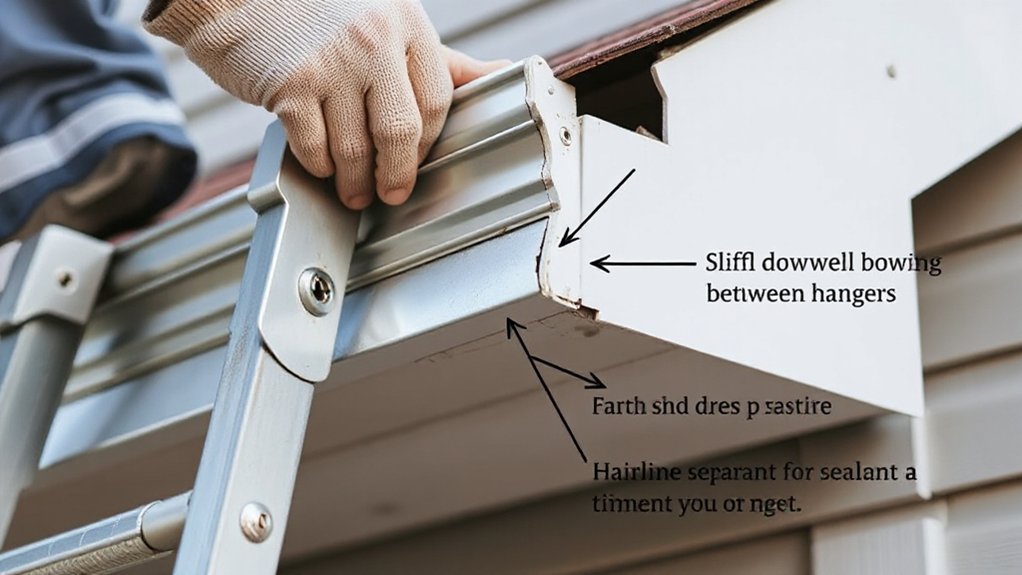
After you’ve verified the hangers and fasteners hold firmly, inspect every joint where water can push sections apart—seams, inside/outside corners, and end caps. Use a stable ladder, keep three-point contact, and wear cut-resistant gloves; sharp edges and oxidized fasteners can slice skin.
During Seams inspection, look for hairline gaps, lifted sealant, popped rivets, or screws that sit proud. Check corners for slight rotation, wrinkled metal, or stretched miters that signal movement. At end caps, probe gently with a plastic pick; any flex or weeping stain lines suggest bond failure. Confirm the joint type matches your gutter material (aluminum, steel, vinyl, copper) and note corrosion, galvanic pitting, or cracked caulk. Mark suspect joints for repair and photograph them for comparison.
Verify Gutter Slope With Overflow and Drip Patterns
Because water always reveals low spots first, you can verify proper gutter slope by reading overflow paths and drip patterns along the run. After a steady rain, observe where water sheets over the front edge, then track staining or algae lines that point to a reverse pitch. Look for persistent drips between hangers; that often signals a sagging section that’s holding water. From a ladder set on firm ground, keep three points of contact and don’t lean on the gutter material, especially thin aluminum or aging vinyl. Confirm suspected areas by pouring a measured bucket at the high end and timing flow to the downspout. Poor installation techniques, like wide hanger spacing or mis-set fascia angles, typically produce repeatable overflow at the same locations.
Frequently Asked Questions
How Often Should Gutters Be Inspected for Sagging or Separation?
Inspect gutters for sagging or separation twice yearly and after major storms. You’ll confirm hangers, seams, and fascia fasteners meet installation techniques, noting gutter color changes that signal corrosion. Use stable ladders, gloves, and eye protection.
What Gutter Materials Are Most Prone to Sagging Over Time?
Even if you think Gutter paint prevents droop, vinyl and thin-gauge aluminum sag fastest; they soften, expand, and buckle under heat and water load. Poor Material durability plus long spans accelerates deformation—secure ladders, avoid leaning, and inspect hangers.
Can Heavy Snow or Ice Cause Gutter Separation Even With Clean Gutters?
Yes—heavy snow or ice can still pull gutters apart even if they’re clean. You’ll see Snow accumulation overload hangers and fascia. Add Gutter insulation, improve roof-edge heat control, and remove ice safely.
Are There Warning Signs of Gutter Issues Inside the Home?
Yes—you’ll notice Interior leaks, you’ll smell dampness, you’ll spot Mold growth. Check ceiling stains, peeling paint, bubbling drywall, and warped trim near exterior walls. If you see these, inspect gutters and drainage promptly for safety.
When Should I Hire a Professional Instead of Checking Gutters Myself?
You should hire a professional when you can’t access the roof safely, see loose hangers, leaks, or structural damage, or need ladder work beyond your skill. Pros handle gutter cleaning and gutter repairs safely.
Conclusion
Wrap up your inspection by documenting any dips, loose hangers, or open seams, then schedule repairs before the next heavy rain. If you see persistent drip lines or overflow stains, you can’t assume the slope’s fine—measure and correct it. For example, one homeowner noticed a shallow “wave” from the driveway; a single missing hanger let water pool, pulling a corner seam apart. They replaced hangers and resealed the joint, preventing fascia rot.
About the Author



