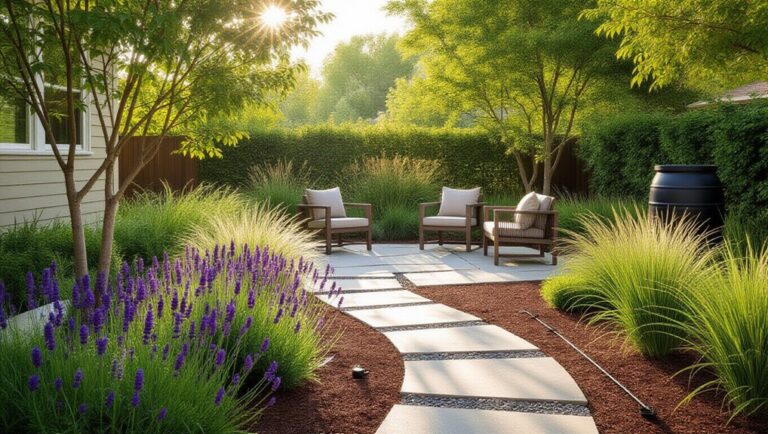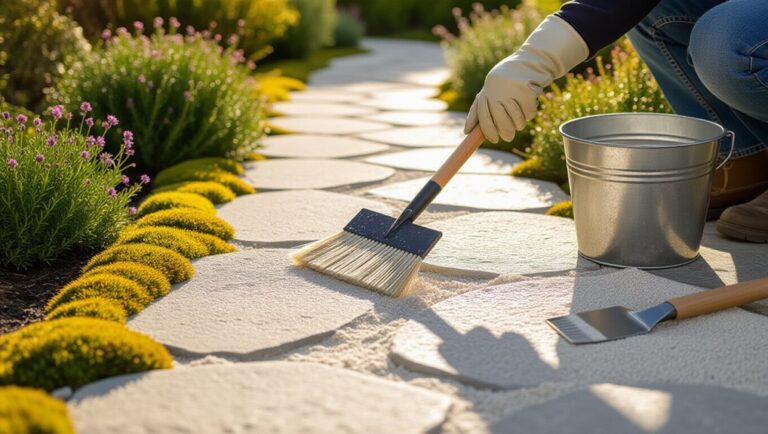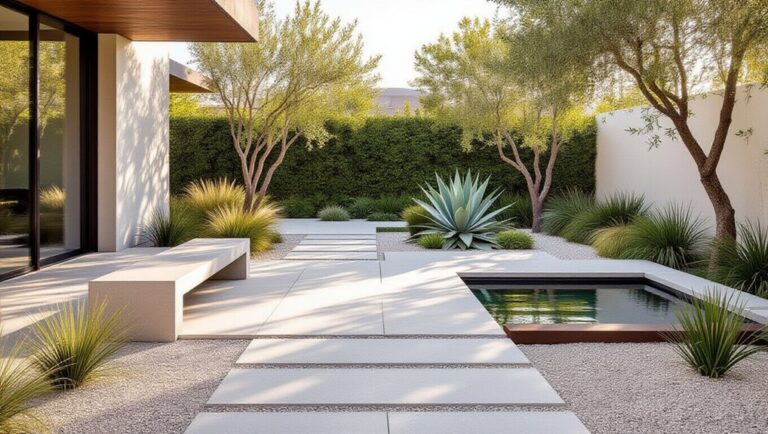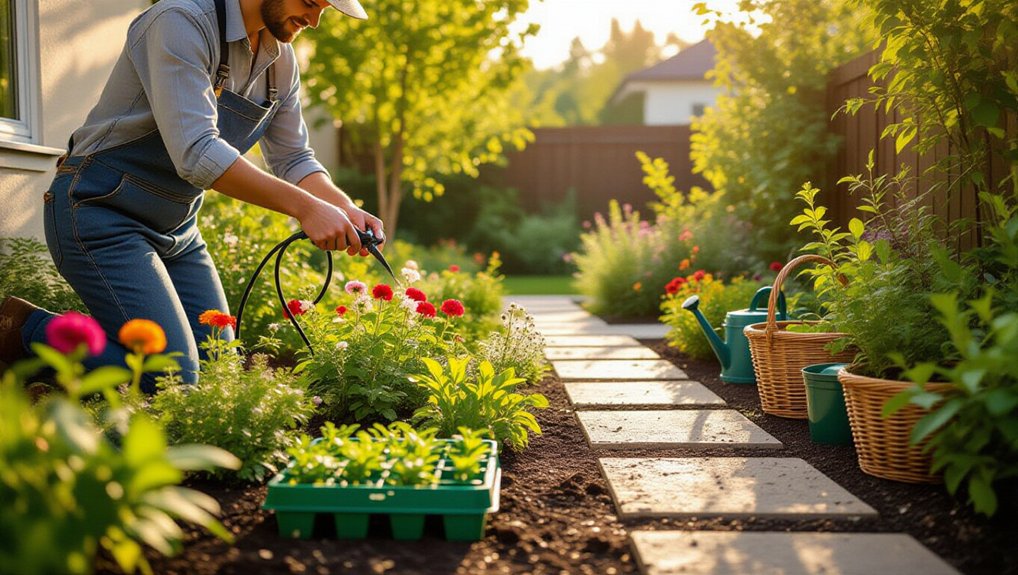
Start with a site audit (sun, drainage, wind, traffic) and a simple layout with wide paths. Choose native, drought-tough plants, then hydrozone them by water needs and mature size. Mulch beds 2–3 inches deep to suppress weeds and slow evaporation. Install drip irrigation with a timer, filter, and pressure regulator. Do a 10-minute weekly reset: weed, tidy, secure lines, and pest-check. Add slow-release fertilizer on schedule, then prune, deadhead, and swap matching containers for fast color. Keep going to tighten each step.
Key Takeaways
- Map sun, drainage, and foot traffic, then use simple shapes and wide paths to make upkeep faster and easier.
- Choose native, drought-tough plants and group them by water needs to prevent constant watering and replacements.
- Mulch beds 2–3 inches deep, kept off stems, to suppress weeds and reduce watering frequency.
- Install drip irrigation with a timer, filter, and pressure regulator for consistent, low-effort deep watering.
- Do a weekly 10-minute reset: pull weeds, remove dead growth, tidy debris for compost, and spot-check pests.
Start With a Low-Maintenance Garden Game Plan
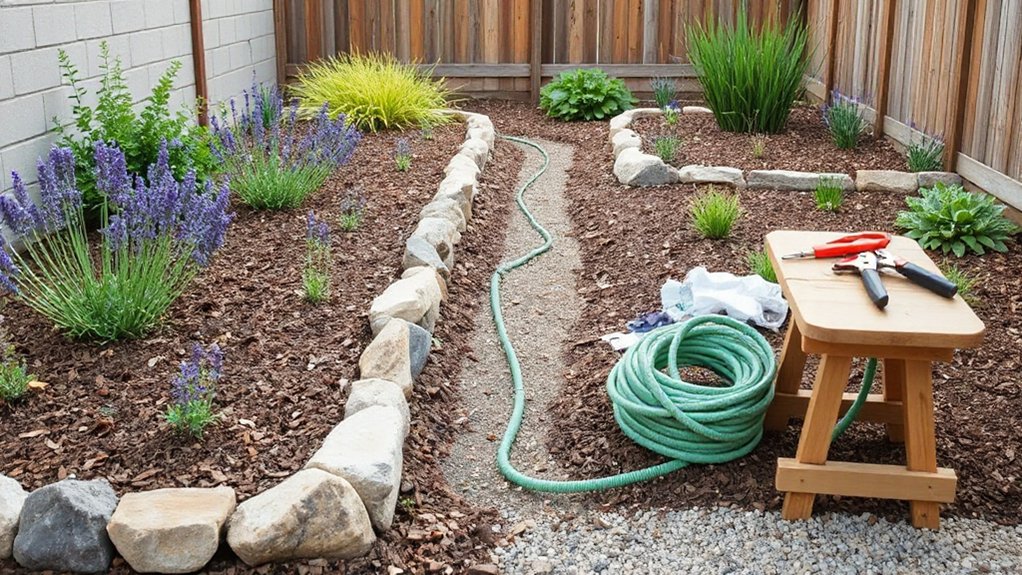
If your calendar stays packed, you’ll get better results by designing for low upkeep from day one. Start with a measured site audit: map sun hours, drainage, wind exposure, and foot traffic. Then set maintenance targets (minutes per week) and design backward from them.
For Garden design, simplify geometry and access. Use wide, straight paths so you can weed fast and reach beds without stepping on soil. Consolidate plants into dense blocks, and cap exposed ground with 2–3 inches of mulch to cut evaporation and suppress weeds. Install drip irrigation on a timer with a filter and pressure regulator. For pest control, plan monitoring points and thresholds: inspect weekly, remove hotspots early, and favor barriers (row cover, collars) before sprays. Document everything in a one-page checklist.
Choose Native, Drought-Tough Plants That Thrive
A low-maintenance layout only performs as well as the plants you specify, so prioritize natives and other drought-tough species that match your site audit. Start by mapping sun hours, wind exposure, drainage class, and root-zone volume for each bed. Then select Native plants adapted to those parameters, not just your region in general. Confirm mature size, growth rate, and seasonal water demand from extension data, and group plants by hydrozone so you don’t overwater low-use areas. Favor drought tolerant species with deep or fibrous root systems, low transpiration foliage, and proven heat tolerance. Specify cultivars only when they retain the same stress performance as the straight species. Finally, set spacing to hit canopy closure without crowding, reducing intervention later.
Use Mulch to Reduce Weeding and Watering
Choose mulch based on function: use shredded bark or wood chips for beds, compost for light feeding, and avoid fresh high-nitrogen draws near young plants. Apply it in a uniform 2–3 inch layer to block light from weed seedlings and slow soil evaporation. Keep mulch a few inches off stems and trunks, and extend coverage to the drip line where feasible.
Choose The Right Mulch
Why spend your limited garden time pulling weeds and chasing dry soil when mulch can handle both? Choose mulch by matching function to site. Use shredded hardwood or arborist chips in beds for slow decomposition, steady moisture buffering, and long-term soil improvement. Use fine bark or pine straw around shrubs where you need quick coverage and good air exchange. For vegetables, pick clean straw or leaf mold to avoid nitrogen tie-up and reduce splash-borne disease. In wet climates, avoid thick, matted grass clippings; they anaerobically heat and invite fungus. For pest control, select cedar, cypress, or cocoa-shell alternatives cautiously, and skip mulches that harbor slugs in shade. Finally, confirm it’s weed-free, locally sourced, and free of herbicide residues.
Apply Mulch For Coverage
Once you’ve matched the mulch to the site, apply it at the right depth and footprint so it blocks light to weed seeds and slows evaporation from the soil surface. Spread organic mulch 2–3 inches deep in beds; keep it 3–4 inches off stems and trunks to prevent rot. Extend coverage to the dripline where feasible, closing gaps where weeds establish. Water thoroughly before mulching, then irrigate less often but deeper, checking moisture under the layer. Refresh to maintain depth after settling or decomposition. For soil health, use shredded leaves, composted bark, or wood chips; they buffer temperature and feed microbes as they break down. For pest control, avoid thick, wet piles near crowns, and remove mulch touching tender shoots.
Set Up Drip Irrigation With a Timer
Map an efficient drip layout by zoning plants with similar water needs, placing the mainline along bed edges, and running emitters directly to each root zone. Install an inline filter, pressure regulator, and battery timer at the hose bib so the system runs at the correct flow and pressure. Program the timer for short, early-morning cycles and adjust frequency by season so you automate watering without over- or under-saturating.
Choose Efficient Drip Layout
Even if you only have a few minutes to install it, you can build an efficient drip layout by matching emitter flow and spacing to each plant zone and then running it on a timer. Start by mapping zones by sun, soil, and plant water demand. Use 0.5–2.0 GPH emitters for shrubs and trees, and 6–12 inch spacing dripline for beds; don’t mix high- and low-demand plants on one line. Keep lateral runs short and uniform, and cap ends so you can flush debris. Add a filter and pressure regulator at the header to protect the Drip system and stabilize output. Stake tubing, avoid tight bends, and label valves so you can service leaks fast.
Automate Watering Schedules
A well-zoned drip layout only saves time if you run it consistently, so put it on a timer and lock in repeatable runtimes by zone. Start by mapping each zone’s emitter flow rate and plant demand, then set minutes per cycle to hit your target gallons, not guesswork. Schedule pre-dawn runs to reduce evaporation and keep pressure stable. Use cycle-and-soak for clay: two short runs with a gap to prevent runoff.
Add Rain sensors to suspend irrigation after measurable rainfall. If you’ve got variable weather, use smart controllers that adjust runtimes from ET data and temperature. Set a monthly audit reminder: inspect filters, flush lines, and confirm the controller’s clock and battery backup settings.
Do a 10-Minute Weekly Garden Reset (3 Steps)
When your week stays packed, a 10-minute garden reset keeps small issues from compounding into time-consuming repairs. Set a timer and follow three steps.
1) Scan and correct (3 minutes): Walk every bed edge-to-edge. Pull visible weeds, cut dead stems, and re-seat any dislodged drip lines or stakes to prevent abrasion and leaks.
2) Contain and process (4 minutes): Collect trimmings and leaves into a bucket. Add them to your garden composting pile in thin layers to avoid matting; cover fresh greens to reduce odors and flies.
3) Inspect and protect (3 minutes): Check leaf undersides and new growth for chewing, stippling, or eggs. Remove by hand and spot-treat only affected plants for targeted pest control.
Use Slow-Release Fertilizer at the Right Time
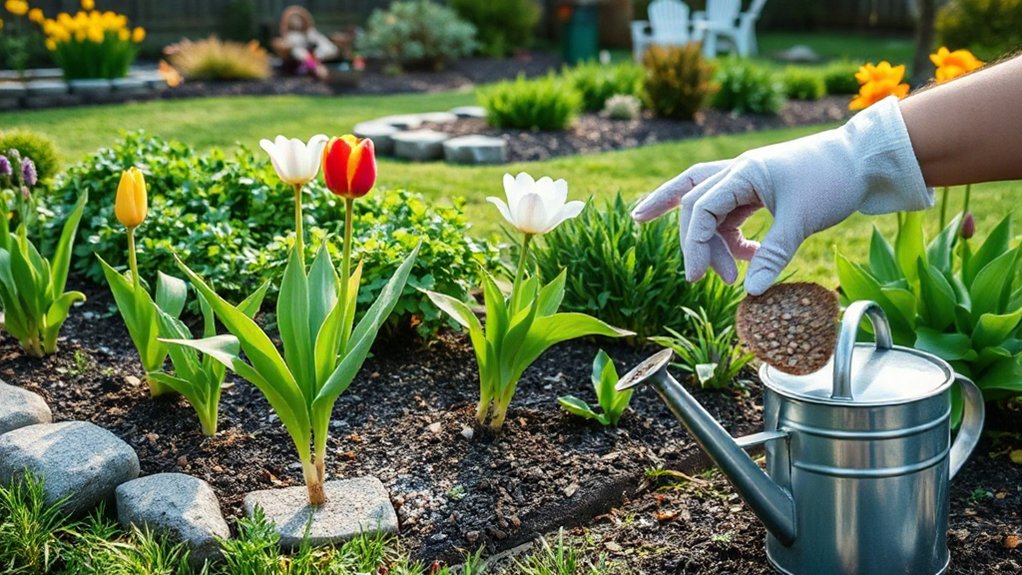
Because slow-release fertilizer feeds plants over weeks rather than days, you’ll get the best return by applying it only at predictable growth inflection points instead of sprinkling it “as needed.” For most beds, target three windows: early spring at bud break, early summer after the first flush, and early fall for root rebuilding in perennials. Skip midsummer heat or drought; uptake drops and salts can stress roots.
Match product longevity to your calendar: a 3–4 month coating for spring, or a 2–3 month option for containers. Water in immediately to activate prills, then maintain even moisture so release stays stable. Use label rates based on bed square footage, and keep granules off stems. This improves soil health and locks in nutrient timing.
Prune, Deadhead, and Swap Containers for Fast Color
Although you can’t add hours to your week, you can force immediate, high-impact bloom by combining three fast interventions: prune for structure, deadhead for continuous bud set, and rotate in pre-planted containers for instant saturation. Use clean, sharp bypass pruners and follow Pruning techniques: remove crossing stems, cut to an outward-facing bud, and take no more than one-third of total growth per session. For Deadheading tips, snip spent flowers back to the first strong leaf node or lateral bud; don’t just pinch petals, or you’ll leave seed-forming tissue. Work in five-minute passes twice weekly to keep plants in vegetative mode. When beds look tired, swap in containers at visual focal points (entry, patio, path turns). Choose matching pot sizes for quick, plug-and-play changeouts.
Frequently Asked Questions
How Do I Keep Pests Away Without Using Harsh Chemicals?
Use natural repellents and companion planting to disrupt pest behavior without toxins. You’ll introduce beneficial insects, apply neem or soap sprays, deploy row covers, remove infested foliage, rotate crops, and maintain sanitation to reduce breeding sites.
What’s the Best Way to Improve Poor Soil Quickly?
For quick improvement, you’ll perform soil enhancement by blending 2–3 inches compost into the top 6–8 inches, then applying organic fertilizers per label. You’ll retest pH, adjust with lime/sulfur, and mulch consistently.
How Can I Protect Plants From Sudden Heatwaves or Late Frosts?
You protect plants by acting early, acting fast, acting consistently: deploy shade cloths before peak sun, water deeply at dawn, and vent shelters. For frosts, cover with frost blankets at dusk, then uncover at sunrise.
When Should I Divide Perennials to Keep Them Healthy and Blooming?
You should time Perennial division in early spring as shoots emerge, or in early fall after flowering. Divide when centers thin or clumps crowd. Water, replant promptly, and mulch; that guarantees Bloom maintenance and vigor.
How Do I Keep Pets From Digging or Damaging Garden Beds?
Use Secure fencing around beds, then add Pet deterrents: motion-activated sprinklers, citrus/pepper repellents, and rough mulch. Cover soil with landscape fabric or chicken wire under mulch. Redirect digging by providing a designated sandbox area.
Conclusion
You don’t need marathon hours to keep a garden polished; you need a calibrated system. You’ve mapped low-maintenance plants, sealed moisture with mulch, and automated drip like a metronome. Your 10-minute reset trims entropy before it spreads. Timed slow-release feeding keeps growth steady, not chaotic. Quick pruning, deadheading, and container swaps add instant signal to the landscape. Treat each task like a small gear, and the whole garden runs smoothly.
About the Author