You restore a semi‑detached interior with character by surveying every room first: photograph elevations, measure reveals and thresholds, and log mouldings and ironmongery. You budget room by room, tag must/should/could tasks, and order materials in matched batches. You fix damp and airflow before finishes, then repair plaster, cornices, boards, and sash windows. You add warm, high‑CRI layered lighting, heritage colours, and slim fitted joinery with reclaimed hardware. Keep going for the finer moves.
Key Takeaways
- Survey each room, photograph details, measure openings, and map cracks/damp to plan believable layouts and avoid unnecessary rework.
- Prioritise with a room-by-room budget, must/should/could tags, three quotes, and lead times, factoring access limits and party-wall constraints.
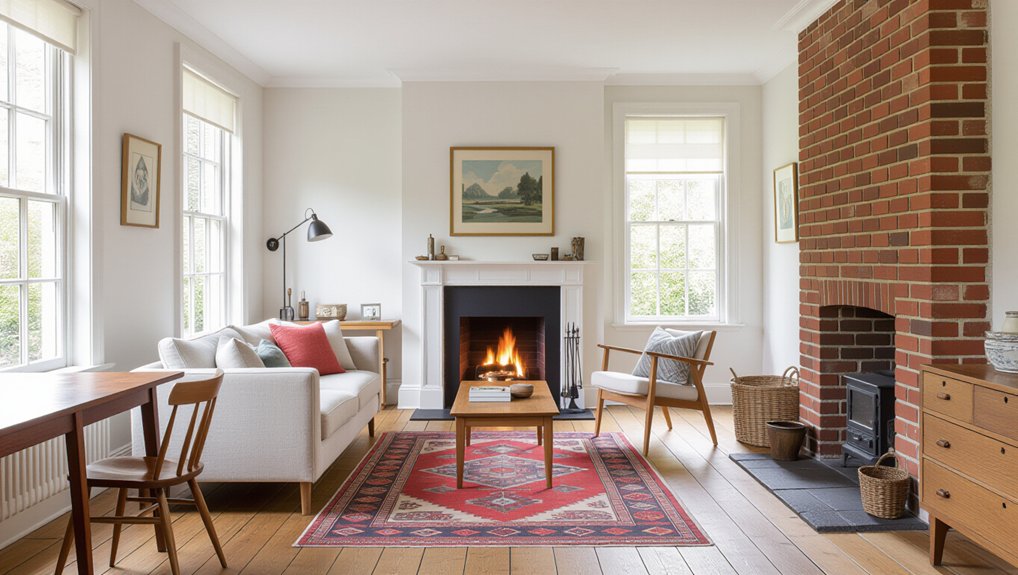
- Preserve original features—skirting, picture rails, fireplaces, panel doors—repairing timber, glazing, and floors with matching materials before replacing anything.
- Fix damp and comfort together by repairing rainwater goods, improving ventilation, and adding slim breathable insulation to cold spots without losing valuable floor space.
- Restore character through compatible plaster repairs, sash-window servicing, layered warm lighting, heritage colours, and fitted joinery with period hardware for modern function.
Survey Your Semi-Detached Interior Properly
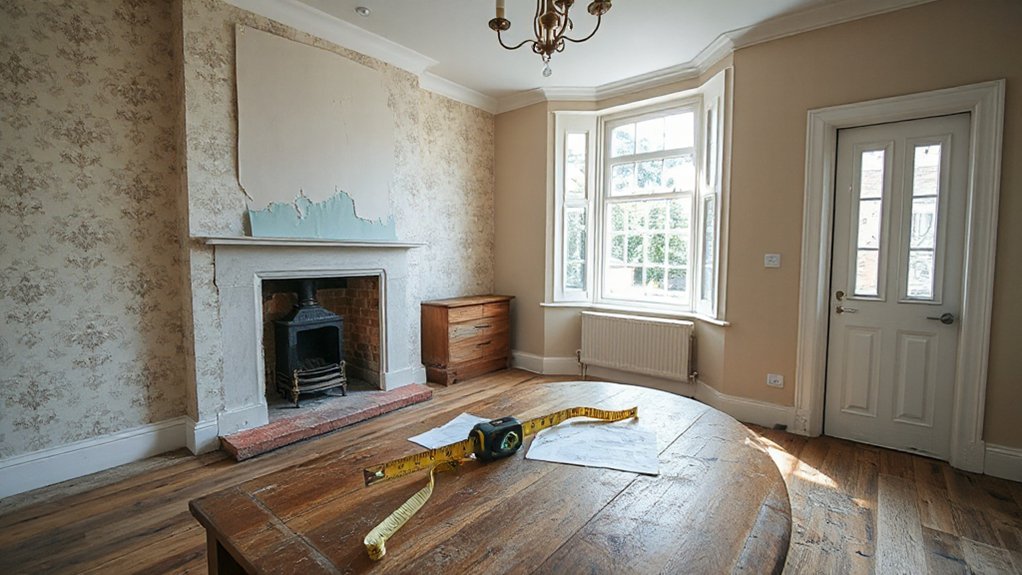
Before you pick up a pry bar or order paint, walk your semi-detached interior room by room and record what’s actually there. Photograph every elevation, ceiling line, and threshold; note cracks, damp tide marks, and draught points at skirting level. Measure door widths, chimney-breast projections, and window reveals so future layouts stay space-conscious and believable. Lift a corner of carpet to check original boards, joist direction, and any unevenness that’ll telegraph through finishes. Log moulding profiles, architrave depths, and ironmongery patterns to protect Historical accuracy. Test existing paint layers and plaster hardness; map repairs with tape so you don’t chase phantom defects. Finally, list salvageable items and gaps for Material sourcing—tiles, vents, and matching trims.
Set Priorities and a Realistic Restoration Budget
Now that you’ve logged every crack, damp line, and misfit threshold, use that evidence to set priorities and cost them in a way that suits a semi-detached house’s tight footprints and shared-party-wall realities. Start with a room-by-room spreadsheet that separates structural allowances, services, finishes, and contingency, then assign each line a “must/should/could” tag. Price access and protection: narrow halls need slimline scaffolds, stair runners, and dust doors; party walls may require acoustic upgrades or careful fixing methods.
Budget planning works best when you time cashflow to trades, not moods—get three quotes, note lead times, and lock decision dates. For Material sourcing, plan batches to avoid shade mismatch in plaster, paint, and timber, and reserve 10% for breakage and trims.
Decide What to Keep, Repair, or Replace
Because a semi-detached house shares structure, sound paths, and sometimes even quirks of movement with its neighbour, you’ll get the best result by deciding—element by element—what to keep for character, what to repair for performance, and what to replace for safety or space. Start with a room-by-room audit: original skirting, picture rails, fireplaces, and panel doors often deserve keeping for Historical accuracy. Strip paint carefully, refinish timber, and reglaze wavy panes rather than swapping them out. Repair floorboards with spliced matching boards, then level locally so rugs and furniture sit cleanly. Replace only when function fails: warped hollow-core doors, unsafe wiring accessories, or bulky radiators that steal circulation. For Modern adaptation, choose slimline storage, discreet LED layers, and period-profile hardware that feels intentional, not copied.
Fix Damp, Insulation, and Ventilation First
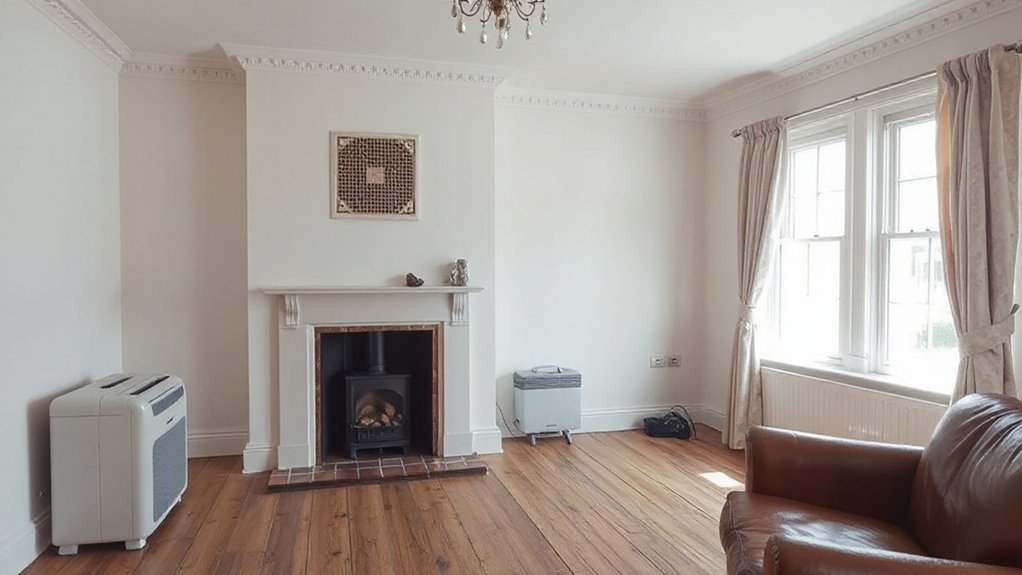
Although fresh paint and new joinery look tempting, you’ll get a longer-lasting, cleaner finish by tackling damp, insulation, and ventilation as one linked system. Start by tracing moisture routes: check gutters, flashing, pointing, and ground levels so rain can’t bridge the damp course. Indoors, map cold spots behind wardrobes and on party walls, then specify slim insulation where it won’t steal floor area or bury details—think breathable boards and well-fitted loft rolls with sealed hatches. Next, plan moisture management with purposeful extraction: quiet, humidity-sensing fans in kitchen and bath, and trickle vents where sash lines allow. Finally, commit to airflow optimization by keeping paths clear—undercut doors, avoid overstuffed alcoves, and size radiators so rooms heat evenly without condensation.
Repair Plaster, Cornices, and Ceiling Roses
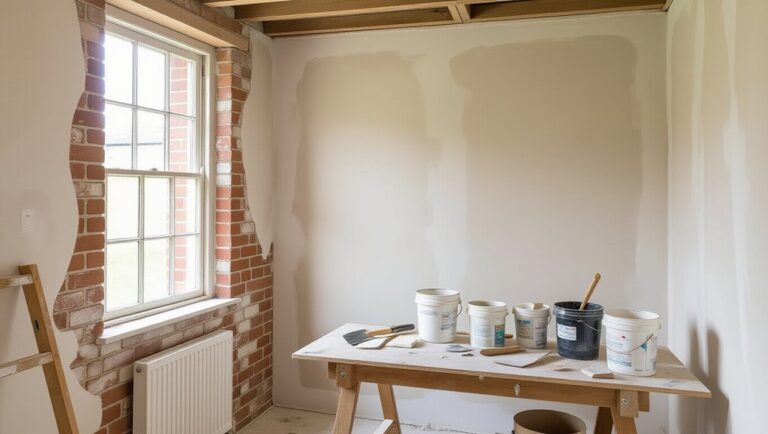
Once the building’s dry and breathing properly, you can turn to plaster repairs and treat them as finish carpentry for walls and ceilings: precise, tidy, and worth doing in the right order. Start by mapping cracks: hairlines may just need raking out and filling, while blown areas must come back to sound substrate. Use compatible lime where the house wants it, keep edges feathered, and sand only after full cure to avoid hollow spots.
For cornices, clean profiles with a stiff brush, pin loose runs, then rebuild missing sections with casting plaster and a simple running mould, keeping lines crisp at mitres. During Ceiling restoration, resecure ceiling roses, strip paint carefully, and cast small patches so the relief stays sharp and proportionate.
Restore Floorboards, Stairs, and Skirting
Before you refinish anything, treat the timber underfoot as the room’s datum line and bring it back to flat, tight, and quiet. Lift a few boards, vacuum joist bays, add noggins where springy, then re‑fix with countersunk screws so squeaks stop. For Floorboard refinishing, punch nails, fill splits with slivers, and sand in passes; keep edges crisp so rugs sit square and furniture reads deliberate. Choose a hardwax oil for a low-sheen, period-friendly finish that won’t thicken the room like high gloss.
Move to staircase restoration: strip paint from treads, repair noses with epoxy, and clamp any loose stringer joints. Finally, rehang skirting dead level, scribe to waves, and caulk minimally for clean shadow lines.
Refresh Sash Windows and Draught-Proofing
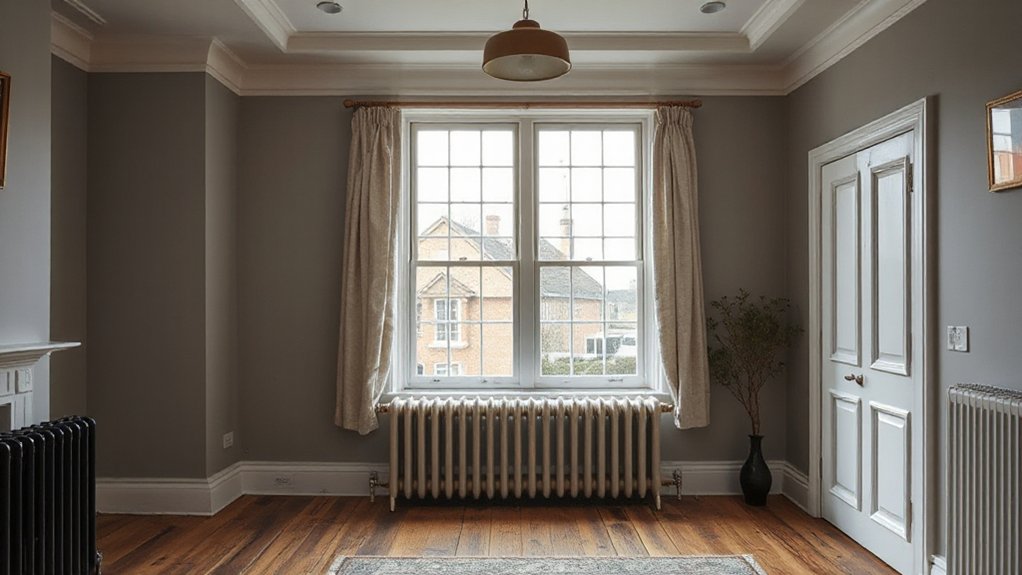
Start with a sash window refresh: strip and patch flaking paint, ease stuck sashes, replace cords, and fit discreet brush seals so everything slides cleanly. You’ll reglaze where needed, prime properly, and finish with a crisp, period-appropriate colour that sharpens the room without crowding it. Then you’ll draught-proof the meeting rails and frames to cut rattles and heat loss, making the house quieter and more comfortable.
Sash Window Refurbishment Steps
Although sash windows look delicate, you can refurbish them methodically for a cleaner slide, sharper sightlines, and a noticeably warmer room. Start by labeling each sash and removing staff and parting beads with a thin pry bar, protecting plaster edges. Lift out the sashes, then vacuum channels and scrape loose paint where it bridges moving joints. Check pulleys; spin and oil them, and replace frayed cords with waxed cotton, matching the original weight balance. Consolidate soft timber, splice repairs where needed, and reset loose glazing putty with neat, slim sightlines that respect Historic craftsmanship. Prime bare wood, then repaint in thin coats, keeping paint off contact edges. Finally, refit beads and test travel, fine-tuning stops for a crisp, quiet close—your Modern adaptations stay discreet.
Draught-Proofing For Comfort
Once you’ve got the sashes sliding freely again, draught-proofing turns that restored movement into real comfort by sealing the tiny gaps that whistle at the meeting rails, parting bead, and staff bead. You’ll feel the difference immediately: less rattle, steadier temperatures, and quieter nights, without bulky secondary glazing stealing daylight or sightlines. Choose slimline brush piles or compression seals routed into the beads for discreet Draft exclusion that still lets the timber breathe. Re-bed loose panes, then run a neat line of paintable sealant where frames meet plaster to stop convection loops. If you’re planning insulation upgrades, treat windows as part of the envelope: seal the sash box, fit a snug staff bead, and keep trickle ventilation controlled rather than accidental.
Get Period-Style Lighting With Modern Function
When you want your semi-detached house to feel true to its era without living like it’s still in that era, period-style lighting with modern performance gives you the best of both. Choose period lighting that echoes original details—opal glass shades, ribbed pendants, or aged-brass picture lights—then pair it with modern functionality like dimmable LEDs and smart controls.
Keep proportions tight for semis: a flush or semi-flush ceiling light suits lower landings, while a slim pendant works over a bay without crowding sightlines. Add wall sconces to free up side tables and widen narrow halls with layered light. Put task lighting where you work: under-cabinet strips in the kitchen, a focused reading lamp by the sofa. Aim for warm white, high-CRI bulbs so woodwork and textures look rich, not flat.
Choose Heritage Colours That Suit Your Semi
Because semis often have narrower halls, smaller rooms, and light that shifts dramatically from front bay to rear extension, you’ll get the best result by choosing heritage colours that support the architecture rather than overwhelm it—think chalky off-whites, warm greiges, muted sages, soot blues, and oxblood accents that sit comfortably beside original skirting and coving. Start by mapping daylight: keep the hallway ceiling a soft off-white to lift height, then deepen tones in the bay to anchor fireplaces and picture rails. Use Heritage colour palettes to create flow—repeat one undertone through landing, front room, and back room, shifting only depth. Specify Historical paint finishes: matt or clay-like on walls to mute bumps, satin on woodwork to catch light, and a slightly deeper shade on internal doors for definition.
Add Fitted Joinery and Reclaimed Final Details
Although the paint palette sets the mood, fitted joinery gives your semi its day-to-day order—think a slimline hallway cupboard that stops short of the cornice, a bay-window seat with lift-up storage, and alcove units that frame the chimney breast without stealing precious floor space. Use Custom cabinetry to hide the boiler, route cables, and level awkward skirting lines, then finish it with shadow-gap trims for a crisp, modern edge that still respects period bones. Keep doors flush, hinges concealed, and shelves adjustable so every centimetre works harder. For the final layer, choose Reclaimed fixtures: bakelite switches, brass rim locks, reeded glass knobs, and an old-school picture rail hook system. You’ll add patina where it counts, without cluttering surfaces. Seal, wax, and leave tool marks visible.
Frequently Asked Questions
How Do I Apply for Listed-Building Consent in a Semi-Detached House?
Apply through your local planning authority: submit drawings, heritage statement, and method details for Historic paint and masonry cleaning. You’ll notify neighbours if required, pay fees, and wait for approval before starting.
Can I Restore Original Features Without Upsetting My Adjoining Neighbour?
Yes—you can, and coincidentally your neighbour’s already planning upgrades too. You’ll keep peace by sharing drawings, checking party-wall rules, timing noise, matching lines, and choosing modern design with eco friendly materials and tidy storage.
What Insurance Covers Accidental Damage During Period Interior Restoration Work?
You’ll want specialist renovation insurance or a builders’ all‑risks policy, plus public liability. They cover accidental damage to fabrics, floors, and features, supporting Insurance claims. Prioritise Damage prevention with dust screens, padding, and careful storage.
How Long Does a Typical Semi-Detached Interior Restoration Take to Complete?
You’ll typically finish a semi-detached interior restoration in 8–16 weeks; light refreshes take 4–6. Interior design decisions and Material sourcing drive timelines—custom joinery, tiles, and paint curing add weeks. Space planning matters.
Which Professionals Do I Need: Architect, Surveyor, or Heritage Carpenter?
You’ll hire an architect for renovation planning, a surveyor for structure, and a heritage carpenter for details—unless you fancy DIY “historic preservation” with a butter knife. You’ll coordinate finishes, clearances, and storage-savvy layouts efficiently.
Conclusion
When you restore your semi, you’re really tuning an instrument: fix damp and draughts first, then let the details sing. I watched a neighbour swap plastic vents for discreet trickle vents and draught strips—his hallway stopped smelling “cold” overnight, and his heating bill dropped about 10% that winter. Once plaster, cornices, and sash lines are crisp, heritage paint and period-style lighting feel intentional, not fussy. Finish with fitted joinery and a few reclaimed touches.
About the Author