
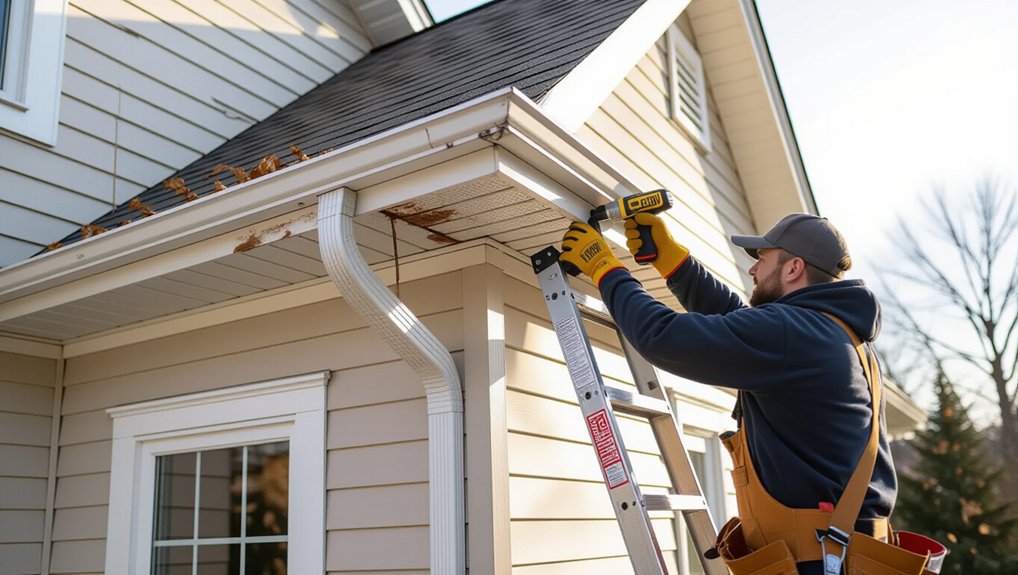
Maintain older-home gutters with weak brackets by reducing load and improving attachment. You’ll clean debris and flush downspouts often, then hose-test flow and confirm 1/16–1/8 inch per foot slope toward outlets. Inspect hangers, fasteners, and fascia for rust, elongated holes, splits, or rot. Tighten sound hardware, but re-anchor with longer, corrosion-rated screws into framing or replace bent hangers with hidden brackets. Seal dry seams, strap downspouts to framing, and you’ll see key upgrade options next.
Key Takeaways
- Inspect brackets and fasteners for sagging, rust, elongated holes, and loose attachment points; probe fascia for rot, splitting, or paint lifting.
- Clean gutters and downspouts often, removing debris and flushing with water to confirm flow, leaks, and proper drainage after storms.
- Verify and reset gutter slope to 1/16–1/8 inch per foot toward outlets, adjusting gutter height rather than bending weak hangers.
- Reinforce weak attachment by replacing spikes with hidden hangers and longer corrosion-rated screws driven into sound framing or added blocking.
- Repair or replace rotten fascia and damaged gutter sections before rehanging; seal end caps and seams only after surfaces are dry.
Spot Failing Gutter Brackets on Older Homes
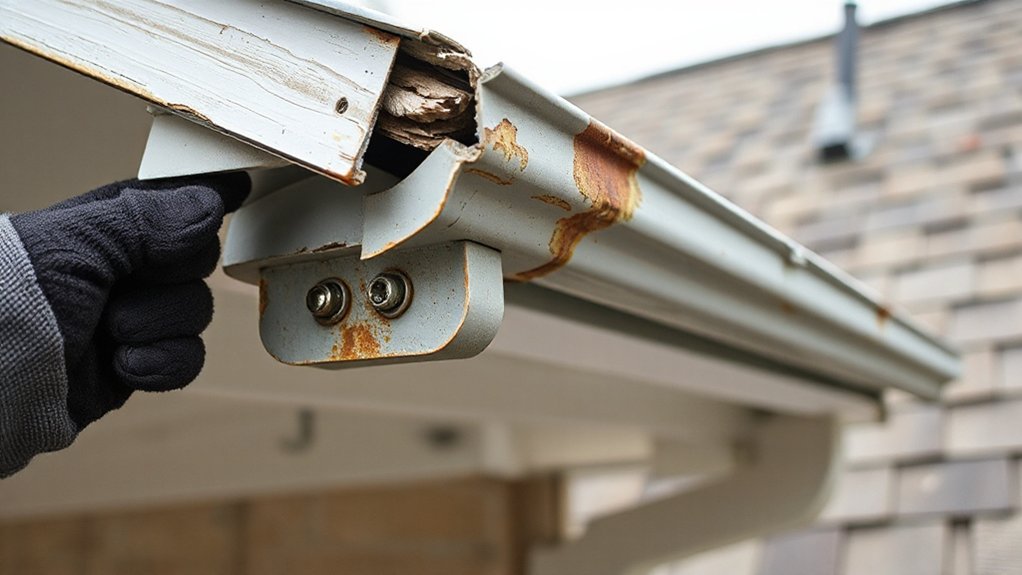
Because older fascia boards and fasteners often fatigue at the same time, you should inspect gutter brackets for early failure before the run starts to sag or pull away. From a ladder set per OSHA/ANSI guidance, look for elongated screw holes, rust bleed at hanger points, and hairline splits in fascia near bracket nails. Check that hidden hangers sit tight to the gutter bead and that strap hangers aren’t bent or fretting. Scan for misaligned spacing versus manufacturer requirements and local wind/snow load expectations. Watch for sealant cracks around end caps where bracket movement opens joints. Note changes in Gutter color near fasteners, which can indicate galvanic reaction or chronic moisture. Preserve decorative accents by spotting bracket distortion before it stains trim or dents profiles.
Decide: Tighten, Re-Anchor, or Replace Brackets
Once you’ve confirmed bracket movement or fascia distress, decide quickly whether you can tighten, re-anchor, or replace before the gutter run loads up and fails. If fasteners are intact and the bracket hasn’t deformed, you can tighten to manufacturer torque and add thread-lock where allowed. When screws strip or nails back out, re-anchor by upgrading to corrosion-rated gutter screws sized for code-required withdrawal resistance, driving into sound framing where the bracket was designed to bear. Replace brackets if the Bracket material is cracked, thinned by rust, or mismatched to the gutter profile; mixing metals can accelerate galvanic corrosion. Keep spacing within local code and maker specs, especially near corners and downspouts. Match replacement finish to Gutter color for UV consistency and easier inspections.
Check Fascia Boards Before Fixing Gutter Brackets
Before you tighten or swap any gutter bracket, inspect the fascia board it bears on and confirm it can carry the load under wet-weather conditions. Start with a Fascia inspection: probe along the top edge and at fastener lines, checking for spongy fibers, splits, delamination, or lifted paint that can signal moisture intrusion. Verify the board is securely fastened to rafter tails and remains plumb; loose fascia can’t support a stable Bracket attachment. Confirm bracket screws land in sound wood and meet local code expectations for corrosion-resistant fasteners in exterior exposure. Look for prior patching, oversized holes, or staining around old fasteners that suggests withdrawal or shear risk. If you find movement, stop and reassess before reattaching brackets.
Reinforce or Replace Rotten Fascia Behind Brackets
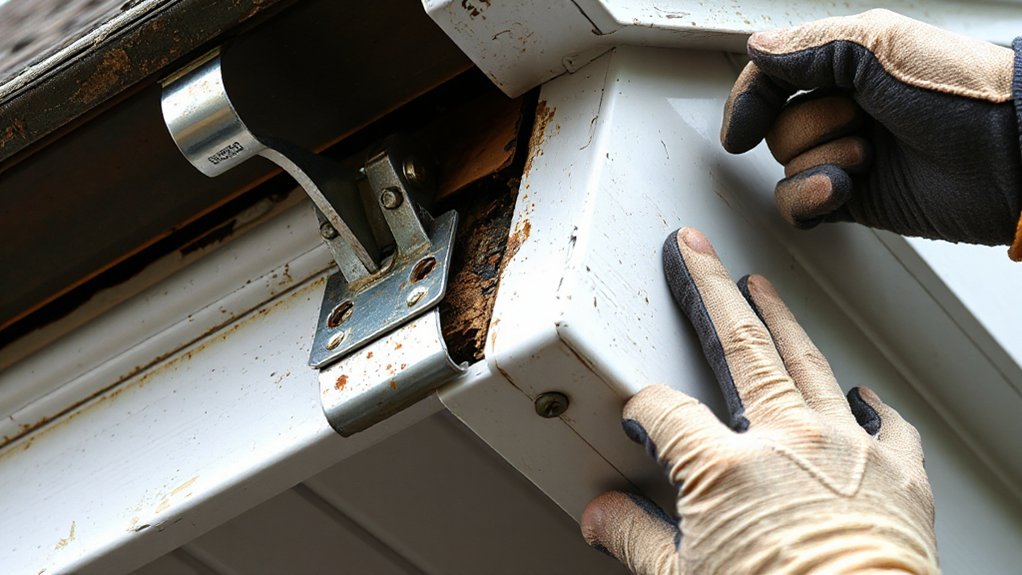
You’ll inspect the fascia behind each bracket for soft spots, staining, and fastener pull-out, and you’ll treat any structural decay as a repair priority, not a cosmetic issue. If rot is present, you’ll cut back to sound wood and replace the failed fascia section with like-for-like material and corrosion-resistant fasteners, keeping drip edge and flashing details consistent with local code. Where the wood is marginal but salvageable, you’ll reinforce the mounting points with a solid backing member or approved repair plate so brackets anchor into sound structure and meet load requirements.
Inspect Fascia Rot Damage
Where do sagging gutters usually start—at the fascia board hidden behind the brackets? During your gutter inspection, probe for fascia rot where fasteners penetrate, at end caps, and under drip edges. Use an awl to test for soft fibers and delamination; sound wood resists and holds threads. Look for rust streaks, dark staining, popped nails, and bracket tilt, which signal loss of bearing. Work from a stable ladder set 4:1, keep three points of contact, and avoid loading the gutter. Verify the drip edge laps into the gutter per common code practice and that water isn’t backflowing behind. If rot exceeds a few inches, mark limits for later repair and temporarily support brackets.
Replace Fascia Board Sections
Once you’ve confirmed the rot is localized, replace or reinforce the damaged fascia behind the gutter brackets so the hangers bear on sound wood again. Remove the gutter section as needed, then cut back to solid, dry lumber with straight shoulders. During fascia board inspection, probe adjacent areas and check the rafter tail ends for hidden decay. Install a matching board thickness (typically 1x) in decay-resistant lumber, flashing-grade PVC, or primed exterior wood, keeping the drip edge and roof-to-wall flashing continuous per local code. Bed joints with exterior sealant, prime all cut ends, and fasten to framing with corrosion-resistant screws or nails. Reinstall the gutter using approved gutter attachment techniques only after the repair cures fully.
Reinforce Bracket Mounting Points
After you’ve patched or swapped out any failed fascia sections, make sure each gutter hanger lands on solid material at every mounting point, not just at the repaired area. Probe with an awl; if the wood crushes, cut back to sound framing and install new fascia or a treated backing strip.
Refasten hangers with code-appropriate corrosion-resistant screws, not nails, driven into rafter tails or blocking. Add blocking between rafters where tails are missing, and predrill to prevent splitting. Use structural washers where slots are elongated, and replace bent brackets to maintain pitch and prevent ponding. Seal penetrations with exterior-grade sealant and keep fasteners matched to your Gutter color to reduce galvanic staining. During Seasonal maintenance, recheck torque, bracket spacing, and any softening around penetrations after heavy snow loads.
Clean Gutters to Reduce Weight on Brackets
You can’t let leaves, silt, and saturated debris load your gutters, because that extra dead weight overstresses brackets and fasteners and can violate manufacturer load limits and local drainage requirements. Remove debris on a set schedule, then flush the trough and run water through each downspout until discharge is clear and unrestricted. Keep flow continuous so water can’t pond in low spots, which adds weight, accelerates corrosion, and increases ice risk in cold weather.
Remove Debris Regularly
How often should an old-home gutter run get cleared? At minimum, clean it in late spring and after leaf drop, and anytime you see sagging, overflow marks, or granules collecting. Regular removal keeps wet debris from loading weak brackets and reducing slope compliance. Follow ladder-safety basics: set a 4:1 angle, stabilize on firm ground, and keep three points of contact; don’t overreach. Wear cut-resistant gloves, eye protection, and a respirator if you suspect mold. Use a plastic scoop and a bucket; avoid metal tools that can dent historic profiles and ruin gutter aesthetics. Bag debris instead of dumping near foundations for better Landscaping integration. Confirm hangers remain tight and spaced per local code and manufacturer guidance.
Flush Downspouts Thoroughly
Because old-home leaders often hide tight bends, offsets, and undersized outlets, flush each downspout end-to-end once the gutter run is cleared so water flows freely instead of backing up and adding dead load to aging brackets. Set a stable ladder per OSHA guidance, wear eye protection, and keep hands clear of sharp Gutter material edges. Cap the bottom, fill the vertical with a hose, then release to force out silt; repeat until discharge runs clean. If flow stalls, snake the elbow rather than blasting higher pressure that can split seams or loosen straps. Verify outlets, straps, and fasteners stay aligned; many jurisdictions require secure attachment and controlled discharge. Add a downspout screen to support Pest prevention without restricting flow.
Prevent Water Pooling
Where does most gutter damage start in an old house? It starts where debris dams form, trapping water that pools and adds dead load to already weak brackets. You prevent pooling by cleaning more often than modern systems—at least each fall and after major storms—and by removing saturated leaf mats, shingle grit, and roof moss. Use a stable ladder, wear cut-resistant gloves, and keep three points of contact; follow OSHA practices and local ladder-safety rules. Confirm the gutter maintains code-typical slope (about 1/16–1/8 inch per foot) toward downspouts so Rainwater diversion stays continuous. After cleaning, run a hose to verify no standing water remains and that seams don’t back up. You’ll also preserve Gutter aesthetics by avoiding overflow stains.
Set Gutter Slope So Brackets Don’t Fight Drainage
Even if your downspouts are clear, a gutter that’s pitched the wrong way will hold water, accelerate corrosion, and can overload fascia fasteners in a heavy storm. Set pitch before you blame weak brackets. Aim for about 1/16–1/8 inch fall per foot toward the outlet (verify local code and manufacturer specs). Snap a chalkline along the fascia, then check with a level and tape at each hanger location. Adjust only by repositioning gutter height, not by bending hangers, so you don’t fatigue Gutter materials like aluminum, steel, or copper. Keep the outlet end lowest, and confirm water runs freely with a hose test. Proper slope also improves Rainwater harvesting by reducing stagnant sediment and biofilm buildup.
Tighten Loose Gutter Brackets Without Stripping Wood
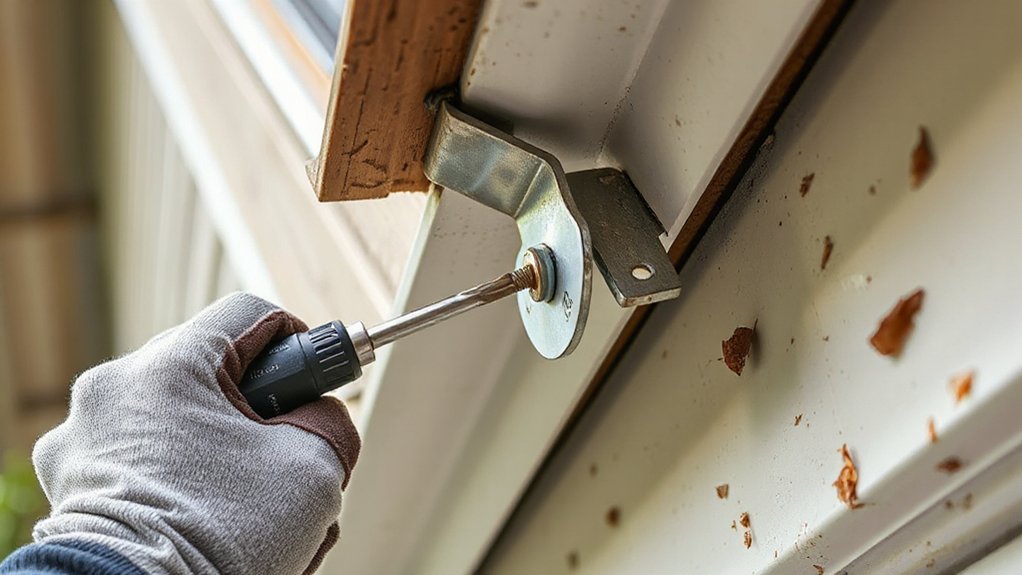
If your gutter brackets wiggle when you bump the run, you need to re-secure them without chewing up the fascia’s old wood fibers. Set a stable ladder, wear eye protection, and don’t pry on the gutter. Back out the loose fastener, probe the hole with an awl, and stop if you hit rot—repair per code before loading the edge. For Wood preservation, flood the hole with exterior wood hardener, let it cure, then redrill a pilot sized for the screw’s root diameter. Use a longer stainless or ceramic-coated screw to reach sound framing, not just aged fascia. Add Bracket reinforcement by slipping a small galvanized backing plate behind the bracket when accessible, then tighten to snug—no over-torque. Recheck alignment after loading water.
Swap Old Brackets for Hidden Gutter Hangers
Because old strap or spike-and-ferrule brackets tend to loosen as vintage fascia dries and moves, you’ll get a more secure, code-compliant edge by swapping them for hidden gutter hangers that fasten through the back of the gutter into sound rafter tails or framing. Set up ladder safety, wear eye protection, and de-energize nearby conductors before you drill. Snap a chalk line to preserve pitch, then remove one section at a time so you don’t twist the run. Choose hangers rated for your gutter profile and spacing that meets local wind and snow-load expectations. Drive corrosion-resistant fasteners, verify the bead seats fully, and keep joints sealed. Hidden hangers improve Gutter aesthetics, and bracket customization lets you match gutter size, fascia thickness, and roof edge details.
Use Longer Screws and Ferrules for Weak Fascia
When your old fascia feels soft or splits under fasteners, you’ll get a safer, code-aware mount by upgrading to longer screws that bite into solid framing, not just rotted board. Add ferrules (spacers) between the hanger and fascia so you don’t crush weak wood and you keep gutter pitch and alignment under load. Shut power off near any overhead conductors and follow the hanger manufacturer’s fastening schedule so your attachment meets wind and snow-load expectations.
Longer Screws For Grip
Although old fascia boards often look solid from the ground, rot, splits, or decades of nail holes can leave your gutter hangers with little real bite, so upgrade the fasteners instead of re-bending metal. Swap short spikes for #10 or #12 stainless or ceramic-coated structural screws long enough to penetrate sound framing, not just punky fascia. Pre-drill to reduce splitting, and set screws straight so hangers don’t twist. Use washers only if the hanger slot allows full bearing. Maintain bracket spacing per local code and manufacturer specs, and never fasten solely into trim. Match heads to your gutter color so repairs disappear, even around Decorative brackets. Work from a stable ladder, wear eye protection, and avoid overhead power lines.
Ferrules For Fascia Support
Even if your gutters look secure, a weakened fascia can crush under the clamping force of a hanger screw, so you’ll get better load transfer by adding ferrules (spacer sleeves) and longer structural screws. Drill a clean, perpendicular pilot through the hanger and fascia, then slip a corrosion-resistant ferrule sized to the fascia thickness so the screw clamps on the sleeve, not the wood fibers. Drive a stainless or coated structural screw long enough to bite solid framing behind the fascia, per local code requirements and manufacturer listings. Don’t over-torque; you’re aiming for firm bearing without deforming the gutter. If rot is present, complete fascia repair first. This method improves bracket reinforcement, reduces pull-through, and helps keep slope and seams intact during snow and ice loads.
Seal Leaking Seams and End Caps Near Brackets
A small seam leak or a damp end cap near a bracket can send water behind the fascia and into old framing faster than you’d expect, so seal those joints before rot and ice damage start. Set your ladder on firm ground, use fall protection where required, and wear gloves and eye protection. Dry the gutter completely; don’t seal over wet metal. Scrape old caulk, wire-brush oxidation, and wipe with solvent per manufacturer directions. Apply a continuous bead of gutter-rated polyurethane or butyl sealant along the lap joint and inside the end cap, then tool it to Seal gaps without blocking flow. Add a second interior bead across the bracket area to reinforce seams. Let it cure fully before testing with a controlled hose run.
Support Downspouts So Gutters Don’t Pull Loose
When a downspout runs loose or flexes in wind and ice, it acts like a lever that yanks on the gutter outlet and fascia fasteners. Add rigid support so the load transfers to the wall, not the old brackets. Install two straps minimum: one near the elbow, one mid-run, anchored into solid framing or masonry with corrosion-resistant screws and appropriate plugs. Keep clear of wiring and use a stable ladder.
Verify slope and align joints so water doesn’t back up at the outlet. If you route to Rainwater harvesting, support the leader into the diverter or barrel inlet to prevent torque. During Gutter guard selection, confirm the guard won’t obstruct the outlet and force overflow down the fascia. Maintain required discharge clearances and extensions.
Choose Gutter Guards That Won’t Stress Brackets
Because older fascia boards and spike-and-ferrule hangers don’t tolerate extra dead load, you should choose gutter guards that sit flat and lock to the gutter without prying on the lip or forcing the trough out of plane. Favor lightweight aluminum micro-mesh or low-profile screen inserts over rigid helmet covers; heavy covers can lever the front bead and loosen weak brackets. Compare Gutter guard types by attachment method: clip-in to the back edge or screw to the fascia only where framing is sound, and never through rotted wood. Verify Bracket material compatibility to prevent galvanic corrosion: don’t pair copper guards with aluminum gutters, and isolate dissimilar metals per manufacturer instructions. Maintain required roof drainage capacity and keep ladders tied off during installation.
Frequently Asked Questions
What Gutter Bracket Styles Are Historically Common in Older Homes?
You’ll commonly find spike-and-ferrule hangers, strap hangers over roof shingles, and external gutter brackets on fascia in older homes—historical bracket designs tied to vintage gutter styles. Verify load rating, corrosion, and compliance with local codes.
Do Weak Gutter Brackets Affect Home Insurance or Inspection Reports?
Yes—weak brackets can wave red flags like a loose seatbelt; you’ll see inspection notes and possible insurer concerns. Inspectors cite gutter material, bracket installation techniques, and code-required attachment. You’ll prevent fascia rot, leaks, and claim disputes.
What Permits or HOA Approvals Are Needed for Gutter Bracket Repairs?
You’ll usually skip permits for like-for-like bracket repairs, but confirm local Permit requirements when altering fascia, structural members, or drainage discharge. If you’re in a managed community, get HOA approval for visible changes.
How Much Does Professional Bracket Repair Typically Cost per Linear Foot?
You’ll typically pay $6–$15 per linear foot for professional bracket repair, higher if Bracket replacement is needed. Contractors may include Gutter cleaning. Verify ladder safety, fascia integrity, and local code/HOA rules.
Can Improper Bracket Repairs Cause Water Intrusion Inside Exterior Walls?
Yes—improper bracket repairs can cause water intrusion in exterior walls by misaligning gutters and breaking slope. You should match Gutter materials, use code-approved fasteners, and guarantee bracket replacement secures fascia and corrects drip edge.
Conclusion
If you ignore weak gutter brackets on an older home, you’re basically inviting a mini waterfall to camp out at your fascia—soaked wood, hidden rot, icy dams, even foundation trouble. You’ll stay safer (and closer to code intent for drainage control) when you re-anchor into sound framing, reinforce or replace rotten fascia, and support downspouts. Keep gutters light by cleaning them and choosing low-load guards. Seal seams, use proper fasteners, and don’t gamble on “good enough.”
About the Author



