Spot a backup by gutter overflow, damp patches, or gurgling, then work from ground level. Put on gloves and eye protection, lift the ground grate, scoop sludge, and torch-check the drain inlet. Loosen and remove the downpipe elbow/shoe with a screwdriver, then probe with a plumber’s snake or drain rods. Flush upward with a garden hose and trigger nozzle in short, low-pressure bursts, and stop if you hit hard resistance. Next, you’ll see how to prevent repeats.
Key Takeaways
- Identify blockage signs from ground level: gutter overflow, wall sheeting, gurgling pipes, slow ground drains, standing gutter water, or damp eaves.
- Inspect safely using binoculars, then check the downpipe mouth from a ladder’s bottom rung with gloves, torch, and a spotter.
- Clear the gutter run at ground-reach points using a scoop and hose, watching for sagging sections or persistent overflow.
- Remove the downpipe elbow at ground level, support the pipe, and probe with a snake or stiff wire to dislodge debris.
- Flush and backflush with a low-pressure spray nozzle in short bursts, then confirm 30–60 seconds of clear, continuous ground-level discharge.
Signs Your Blocked Downpipe Is Backing Up
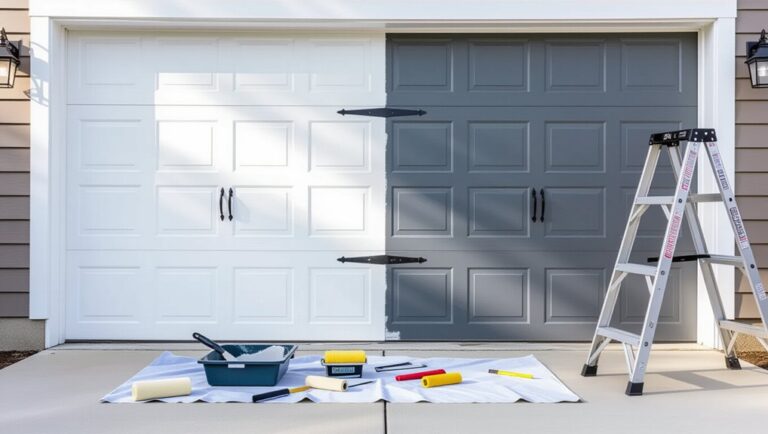
If your downpipe’s starting to clog, you’ll usually spot the backup signs before it fully blocks. First, during rain, watch for gutter overflow near the outlet and water sheeting down walls. Next, listen for gurgling in the pipe and check for slow, pulsing discharge at the ground drain. Then, after storms, look for standing water in the gutter line and damp patches at brickwork, eaves, or foundations. Use binoculars from ground level; don’t climb. For confirmation, wear gloves and use a torch to inspect the downpipe mouth from a ladder’s bottom rung only, with a spotter. If you use rainwater harvesting, note tanks filling slowly or air bubbling at the inlet. Before gutter painting, fix backups or paint will blister fast.
Find the Blockage: Gutter, Elbow, or Drain
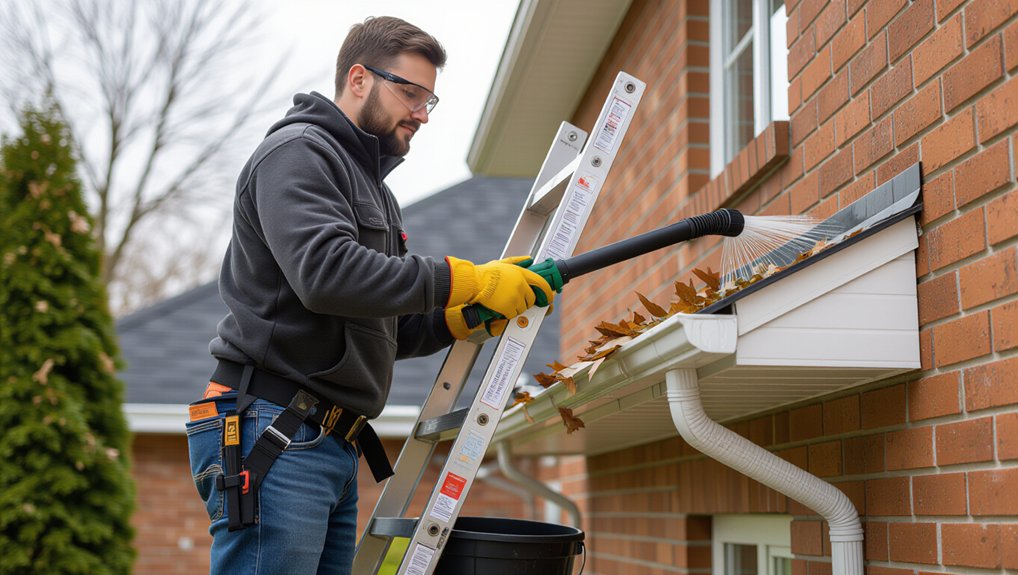
Put on cut-resistant gloves and safety glasses, set your ladder on firm ground, then use a gutter scoop and hose to clear leaves and silt from the gutter run above the downpipe. Next, remove the downpipe elbow (or access cover) with a screwdriver and probe for a plug using a plumber’s snake or stiff wire. If water still won’t flow, check the drain inlet with a torch and flush it with the hose to confirm whether the blockage is in the drain line.
Identify Gutter Obstructions
Where’s the blockage hiding—up in the gutter run, jammed in the downpipe elbow, or packed into the drain line below? Start at ground level and inspect the gutter line with binoculars. Look for overflow stains, sagging sections, or plants sprouting from joints. Note the gutter material (PVC, aluminium, steel) because it dictates how much pressure it can take and what tools won’t scratch it. Match the downpipe color so you’re checking the right run on multi-pipe façades.
Next, use a garden hose with a trigger nozzle. Run a low-flow stream into the nearest accessible gutter inlet or leaf guard opening. If water backs up or spills immediately, you’ve confirmed a gutter obstruction. Stop the flow and mark the section.
Check Elbow And Drain
Once you’ve ruled in a gutter-run clog, move to the next two choke points: the downpipe elbow at the base and the drain connection below ground. Put on gloves and safety glasses, then place a bucket under the elbow joint. If it’s a removable bend, loosen the screws or clips with a screwdriver and lower it carefully. Perform Elbow inspection: look for compacted leaves, silt, or tennis-ball-sized debris, then pull it out with long-nose pliers or a hand auger. Refit the elbow snugly. Next, check the gully or grate at ground level. Lift it with a pry bar, scoop sludge with a trowel, and flush with a hose. For Drain maintenance, run a drain rod downstream until it moves freely.
Tools for Clearing a Blocked Downpipe Safely
Before you clear the downpipe, you’ll need essential hand tools like gloves, a bucket, a screwdriver or nut driver for brackets, and a stiff brush for loose debris. Next, use safe clearing equipment—a plumber’s snake, flexible drain rods, or a low-pressure hose nozzle—and feed it in slowly to avoid damaging joints and fittings. Keep a firm stance, wear eye protection, and stop immediately if you hit hard resistance so you can reassess the blockage point.
Essential Hand Tools
Although a blocked downpipe can look like a simple DIY fix, you’ll clear it more safely and with less mess if you start with the right hand tools: a sturdy ladder with a ladder stabiliser, grippy work gloves and safety glasses, a bucket or tarp to catch debris, a small hand trowel or gutter scoop to lift out compacted leaves, and a plumber’s hand auger (drain snake) to break up clogs inside the pipe. Set the ladder on level ground, lock the stabiliser against the wall, then keep three points of contact. Lay the tarp, then scoop debris into the bucket to support regular gutter maintenance. Feed the auger gently, following your downpipe design, and rotate clockwise to grab or break blockage. Withdraw slowly, wipe the cable, and reinsert until it runs clear.
Safe Clearing Equipment
Hand tools will shift most gutter debris, but you’ll clear tougher downpipe blockages more safely if you add purpose-built clearing equipment that controls water, pressure, and reach. Start with a hose-end gutter/downpipe jet nozzle; keep both feet on the ground, crack the tap slowly, and pulse water upward, watching for backflow. Next, use drain rods with a downpipe plunger head; push, don’t ram, and match force to Downpipe materials (PVC dents, metal kinks). For stubborn clogs, attach a low-pressure wet/dry vacuum at the lower outlet using a rubber adaptor to seal and pull debris down. If you use a pressure washer, fit a downpipe lance and keep pressure low. Finish by flushing and schedule Seasonal maintenance checks.
Get Ground Access at the Downpipe Shoe and Elbow
A safe, effective clear-out starts by giving yourself solid ground access to the downpipe shoe and elbow at the base. Treat it like Historical drainage systems: work from the lowest inspection point, not the roofline. Set a stable step stool on level ground, then put on cut-resistant gloves and safety glasses. Place a bucket under the shoe to catch dirty runoff, especially if you’ve got Rainwater harvesting connected.
Check the shoe and elbow for screws, clips, or a slip joint. Use a Phillips screwdriver or nut driver to loosen fasteners, and keep them in a magnetic tray. Wiggle the elbow free with controlled pressure, supporting the pipe so you don’t crack brackets or pop seals. Shine a torch into the opening to confirm access and obstruction location.
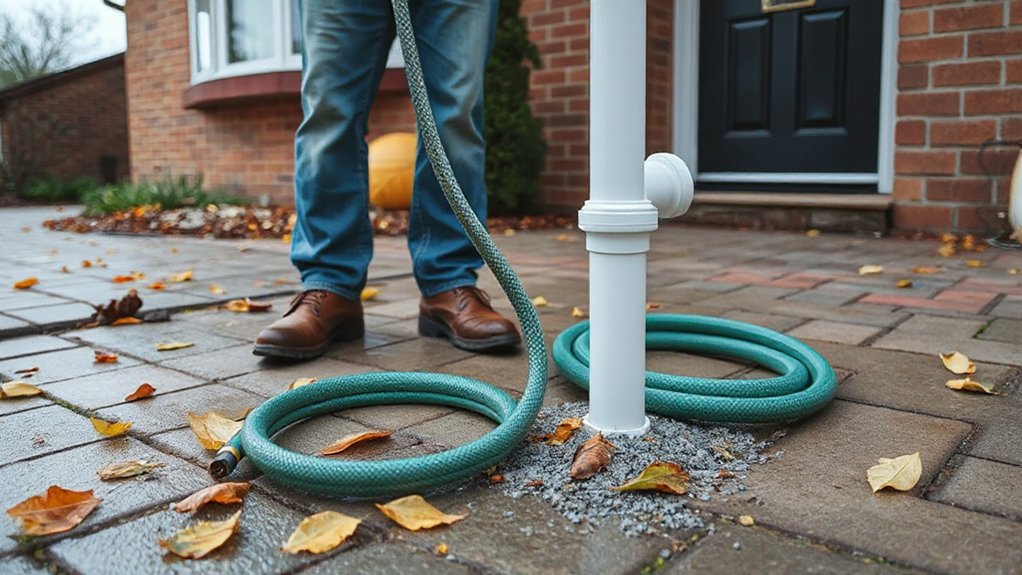
Quick First Try: Flush the Downpipe With a Hose
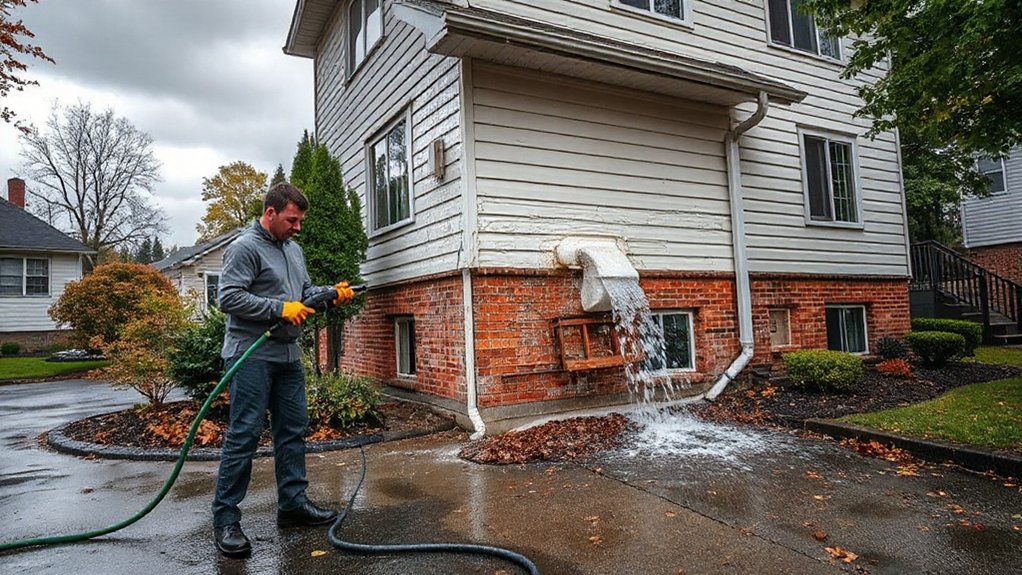
Fit a garden hose with a spray nozzle, keep both feet on the ground, and point the discharge away from doors and footpaths before you turn the tap on. Feed the hose into the downpipe shoe or elbow and backflush in short bursts to push the blockage up toward the gutter. Pull the hose out and check that water runs freely from the downpipe and drains away cleanly without backing up.
Set Up Hose Safely
Before you turn on the tap, set your garden hose up so it can’t whip or leak under pressure. Check the hose for splits, soft spots, and loose fittings, then screw it firmly onto the tap. Add a trigger nozzle or shut-off valve so you can stop flow instantly. Run the hose along a clear path, away from steps and sharp edges, and keep it out of walkways to prevent trips. At the downpipe end, use a rubber cone adapter or wrap a rag around the nozzle for a snug, controlled fit without forcing it. Keep both hands on the hose, stand to the side, and start with low water pressure to maintain hose safety.
Backflush From Ground Level
Wondering whether a simple backflush will shift the blockage? Keep both feet on the ground and wear gloves and eye protection. If you’ve got Rainwater harvesting connected, isolate the diverter or tank inlet first so you don’t push debris into filters. Unclip the downpipe’s bottom shoe or disconnect the lowest joiner you can reach, then aim the opening into a bucket or onto a safe drain area. Fit a hose with a trigger nozzle or jet attachment, then insert it 5–10 cm up the pipe and hold it firmly. Pulse water in short bursts to agitate leaves and grit. Match pressure to Downpipe material: go gentler on older PVC, stronger on metal. Stop if joints flex, leak, or back-spray.
Check Flow And Drainage
How can you tell if that blockage has actually shifted? Start at ground level and test flow before you pack up. Put on gloves and safety glasses, then position a bucket or drain guard at the outlet to catch debris.
Set a garden hose to a steady, moderate stream (no jet nozzle). Feed the hose into the downpipe from the bottom and hold it firmly. Turn water on for 30–60 seconds, watching the outlet: you want a clear, continuous discharge, not burping, backing up, or gurgling. If you’ve got Rainwater harvesting connected, divert to the storm drain first so you don’t send sludge into your tank. Finish by checking nearby grates for overflow. Good Gutter maintenance includes confirming the downpipe drains freely after every flush.
If Flushing Fails: Snake the Downpipe Blockage
If a strong flush still leaves water backing up, you’ll need to snake the downpipe to physically break through the blockage. Put on cut-resistant gloves and safety glasses, then set a stable step ladder beside the downpipe—don’t lean or overreach. Place a bucket under the lowest access point you can reach from the ground and loosen the joint clamp with a screwdriver or nut driver. Feed a hand-crank drain auger (or flexible plumbing snake) upward in short pushes, rotating clockwise to bite into debris. Pull back to clear the head, then reinsert until resistance eases. This method echoes Historical plumbing practice, and it supports Eco friendly solutions by avoiding harsh chemicals. Reassemble, then run a controlled hose test to confirm flow.
Clear a Clog Stuck in the Downpipe Elbow
Snaking often clears a straight run, but a stubborn clog can lodge in the downpipe elbow where debris packs tight. Keep both feet on the ground, wear gloves and eye protection, and position a stable step ladder only for access to the lower joint.
First, identify your Downpipe material (PVC, aluminium, or steel) so you choose the right driver bit and don’t strip fasteners. Place a bucket under the elbow, then loosen the lowest elbow screws or slip-joint band. Support the pipe with one hand to prevent twisting. Separate the elbow carefully and inspect the Elbow design for a tight-radius bend where grit wedges. Use a bottle brush or small trowel to scoop and scrape debris out. Reassemble, tighten evenly, then test with a controlled hose flow.
Pull Out Debris With a Wet/Dry Vac (From Below)
Once you’ve opened access at the lower joint, use a wet/dry vac from ground level to pull compacted leaves and grit out of the downpipe without forcing debris deeper. Set the vac to “wet” only if standing water’s present. Fit a narrow crevice tool or reducer hose, then tape the connection to limit air leaks. Wear gloves and eye protection, and keep the vac on stable, dry ground with the cord clear of puddles. Insert the nozzle upward a short distance and seal around it with a rag. Pulse the suction in 5–10 second bursts, withdrawing slowly to catch loosened material. Empty the canister as needed. This Cleaning equipment approach improves debris removal without pushing blockages upward into the stack.
Still Overflowing? Check Slope, Outlet Size, and Soakaway
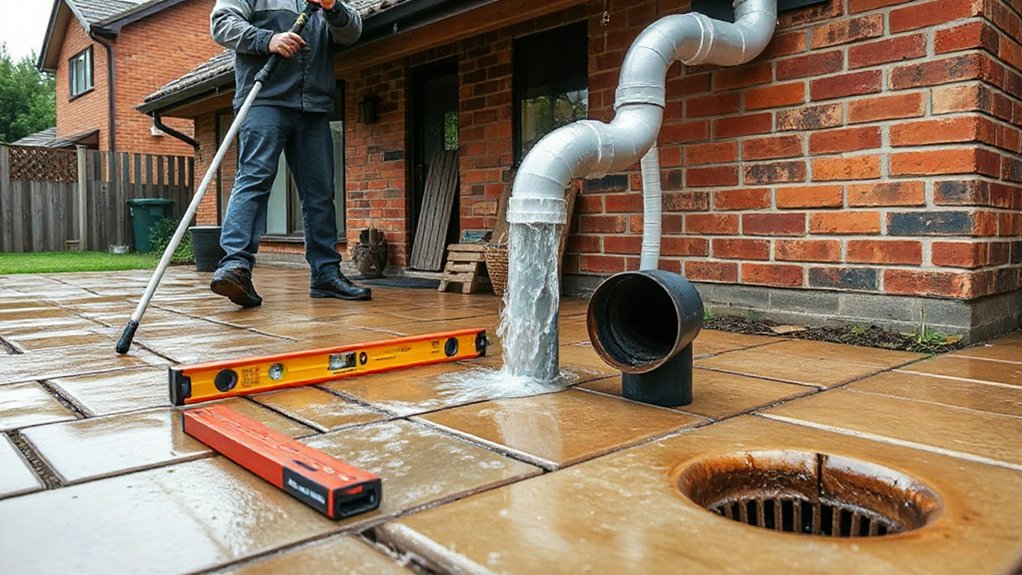
Vacuuming out the downpipe should stop most backups, so continued overflowing points to a drainage issue beyond the clog. Stay on the ground and use a hose with a spray nozzle to run water into the gutter outlet while you watch the downpipe. If flow surges then stalls, check slope: use a 600 mm spirit level against the horizontal run to the drain; you want a steady fall toward the outlet. Next, confirm outlet size—measure the dropper and shoe with a tape; a reduced adaptor can bottleneck during heavy rain. Finally, assess the soakaway: lift the drain cover with a key, shine a torch, and look for standing water after 10 minutes. These checks support Downpipe maintenance and preserve gutter aesthetics.
Mistakes That Crack Downpipes or Flood Walls
Although clearing a blockage feels like a quick win, a few common shortcuts can crack the downpipe or drive water behind the fascia and into the wall. First, don’t ram a stiff drain rod up from the shoe; you’ll split older uPVC at joints, especially where Historical causes like sun-brittling and past impacts reduced Material durability. Use a flexible plumbing snake instead, and rotate gently. Second, don’t blast a pressure washer straight up the pipe; you can blow apart seals and force water into soffit gaps. Use a hose with a trigger nozzle aimed downward from a low access point. Third, don’t overtighten jubilee clips or bracket screws; snug them with a nut driver, then stop. Finally, don’t pry elbows with a screwdriver; use a strap wrench.
When to Call a Pro for a Blocked Downpipe
If the downpipe still overflows after you’ve cleared the gutter and run a hose test, stop and call a pro before you risk a fall or hidden water damage. Tell them what you tried and where water backs up. Next, step away if you see wall staining, bubbling paint, damp eaves, or water pooling near footings. Don’t keep forcing a plumber’s snake if it hits a hard stop; you could split PVC joints or dislodge brackets. Call immediately if you suspect tree roots, crushed pipe under garden landscaping, or sediment packed in an underground bend. A pro can use a CCTV drain camera, jetter, and pressure gauge safely from ground level. If overflow follows storms, you may need roof repair around flashings or valleys too.
Prevent Downpipe Blockages With Guards and Cleanouts
Before the next heavy rain exposes another weak spot, prevent repeat downpipe clogs by fitting a leaf guard at the gutter outlet and adding a downpipe cleanout you can open from ground level. Choose a UV-stable guard that matches your gutter profile, then secure it with stainless screws and a nut driver, not loose clips. Next, install a PVC or metal cleanout tee at chest height: mark the cut, use a hacksaw or PVC cutter, deburr with a file, and solvent-weld or rivet to suit your Downpipe materials. Add a threaded cap with an O-ring. During Historical maintenance checks, unscrew the cap, flush with a hose, and run a drain auger if needed. Wear gloves and eye protection.
Frequently Asked Questions
How Do I Clear a Blocked Downpipe in Freezing Weather Safely?
In freezing weather, you’ll thaw the blockage with warm (not boiling) water, then clear it using a plumber’s snake from ground level. Wear insulated gloves, add Gutter maintenance, and follow Safety precautions: stable ladder, helper.
Can Clearing a Downpipe Affect My Home Insurance or Warranty Coverage?
Yes, it can—insurance implications and warranty considerations apply if you cause damage or ignore maintenance. You’ll document blockage, use a garden hose, plumber’s snake, and gloves, avoid force, photograph repairs.
What Should I Do if My Downpipe Connects to a Rainwater Harvesting Tank?
Shut off the tank inlet diverter, then disconnect the downpipe at the first joint. Flush using a hose and bucket, clean Rainwater filtration screens, and restart flow. Schedule Tank maintenance; test water quality before use.
Are Chemical Drain Cleaners Safe to Use in PVC or Metal Downpipes?
They’re usually unsafe; Chemical safety depends on Pipe material—PVC can soften, metal can corrode; it’s like playing with fire. Check labels, wear gloves/goggles, use a funnel, flush with water, avoid tanks.
How Can I Confirm the Blockage Is in the Downpipe, Not the Storm Drain?
You can confirm it by checking blockage signs: overflow at the downpipe inlet. Do pipe inspection using a garden hose at the cleanout; if it backs up, it’s downpipe. If it drains, suspect storm drain.
Conclusion
You don’t need the roof to prove the theory: most “blocked” downpipes fail at ground-level elbows or the shoe. Start safe—gloves, eye protection, and a stable step ladder. Open the shoe/cleanout, then run a hose from the bottom up in short bursts. If it still backs up, snake the elbow and check the drain outlet and soakaway flow. Don’t hammer PVC or overpressure it—you’ll crack joints and soak walls.