
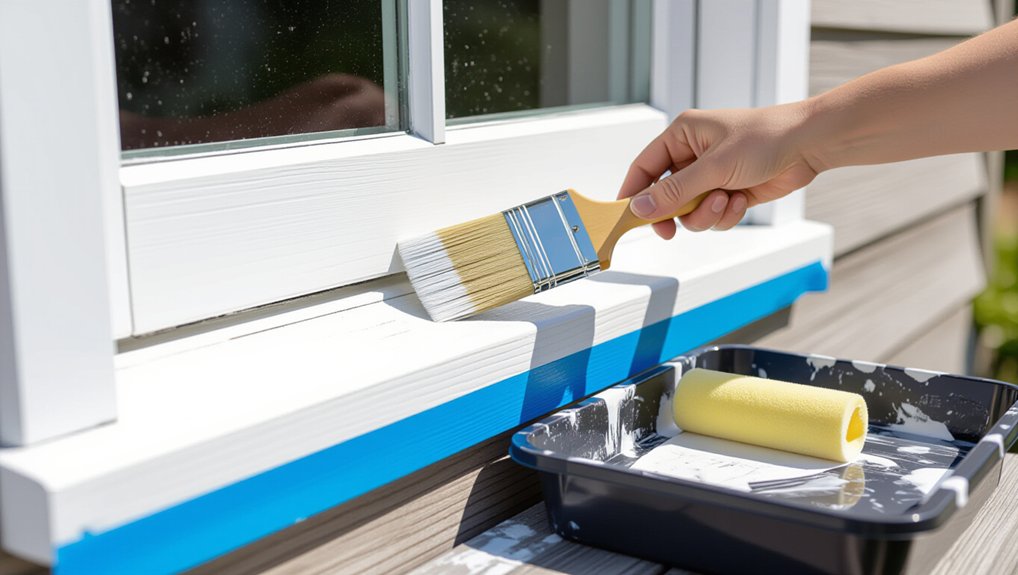
Use high-quality self-leveling acrylic latex trim paint (satin works well) and a 2–2½ in. angled sash brush with flagged synthetic bristles. Clean with TSP substitute, scrape loose paint, sand to feather edges, fill and caulk, then prime bare spots. Mask glass 1/16 in. off the sash and seal tape edges. Stir paint, dip only the first third, tap off, and brush long strokes. Paint top-to-bottom, fix drips before skinning; more tips follow.
Key Takeaways
- Use high-quality self-leveling, drip-resistant acrylic latex trim paint and a 2–2½ in. angled synthetic sash brush for controlled flow.
- Clean, scrape loose paint, sand glossy areas dull, fill defects, caulk seams, and prime bare wood to prevent uneven absorption and runs.
- Mask glass and adjacent surfaces with painter’s tape, burnish edges, and protect hardware to keep paint lines crisp without overloading.
- Load brush lightly (dip one-third, tap off), use long light strokes, keep a wet edge, and avoid rebrushing paint that’s started setting.
- Paint top-down (head trim to sill), and immediately feather out drips or sags with a dry brush before the paint skins over.
Choose Exterior Window Paint and Brushes That Resist Drips
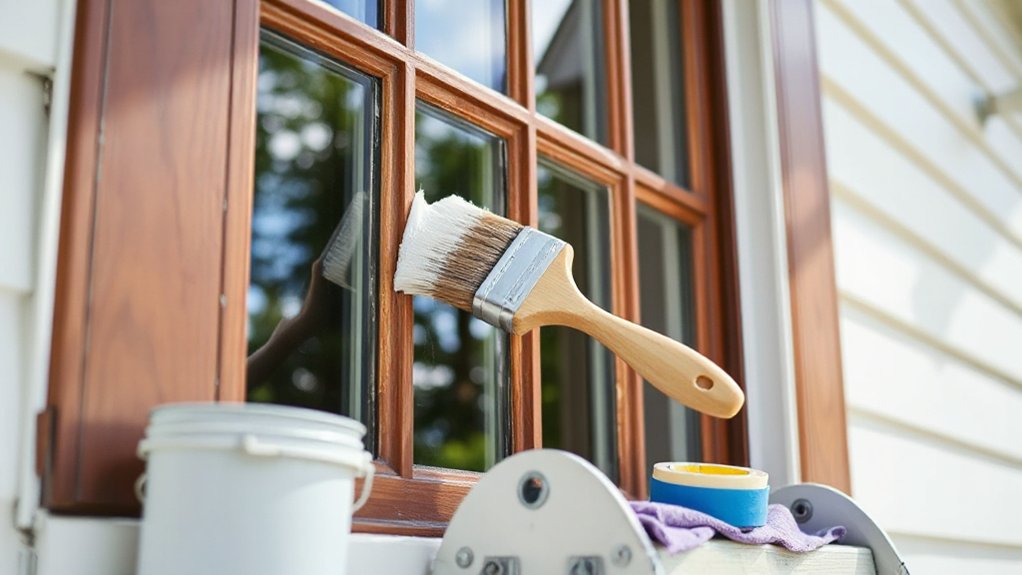
Before you open a can, pick an exterior trim paint formulated for leveling and sag resistance—typically a high-quality acrylic latex labeled for windows, doors, and trim—and pair it with a brush that controls load and release. Check the label for “self-leveling” and “drip resistant,” and match sheen to exposure; satin often balances washability and defect-hiding. For brush selection, use a 2–2½ in. angled sash brush with flagged synthetic bristles; it holds acrylics and releases evenly at edges. Avoid worn tips that dump paint. Verify paint consistency by stirring to the bottom, then lifting the stir stick: you want a steady ribbon, not watery runs. If needed, condition only per manufacturer limits, measured carefully.
Prep Exterior Window Frames So Paint Lays Flat
Although drip-resistant paint helps, you’ll still get sags if the window frame has chalky residue, loose paint, or glossy spots, so prep the surface until it’s clean, dull, and solid. Start Surface preparation by washing with a siding cleaner or TSP substitute, then rinse and let it dry fully. Scrape failing paint to sound edges, feather with 80–120 grit, and vacuum dust from joints. Sand glossy areas to a uniform dull sheen so new coats can bite. Spot-fill checks and nail holes with exterior-grade filler, then sand flush. Re-caulk open seams with paintable exterior sealant and tool it tight. Prime bare wood and patched areas with exterior bonding primer. For weather considerations, work on a dry day, 50–85°F, low wind, no rain for 24 hours.
Mask Glass, Hardware, and Edges for Sharp Lines
Once the frame is clean, dull, and fully dry, mask off anything you don’t want painted so you can cut crisp lines without chasing runs. Start Window masking by applying 1–1.5 in. painter’s tape to the glass, leaving a consistent 1/16 in. reveal from the sash if you’ll paint onto the glass line. Press the tape with a putty knife or plastic card to seal the edge, especially at muntin intersections. For divided lights, use narrow tape or pre-cut strips and overlap corners without gaps. Add masking paper or film to protect panes quickly. Remove handles, locks, and stays when possible; otherwise wrap them tightly with tape for hardware protection. Finally, mask adjacent siding and brick at the frame perimeter.
Control Paint Thickness and Brush Loading to Prevent Runs
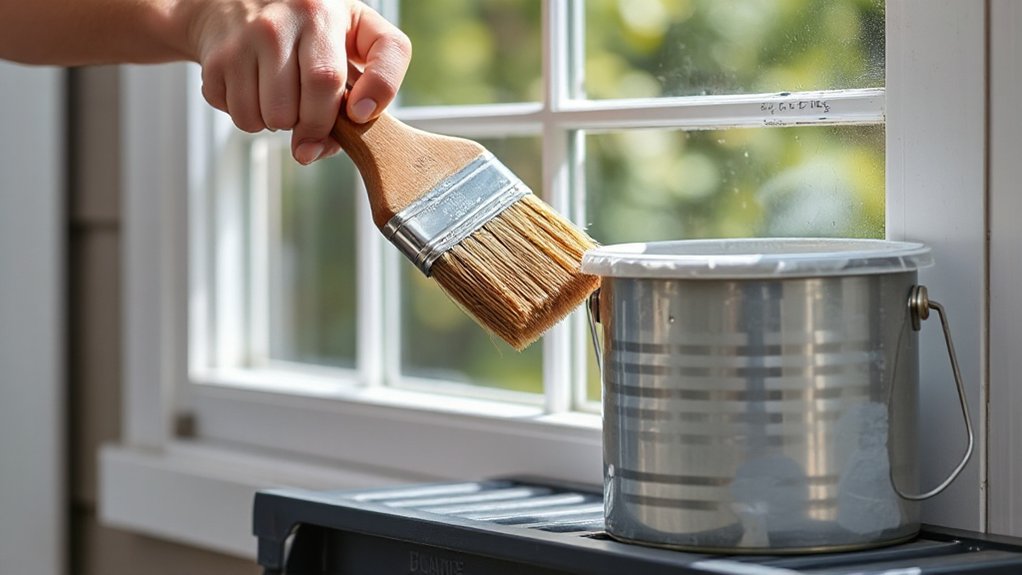
Because exterior trim paint will sag if you lay it on heavy, you’ll prevent drips by controlling both viscosity and how much you load the brush. Stir thoroughly, then check Paint consistency: lift the stir stick and watch the stream. It should flow smoothly, not clump or run like water. If it ropes, add conditioner or a small amount of water/solvent per label, then re-stir and recheck. Pour a working amount into a pail with a grid to meter loading. Dip only the first third of the bristles, then tap—don’t wipe—both sides on the grid. For Brush technique, lay off with light pressure and long strokes, keeping a wet edge while avoiding rebrushing partially set paint. Reload lightly and often.
Paint Exterior Windows in a Clean Top-to-Bottom Order
Start at the upper trim and paint the head casing first so any minor sagging lands on unpainted surfaces below. Work downward in sequence—upper jambs, meeting rail, then the sash components—maintaining a wet edge as you go. Finish on the lower sash and sill last, so you’re not brushing through fresh paint or pulling drips onto completed sections.
Start With Upper Trim
Before you touch the sash or side casings, load a 1½–2″ angled sash brush and cut in the upper trim first (head casing and the top rail). Hold the brush at a 30–45° angle and feather the leading edge to avoid ridges. Work in 12–18″ sections, keeping a wet edge so overlaps level out. Pull paint away from the glass, then tip off lightly along the inside corner of the window trim to prevent buildup. If you’re using painter’s tape, don’t flood the edge; use a drier brush pass to reduce seepage. Watch the underside of the head casing: any heavy bead will sag. Smooth it immediately with one controlled stroke before it skins over.
Finish With Lower Sash
Once the upper trim has leveled out, move down to the lower sash and paint it in a strict top-to-bottom sequence so gravity can’t pull fresh paint into drips. Crack the sash open slightly to expose the meeting rail, then cut in the top edge with a 1.5–2 in angled sash brush. Paint the muntins next, pulling each stroke downward to a dry edge. Coat the stiles, then the bottom rail last, tipping off lightly to remove ridges. For Lower sash finishing, keep the brush loaded but not dripping, and wipe excess on the can’s rim, not the bristles’ sides. For Window seal enhancement, feather paint onto the glazing line without bridging the glass, and clear any wet paint from weatherstrips before it skins.
Catch Drips Fast: Fix Runs, Sags, and Lap Marks (Wet vs. Dry)
While the paint’s still workable, inspect each sash and trim section immediately after you lay it off by tilting your view along the surface to catch reflected light—runs and sags show up as glossy ridges, and lap marks appear as darker, partially set bands. If it’s wet, stop adding paint. Feather the defect with a nearly dry brush, pulling excess down to your wet edge, then re-lay off in one pass. For spray techniques, reduce paint flow control, increase distance slightly, and overlap 50% to avoid flooding corners. If it’s tacky, don’t touch it; you’ll tear the film. Let it cure, shave the ridge with a razor, sand 220-grit flat, vacuum, spot-prime if needed, then recoat thin.
Frequently Asked Questions
How Long Should Exterior Window Paint Cure Before Washing or Rain Exposure?
Let exterior window paint cure 24–48 hours before washing; allow 7 days for full rain resistance. Step-by-step: check label, keep surfaces dry, delay Window cleaning, do Paint touch ups after tack-free, avoid storms.
Can I Paint Exterior Windows in Cold or Humid Weather Successfully?
You can, but cold or humid Weather conditions sabotage paint application—unless you enjoy watching paint “dry” forever. Check label minimums: 50–85°F, <85% RH. Warm surfaces, avoid dew, thin coats, extend cure.
What Paint Sheen Is Best for Exterior Window Trim Durability?
Choose semi-gloss for exterior window trim; it maximizes Sheen durability. Do this: 1) Review Sheen comparison: satin wears sooner, gloss highlights flaws. 2) Use exterior enamel. 3) Apply two thin coats.
How Do I Safely Remove Lead Paint From Old Exterior Window Frames?
You’ll handle Lead paint removal by testing first, then sealing the area, wearing P100 respirator and PPE, misting surfaces, scraping with HEPA vacuum attachment, double-bagging waste, cleaning with HEPA and wet wipes, following safety precautions.
Can I Paint Vinyl or Aluminum Window Frames Without Peeling?
Yes, you can, if you use proper paint preparation. Clean, degloss, and abrade lightly; rinse, dry. Apply adhesion primer for vinyl/aluminum. Finish with exterior acrylic/urethane. Do color matching, test patch, cure fully.
Conclusion
You’ve prepped like a shipwright and painted like Michelangelo—now lock in a drip-free finish. Do a final top-to-bottom inspection in raking light. Feather any wet run immediately; if it’s tacky, slice it flush and recoat thin. Pull tape back on itself while the edge’s still soft. Clean the sash gaps with a dry brush. Let coats cure per label before closing windows. You’ll leave glass-crisp lines and zero sags.
About the Author



