
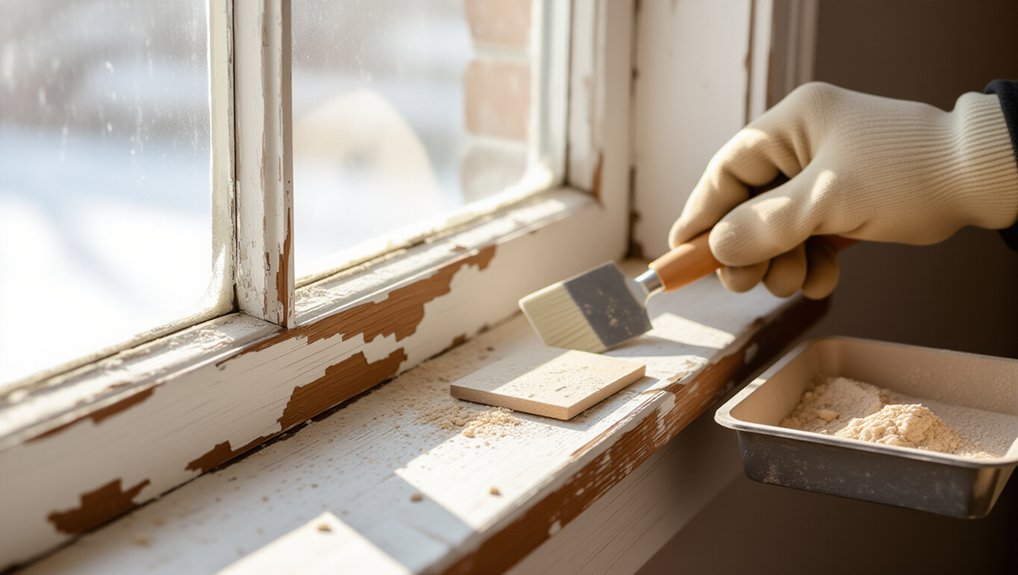
Fix flaking window-sill paint by stopping moisture first, then rebuilding the coating. Check glazing and caulk, seal gaps, and dry the wood fully; treat minor rot with epoxy consolidant and fill voids. Scrape loose paint with a sharp scraper held nearly flat, working with the grain, then feather edges and sand 80–150 grit. Vacuum and wipe clean, spot-prime bare wood with shellac/oil primer, then apply two thin enamel coats. Next, you’ll see how to prevent repeat peeling.
Key Takeaways
- Fix the moisture source first: check glazing, caulk, and sill slope, and let the wood dry completely.
- Wear PPE and gather basics: scraper, putty knife, sandpaper, vacuum, epoxy/wood filler, and exterior caulk.
- Scrape off all loose paint, then feather edges by sanding with the grain for a smooth transition.
- Repair rot and pits using epoxy consolidant and filler, then spot-prime bare wood with oil or shellac-based primer.
- Apply two thin coats of exterior enamel, seal joints, and inspect quarterly to prevent new peeling.
What Causes Window Sill Paint to Peel
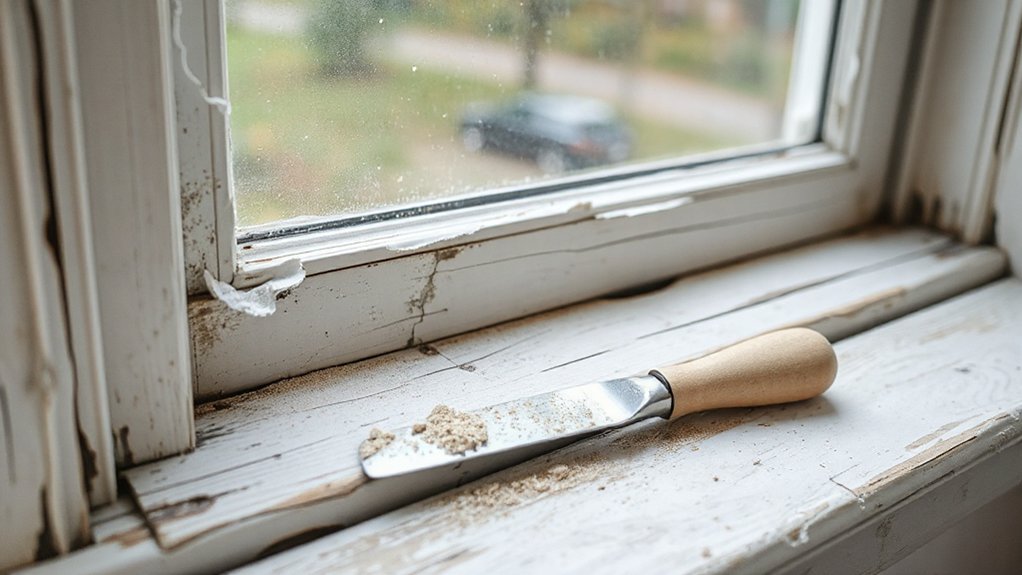
Why does paint on a wooden window sill peel so quickly? You’re usually fighting moisture cycling, heat gain, and poor Paint adhesion at the wood-film interface. Condensation wets end grain, then drying pulls water back out, stressing the coating until it cracks and lifts. Direct sun accelerates expansion and contraction, so the film shears at corners and joints. If you’ve got leaking glazing, failed caulk, or capillary wicking from unsealed sill edges, the substrate stays damp and adhesion drops fast. Inadequate Surface preparation also drives failure: residual chalk, dust, oils, or glossy old paint prevents mechanical keying; leftover rot or soft fibers won’t hold a film. Skipping primer, using incompatible layers, or painting over high humidity seals in water and causes blistering.
Tools and Safety Gear for Window Sill Repair
Before you start repairing a flaking wooden window sill, you’ll stage the essential tools: paint scraper, putty knife, sanding block or random-orbit sander, epoxy or wood filler, caulk gun, and a vacuum with a brush attachment. You’ll also follow a safety gear checklist—N95 or P100 respirator, safety glasses, nitrile gloves, and hearing protection if you’re power sanding. With your kit prepped and PPE on, you can work in a controlled sequence and minimize dust, splinters, and coating exposure.
Essential Repair Tools
Although fixing flaking paint on a wooden window sill doesn’t require specialized equipment, you’ll get cleaner results and avoid rework by using the right tools and safety gear from the start. Start with a carbide paint scraper and a stiff putty knife to lift failed layers without gouging sound wood. Use 80/120/180-grit sandpaper plus a sanding block to level edges and feather gradations. A shop vac with a brush attachment keeps debris from recontaminating primer. For repairs, keep a two-part epoxy consolidant and filler, a caulk gun, and a sharp utility knife for controlled shaping. You’ll also need a quality brush and a small foam roller to test Decorative paint options and match sheen during Historical paint restoration. Keep rags and mineral spirits for cleanup.
Safety Gear Checklist
When you scrape, sand, and solvent-clean a painted window sill, you create dust, chips, and fumes that can irritate skin, eyes, and lungs—so suit up with task-appropriate PPE first. Start with safety glasses or sealed goggles to block chips and airborne grit. Wear a fitted half-face respirator; use Respirator masks with P100 filters for sanding and add organic-vapor cartridges when using stripper or denatured alcohol. Choose Protective gloves sized to your hands: nitrile for solvents, thicker cut-resistant gloves for scraping. Add hearing protection if you’ll run a sander or oscillating tool. Wear long sleeves and pants you can wash separately. Keep a vacuum with HEPA filtration nearby to control dust at the source.
Fix Moisture and Rot Before Repainting
If moisture keeps seeping into the sill, any new paint film will fail fast, so you need to eliminate water entry and repair rot first. Inspect the sill-to-frame joint, glazing, and end grain for gaps, staining, or softness. For moisture prevention, correct the source: re-seat loose glazing, replace cracked putty, and run a thin, continuous exterior-grade sealant bead where trim meets masonry or siding. Confirm the sill slopes outward and that drip edges aren’t clogged.
Then perform rot treatment. Probe with an awl to map sound wood. Dry the area fully; use gentle heat and ventilation. Consolidate minor punky fibers with a penetrating epoxy, then rebuild voids with an epoxy filler. If decay is deep or structural, replace the affected section or the entire sill.
Scrape Off Flaking Paint (Without Gouges)
Once the wood is dry and sound, remove every loose paint edge before you sand or prime, because any remaining flake will telegraph through the new finish and keep peeling. For controlled paint removal, use a sharp pull scraper or stiff putty knife and keep the blade nearly flat, about 10–20°, so it rides the surface instead of digging in. Work with the grain, pushing in short strokes, and stop the moment you feel the tool bite. Re-sharpen or swap blades often; dull edges cause gouges. Use a 5-in-1 tool only to lift obvious chips, not to pry. Vacuum dust as you go and wipe with a damp rag to confirm you’ve removed all weak edges during surface preparation.
Sand, Fill, and Caulk the Sill Smooth
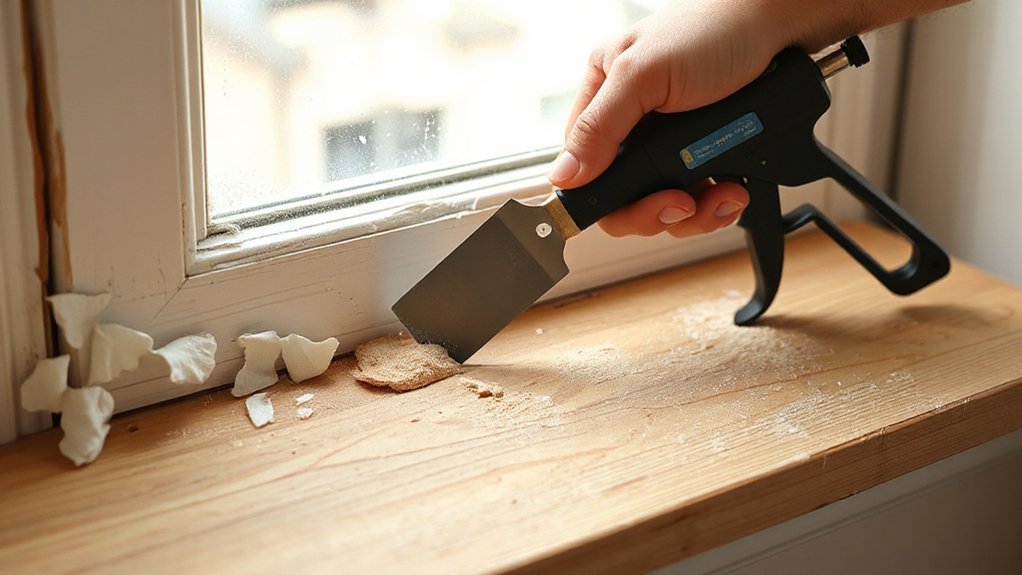
After you’ve scraped the loose edges clean, smooth the sill in stages so the primer can lock onto a uniform surface. Start with 80–100 grit to level ridges, then switch to 120–150 grit to refine. Sand with the wood grain to avoid cross-scratches telegraphing through the finish. Vacuum dust and wipe with a damp cloth; any residue weakens paint adhesion.
Inspect for checks, nail holes, or rot pits. Press in exterior wood filler with a putty knife, overfilling slightly, then let it cure fully. Sand the patch flush and feather into surrounding paint. Run a thin bead of paintable acrylic-latex caulk along trim-to-sill joints and cracks. Tool it smooth with a wet finger, and let it set.
Choose the Right Primer for Wood Sills
Because window sills take direct sun, condensation, and frequent touch-up cleaning, you need a primer that bonds aggressively to mixed surfaces (bare wood, old paint, and filler) and blocks stains before the topcoat goes on. For Primer selection, start by identifying tannin-rich species (oak, cedar) or water marks; choose a stain-blocking shellac or oil-based primer there. If the sill is mostly sound paint with small bare patches, use a high-adhesion acrylic bonding primer rated for glossy, previously painted trim. Match primer type to conditions: shellac for knots and smoke, oil for heavy stains and exterior moisture cycling, acrylic for low odor and fast recoat. After wood preparation, vacuum dust, wipe with denatured alcohol, then spot-prime bare areas before full-priming.
Paint the Window Sill for a Hard Finish
Although your primer creates the bond and stain barrier, the topcoat determines how well the sill resists abrasion, condensation, and frequent wipe-downs, so apply a hard-drying trim paint with disciplined technique. For paint types, choose enamel: waterborne acrylic-alkyd for fast return-to-service, or traditional alkyd for maximum hardness where VOC rules allow. Confirm Color matching by comparing a dried sample card at the window under daylight and interior light; adjust sheen to existing trim (often satin or semi-gloss). Stir thoroughly, then strain to prevent nibs. Cut in edges with a 2-inch angled sash brush, then lay off with long strokes along the grain. Maintain a wet edge, avoid overbrushing, and let each coat cure per label before recoating. Apply two thin coats for uniform film build.
How to Keep Window Sill Paint From Peeling
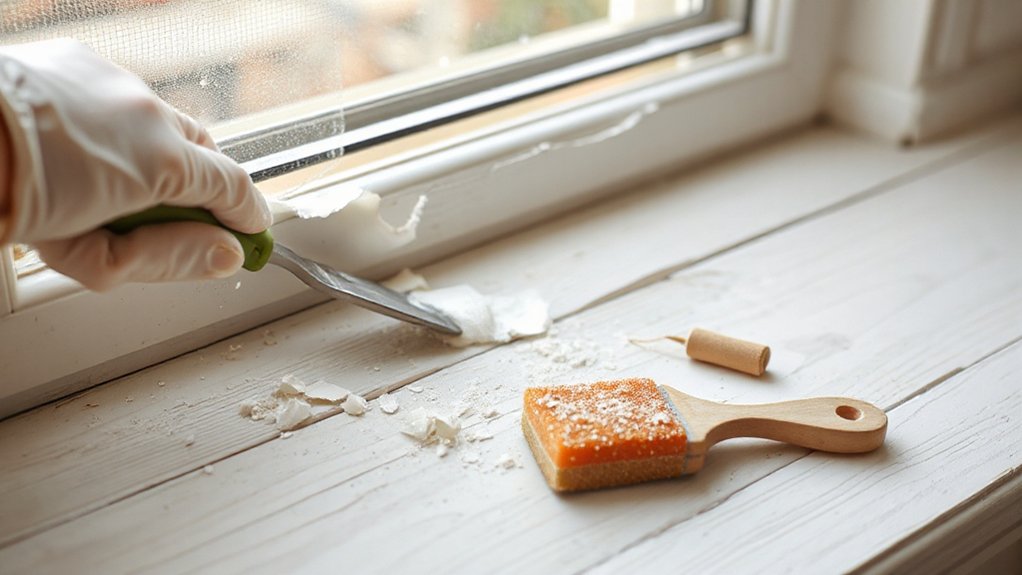
Even if you’ve applied a tough enamel topcoat, window-sill paint will peel when moisture gets under the film and breaks adhesion at the wood/primer interface. Stop that pathway: keep glazing intact, recaulk joints, and seal end grain with primer or epoxy consolidant before repainting.
Control water and vapor. Maintain slopes so water sheds outward; don’t let blinds trap condensation. After cleaning, sand to a feather edge, vacuum, and wipe with denatured alcohol. Prime bare wood the same day, then topcoat within the recoat window. Use a compatible acrylic-alkyd or exterior-grade trim enamel.
For Paint color selection, choose lighter colors to reduce heat cycling. Schedule Window sill maintenance: inspect quarterly, touch up chips immediately, and keep paint film continuous.
Frequently Asked Questions
How Long Should I Wait Before Opening the Window After Painting?
Wait 2–4 hours before opening it, and 24 hours for full curing; confirm Drying time on the label. Use Ventilation tips: open another window, run a fan, avoid sticking by cracking it first.
Can I Repaint Over Old Oil-Based Paint With Latex Without Stripping?
Yes, you can repaint oil-based paint with latex without stripping if you handle Oil based vs latex correctly. Do thorough Surface preparation: clean, degloss, sand, dust off, then apply bonding primer before latex topcoats.
What Paint Sheen Looks Best on Interior Wooden Window Sills?
Choose satin or semi-gloss; they’ll make your sills look impossibly crisp. For paint durability, semi-gloss wins. In sheen comparison, satin hides flaws better. You’ll get wipeable surfaces, controlled glare, and cleaner edges.
How Do I Prevent Brush Marks and Drips on Narrow Sill Edges?
Use brush techniques: load lightly, tap off, and pull long continuous strokes along the edge. For drip prevention, keep coats thin, maintain a wet edge, tip off immediately, and inspect corners every pass.
Should I Remove the Window Sash or Hardware Before Repairing the Sill?
You don’t need removing sash, but do it if access is tight or glazing’s fragile; for hardware removal, take off latches and lifts. Bag screws, label parts, and mask remaining pieces to prevent damage.
Conclusion
Now you’ve chased peeling paint off your wooden sill like stripping away a brittle shell. You’ve stopped moisture at the source, cut out rot, and rebuilt a sound surface with careful scraping, progressive sanding, filler, and tight caulk lines. You’ve sealed the grain with the right primer and laid on durable topcoats in controlled passes. Keep it dry, ventilated, and inspected, and your finish will hold like armor, not confetti.
About the Author



