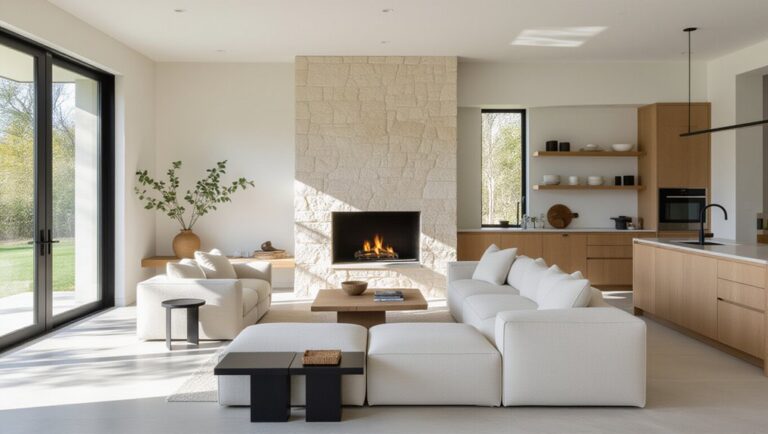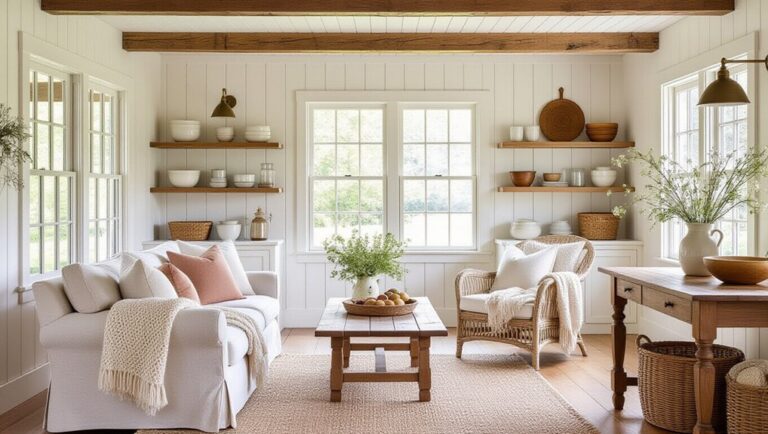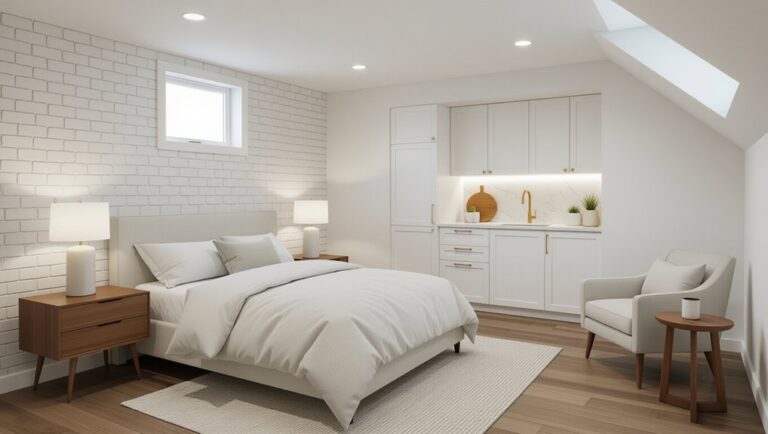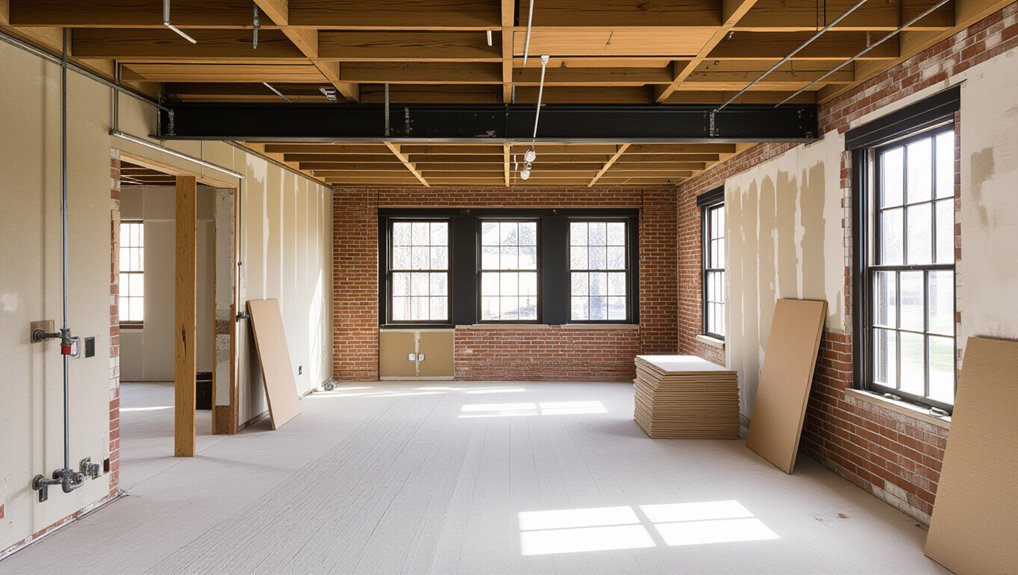
A full-scale internal renovation lets you re-engineer a dated interior as one coordinated system, not a set of patched defects. You’ll map circulation bottlenecks, dead corners, and weak daylight, then reset the plan for clearer sightlines, better adjacencies, and usable storage. While walls are open, you can consolidate HVAC, plumbing, and electrical into efficient runs, rebuild wet-zone waterproofing, and tighten insulation and window performance. Keep going and you’ll see how to scope, budget, and sequence it.
Key Takeaways
- Treat the renovation as a whole system, reworking circulation, sightlines, and adjacencies instead of patching isolated defects.
- Define scope with measurable targets for daylight, acoustics, thermal comfort, storage, and net usable area to guide every design decision.
- Align budget to room-by-room assemblies, prioritize wet zones and lighting performance, and include contingencies for concealed services or structural fixes.
- Reconfigure partitions and openings to deepen daylight, borrow light between rooms, and improve wayfinding with clear, consistent passage widths.
- Upgrade plumbing, electrical, and HVAC in consolidated routes, then lock waterproofing and testing before finishes to prevent hidden failures.
Is a Full Internal Renovation Worth It?
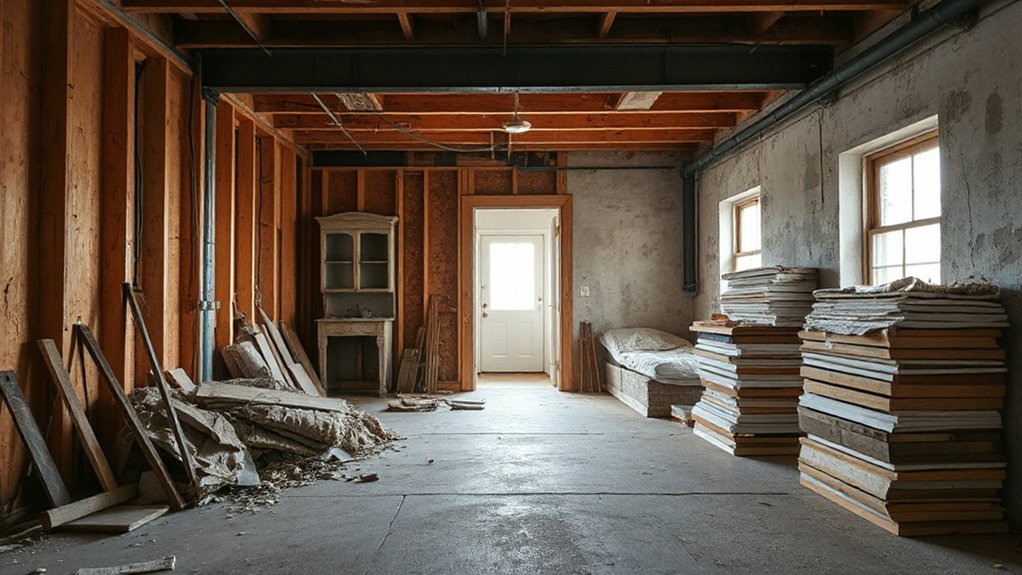
If your rooms feel chopped up, dim, or out of sync with how you live, a full internal renovation can be worth it because it lets you re-engineer the interior as a coordinated system rather than patching isolated defects. You can realign circulation, sightlines, and adjacencies so daily routines flow without dead corners or awkward thresholds. You’ll tune daylight by resizing openings, adjusting partitions, and coordinating reflective surfaces to push lux deeper into plan. You can consolidate services—HVAC, plumbing, electrical—into efficient shafts, reduce soffit clutter, and improve acoustic separation with layered assemblies. When Historical preservation matters, you can stabilize original trim, proportions, and material logic while upgrading performance behind the finish. The payoff is aesthetic enhancement plus measurable gains in comfort, energy, and maintainability.
Define Your Renovation Scope and Goals
Start by mapping where the interior fails you—pinpoint circulation bottlenecks, dead corners, poor daylight distribution, and outdated service zones. Then set clear priorities by ranking upgrades that change spatial performance first, from layout and storage to mechanical and lighting loads. Finally, define success metrics you can verify, such as net usable area gained, improved sightlines, target lux levels, acoustic ratings, and a fixed budget and schedule variance.
Identify Pain Points
Although a dated interior can look like a purely cosmetic problem, the real work begins by mapping the pain points that disrupt how you move, see, and use each zone. Walk the plan at full scale: note pinch points at door swings, dead corners, awkward clearances, and sightlines that terminate on clutter. Track daylight falloff, glare, and shadow bands to expose where openings, partitions, or ceiling heights fight the room’s geometry. Listen for acoustic bleed across hard surfaces and identify thermal discomfort near glazing or under-insulated walls. Document storage failures, appliance reach ranges, and circulation conflicts between cooking, bathing, and work. Then tie each issue to your design style and material selection—because surfaces, joins, and thresholds either reinforce flow or amplify friction.
Set Clear Priorities
Once you’ve mapped the friction points, set priorities by defining a tight scope and a clear performance target for each zone—circulation, daylighting, acoustics, thermal comfort, and storage—so every intervention earns its footprint. Start by ranking moves that replan volume: remove pinch-point partitions, widen thresholds, and realign sightlines to borrow light. Next, decide where you’ll spend structure versus finish: keep the shell intact if services can reroute cleanly, but open ceilings where ducting or wiring blocks flexibility. Lock your material palette early so junctions stay coherent; reserve Decorative accents for wayfinding and focal compression, not distraction. Choose Color schemes that support perceived depth and reflectance, then coordinate them with glazing, flooring, and millwork modules to control scale and visual rhythm throughout.
Establish Success Metrics
Before you move a wall or specify a finish, define what “better” means in measurable, room-by-room terms so the scope doesn’t drift. Set targets for circulation width, sightline length, and daylight factor; quantify storage in linear feet and counter run in inches. In kitchens, benchmark work‑triangle distances and landing zones; in baths, specify clearances, exhaust rates, and slip resistance. Track acoustic performance with STC goals, and set HVAC comfort bands by room. Tie aesthetics to metrics too: lock Color schemes to a defined palette count and LRV ranges, and cap Decorative accents by locations and wattage so focal points stay intentional. Finally, write pass/fail criteria for each space and review them at every design milestone and site walk.
Set a Realistic Renovation Budget (With Contingencies)
If you map your renovation budget to the physical scope—room by room, surface by surface—you’ll control costs instead of chasing them. Start with measured quantities: square metres of flooring, linear metres of joinery, fixture counts, and demolition extents. Tie each line item to assemblies (subfloor, waterproofing, substrate prep, finishes) so you’re pricing systems, not wish lists.
Use budget planning to lock priorities: spend where performance matters (wet areas, thermal/acoustic upgrades, lighting layers) and simplify elsewhere (standard tile modules, repeatable cabinetry). Then add contingency funds based on risk concentration: higher allowances for concealed services, structural corrections, and uneven existing walls. Keep a separate scope-change reserve, and track every variation against the spatial grid you documented.
Plan Permits, Timelines, and Living-Through-It
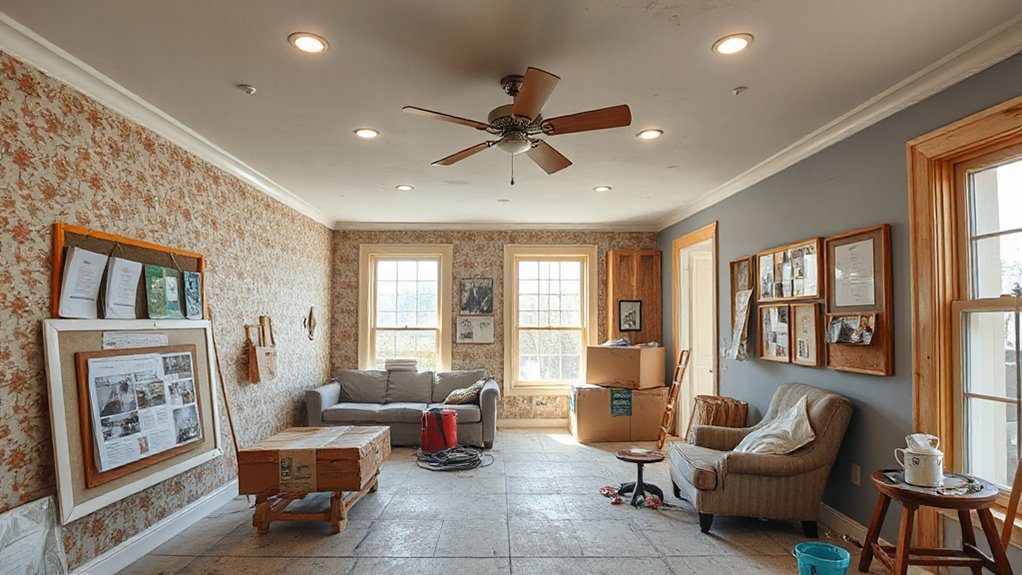
Because approvals and sequencing dictate what can happen where—and when—treat permits, timelines, and day‑to‑day access as part of the physical scope. Map every compliance trigger (structural, plumbing, electrical, fire) to specific rooms, then lock inspection hold points into your program so trades don’t stack in the same corridor.
Build a zone plan for living-through-it: define a clean refuge, a dust boundary, and a protected egress path. Specify negative air, temporary lighting, and shutoff locations so you can isolate services without deadening the whole apartment. Your Design inspiration should translate into procurement lead times; align material selection with delivery windows, acclimation needs, and storage footprints. Sequence demolition to keep one wet area operational, schedule loud work in daytime blocks, and reserve punch-list access at the end.
Rework the Layout for Better Flow
You’ll get better flow when you map clear, open-plan circulation paths that connect entries, work zones, and seating without bottlenecks. You can shift or remove non-structural partitions to create direct sightlines and consistent passage widths that support how you move through the space. Then you’ll zone rooms by use—cooking, dining, lounging, working—using furniture layouts, lighting, and floor changes to define boundaries without blocking movement.
Open-Plan Circulation Paths
While dated interiors often rely on tight corridors and dead-end rooms, open-plan circulation paths reorganize the footprint into clear, continuous routes between key zones—entry, kitchen, dining, living, and any outdoor connection. You’ll map primary and secondary lines of travel, then remove pinch points by widening thresholds, aligning openings, and trimming unnecessary partitions. Keep sightlines long but controlled by offsetting doorways and using partial-height elements where structure allows.
You’ll coordinate Furniture arrangement with these paths: maintain consistent clear widths, prevent sofa backs from becoming barriers, and anchor movement around stable edges like islands or hearth walls. Acoustic considerations matter too; specify absorptive ceilings, rugs, and lined joinery so sound doesn’t spill along the new routes. Add lighting gradients to reinforce direction and reduce wayfinding friction.
Zone Spaces By Use
Once your circulation paths read clearly, zone the plan by use so each activity—cooking, eating, lounging, working, storing—lands in a space sized for its load and buffered from conflicts. Map adjacencies: keep prep near wet walls, seat dining within two steps of serving, and separate focus work from TV acoustics. Use thresholds—partial-height joinery, ceiling drops, or flooring shifts—to signal boundaries without blocking sightlines. Lock in clearances: 1000–1200 mm behind chairs, 900 mm around islands, and door-swing envelopes that don’t cut seating. Let Furniture placement define edges: align sofas to circulation, float desks to face light, and turn storage into a spine. Finish with Color coordination to reinforce zones while keeping one continuous volume.
Bring In More Natural Light (Walls, Openings)
If the room reads flat or cramped, the fix often starts with how light can physically enter and travel through the plan. You can widen openings, realign doorways, or replace solid partitions with glazed screens so Natural light reaches deeper zones and lifts interior brightness. Create a clear light path: remove visual stops, keep circulation aligned to windows, and use borrowed-light strategies between rooms.
Consider new apertures where structure allows: enlarge window heads, add high-level clerestories, or introduce internal windows above joinery lines to share daylight while keeping privacy. If you’re opening walls, control proportions—tall, narrow cuts punch depth; wide spans flatten contrast. Use light-reveals and splayed jambs to spread illumination, and specify pale, matte surfaces to reduce glare and bounce light evenly throughout.
Update Wiring, Switches, and Lighting Design
Natural light sets the baseline, but outdated electrics still flatten the room after sunset and telegraph the home’s age. Replace brittle cabling, undersized circuits, and random switch locations so power aligns with how you move through space. You’ll gain cleaner wall planes, safer loads, and fewer visual interruptions.
Plan Smart wiring as an infrastructure layer: run new home‑runs, add dedicated circuits for high‑draw zones, and reserve conduits for future controls. Reposition switches at intuitive approach points, group them by scene, and standardize plate heights to calm the elevation. Then rebuild the Lighting design with layers—ambient, task, and accent—using dimmable drivers, high‑CRI sources, and glare control. Put key fixtures on separate circuits so you can sculpt depth, highlight textures, and compress or expand perceived volume.
Redo Plumbing and Waterproofing While It’s Open
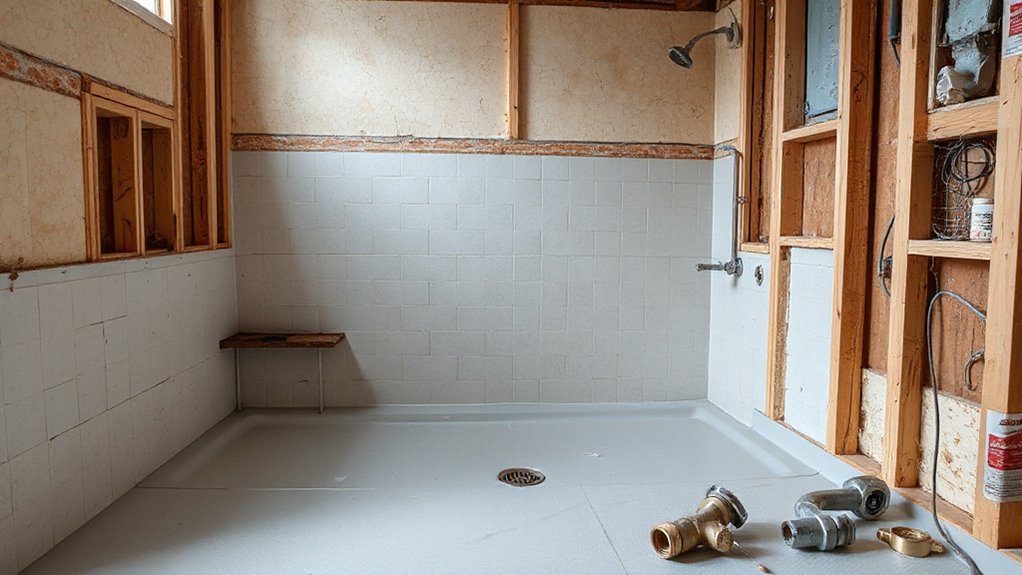
While the walls and floors are already opened up, redo plumbing and waterproofing as a single concealed system that controls pressure, heat, and moisture migration through the space. Re-map fixture locations, then run continuous supply and waste lines with accessible shutoffs staged by zone. Use oversized chases where you need future service clearances, and specify quiet pipe isolation to keep wet areas acoustically contained.
Treat every wet volume as a waterproof “box”: pan, walls, penetrations, and junctions. You’ll integrate membranes with floor falls, linear drains, and sealed collars at valves so water can’t track into framing. Coordinate plumbing upgrades with substrate prep, backer selection, and adhesive compatibility to prevent bond failure. With the cavity open, pressure-test, flood-test, document routes, and lock in redundant waterproofing solutions before finishes close.
Boost Insulation and Window Performance
Once you’ve exposed studs, headers, and window openings, you can treat insulation and glazing as a continuous thermal-and-air control layer instead of scattered upgrades. You’ll map the envelope from rim joists to top plates, then specify insulation upgrades that match each cavity: dense-pack where you need sound control, rigid where you need uninterrupted R-value, and vapor-smart membranes where drying potential matters. Seal penetrations, tape sheathing seams, and use backer rod plus sealant at rough openings so air can’t bypass your work.
For window improvements, you’ll align frames with the insulation plane, install sloped sills with end dams, and integrate flashing to the WRB. Choose low‑E glazing, warm-edge spacers, and upgraded weatherstripping to cut drafts and condensation at interior reveals.
Pick a Cohesive Floors–Walls–Joinery Palette
With the envelope tightened and windows set in the right plane, you can treat interior finishes as the next continuous system—one that controls sightlines, reflectance, and how joints read from room to room. Start with floors: choose one primary tone and sheen, then decide where thresholds disappear through flush transitions or aligned grout lines. For walls, set an LRV range that balances daylight and glare; keep sheen consistent to avoid patchwork reflections. Joinery should lock the palette together: match undertones, not just “white vs timber,” and repeat edge profiles so corners read intentional. Use Color coordination to cue hierarchy—quiet fields, stronger accents at portals. Your Material selection should prioritise wear zones, acoustic softness, and clean junction details at skirtings and reveals.
Build In Storage: Wardrobes, Cabinetry, Niches
You’ll upgrade a dated plan fastest when you convert leftover wall depth into built-in storage that reads as architecture, not furniture. Specify custom wardrobes and cabinetry to align with openings, ceiling lines, and circulation clearances, so storage becomes a continuous plane that simplifies the room. Cut integrated niches and alcoves into thickened walls or joinery volumes to capture display and utility without adding visual clutter.
Custom Wardrobes And Cabinetry
Although dated rooms often feel cramped, custom wardrobes and built-in cabinetry can reprogram the space by turning stray wall area into a continuous storage plane. You align doors, reveals, and shadow gaps to create a single datum line, so the perimeter reads calmer and larger. With Custom storage, you allocate volumes by use: long-hang, short-hang, drawers, pull-out hampers, and overhead bulk for seasonal items. You then tune cabinetry design to the room’s geometry—flush panels to flatten visual noise, or stepped depths to clear skirtings and services. Specify full-height carcasses, soft-close hardware, and durable laminates or veneers to control wear. When you integrate lighting, you place strips behind fascias and inside compartments to eliminate dead corners.
Integrated Niches And Alcoves
When you treat a niche or alcove as part of the wall system—not an afterthought—it stops reading as leftover void and starts working as calibrated volume. You align it to grids, door reveals, and skirting lines so the cut reads intentional. Set depth by function: 150–250 mm for display, 300–600 mm for storage, and full-height when it replaces freestanding furniture.
You control perception with niche material selection: match plaster for disappearance, use timber veneer for warmth, or stone for mass at focal points. Integrate shadow gaps and concealed back panels to hide services and fixings. Add Decorative alcove lighting with low-glare linear LEDs, grazing the rear plane to expand depth and cue hierarchy. Your alcove becomes storage, light, and structure.
Frequently Asked Questions
How Do I Choose the Right Builder for a Full Internal Renovation?
Prioritize builder selection by verifying renovation experience, examining structural plans, and checking staged site logistics. You’ll compare itemized quotes, confirm sequencing and tolerances, review permits, and speak with past clients to validate craftsmanship.
Will a Renovation Trigger Asbestos Testing or Removal Requirements?
Yes—your renovation can trigger asbestos testing and removal if you disturb suspect materials. You’ll schedule surveys, isolate zones, and follow safety protocols. Asbestos awareness guides sampling, licenced removal, clearance air tests, and compliant disposal documentation.
What Home Insurance Updates Are Needed During Major Internal Works?
Around 30% of renovation claims fail from underinsurance—update your Insurance policy for altered floorplans, structural openings, and vacant zones. Add builder’s risk and liability, document staging layouts, and confirm the claim process for theft, fire, water.
How Can I Maintain Indoor Air Quality and Dust Control During Renovations?
You’ll maintain indoor air quality by zoning work areas, sealing returns, and running Air purifiers with HEPA filtration. Install Dust barriers at doorways, depressurize work zones, wet‑cut materials, and vacuum with HEPA units daily.
What Warranties Should I Expect for Workmanship, Waterproofing, and Fixtures?
You should expect Warranty coverage for workmanship guarantees of 1–2 years, waterproofing membranes 7–10 years, and fixtures per manufacturer, often 5–15 years. Confirm written scopes, penetrations detailed, and handover certificates for wet zones.
Conclusion
You’re the cartographer of a tired house, redrawing its borders with a full internal renovation. You set the scope, budget contingencies, and permits like coordinates, then move walls to clear circulation lines. With cavities exposed, you reroute plumbing, rebuild waterproofing, and tighten the thermal envelope with insulation and higher‑performing windows. You unify floors, walls, and joinery into one readable system, then carve storage niches and cabinetry—so every volume has purpose and nothing is lost in dead space.
About the Author