Start by mapping how you move through your home, then balance light, privacy, and sightlines before you choose door styles. Measure every opening in millimetres and check frames for twist, swelling, and loose strike sides, reinforcing where needed. Modernise with slim Shaker panels, flush slabs, or Crittall-style glazed doors, and keep hardware consistent with concealed hinges and magnetic latches. Add sliders or pocket doors to free space, and upgrade cores and seals for quieter rooms. Next, you’ll see how to plan, specify, and fit it cleanly.
Key Takeaways
- Map room flow and measure openings precisely, including hinge, latch, and clearance details, before choosing new door styles.
- Inspect and square the frame, fixing looseness or twists, so minimalist doors hang cleanly and look premium.
- Choose modern door types—slim Shaker, flush, or Crittall-style glazed—to balance privacy, light, and visual continuity.
- Improve usability with sliding or pocket doors in tight areas, ensuring they won’t clash with switches, artwork, or shelving.
- Upgrade comfort using solid cores, acoustic seals, and consistent hardware finishes for quieter rooms and a cohesive modern look.
Plan Internal Door Upgrades: Flow, Light, Privacy
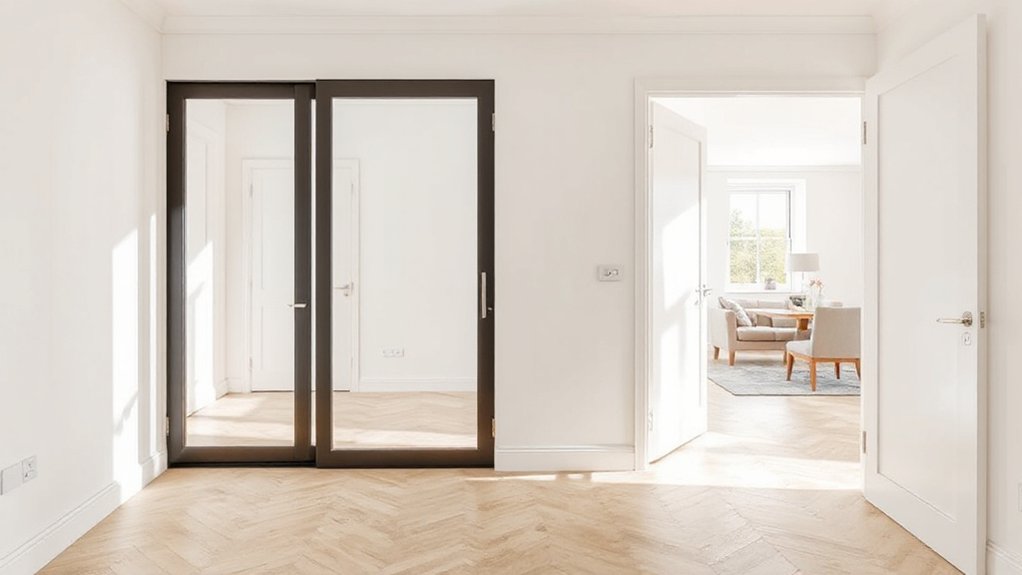
Before you fall for a door style on looks alone, map how you actually move through your home—because the best internal door upgrades balance flow, light, and privacy in equal measure. Trace bottlenecks at hallways, landings, and kitchen entries, then decide where you need clear swing space or a cleaner pass-through. Use glazed panels or reeded glass to borrow daylight while keeping silhouettes soft; choose solid cores for bedrooms and studies to sharpen acoustic privacy. If you’re chasing a modern look, pair slim stiles with matte black or brushed nickel levers, and keep sightlines consistent across rooms. Plan door installation around daily routines so you don’t block storage or furniture zones. Finish with maintenance tips: align hinges, protect edges, and clean tracks promptly.
Measure Internal Doors and Check Frame Condition
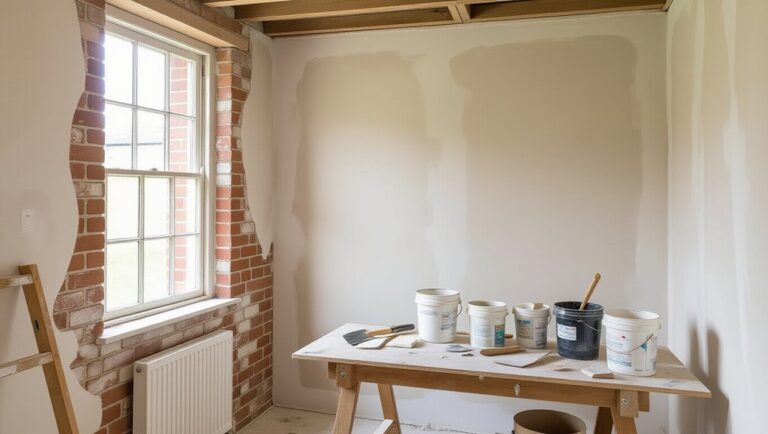
Before you shop for sleek new slabs or on-trend hardware, you’ll measure each door’s width, height, and thickness with millimetre-level accuracy so the finish looks intentional, not improvised. You’ll also check the frame for twist, gaps, soft spots, and out-of-square corners that can throw off alignment and ruin those clean sightlines. Get the numbers and the frame condition right now, and every upgrade that follows will hang true, close quietly, and read premium.
Accurate Door Measurements
Whether you’re swapping in sleek flush panels or introducing a statement glazed door, you’ll only get that crisp, contemporary finish if your measurements are spot-on and the frame’s in good shape. Measure the opening in three places: width at top, middle, bottom; height on both sides and centre. Use the smallest figures to avoid binding, then note the existing door thickness for a seamless, on-trend silhouette. Check the frame’s squareness by measuring diagonals; big differences signal a tricky fit. Record hinge positions from the top edge, plus latch height and backset, so hardware lines stay clean and aligned. Confirm clearances at the floor for rugs and airflow, and consider Interior lighting spill through glazed styles. Accurate sizing also protects Door frame durability.
Frame Integrity Assessment
Even if you’ve nailed the numbers, a tired frame can sabotage that clean, modern door line, so take a minute to assess its integrity. Run your hand along the jambs and head to feel for swelling, soft spots, or paint ridges that’ll telegraph through a crisp shadow gap. Check frame stability by pressing at the strike side; any flex hints at loose fixings or fatigued timber.
Next, audit hinge alignment: open the door halfway and watch for drop, binding, or uneven reveals. If the margins widen at the top latch corner, the frame may be racked. Use a square to confirm corners, then tighten screws, replace stripped fixings, or add concealed frame brackets before you invest in slimmer hardware or flush handles. A solid frame makes minimalist doors look intentional.
Modern Internal Door Styles: Panel, Flush, Crittall
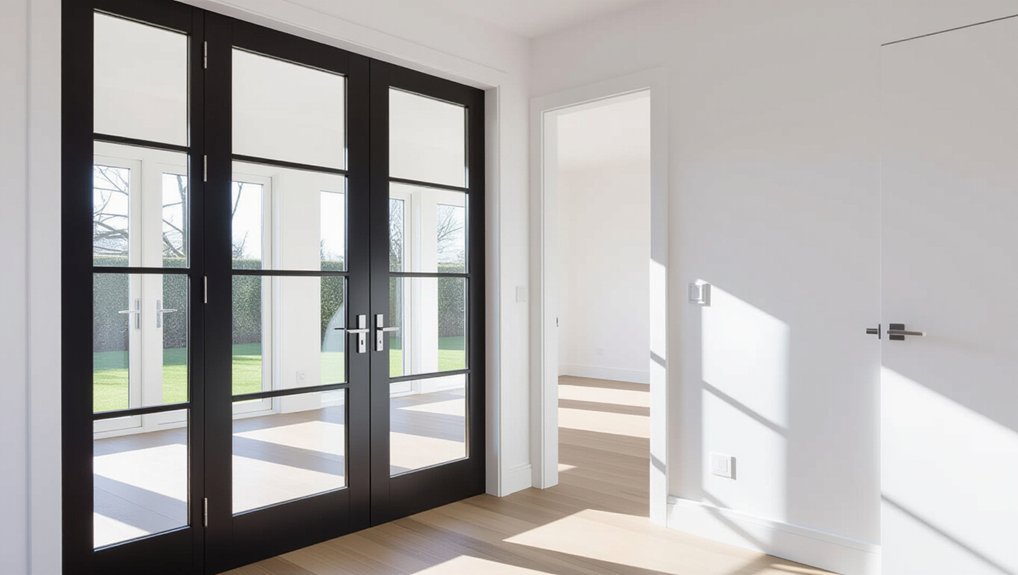
As open-plan living keeps gaining ground, the internal door you choose can sharpen the architecture and improve how your home moves day to day. Go panelled when you want depth and rhythm: slim Shaker profiles feel current, while taller panels visually stretch low ceilings. Choose flush for a quiet, gallery-like wall plane; it’s ideal in minimal schemes where skirting, shadow gaps, and paint lines do the talking. For a statement that still feels light, Crittall-style glazing frames sightlines and borrows daylight without losing zoning. Add decorative glass to soften privacy in studies or bathrooms while keeping brightness. Finish the look with intentional door hardware—lever shape, backplate size, and black or brushed tones—so every handle reads like part of the plan.
Materials & Finishes for Internal Doors (Oak to Primed)
If you want an internal door that looks right and holds up to real life, you need to treat material and finish as part of the design brief, not an afterthought. Oak brings warmth and visible grain; go engineered oak for stability and a calmer, contemporary read. Veneered cores give you that timber look with less movement, while MDF suits sharp profiles and ultra-smooth paint. For Sustainable materials, ask for FSC timber, low-VOC lacquers, and water-based paints that won’t yellow.
Finishes set the tone. Raw or lightly oiled timber feels modern and tactile, but matte lacquers add durability. Primed doors let you colour-match walls for seamless flow, or use decorative finishes like micro-texture, chalky eggshell, or a satin trim line to sharpen edges. Match sheen to hardware for cohesion.
Glazed Internal Doors: Clear vs Obscure Glass
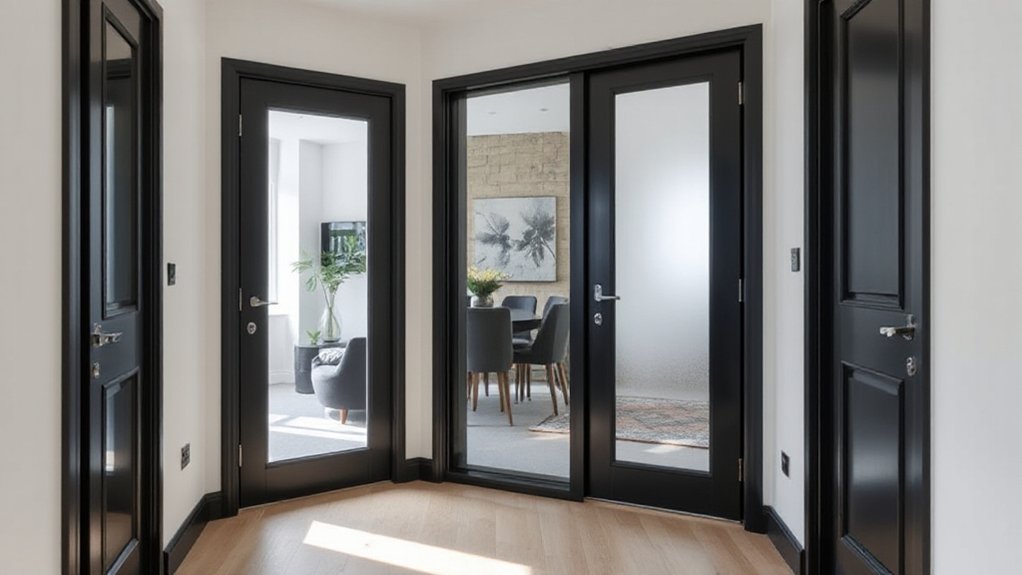
Because glazed internal doors change how light and privacy move through your home, the choice between clear and obscure glass becomes a layout decision as much as a style one. Choose clear glass when you want sightlines to lengthen corridors, borrow daylight from brighter rooms, and keep a contemporary, gallery-like feel. It suits open-plan living, home offices you want to visually connect, and spaces where you’re curating symmetry and clean grids.
Pick obscure glass when you need separation without heaviness: bathrooms, utility rooms, or snug zones off a busy hall. Today’s Decorative glass options go beyond frosted—think reeded, fluted, and smoky tints that soften silhouettes while adding texture. Add Privacy coatings for extra blur and easier cleaning, especially on frequently touched panels.
Internal Door Hardware: Handles, Hinges, Latches
Glass choice sets the mood—now hardware seals the look and determines how the door feels in daily use. Start with handles: slim lever designs in satin brass, black chrome, or brushed nickel read current and pair easily with mixed metals. Choose a shape that fits your grip and your interior lines. Hinges matter just as much; match finishes, upgrade to concealed or ball-bearing hinges for a quieter, weightier swing, and keep reveals crisp. For latches, pick a magnetic latch for a clean shut and minimal click, or a privacy set with a neat thumbturn for bathrooms. Decorative hardware can add jewellery-like contrast, but keep proportions consistent across rooms. Stay on top of door maintenance: tighten screws, oil pivots, and check alignment.
Sliding Internal Doors: When They Save Space
Where do sliding internal doors make the biggest difference? In tight hallways, small bedrooms, and en-suite entries where a swing door steals usable floor area and disrupts circulation. You’ll notice the gain immediately: cleaner sightlines, easier furniture placement, and smoother space planning around wardrobes, vanities, or dining chairs.
Choose a wall-mounted slider to add architectural rhythm—especially with slim rails in matte black or brushed steel that echo today’s minimalist trims. A glazed panel boosts interior lighting, borrowing daylight from adjacent rooms while keeping zones defined. For privacy, fluted or reeded glass feels current and softens views without darkening the plan. Keep clearances intentional, so the door stacks neatly beside artwork, switches, and shelving, not across them.
Pocket Internal Doors: Wall Depth and Structure
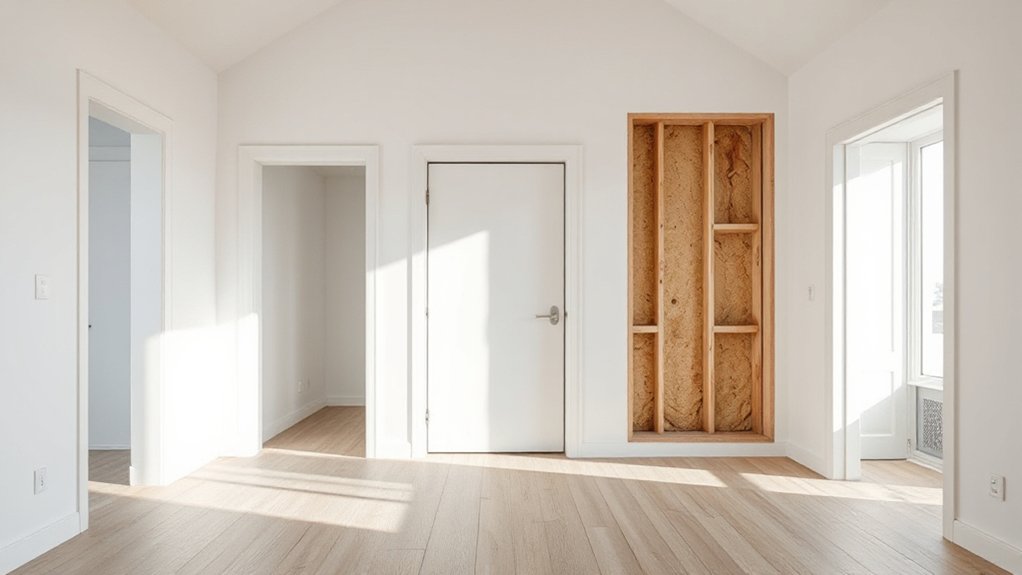
How do pocket internal doors deliver that clean, uninterrupted look? You hide the leaf inside the wall, so sightlines stay crisp and furniture placement feels freer. But Pocket doors only work when your wall structure can take a cassette and track without compromising stability.
You’ll need enough wall depth for the pocket frame plus plasterboard and finishes, and you can’t treat every partition the same. Stud walls adapt easily, while masonry needs a purpose-built cavity or a false wall to create the pocket. Plan early for switches, sockets, and plumbing runs, because they can’t sit where the door travels. Specify reinforced studs or a proprietary kit to prevent flex, then align skirting and architraves for that seamless, contemporary edge.
Soundproof Internal Doors: Cores, Seals, Gaps
Once you’ve refined sightlines with pocket doors, it’s worth tackling what you can’t see but definitely hear: sound travel between rooms. Start with the door’s core: solid or engineered composite beats hollow by adding mass, and you can layer Acoustic insulation inside upgraded slabs for a calmer, boutique-hotel feel.
Next, treat the perimeter like a crisp shadow gap—only sealed. Add compressible jamb seals and a quality sweep or drop seal at the threshold; even a 3mm undercut leaks conversation. Check latch alignment so the leaf pulls tight, not proud. For existing frames, use Sealant techniques to close hairline casing gaps and line the stop with acoustic tape. Keep reveals consistent, hinges tight, and you’ll get quieter rooms without sacrificing modern detailing.
Fitting Internal Doors: DIY Steps vs a Pro
Quiet rooms feel luxurious, but do you want that upgrade to look razor-sharp too—or are you willing to trade millimetre-perfect reveals for a weekend DIY win? If you’re handy, you can fit an internal door by checking the lining for square, marking hinge positions, trimming evenly, and test-hanging until the swing feels weightless. Choose on-trend matte black or satin brass hardware, and plan door hinge maintenance from day one: a tiny drop of lubricant and a periodic screw check keeps alignment crisp. You’ll also need disciplined paint finishing techniques—de-nib between coats, seal end grain, and keep edges clean for a gallery-grade look. Hire a pro when you want flawless shadow gaps, consistent reveals, and time back without compromising your design intent.
Internal Door Mistakes to Avoid (Costly Ones)
A beautifully hung internal door can look couture-level, but a few common missteps will chew through your budget and blunt the design. Don’t buy slabs before measuring the finished opening; plaster build-up and new flooring change clearances fast. Skip mismatched hardware too—your hinges, latch, and handle finishes should align with your lighting and taps, or the whole scheme feels off.
If you’re doing Historic renovations, don’t rip out period architraves without checking you can source like-for-like profiles. Avoid hollow cores where acoustics matter; a cheap door makes a luxe room sound tinny. Don’t paint before planing; you’ll ruin edges and sheen. Finally, don’t ignore Eco friendly materials—low-VOC paints and FSC timber keep the look current and resale-smart.
Frequently Asked Questions
Do I Need Building Regulations Approval to Change Internal Doors?
You usually won’t need Building Regulations approval to change internal doors, unless they’re fire doors or affect escape routes. Choose on-trend door material options and refined door hinge types to keep lines crisp and finishes cohesive.
How Do I Match New Doors to Existing Skirting and Architraves?
Match new doors by copying your architrave profile, skirting height, and paint sheen, then choose Door styles with similar panel proportions. Test Wood finishes beside existing trim in daylight, and adjust with stain, primer, or topcoat.
What’s the Best Way to Dispose of Old Internal Doors Sustainably?
Choose Recycling options first: donate salvageable doors to reuse centres, list them online, or offer to trades. For eco friendly disposal, separate glass/metal, recycle timber at local facilities, and avoid landfill skips.
Can I Keep My Existing Door Frames and Just Replace the Door Leaf?
Yes, you can keep existing frames and swap only the door leaf if they’re square and sound. Match door materials to thickness, and upgrade door hardware—hinges, latches, handles—for a crisp, contemporary finish.
How Long Does It Take to Replace All Internal Doors in a Typical Home?
You’ll typically wrap up replacing all internal doors in 1–3 days, give or take. Door styles and Material choices sway timing; pre-finished slabs fly in, while bespoke hardware, trimming, and painting stretch schedules.
Conclusion
When you modernise your internal doors, you’re not just swapping slabs of timber—you’re redrawing the lines of your home. Each panel, flush face, or Crittall frame becomes a hinge between eras: more light, cleaner sightlines, quieter rooms. Choose finishes like primed matt or warm oak as your palette, and pick clear or obscure glazing like a lens. Fit tight, seal gaps, and measure twice—so every door closes like a perfect full stop.
About the Author