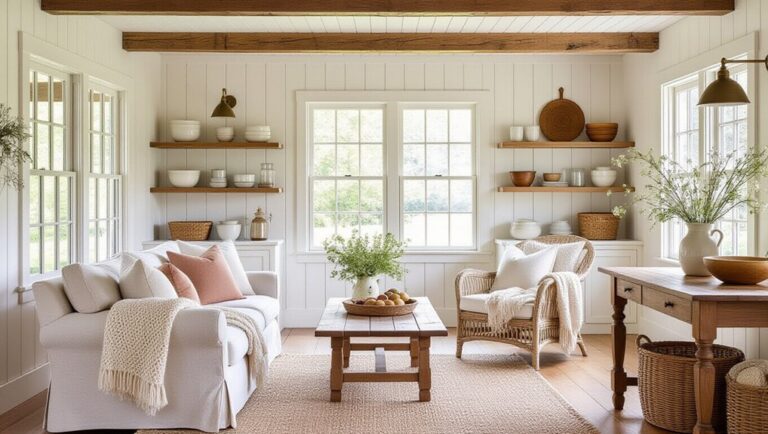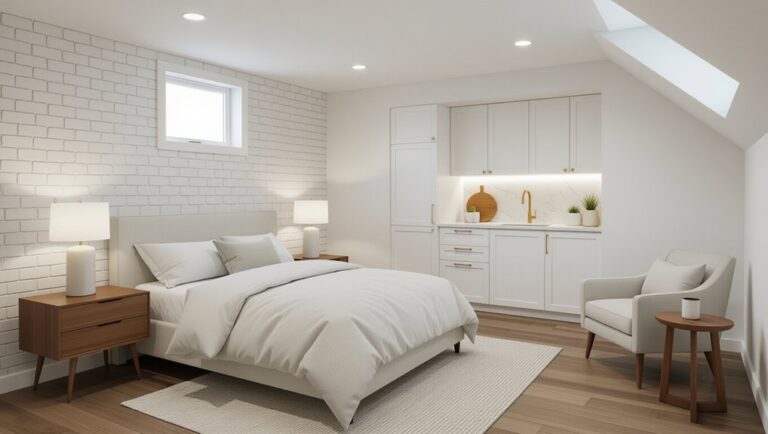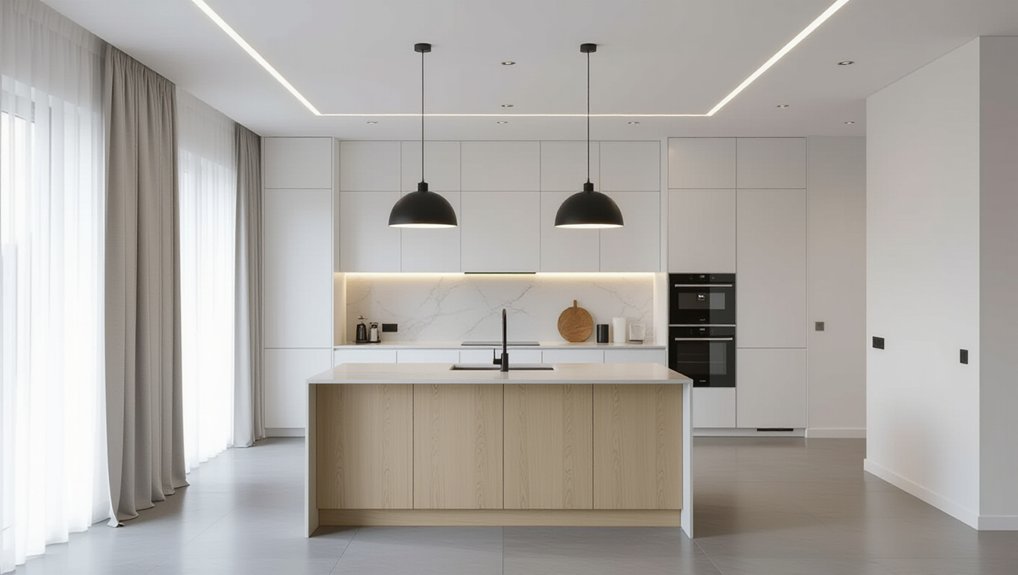
You’ll make your home look brighter by setting measurable targets (lux, UGR, dimming range), then mapping your current fixtures, controls, and daylight patterns on a scaled plan. Divide each room into true task zones—counters, desks, vanities—and build a three-layer scheme: soft ambient ceiling/wall wash, glare-controlled task light on work planes, and 30–35° accent to add depth. Space downlights by ceiling height, choose high-CRI LEDs, and tune scenes with dimmers—next you’ll see how to place every fixture precisely.
Key Takeaways
- Set measurable lighting targets (lux, UGR, dimming range) and map existing fixtures, circuits, mounting heights, and glare sources on a scaled plan.
- Divide each room into functional lighting zones (task, circulation, accent) based on work surfaces, sightlines, and daylight patterns.
- Use three-layer lighting—ambient ceiling wash, focused task light, and controlled accents—to add brightness without harshness or overlighting.
- Place fixtures strategically: start 2–3 ft off walls, space about half ceiling height, and aim adjustable beams 25–35° for even coverage.
- Choose high-quality LEDs with appropriate CRI, CCT, beam angles, and diffusers, and put each layer on separate dimmable controls for scenes.
Set Lighting Goals for Each Room
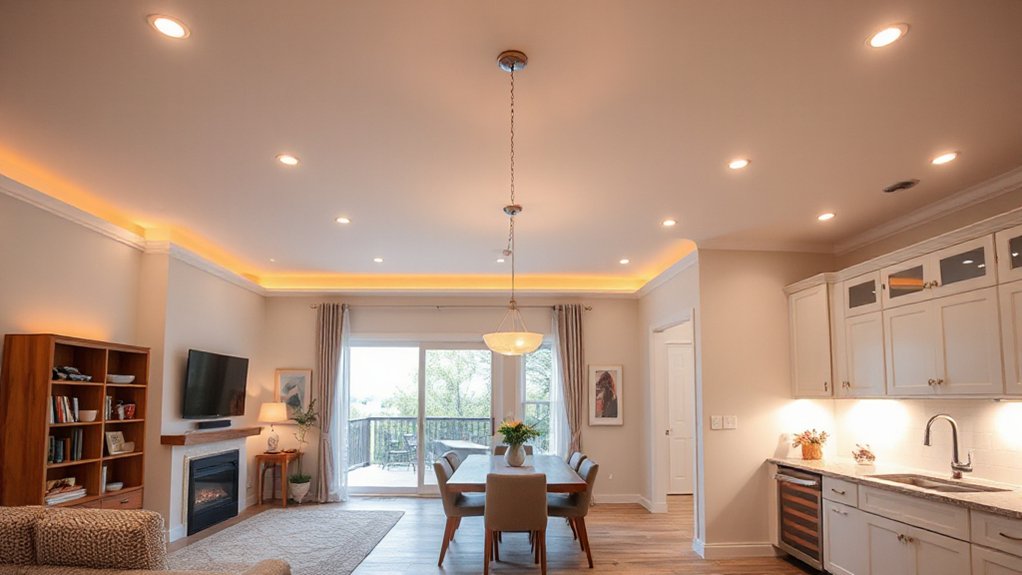
Translate goals into measurable criteria: required lux on work surfaces, acceptable UGR, and dimming range for day-to-night shifts. Specify Energy efficient bulbs that meet your CRI and lumen output without overdriving fixtures. Finally, plan Lighting fixture maintenance intervals—lens cleaning, driver checks, and socket inspection—so your chosen look stays stable, not degraded by dust or flicker.
Map Your Current Internal Lighting Layout
With your room-by-room targets defined (lux, UGR, dimming range, CRI), you can now map what you actually have so the design intent matches the built reality. Start with a scaled floor plan and mark every luminaire: downlights, wall lights, under-cabinet runs, and Decorative fixtures. Note lamp type, wattage, lumen output, beam angle, CCT, driver/dimmer model, and mounting height. Photograph each circuit and label switch locations, gang types, and control zones so you can see mismatched groupings.
Track daylight as rigorously as electric light. Log window orientation, glazing, shading, and reflectance of nearby surfaces, then sketch Natural lighting patterns at morning/noon/evening. Finally, mark glare sources (bare lamps, glossy art, mirrors) and shadow-prone work surfaces.
Use the 3-Layer Lighting Method
You’ll get cleaner, more controlled illumination when you build your plan with three layers: ambient for overall light, task for work zones, and accent for visual emphasis. Place each layer with intent—ambient spreads evenly, task targets countertops, desks, and vanities, and accent grazes textures, art, or architectural lines to add depth. When you tune output and color temperature across these layers, you balance brightness and mood without flattening the room.
Ambient, Task, Accent
Although a single ceiling fixture can technically light a room, it rarely delivers the clarity, comfort, or visual hierarchy that makes a home feel intentionally designed. You get better results by separating light into ambient, task, and accent layers, then tuning each for purpose and mood.
Ambient lighting sets the baseline brightness, ideally balanced with Natural sunlight so daytime shift feel seamless and your dimming range improves Energy efficiency. Task lighting targets work zones—countertops, vanities, desks—with higher vertical illuminance and controlled glare, so you see texture and edges without squinting. Accent lighting adds contrast and depth, grazing walls, highlighting art, or revealing millwork; it’s your tool for shadow modeling and focal control. When you blend these three layers, you reduce harsh hotspots, sharpen sightlines, and make finishes read richer.
Layer Placement Strategy
Once you’ve defined ambient, task, and accent as distinct layers, map them to the room’s geometry and sightlines so each fixture earns its position. Place ambient sources to wash primary planes—ceiling and upper walls—using wide-beam downlights or indirect coves for even Light diffusion and reduced glare.
Anchor task lighting directly over work zones, aligning beams with hand positions and avoiding head-cast shadows; under-cabinet linear LEDs, vanity sidelights, and adjustable pendants should sit on the working side of the body. Reserve accent fixtures for vertical targets—art, textured plaster, shelving—aimed at 30–35° to keep highlights crisp without hotspotting. Maintain Layer diversity by varying mounting heights, optics, and beam spreads, then route switching so each layer stays independently controllable.
Balance Brightness And Mood
When brightness and mood pull in opposite directions, the 3-layer method lets you tune the room like a lighting composition instead of a single on/off decision. Build ambient light first: a dimmable ceiling plane or coves that deliver even lux without glare, then let Natural illumination do daytime lifting by keeping window paths clear.
Add task lighting next, aiming 300–500 lux on work zones with tight beam control and high CRI so materials read true. Finish with accent lighting for Mood enhancement: wall grazers to sculpt texture, picture lights to isolate art, and low-level toe-kick strips to reduce contrast at night. Put each layer on separate controls, then set scenes—bright-clean, social-warm, evening-calm—by dialing ratios, not wattage.
Plan Fixture Placement and Spacing
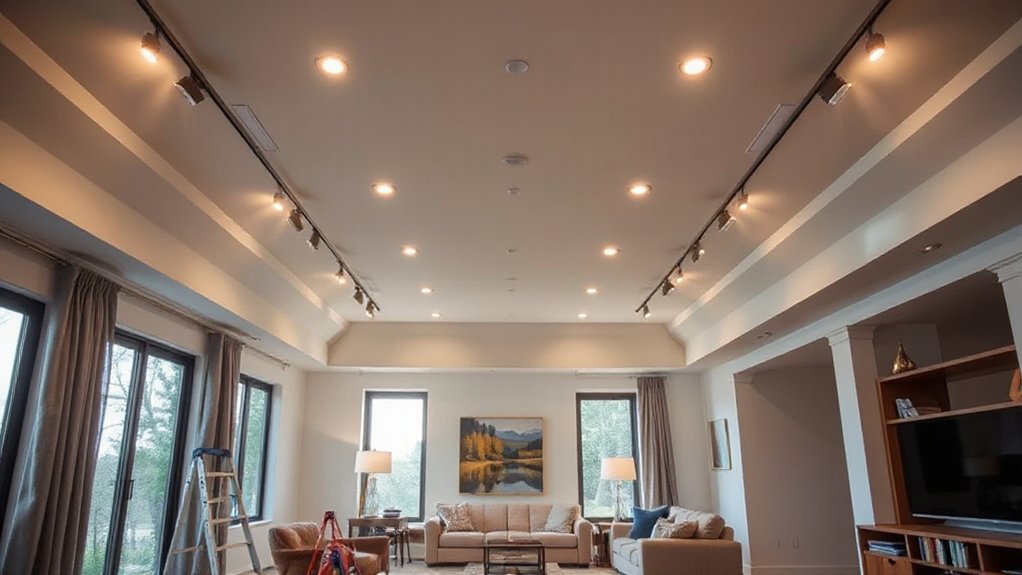
After you’ve set your ambient, task, and accent layers, you’ll map the room into lighting zones based on function, sightlines, and surface reflectance. You’ll then place fixtures to maintain even illuminance, keeping spacing proportional to ceiling height and beam spread to avoid scalloping and hot spots. Finally, you’ll tune angles and offsets so light grazes texture cleanly, controls glare at eye level, and frames focal points with crisp, intentional contrast.
Determine Lighting Zones
Although you might think of lighting as a single ceiling fixture, a brighter, more intentional home starts by mapping distinct lighting zones and assigning each one a clear job—ambient fill, task precision, or accent depth. Walk each room and label primary circulation, work surfaces, and focal elements, then assign luminaires accordingly.
Define an ambient zone for overall luminance continuity, a task zone for counters, desks, vanities, and a feature zone for art, texture, or shelving. Coordinate Lighting color with each zone’s function: warmer tones for lounge areas, neutral for grooming, cooler for detail work. Select fixture styles that visually reinforce boundaries—recessed downlights for quiet ambient, linear profiles for tasks, and sculptural wall or track heads for accents. Keep controls zoned so you can layer scenes without overlighting.
Optimize Spacing And Angles
Because fixture placement determines how light reads on surfaces, you’ll get a cleaner, brighter result by treating spacing and aiming as a measured layout—not a guess. Start by mapping furniture placement so downlights land in front of seating and casework, not directly overhead where faces and counters self-shadow. As a baseline, space recessed fixtures about half the ceiling height (e.g., 8 ft ceiling → ~4 ft spacing), then pull the first row 2–3 ft off walls to prevent scalloping. Angle adjustable heads 25–35° to graze art or textured plaster without hot spots, and keep beam spreads overlapping at the work plane. For natural light integration, align fixture rows parallel to window walls and dim daytime zones to match daylight, preserving contrast control.
Choose Ceiling Fixtures for Even Coverage
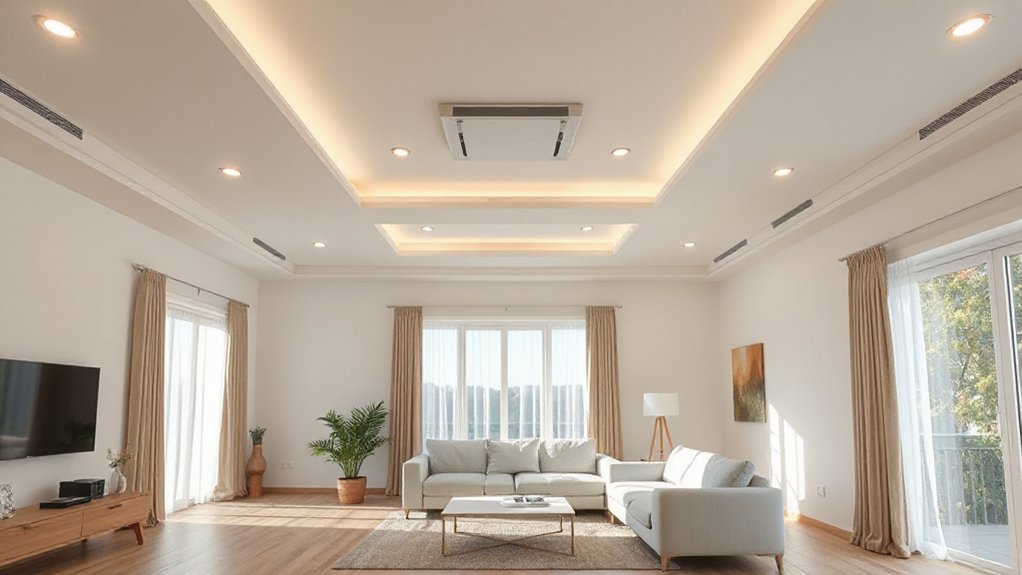
How do you get clean, shadow-free light across a room without flattening its character? Start by matching output and distribution to the ceiling plane. Favor wide-beam flush mounts or low-profile drums for low ceilings, and semi-flush or compact chandeliers when you need controlled sparkle without harsh cutoffs. Use opal diffusers or micro-prismatic lenses to soften glare while keeping contrast in textures and artwork. For open plans, choose multi-source fixtures with balanced emitter placement to prevent scalloping on walls. Compare Ceiling fixture styles by photometry, not looks alone: check delivered lumens, beam angle, and UGR data. Prioritize fixture durability with metal housings, tight seams, stable driver specs, and serviceable LED modules.
Add Task Lights Where You Work
After you’ve set even ambient coverage, you’ll get the biggest clarity boost by adding task lights exactly where you work—at prep counters, vanities, desks, and reading chairs. You’ll choose fixtures that match the job and the look: under-cabinet LED bars for clean lines, adjustable-arm lamps for flexible focus, or slim pendants for tight beam control. You’ll then position each light to land on the work surface at the right height and angle, minimizing shadows and glare while keeping the layout visually balanced.
Identify Key Work Zones
While a well-lit room can look balanced at a glance, it won’t perform well until you map the exact work zones—prep counters, sinks, desks, vanities, reading chairs, and tool benches—and layer task lighting directly over them. Walk each space at its real use times, note where your hands land, and mark sightlines that create shadows on the work surface. Measure counter depths, mirror heights, and seated eye levels so you target light to the task plane, not the floor. Track how daylight moves; preserve natural illumination for daytime work, then reinforce it after dusk without flattening the room’s ambient glow. Finally, separate circulation areas from task areas so you don’t overlight paths while underlighting precision spots.
Choose Proper Task Fixtures
Once you’ve pinpointed each work zone and its task plane, choose fixtures that aim light exactly where your hands and eyes need it, with tight beam control and minimal glare. Under-cabinet LED bars, slim linear pendants, and adjustable-arm sconces give you controlled, sculpted illumination without visual clutter.
Match Color temperature to the activity: neutral 3500–4000K for prep, slightly warmer 2700–3000K for paper-based tasks, and keep CRI 90+ so materials read true. Specify optics that shape the beam—narrow for detail work, wider for broad counters—while shielding the source with louvers or recessed diodes. Prioritize Light diffusion via frosted lenses or microprismatic covers to soften hot spots, preserve contrast, and maintain a clean, gallery-like finish in your sightlines.
Position Lights For Precision
Even if you’ve specified the right task fixture, its placement determines whether the light lands cleanly on the task plane or gets lost to bounce and glare. Treat lighting fixture placement like drafting: aim, shield, and offset. Over a kitchen counter, mount under-cabinet strips at the front third so your hands don’t cast shadows; add a small diffuser to cut diode sparkle. At a desk, set the lamp opposite your writing hand and keep the beam 30–45° off-axis to reduce screen reflections. In vanity zones, flank the mirror at eye height to model faces evenly, not from above. Maintain light color coordination across adjacent zones—match CCT and tint—so task pools feel intentional, not patchy. Use dimmers to fine-tune contrast.
Use Accent Lights to Highlight Features
Because ambient lighting can flatten a room’s visual hierarchy, you’ll get a sharper, more curated look by layering accent lights that target specific features—artwork, textured walls, millwork, shelving, or architectural niches. Use Accent lighting techniques like adjustable gimbal downlights, picture lights, and mini track heads to control beam spread and glare.
Aim for 3:1 to 5:1 contrast over surrounding illumination to make feature highlighting read intentional, not harsh. Set tight beams (10–25°) for art and objects, and wider beams (30–60°) to graze stone, fluted panels, or ribbed plaster, revealing depth. Mount fixtures so light skims at shallow angles, and shield the source with baffles or snoots. Choose high CRI (90+) and consistent CCT to keep finishes accurate.
Fix Dark Corners With Vertical Lighting
Accent lighting gives your focal points punch, but a room still looks underlit if the corners fall into shadow and the walls read flat. To correct Dark corners, build a vertical lighting layer that washes planes from floor to ceiling, not just the tabletop. Place slim uplights behind a sofa, in plant pots, or beside casework to send a controlled beam upward and widen perceived volume. Add wall grazers or linear LED in a shallow channel to rake textured paint, stone, or slats, revealing depth without clutter. Aim fixtures slightly toward adjacent walls to avoid hot spots, then mirror the treatment on opposite sides for symmetry. You’ll get cleaner edges, brighter circulation paths, and more balanced contrast throughout.
Choose Bulbs: Lumens and Color Temperature
While fixture placement defines the geometry of your light, bulb choice determines how bright and how believable the room feels. Use lumens, not watts, to size output: target 800–1,100 lumens for task zones, 450–800 for ambient layers, and higher only where contrast is intentional. Keep beam spread consistent with the optic; a narrow flood can create harsh hot spots, while wide distribution smooths surfaces and reduces glare.
Dial in color temperature to materials. Choose 2700–3000K to flatter wood, textiles, and skin tones; pick 3500K for crisp kitchens; reserve 4000K+ for utility spaces. Maintain high CRI (90+) so paint reads true. Prioritize Energy efficiency with quality LEDs, and check Bulb longevity ratings to cut replacement cycles.
Add Dimmers and Scenes for Flexibility
Even if you’ve nailed fixture spacing and lumen targets, you’ll still want dimmers and preset scenes to tune the room’s contrast and mood across the day. Use dimming to compress glare, protect highlights on artwork, and keep wall-wash gradients smooth instead of harsh. Specify compatible drivers and bulbs so dim curves feel linear, not jumpy, and verify minimum-load requirements before dimmer switch installation.
Then layer scene setting options around tasks: a “Morning” scene at 70% with cooler CCT for clarity, an “Evening” scene at 25% to soften shadows, and a “Entertain” scene that boosts perimeter lights while trimming downlights. Calibrate each scene by eye against finishes—matte paint, glossy tile, and wood grain all reveal different sparkle and contrast.
Upgrade Switches: 3-Way, Motion, Smart
Once you’ve dialed in dimming and scenes, upgrade the switches that actually trigger them so the lighting feels intentional instead of fussy. Start with 3-way controls in halls and large rooms: replace mismatched toggles with a coordinated pair, or use a master + companion setup so both locations feel identical and respond the same. Choose low-profile paddles in matte finishes to reduce visual noise on the wall. Add occupancy or vacancy motion switches for utility zones; set timeouts and sensitivity so light pops on cleanly, then fades out without chatter. For smart models, prioritize neutral-wire support, high-quality relays, and local control options. Tie them into lighting automation so presets launch reliably, with consistent ramp rates and color temperature behavior.
Avoid Internal Lighting Layout Mistakes (Small Spaces Too)
Because lighting reads as architecture, a few common layout mistakes can make your rooms feel smaller, flatter, and harsher than they are—especially in tight footprints. Don’t center a single ceiling fixture and call it done; you’ll cast perimeter shadows and lose depth. Instead, layer: ambient for fill, task for work planes, and accent to model texture. Keep downlights off walls by 18–24 inches to avoid scalloping, and use wall-washers to stretch narrow rooms. In small spaces, skip high-glare bare bulbs; choose diffused sources with tight beam control and warm-dim. Align fixtures with furniture zones, not the room’s midpoint, and maintain consistent color temperature. Build Creative lighting themes with repeated aperture sizes, and pick energy efficient solutions like LED modules with high CRI and proper dimming.
Frequently Asked Questions
How Much Does a Whole-Home Lighting Layout Redesign Typically Cost?
You’ll typically pay $2,000–$15,000 for a whole-home lighting layout redesign, depending on fixture count, circuit rerouting, Smart controls, and Energy efficiency upgrades. You’ll refine beam angles, color temperature, layering, and dimming for cohesive ambience.
Do I Need an Electrician, or Can I DIY Most Upgrades?
You can DIY fixtures and smart bulbs, but you’ll need an electrician for new circuits, panel work, or code-tied changes. Prioritize DIY safety, seek professional guidance for load calculations, dimmer compatibility, clean mounting, glare control.
Which Lighting Changes Improve Resale Value the Most?
You’ll boost resale most by installing recessed LED ambient enhancement, adding dimmers, upgrading to warm high-CRI lamps, and selecting cohesive fixtures for aesthetic appeal. You’ll modernize kitchens/baths with under-cabinet lighting, balanced task layers, and smart controls.
How Do Lighting Choices Affect Sleep and Circadian Rhythms?
Cool, amber dusk-like light calms you; stark, blue-white glare jolts you. You boost Sleep quality by dimming evenings, shifting to 2700K, and avoiding screens, while bright 5000K mornings sharpen Circadian alignment.
What Are the Best Lighting Solutions for Renters Who Can’T Rewire?
You’ll get the best renter-friendly results with Smart bulbs in existing sockets and Portable fixtures like plug-in sconces, floor lamps, and under-cabinet LED bars. Add dimmers, tunable white, and high-CRI optics for cleaner color.
Conclusion
When you reform your internal lighting layout, you’re not just adding fixtures—you’re engineering comfort. Set room-by-room targets, layer ambient/task/accent light, and space ceiling sources for clean, even coverage. Specify bulbs by lumens and color temperature to control brightness and mood. Add dimmers, scenes, and upgraded switching for responsive control. Like drawing a light blueprint with ink made of glow, you’ll avoid harsh shadows, dead zones, and cramped-room glare.
About the Author