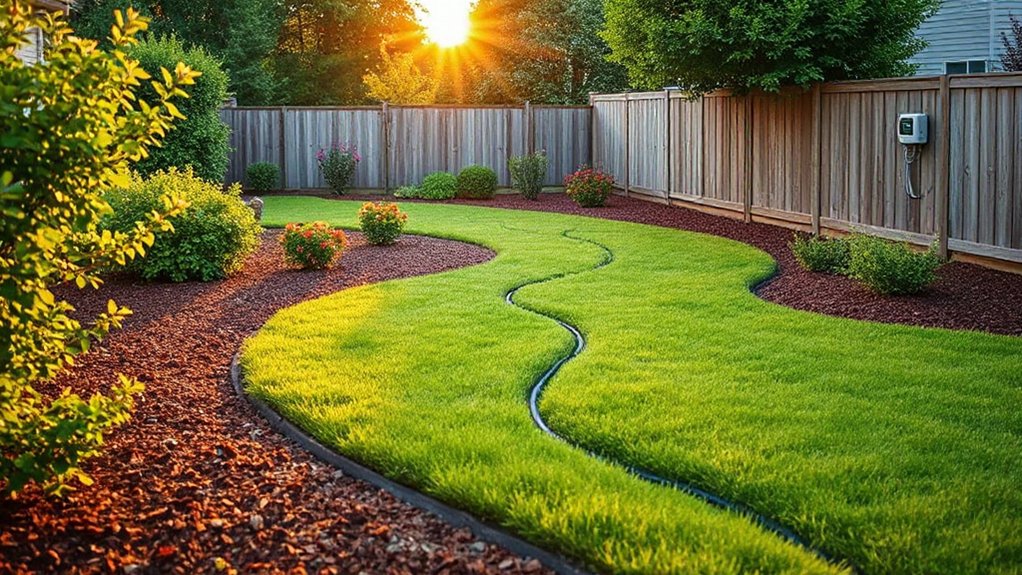
Design your yard to do the work for you: pull beds closer to the door, replace skinny lawn strips with wide mulched borders, and install drip irrigation zones before you plant. Pick zone-appropriate natives and drought-tough plants so you won’t be constantly pruning or replacing. Smother weeds with overlapped cardboard and 2–4 inches of mulch, then add ground covers to shade soil. Add sturdy edging and gravel-based paths, shrink unused lawn, and do a 15-minute weekly walk for quick fixes. Keep going for a simple setup plan and plant picks.
Key Takeaways
- Design for low upkeep: cluster beds near the door, add wide mulched borders, and use durable edging to stop grass creep.
- Choose resilient, zone-appropriate natives and drought-tolerant plants, and confirm mature size and sun needs to avoid constant pruning.
- Smother weeds with overlapped cardboard plus 2–4 inches of mulch, and use groundcovers to shade soil and block new seedlings.
- Automate watering with drip irrigation and timers, check emitters monthly, and reduce lawn by converting unused areas into beds.
- Do a 15-minute weekly walkthrough: weed edges, snip dead stems, clear paths, and rake mulch for fast, noticeable improvements.
Plan Your Yard to Reduce Weekly Chores

If you plan your yard with maintenance in mind from the start, you’ll cut down weekly chores without sacrificing curb appeal. Sketch your space and group needs: put high-traffic paths, bins, and spigots where you’ll use them, and keep demanding beds close to the door. Replace fussy lawn strips with wide mulched borders and defined edging to stop grass creep and trimming. Install drip irrigation zones before planting so watering runs on autopilot. Use Seasonal planting in clustered pockets you can rework quickly, not scattered singles that need constant attention. Leave a dedicated corner as a Wildlife habitat with layered shrubs, a small brush pile, and a water dish, so you’re not micromanaging “perfect” everywhere.
Choose Tough Plants for Your Climate Zone
Because your local weather sets the rules, choose plants that already thrive in your climate zone so you’re not stuck babying them through heat waves, cold snaps, or drought. Start by checking your USDA Hardiness Zone (and local heat zone if available), then match perennials, shrubs, and trees to it. Favor native plants since they’re adapted to your rainfall patterns, pests, and seasonal swings, which means less watering, fewer replacements, and minimal fuss. If summers run hot or water is limited, pick drought tolerant options with deep roots, gray or waxy leaves, or narrow foliage. Buy from local nurseries and read tags for mature size and sun needs, so you won’t be pruning constantly or relocating stressed plants later. Your yard stays resilient with less work year-round.
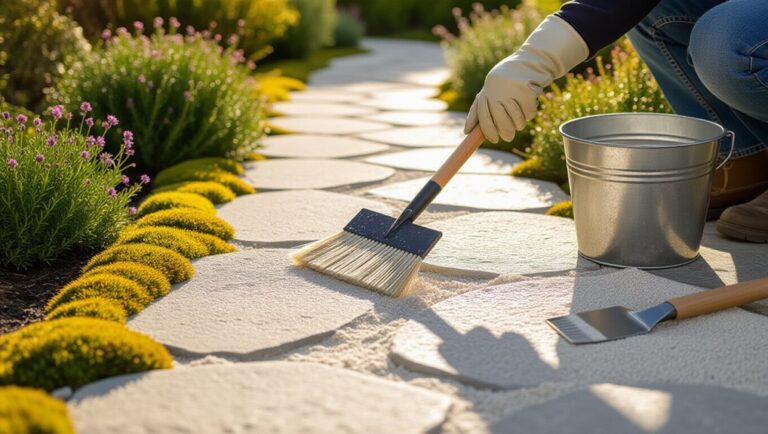
Build Weed-Resistant Beds With Mulch and Ground Cover
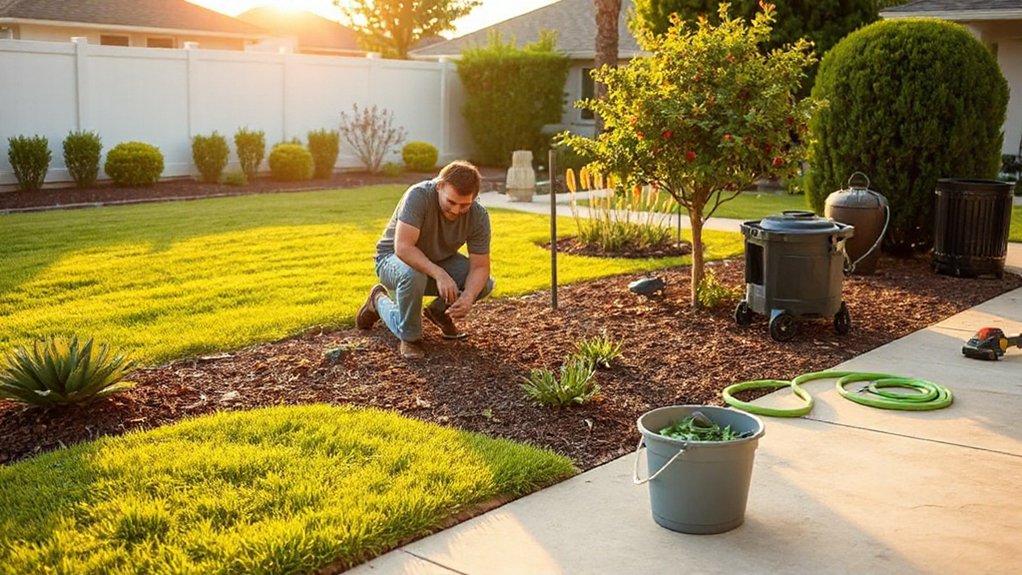
Tough, climate-ready plants already cut your workload, but weeds can still steal water and make even hardy beds look messy. Start by edging beds to define a clean boundary, then smother existing weeds with overlapped cardboard or 6–8 sheets of newspaper. Top it with 2–4 inches of organic mulch, keeping it a few inches off stems to prevent rot.
Use smart Mulch techniques: choose shredded bark for slopes, wood chips for trees and shrubs, and leaf mold for perennials. Refill when it decomposes to maintain depth. Then add ground cover options to close gaps: creeping thyme for sun, ajuga for part shade, sedum for dry spots, or native violets under shrubs. Dense cover shades soil and blocks new seedlings fast.
Pick Watering Systems That Run on Autopilot
Even with mulch doing much of the moisture-saving work, an autopilot watering setup keeps plants steady through heat waves and busy weeks. Choose automatic watering that matches your beds: drip irrigation for shrubs, perennials, and veggie rows, and micro-sprays only where you need wider coverage.
Run a simple test: measure your hose bib pressure and pick a pressure regulator, filter, and backflow preventer to protect emitters and plumbing. Lay mainline tubing along bed edges, then branch 1/4-inch lines to each plant, securing them with stakes. Set a battery or Wi‑Fi timer to water early morning, 2–3 shorter cycles instead of one long soak, and adjust seasonally. Check emitters monthly for clogs and flush lines once per quarter.
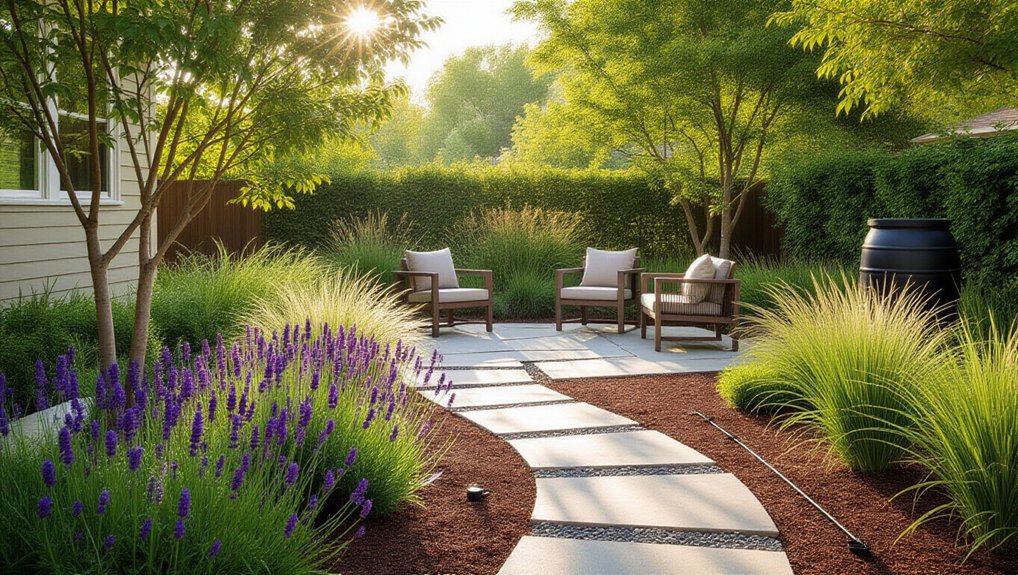
Shrink Your Lawn to Cut Mowing Time
Once your watering runs on autopilot, take the next biggest time-saver: reduce how much grass you have to mow. Start by measuring your Lawn size and identifying strips or corners that don’t get used. Convert those low-traffic areas to planting beds with shrubs, groundcovers, or perennial clumps that crowd out weeds once established. In sunny zones, consider a drought-tough native meadow mix; in shade, use mulch and shade-tolerant plants.
Aim for fewer, larger lawn panels instead of skinny patches that take extra passes. As your Lawn size shrinks, your mowing frequency drops, and you’ll also cut edging, fertilizing, and watering needs. Keep remaining turf where you actually walk, play, or host gatherings.
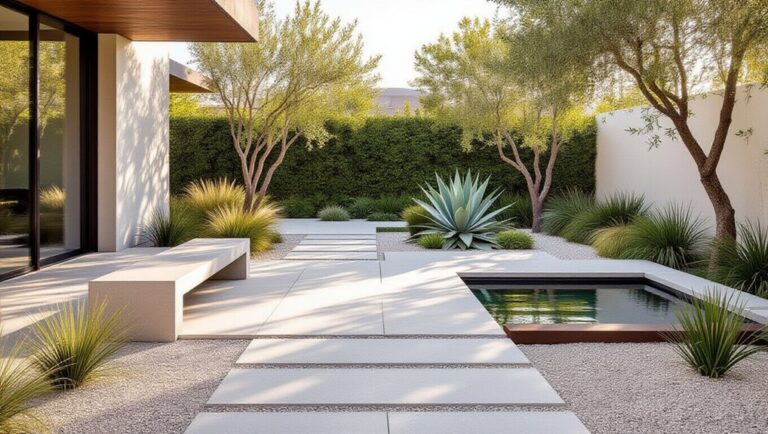
Add Edging and Paths That Stay Put
Lock your beds and hardscape in place with durable edging like steel, aluminum, or quality composite that won’t heave or crack. Build paths on a stable base—excavate, compact gravel, and add leveling sand—so pavers stay flat and don’t wander. Keep borders low-effort by blocking weeds with landscape fabric or a clean trench edge and spot-treating escapes early.
Choose Durable Edging Materials
If you want your beds and paths to look tidy without constant touch-ups, start by choosing edging materials that won’t shift, crack, or rot in your climate. Favor durable materials like steel, aluminum, concrete, brick, or stone in freeze-thaw zones; they resist heaving and mower bumps better than thin plastic. In hot, dry areas, avoid brittle PVC and untreated wood that warps and splits. For coastal yards, pick powder-coated metal or dense stone that won’t corrode or crumble.
Match your edging choices to the job: use taller profiles to block mulch creep, and smooth tops where you’ll run a mower wheel. Choose interlocking pavers or mortared brick for crisp lines, and flexible metal for clean curves.
Install Stable Path Bases
Because a path only stays level as long as what’s underneath it does, build every walkway on a stable, well-draining base instead of dumping gravel on bare soil. Excavate 4–8 inches, then compact the subgrade with a hand tamper or plate compactor. Add geotextile fabric to separate soil from base material, preventing sinking and rutting.
For stone pavers, spread 4–6 inches of compacted crushed stone in 2-inch lifts, then add 1 inch of bedding sand and screed it flat. Set pavers, check slope for drainage, and lock edges with rigid edging or a concrete curb. For gravel pathways, use 3–5 inches of compacted crushed stone base plus 1–2 inches of angular gravel topcoat; compact lightly so it stays put.
Control Weeds Along Borders
Even with a solid base under your paths, weeds creep in anywhere soil meets stone, mulch, or turf, so define those borders with real edging instead of relying on a shovel-cut line. Install metal, composite, or paver edging 1–2 inches above grade, and stake it every 18–24 inches so it can’t heave. For gravel paths, add a buried geotextile overlap at edges to block runners, then top-dress annually to keep stone tight.
Keep border strips dry and shaded weeds won’t love: lay 2–3 inches of mulch, or use herbicide alternatives like boiling water, vinegar spot sprays, or a flame weeder on calm days. Finally, crowd out gaps with native plant selection—dense groundcovers and bunch grasses that knit edges and self-maintain.
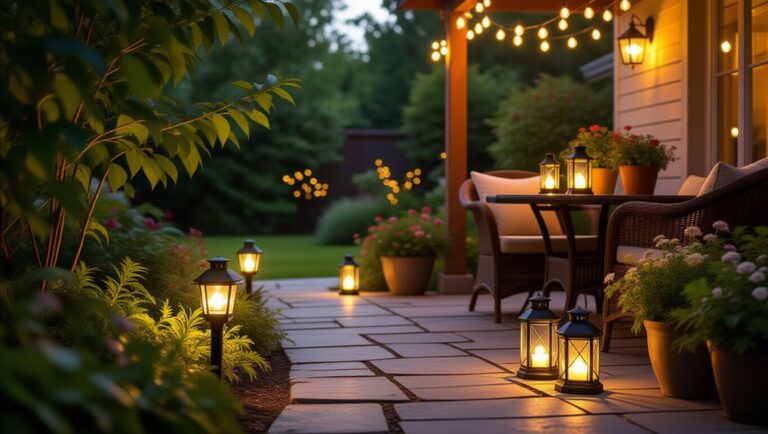
Follow a Simple 15-Minute Weekly Yard Routine
Set a timer for 15 minutes and do a quick weekly walkthrough, scanning for weeds, deadheads, clogged drains, and edging that’s creeping. Tackle fast spot-fix tasks first—pull a handful of weeds, snip spent blooms, rake stray clippings, and reset any shifted mulch or stones. This small, consistent routine keeps minor problems from turning into weekend-long chores.
Quick Weekly Walkthrough
When you give your yard a quick, consistent scan once a week, you’ll catch small issues before they turn into weekend-long projects. Walk the same loop: front beds, lawn, side yard, back borders, then hardscapes. Look for color shifts, drooping leaves, thinning turf, or soil cracks that signal water needs.
Next, check structure: scan tree stakes, edging, and irrigation heads for misalignment, and note any new lean or wobble after wind. Observe sun and shade patterns and whether your native species are thriving where they’re planted. Pause at flowering areas and listen for pollinators; healthy activity suggests your wildlife habitat is working. Finally, jot three observations on your phone so next week’s walk is faster and more consistent.
Fast Spot-Fix Tasks
After your weekly walkthrough flags the trouble spots, knock out a few high-impact fixes in a tight 15-minute session. Start with a 5-minute weed sweep: pull invaders before they seed, especially along edges and cracks. Next, do a 5-minute prune-and-tidy—snip broken stems, deadhead spent blooms, and cut back anything blocking paths. Finish with a 5-minute reset: rake mulch back over bare soil, tamp down lifted edging, and hose off hardscape stains. Keep a small bucket handy for clippings; follow composting tips by mixing “greens” (fresh weeds) with “browns” (dry leaves) to avoid smell. For instant polish, add quick garden art ideas like a repositioned pot or a single focal stone.
Frequently Asked Questions
How Do I Keep Pests Away Without Weekly Spraying?
You keep pests away by improving habitat, not weekly spraying: use companion planting, add natural repellents like neem or garlic, invite beneficial insects with flowers, remove hiding spots, and water mornings to reduce disease.
What Low-Maintenance Yard Ideas Work Best for Renters?
In a small apartment rental, you’ll get best results with portable planters, mulch, and drip kits. Choose Native plants and drought tolerant options, group by water needs, and use removable edging. You won’t fight landlords.
How Can I Make My Yard Look Good on a Tight Budget?
Start with cleanup, edge beds, and mulch using free leaves. Choose native plants to cut watering costs. Use composting techniques with kitchen scraps to enrich soil. Swap in gravel paths and inexpensive solar lights.
Which Tools Save the Most Time for Minimal-Effort Yard Care?
You’ll save the most time with automatic sprinklers, a mulching mower, and cordless trimmers. Add a leaf blower and a drip timer. Choose battery platforms you’ll share, and keep blades sharp so you’ll finish faster.
How Do I Reduce Seasonal Allergies Caused by My Landscaping?
You can cut landscaping allergies by choosing low‑pollen, Allergy friendly plants; studies show up to 40% of people get seasonal allergies. Swap dusty bark for seasonal mulch options like composted leaves, and prune before flowering.
Conclusion
You don’t need to live in your yard to love it. Plan beds and paths up front, then lean on climate-tough plants, thick mulch, and ground covers to keep weeds down. Set drip lines or timers so watering runs itself, and shrink the lawn so mowing’s quick. Lock it all in with solid edging. Stick to a 15-minute weekly check—pull a few sprouts, top mulch, trim—and your yard will look like it’s been pampered by a small army.