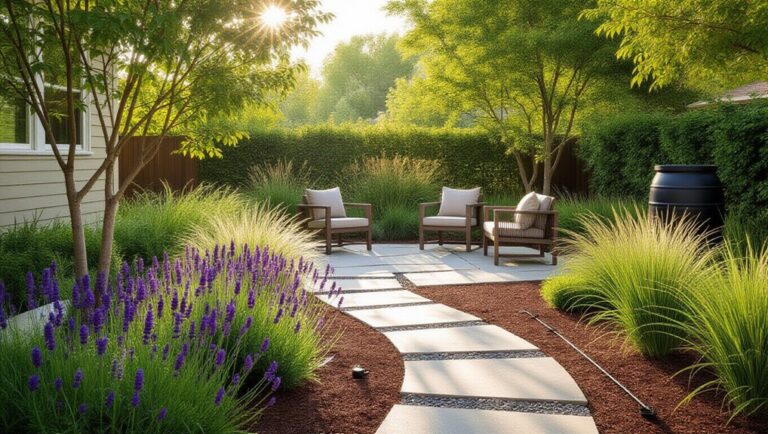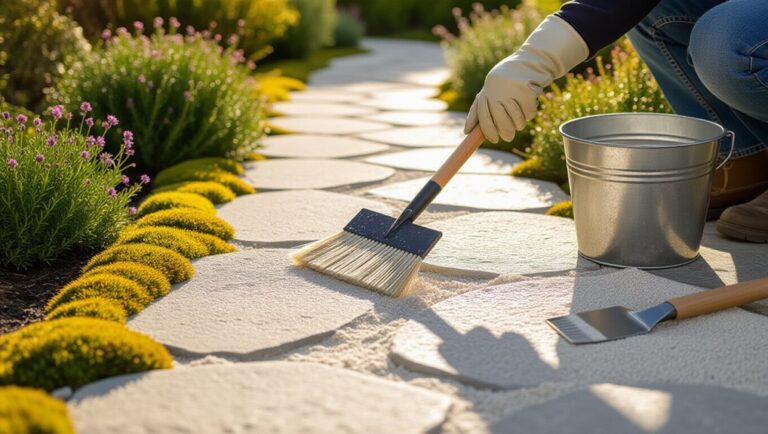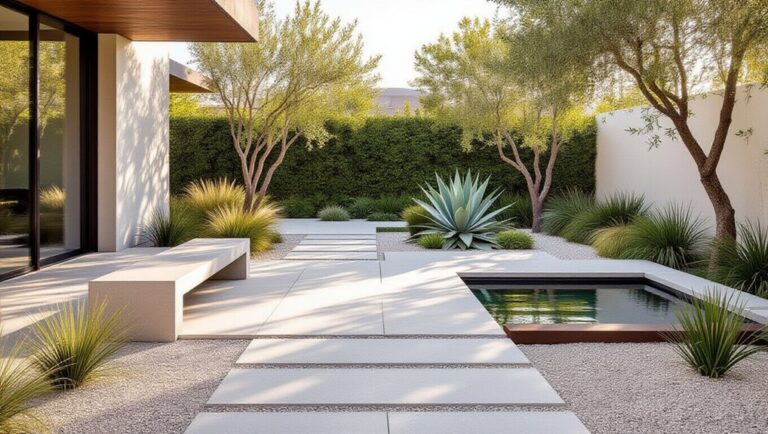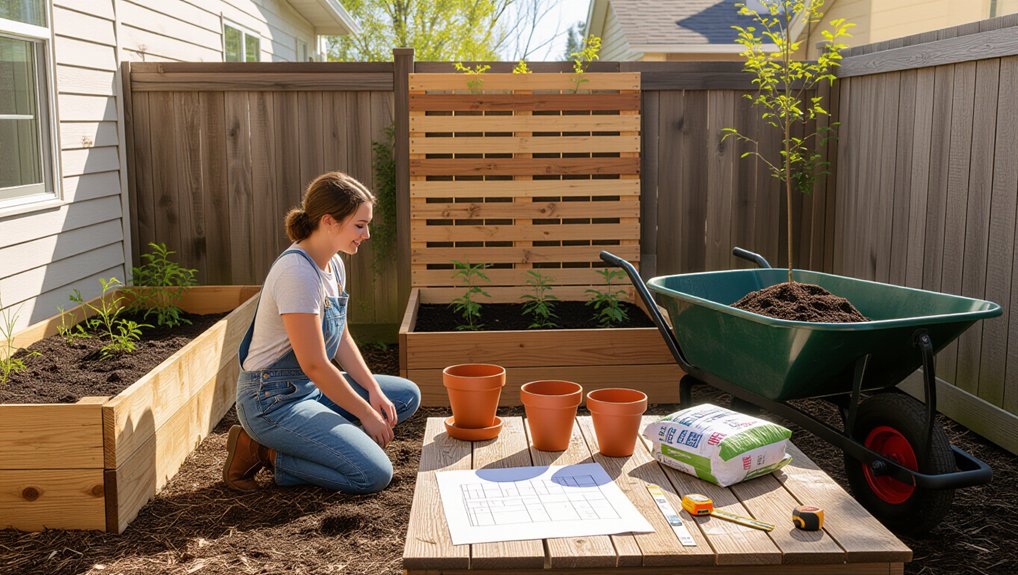
Start by setting a hard spending cap and add a 10% buffer, then break costs into line items (soil, irrigation, materials, plants, tools). Audit what you already have and tag items Keep, Move, or Replace. Measure square footage, track sun hours, and test drainage so you buy only what fits your site. Pick one priority (privacy, seating, curb appeal), sketch a simple scaled layout, DIY labor-heavy tasks, and time purchases for sales, bulk yards, and dormancy deals. Continue for a step-by-step plan.
Key Takeaways
- Set a hard budget with line items, add a 10% buffer, and prioritize essentials like soil, irrigation, and structural repairs first.
- Audit what you already have, tagging items Keep/Move/Replace, and reuse or relevel hardscape before buying new materials.
- Map sun, shade, and drainage, then place plants where they’ll thrive to avoid costly replacements and wasted effort.
- Measure areas and calculate material quantities by square footage or cubic yards to prevent overbuying mulch, gravel, or soil.
- Shop seasonally: buy end-of-season markdowns, consider bare-root plants in dormancy, and rent or borrow tools for heavy tasks.
Set a Realistic Budget (With a 10% Buffer)
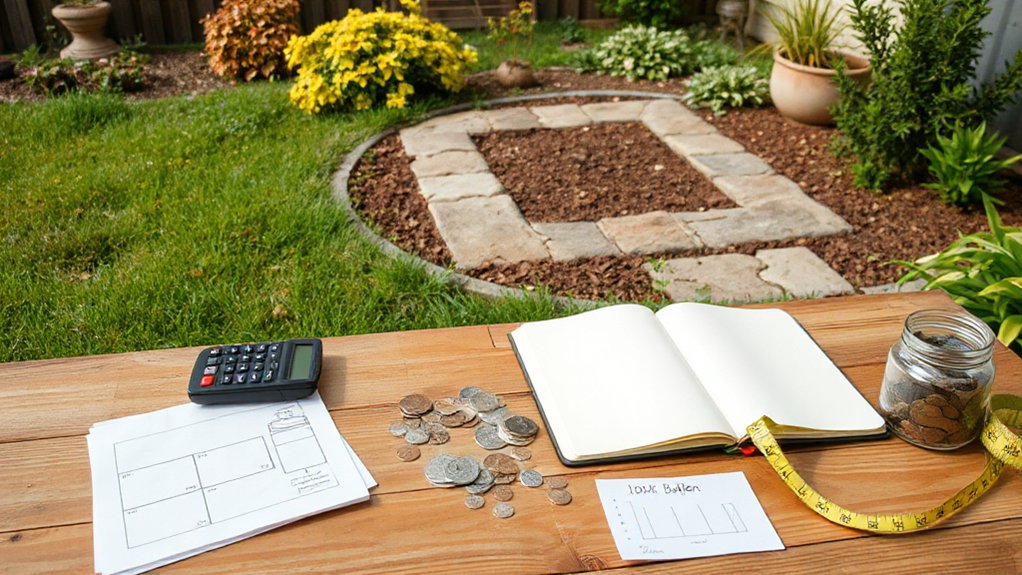
Before you buy a single plant, set a hard spending limit based on your available cash, then break it into line items—materials (soil, mulch, edging), plants, tools, delivery fees, and disposal—using quick price checks from local garden centers or online listings to anchor each estimate to real numbers. Add a 10% buffer as a separate line item for variance: price swings, extra compost, or replacement plants. Use measured quantities to price materials (cubic feet of mulch, bags of soil, linear feet of edging) and document assumptions. Prioritize functional spend first (soil improvement, irrigation fixes), then allocate the remainder to plants and garden decor. Plan seasonal planting in phases so costs distribute across months and you can stop at your limit without leaving gaps. Review totals weekly and adjust line items, not the cap.
Audit Your Yard: Keep, Move, Replace
With your line-item budget and 10% buffer set, you can now audit what’s already in your yard so you don’t pay twice for problems you can solve with relocation or reuse. Start with an inventory: hardscape, plants, irrigation, tools, and outdoor decor. Tag each item Keep, Move, or Replace based on function, condition, and cost-to-repair. For plants, check vigor, pest pressure, and root crowding; healthy perennials often outperform new installs when divided or transplanted. For materials, test stability of edging, pavers, and fencing; releveling and fastening usually beats replacement. Verify irrigation leaks and clogged emitters; simple fixes reduce ongoing garden maintenance costs. Replace only when safety, structural failure, or chronic disease makes reuse uneconomical. Document decisions and quantities for accurate sourcing.
Measure and Note Sun, Shade, and Drainage
Track your yard’s daily sun by checking the same spots in morning, midday, and late afternoon for several days and recording hours of direct light. Map shade cast by buildings, fences, and trees by marking shadow lines at those times, since fixed structures create repeatable patterns you can plan around. Then test drainage by timing how fast water drops in a small hole after filling it, and flag any areas that stay saturated or dry out quickly.
Track Daily Sun Patterns
Although you might feel ready to start buying plants, you’ll get better results by first mapping how sunlight and water actually move across your yard. Do sunlight tracking for 3–5 clear days. At 9 a.m., noon, and 3 p.m., mark where direct sun hits using flags or chalk, then record hours of sun per zone; this becomes your shade mapping baseline. Repeat after rain or irrigation: note where puddles persist after 2 hours, and where soil dries fastest. Use a simple grid sketch and label microzones (A1, A2) to reduce mistakes. If you can, verify with a phone compass and timestamped photos. You’ll match plants to light exposure and avoid wasting money on doomed placements later.
Map Shade From Structures
Because structures cast predictable shadows that can shift your planting zones by several feet, you should map shade from fences, sheds, walls, and trees before you buy anything. On a base sketch, mark north, then measure each structure’s height and distance to key beds. Use a sun-path app or a simple shadow-length check at 9 a.m., noon, and 3 p.m. to trace shadow edges; repeat in early spring and midsummer for seasonal contrast. Convert observations into “full sun,” “part shade,” and “full shade” bands using ≥6, 3–6, and <3 hours of direct sun. Place garden art and decorative pathways in persistent shade to avoid heat-stressed plantings and reduce irrigation demand. Update the map after pruning or new construction too.
Test Soil Drainage Areas
Once you’ve mapped where structures shade your beds, verify how water moves through those same zones so you don’t waste money on plants that can’t tolerate soggy or droughty soil. Run a simple percolation test: dig a 12-inch-wide, 12-inch-deep hole in each zone, roughen sides, fill with water, and let it drain fully. Refill, then time the drop in water level over one hour. You’re aiming for about 1–2 inches per hour; slower suggests compaction or clay-heavy soil composition, faster indicates sand or fill. Record results on your map. If drainage is poor, prioritize low-cost drainage solutions: add compost to improve structure, raise beds 6–8 inches, or route runoff with shallow swales.
Choose Your Makeover Priority (Privacy, Seating, Curb Appeal)
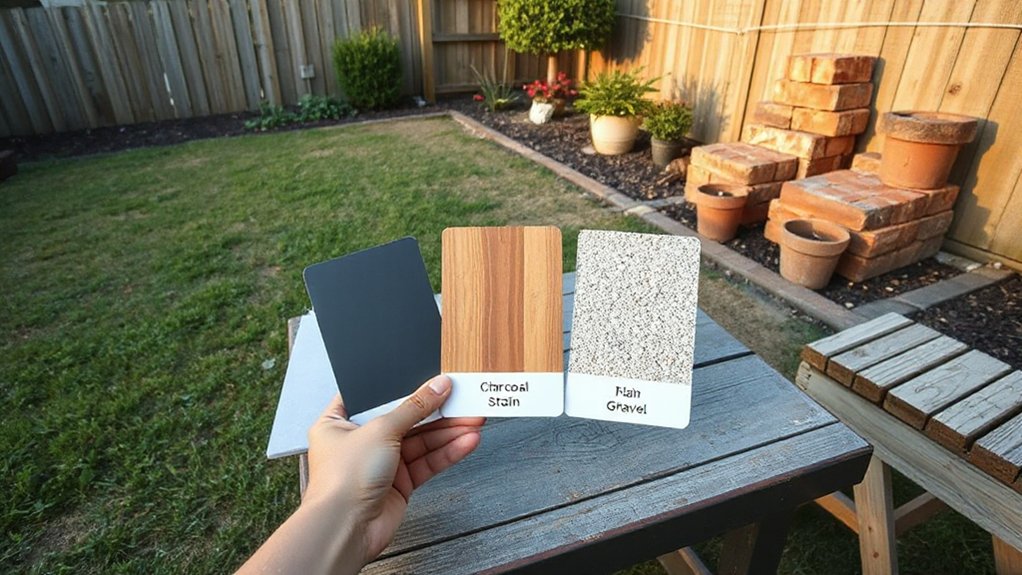
Set a single primary outcome for your makeover—privacy screening, functional seating, or curb appeal—because focused scopes reduce waste and rework. Rank your needs by impact using a simple scoring grid (use frequency of use, visibility, and cost-to-achieve) so you can justify each purchase. You’ll then allocate time and money to the highest-scoring items first and postpone low-impact upgrades.
Identify Your Main Goal
Before you spend a dollar or move a single plant, define one primary outcome for your garden makeover—privacy, seating, or curb appeal—so every decision supports the same performance target. You’ll reduce scope creep and prevent mismatched buys that don’t serve the same function.
If privacy is the goal, measure sightlines from windows, sidewalks, and neighbors’ decks, then map screening zones by height and seasonality. If seating is the goal, calculate usable area, circulation width, and sun/wind exposure to place a compact, stable surface. If curb appeal is the goal, standardize lines, edges, and focal points to strengthen garden aesthetics from the street. Align plant selection with your outcome: choose species by mature size, growth rate, maintenance load, and local hardiness to avoid costly replacements.
Rank Needs By Impact
Although you may want to fix everything at once, you’ll get a better result on a tight budget by ranking needs by impact and choosing a single makeover priority—privacy, seating, or curb appeal—so you can allocate money and labor where they produce the biggest measurable gain. Score each priority 1–5 for: daily use, visibility from key viewpoints, cost to implement, and maintenance load. Multiply daily use by visibility to estimate benefit, then divide by cost for a simple ROI. If privacy ranks highest, start with fast screens (trellis, tall grasses) before expensive fencing. If seating wins, level a compact pad and add shade to extend use hours. If curb appeal leads, target the entry sightline with structure and color; add native bloomers to improve garden aesthetics and wildlife attraction.
Sketch a Simple Layout Using What You Have
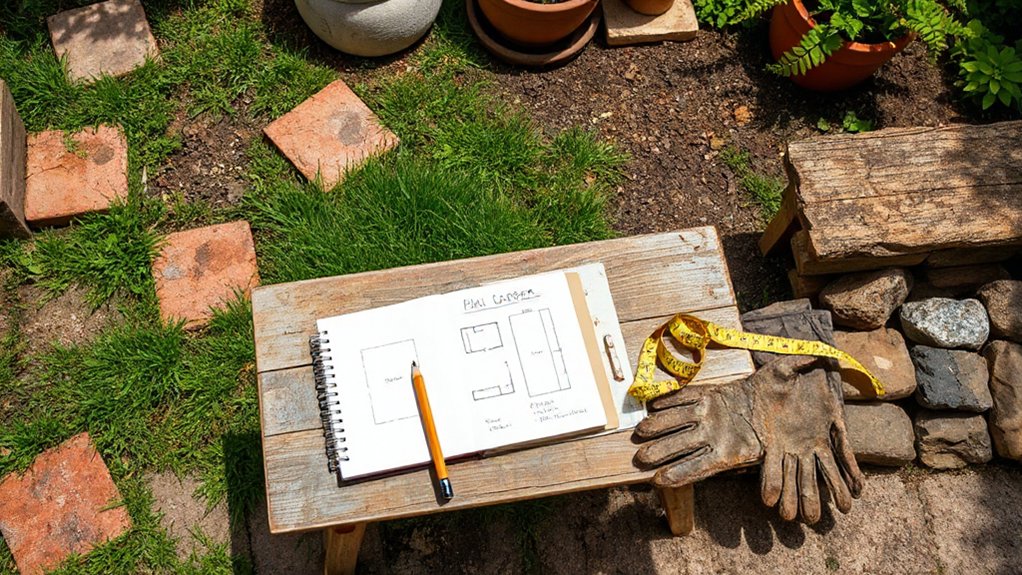
Since you don’t need design software to plan effectively, sketch a rough layout with whatever you already have—graph paper, notebook paper, or even the back of an envelope—then take quick measurements to keep it accurate. Use a simple scale (for example, 1 square = 1 foot) and outline fixed features first: house edge, fences, utilities, and existing trees. Next, map sun exposure by noting morning and afternoon shade; this predicts plant performance better than guesswork. Mark drainage lows after rain to avoid waterlogged beds. Place paths at least 30 inches wide for comfortable access. For container gardening, draw pot diameters and allow spacing for airflow. Reserve a corner for composting techniques: a bin footprint, turning clearance, and a direct route from kitchen to pile.
Spend on the Upgrades You’ll Notice Most
When your budget’s tight, you’ll get the biggest visual return by prioritizing high-impact upgrades over hidden fixes. Start with the sightlines you experience daily: entry path, patio edge, and main seating view. Allocate funds to one cohesive material change, such as fresh mulch or gravel, because uniform groundcover increases perceived order and contrast around plants. Next, upgrade lighting at focal points; a few warm LEDs improve nighttime usability with minimal wattage. Use Creative container ideas to add height and color fast—match pot sizes and finishes to reduce visual noise. Follow Sustainable gardening tips by choosing long-lived perennials, adding compost, and installing a simple drip line where you’ll water most. Measure, price per square foot, then buy only what fits the plan.
DIY the Parts That Cost the Most
If you want the biggest budget relief, DIY the labor-heavy tasks that drive most garden makeover invoices—demo, hauling, grading, and installation. Start by mapping quantities: measure square footage, calculate soil and mulch volumes, and estimate haul loads so you don’t over-order or under-haul. Use cost effective tools you can rent or borrow: a wheelbarrow, mattock, square shovel, tamper, and string line deliver contractor-level accuracy for base prep and edging. For grading, set a 1–2% slope away from structures and compact in lifts to prevent settling. Install hardscape and irrigation with manufacturer specs, then pressure-test lines before backfill. Finish by planting budget friendly plants yourself, spacing to mature size to reduce rework and replacement later.
Buy Plants and Materials for Less (Timing + Sources)
Although full-price garden centers make budgeting feel impossible, you can cut plant and material costs by treating purchases like procurement: buy in the right season, source from the lowest-cost channel for each item, and match quantities to actual coverage rates.
Target Seasonal plant deals: shop end-of-season markdowns, post-holiday perennials, and “last chance” racks after peak weekends. Buy bare-root trees and shrubs in dormancy for lower shipping weight and faster establishment. Use online gardening sources for price comparison and hard-to-find cultivars, but calculate true unit cost: item price + shipping divided by count or pot size. For hardscape, call landscape supply yards for bulk mulch, compost, and gravel; price per cubic yard usually beats bagged. Verify coverage (e.g., mulch at 3 in) before ordering to prevent overbuying.
Frequently Asked Questions
Do I Need Permits or HOA Approval for Garden Makeover Changes?
You might need permits or HOA approval, depending on scope and location. Check your city’s permitting process for grading, walls, irrigation, and structures. Review HOA regulations for visible changes. Document approvals before starting work.
What Basic Tools Should Beginners Buy Versus Borrow or Rent?
Buy a trowel, pruners, gloves, and tape measure; 70% of tasks need only hand tools. Borrow/rent a tiller, auger, and hedge trimmer. You’ll size Garden furniture and optimize Plant selection with accurate measurements.
How Can I Makeover a Garden if I Rent or Need Reversible Changes?
You’ll makeover a rental garden by using container gardening for mobility and temporary landscaping for reversibility: modular planters, pots, and trellises, peel-and-stick edging, mulch, solar lights, and removable drip lines; document changes to restore.
How Do I Keep Maintenance Low After the Makeover Is Finished?
Keep maintenance low by optimizing plant selection: choose drought-tolerant, slow-growing perennials, group by water needs, and mulch 5–8 cm. Install drip irrigation with a timer, limit lawn, and use durable garden decor to reduce upkeep.
When Should I Hire a Professional Instead of DIYING the Work?
Hire a professional when you face grading/drainage, retaining walls, electrical/irrigation, or permitting—errors raise failure risk. Use pros for garden design and plant selection if soil tests, sun maps, or codes exceed your skills.
Conclusion
You’ll get the best garden makeover on a tight budget by treating it like a simple project plan: lock in a realistic budget plus a 10% buffer, document sun/shade and drainage, then prioritize outcomes (privacy, seating, curb appeal). Reuse and relocate what’s serviceable before you replace anything. Invest in high-visibility upgrades and DIY the labor-heavy tasks to cut costs. Source plants and materials by season and salvage—remember, measure twice, cut once.
About the Author