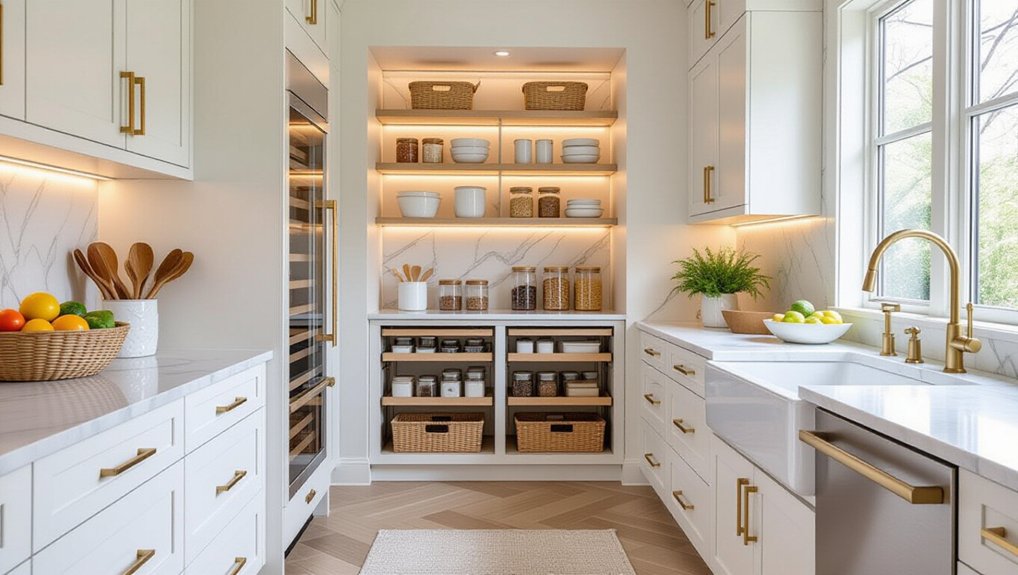
Design a stylish pantry by sizing shelves to what you store: 10–12 inches deep for cans and spices, 14–16 for boxes and small appliances, with 8–10 inches of height for cans and 12–18 for taller items. Check door swing, outlets, and lift-up clearance before you build. Zone shelves for prep, cooking, baking, and snacks, keeping daily staples at eye level. Add pull-outs, door racks, and matching labeled containers for a clean, modern look. Keep going for more smart upgrades and styling tips.
Key Takeaways
- Measure shelf depth and height by item type so everything fits, clears doors, and lifts out without scraping above.
- Plan functional zones (prep, cooking, baking, snacks) and keep daily staples at eye level for faster, cleaner workflow.
- Choose smart shelving: adjustable shelves, corner solutions, and pull-out drawers with soft-close slides to maximize access and space.
- Match materials to style and durability—melamine for bright tight alcoves, rustic wood for warmth, wire for visibility and airflow.
- Elevate the look with uniform clear containers, consistent labels, trays, and a quick daily reset to keep shelves intentional.
Measure Pantry Shelving Depth, Height, and Clearance
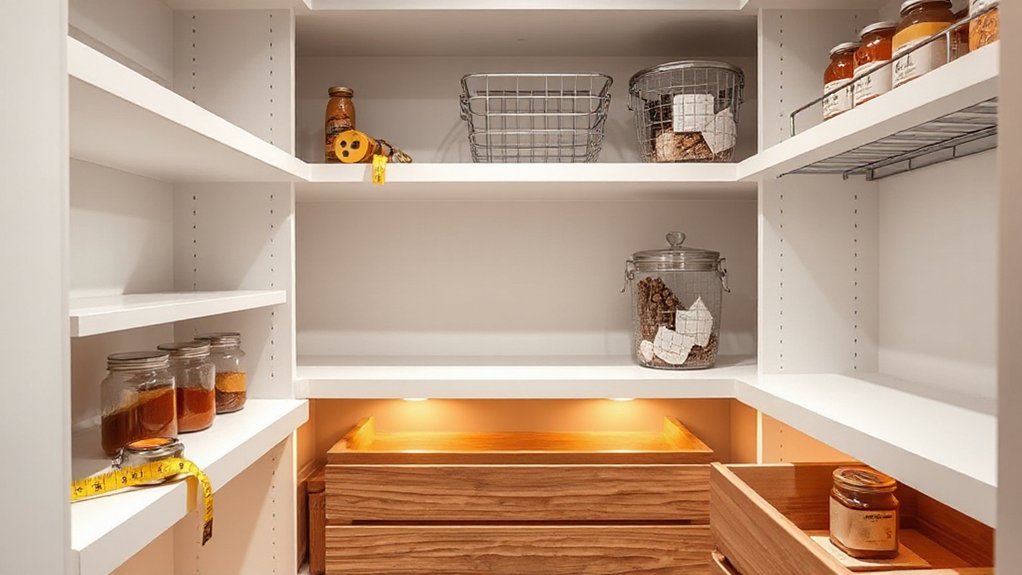
Before you order bins or commit to built-ins, measure your pantry’s shelving depth, height, and clearance so everything fits—and stays easy to reach. Start with depth: 10–12 inches suits cans and spices; 14–16 inches works for cereal boxes and small appliances, but don’t go so deep that items disappear. Next, map Shelf height by category—8–10 inches for cans, 12–14 for boxes, 16–18 for small appliances—then confirm you can lift items straight up without scraping the shelf above. Do a clearance measurement for door swing, pull-outs, and baskets, especially in narrow pantries. Finally, note baseboard and outlet locations so shelves sit flush and lighting lines up cleanly.
Choose Pantry Shelving Types by Layout and Budget
Start by sizing up your pantry’s layout—reach-in, walk-in, or a tight corner—so you can pick shelving that fits your sightlines and traffic flow. Next, compare materials like solid wood, powder-coated wire, and melamine for the look you want and the weight they’ll realistically carry. Finally, balance cost and durability by investing in sturdier shelves and adjustable hardware where it counts, then saving on finishes or add-ons.
Evaluate Pantry Layout
Because your pantry’s footprint dictates what actually fits and functions, evaluate the layout first—walk-in, reach-in, or cabinet-style—and note door swing, depth, and any dead corners. Measure wall lengths, ceiling height, and clear aisle space so shelves don’t crowd movement or block bins. In a walk-in, plan an L or U run with staggered depths to keep sightlines open; add a shallow back wall for spices. In a reach-in, prioritize full-width adjustable shelving and pull-outs where the door won’t collide. For cabinet-style pantries, treat it like a vertical zone: everyday items at eye level, bulk low, seldom-used up high. Map outlet locations for small appliances and target lighting enhancement to support pantry aesthetics and easy labeling.
Compare Shelving Materials
Once you’ve mapped your pantry’s dimensions, door swing, and usable wall runs, match the shelving material to how that space needs to work and what you want to spend. For tight alcoves, melamine or laminate-coated boards keep lines clean and brighten dark corners, especially in white or warm greige. If you want a custom, furniture-like look in an open pantry, Rustic wood adds grain and warmth and pairs well with labeled baskets. For narrow shelves and high visibility, sleek metal wire improves airflow around produce and makes spills easy to spot; choose a matte black finish for a modern pantry moment. In humid homes, powder-coated steel or sealed plywood helps you keep things crisp, not clammy. Use matching edge banding for a built-in look.
Balance Cost And Durability
Even if you’re craving that custom, boutique-pantry look, your layout should decide where you splurge and where you save. Put luxury materials where you’ll see and touch them most: eye-level shelves, drawer fronts, and a countertop landing zone for decanting. In deep corners or high, rarely used spans, switch to budget friendly options like melamine, wire, or painted plywood, and reserve upgrades for trim or matching edge banding.
To keep durability high, size shelves to the load. Use thicker stock for small-appliance bays and bulk bins, add center supports on long runs, and choose adjustable standards only where your inventory changes. Finish with washable coatings and moisture-resistant liners so spills won’t shorten your investment.
Plan Pantry Shelving Zones for How You Cook
Plan your pantry like a mini kitchen line: create zones for prep, cooking, baking, and snacks that match your real workflow. Keep everyday staples at eye level and within arm’s reach, and push backup stock or rarely used gear to higher or lower shelves. Group ingredients by how often you grab them, so weeknight essentials stay front-and-center while specialty items live neatly in their own section.
Map Cooking Workflow Zones
Where do you reach first when you start cooking—oils and spices, a sheet pan, the pasta pot? Sketch that motion into zones before you set shelf heights. Place a “prep” zone near the door: oils, vinegars, salt, pepper, and cutting-board oils on a shallow, wipeable shelf. Create a “cook” zone at mid-height for sauté pans, stockpots, and lids with vertical dividers so you can grab fast. Set a “bake” zone higher with sheet pans in a rack and mixers on a pull-out tray. Use Smart storage like drawer bins for packets and slim risers for bottles. Finish with aesthetic accents—matching labels, warm wood trays, and matte-black brackets that look built-in.
Group Ingredients By Frequency
Once you’ve mapped your prep, cook, and bake zones, stock them by how often you actually reach for each ingredient. Keep daily staples—olive oil, salt, rice, pasta, oats—between waist and eye level so you can grab them fast. Put weekly items like canned tomatoes, broth, and nut butters one shelf up or down, and reserve top shelves for occasional baking mixes, specialty flours, and bulk backups.
Use ingredient categorization to prevent drift: create clear lanes for grains, proteins, snacks, and baking, then tighten shelf grouping with bins or risers so like items stay together. Store heavy jars low, decant messy powders into uniform canisters, and label fronts for quick scans. You’ll cook smoother and keep the pantry looking styled, not stuffed.
Upgrade Pantry Shelving With Pull-Outs and Door Racks
Ever wonder why a pantry still feels chaotic even after you’ve “organized” it? It’s usually because you’re stacking items on fixed shelves, then losing them in the back. Upgrade the function first: install Pull out drawers on lower shelves so you can glide cans, oils, and snacks into view without unloading everything. Choose soft-close slides for a quieter, premium feel, and size drawers to your deepest shelf depth for maximum retrieval.
Next, use Door mounted racks to capture wasted vertical space. Mount slim racks for spices, foil, bags, and small jars, keeping shelf real estate open for bulkier staples. Measure door clearance so racks don’t hit shelves, and anchor into solid framing to prevent sagging. You’ll cut clutter and speed up meal prep.
Style Pantry Shelving With Bins, Labels, and Color
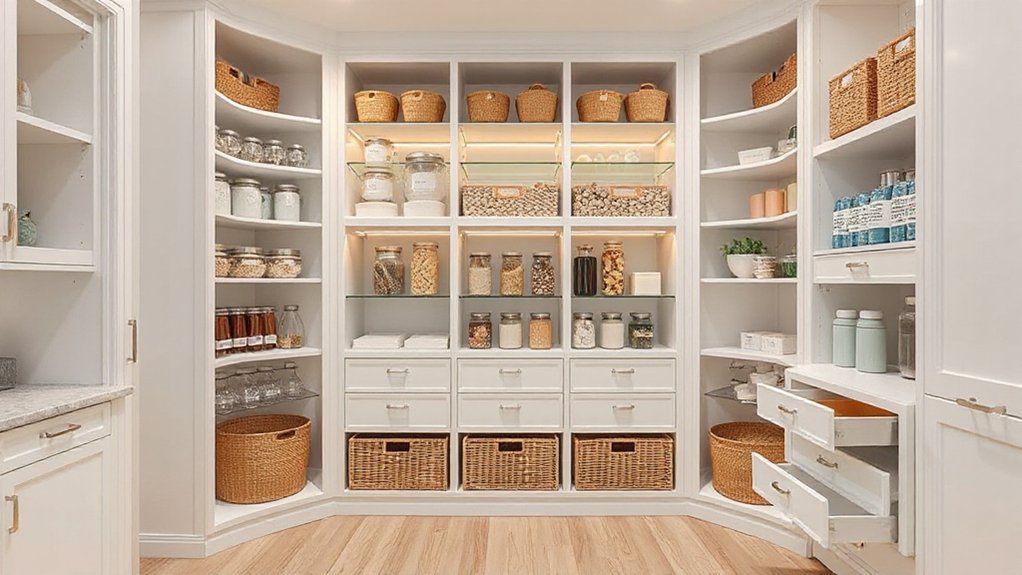
Although clever pull-outs and door racks fix the mechanics, your pantry only looks styled when you standardize what you see: decant staples into matching bins and clear canisters, then add crisp labels and a tight color palette. Choose two to three bin sizes so stacks stay even, and reserve lidded canisters for flour, pasta, rice, and snacks you want visible. For Color coordination, group packaging by hue—baking whites, breakfast warm neutrals, kids’ snacks brights—or hide loud boxes inside opaque bins. Use Label customization to match your kitchen’s vibe: minimalist sans-serif, small caps, or hand-lettered, always with category plus expiration month. Keep labels front-centered at eye level, and add a single accent tone via bin handles or shelf liners.
Keep Pantry Shelving Organized With a 10-Minute Reset
When you treat your pantry like a high-traffic zone, a fast daily reset keeps shelves styled and prevents the slow slide into clutter. Set a 10-minute timer, then start at eye level: face labels forward, pull half-used bags into bins, and return strays to their zones. Move down a shelf and stack like with like—cans by height, boxes by depth—so everything reads clean.
Next, wipe crumbs and check dates while you’re already there. Refresh pantry lighting by clearing anything that blocks LED strips or puck lights, then replace one or two decorative accents (a slim tray, a small jar) to keep the look intentional. Finish by noting one restock item and tossing packaging that won’t reseal.
Frequently Asked Questions
What Pantry Shelving Materials Resist Moisture and Warping Best?
You’ll get the best moisture and warp protection from stainless steel, powder-coated wire, PVC, and marine-grade plywood with sealed edges. These Moisture resistant materials deliver Warp resistant shelving, plus a clean, modern look and easy wipe-downs.
How Much Weight Can Different Pantry Shelves Safely Support?
You’ll safely support ~20–40 lb on MDF/particleboard, 50–100 lb on plywood, and 100–200+ lb on solid wood or wire; Shelf weight limits rise with spans. Add Structural reinforcement: cleats, brackets, more supports.
Do I Need Permits for Adding Built-In Pantry Shelving?
You usually don’t need permits for adding custom shelving inside an existing pantry, but you’ll need one if you move walls, add wiring, or alter structure. Check local codes/HOA rules before starting pantry organization upgrades.
What Lighting Options Work Best Inside a Pantry With Shelves?
In a dark pantry, bright solutions win: run LED strip lighting under each shelf for even, shadow-free glow, and add Motion sensor lights at the door for hands-free access. Choose warm-white, dimmable, low-profile fixtures.
How Can I Prevent Pests From Getting Into Pantry Storage Areas?
Stop pests by storing dry goods in Pest proof containers, wiping spills fast, and rotating stock. Block entry points with Sealant strategies: caulk gaps, add door sweeps, screen vents. Keep floors crumb-free, trash lidded, humidity low.
Conclusion
Even if you think your pantry’s too small to look stylish, smart shelving proves otherwise. You’ve measured clearances, picked a layout that fits your budget, and zoned shelves around how you cook—so everything lands where your hands reach first. Add pull-outs and door racks to turn dead space into storage. Finish with matching bins, crisp labels, and a tight color palette for a clean, on-trend look. Do a 10-minute reset weekly.
About the Author