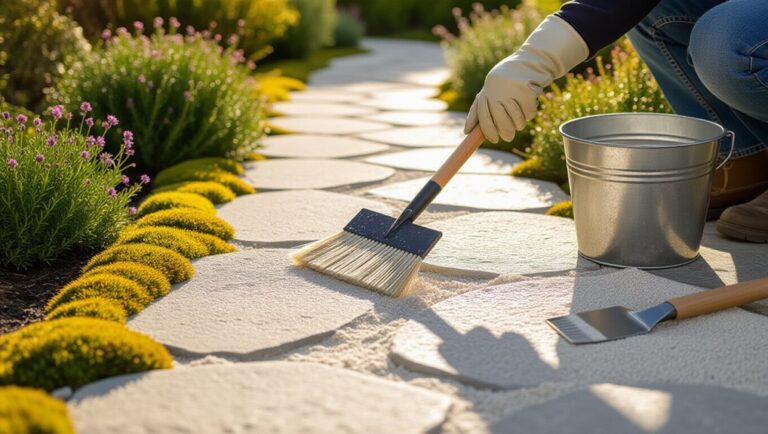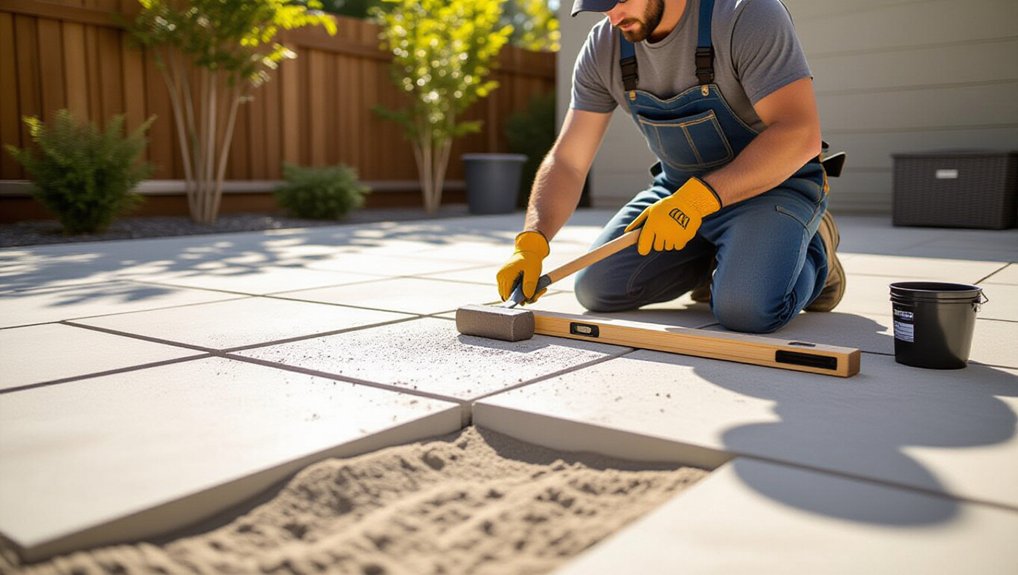
Mark trip points with chalk, check rocking corners, and measure offsets with a straightedge and level to map low spots and drainage issues. Clear the area, locate utilities, wear PPE, and set jacks on stable bases with hardwood cribbing. Lift the slab in small increments, then re-support it with compacted coarse, washed bedding sand or slab-jacking polyurethane foam (don’t mix systems). Reset slope away from structures, clean up, and monitor for settlement—next you’ll see how to choose materials and prevent repeat sinking.
Key Takeaways
- Mark trip points, measure offsets with a straightedge and level, and probe edges/joints for voids, washout, or poor base compaction.
- Fix drainage first: redirect downspouts, eliminate ponding, and ensure the slab slopes away from structures to prevent repeat settlement.
- Prep safely: clear the area, locate utilities, wear PPE, and lift slabs incrementally using slab lifters, jacks, shims, and cribbing blocks.
- Stabilize using one method: pack coarse washed bedding sand for broad support, or inject slab-rated polyurethane foam for precise, low-dig lifting.
- Finish by rechecking level after curing, removing debris, and monitoring cracks or settlement; re-pack sand or re-inject foam if needed.
Diagnose Why Patio Slabs Are Uneven
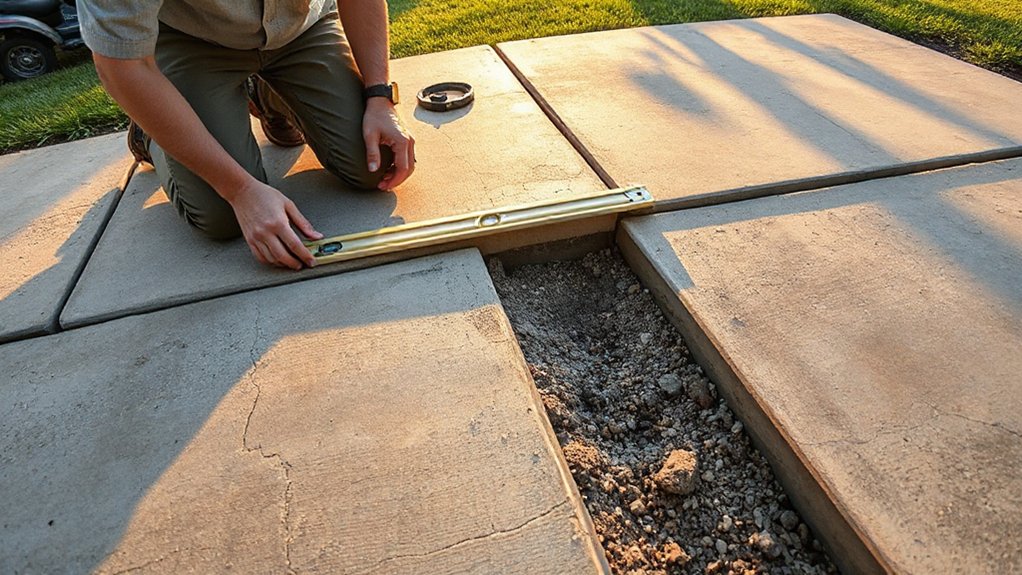
Before you try to level anything, you need to pinpoint what’s actually moving the slabs. Put on gloves, eye protection, and knee pads, then mark trip points with chalk. Check for rocking by stepping on each corner; note which edges lift. Measure elevation changes with a straightedge and level, and record the direction of slope.
Inspect joints and perimeter for Surface expansion: tight gaps, heaved edges near walls, or compressing sand can force slabs up. Probe along low spots with a screwdriver to find voids from washout or poor base compaction. Look for Weather influence: downspout discharge, pooling water, freeze-thaw spalling, and soil shrink-swell near planters. Confirm the water path during a hose test and photograph findings.
Decide If You Should DIY or Call a Pro
Start by checking each slab for vertical displacement, cracking, and voids that could create trip hazards or indicate base failure, and don’t DIY if the area is unstable or utilities may be affected. Next, list the tools and materials you’ll need, estimate your labor hours, and compare that total to quotes for mudjacking or slab leveling. If safety controls, time, or cost don’t pencil out, call a pro before you lift or inject anything.
Assess Damage And Risks
Although an uneven patio slab often looks like a simple lift-and-level job, you should first assess the damage and the risks so you don’t trap water against your foundation, create a trip hazard, or crack the slab during correction. Start by measuring the vertical offset at each edge and mapping the low points. Check for drainage issues: look for ponding, downspout discharge, and negative slope toward the house. Probe joints and edges with a screwdriver to spot voids, erosion, or pumping fines that signal poor soil stability. Inspect for structural cracks (widening, displaced edges) and spalling; mark them for monitoring. Verify utilities: locate gas, irrigation, or electrical runs under the slab. If the slab rocks, has major cracking, or sits over compromised fill, stop and call a pro.
Compare Costs And Time
Once you’ve mapped the offsets, drainage, cracks, and any signs of unstable subgrade, put numbers to the fix so you don’t spend a weekend (or a slab) on the wrong approach. Start a cost analysis: tally materials (poly sand, gravel, foam/polyjacking kit), tool rental, PPE, and disposal. Add a 15% overage for voids and breakage. Next, do a time comparison: include setup, lifting/leveling, curing, and cleanup, plus weather delays. If you can isolate one or two slabs, DIY usually fits in 4–8 hours. If you’ve got widespread settlement, trip hazards at entries, or utilities nearby, schedule a pro; they’ll finish in 1–3 hours and carry liability coverage.
Choose Sand vs Foam for Leveling Patio Slabs
Before you lift a single slab, decide whether you’ll level it with sand or with expanding foam, because that choice controls your tools, safety gear, and the tolerances you can realistically hit. Start your sand versus foam, leveling material comparison by checking the void size and exposure to washout. Choose sand when you need broad support, easy rework, and drainage; use clean, coarse bedding sand, not soil, and plan for minor future settling. Choose foam when you need precise lift with minimal excavation and you can seal edges to prevent blowouts; confirm it’s rated for slab-jacking and cures predictably. Next, set your target slope away from structures. Finally, pick one system and don’t mix materials under the same slab.
Tools and Prep to Lift Patio Slabs Safely
Before you lift any patio slab, you’ll stage the right tools: a long pry bar, slab lifters or suction cups, shims, a dead-blow mallet, and a level. Next, you’ll prep the site by clearing joints and edges, locating utilities, setting stable blocking points, and marking your target lift height. Finally, you’ll lock in safety—wear gloves and eye protection, keep hands out of pinch zones, and lift in small increments while you crib and re-check level.
Essential Lifting Tools
Because patio slabs can shift suddenly and crush fingers or crack under point loads, you’ll need the right lifting tools and a controlled setup before you pry anything up. Start with two 5–6 ft pry bars (or a digging bar plus a flat bar) so you can lift incrementally and share the load. Add a bottle jack or small floor jack only with a wide steel plate or 2x lumber pad for better material selection and reduced point pressure. Use composite shims or steel wedges to hold height as you re-position bars; never rely on the jack alone. Keep a short-handled masonry chisel to open a starting gap. Finish with a rubber mallet for seating. Check tool maintenance: straight bars, tight jack seals, and undamaged wedge faces.
Site Prep And Safety
Even if you’ve got the right pry bars and jack, you still need a controlled work zone so the slab can’t shift unexpectedly while you’re under load. Start with site clearance: remove furniture, planters, and loose pavers, then sweep grit so your tools don’t skate. Mark the lift edge and keep bystanders out with cones or tape.
Put on Protective gear: safety glasses, cut-resistant gloves, steel-toe boots, and hearing protection if you’re using power tools. Check for utilities and irrigation lines, and don’t work on saturated soil. Set the jack on a solid base plate, and crib the slab with hardwood blocks as you raise it in small increments. Never place hands under the slab; use a probe to guide fill.
Level Patio Slabs With Sand (Step-by-Step)
When your patio slabs rock, dip, or sit proud of the surrounding surface, you can re-level them by resetting each slab on a compacted sand bed instead of replacing the whole patio. Mark the target height and slope with a string line; address grading concerns so water sheds away from the house. Wear gloves, eye protection, and a dust mask. Pry up the slab with a flat bar and lift with help to avoid back injury. Scrape out old bedding and remove soft soil. Add 1–2 inches of coarse, washed sand; mist lightly and compact with a hand tamper. Screed the sand flat using a straightedge. Set the slab, tap with a rubber mallet, and check level and pitch. Fill joints with sand for aesthetic improvements. Recheck after rain.
Lift Sunken Patio Slabs With Polyurethane Foam
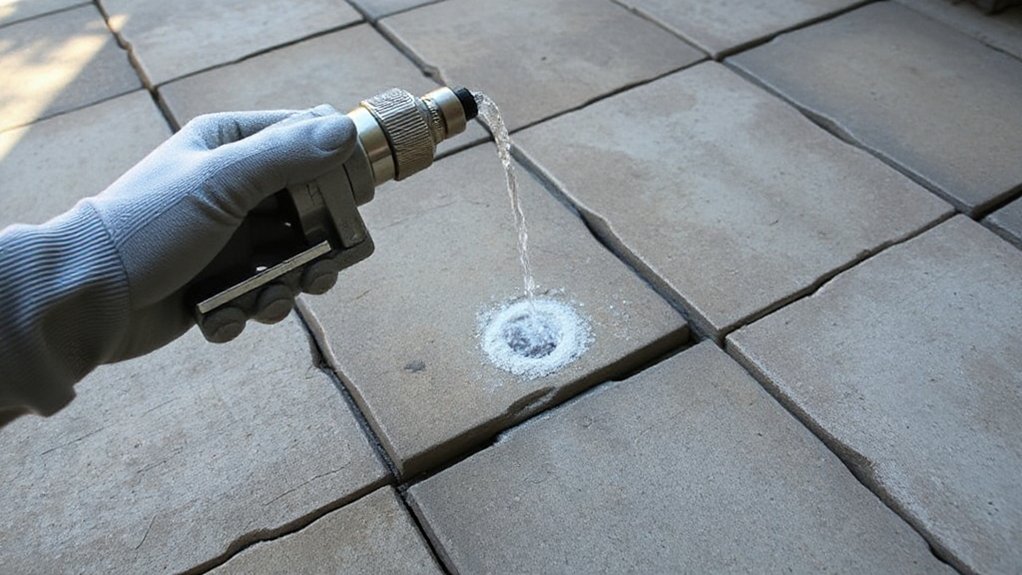
If your patio slab has sunk but still looks structurally sound, you can lift it by injecting expanding polyurethane foam through small drilled holes until the slab returns to grade. Mark the low area, then check for buried utilities before drilling. Wear eye protection, gloves, and a respirator, and keep bystanders clear. Drill 3/8–1/2 inch holes in a grid pattern, staying several inches from edges to reduce cracking. Insert the injection ports, then mix and pump foam slowly, starting at the lowest point. Pause frequently to let it expand, and monitor lift with a level and straightedge so you don’t over-raise. Patch holes with color-matched cement for clean patio design and outdoor decor continuity.
Stabilize Patio Slabs and Prevent Sinking Again
After you’ve lifted the slab back to grade with foam, lock that height in by controlling water and supporting the base so the soil can’t wash out or compress again. First, verify drainage: slope the surface 1/8–1/4 in. per foot away from the house, and clear gutters and downspout extensions. Next, seal joints and cracks with a flexible polyurethane sealant to block fines migration. Re-pack any opened perimeter gaps with compacted gravel, then add sand to tighten adjacent paver patterns. Install decorative edging or reset it so lateral movement can’t spread joints and invite erosion. Finally, monitor for voids: tap for hollow sounds, and re-inject foam at small ports if settlement starts. Wear gloves, eye protection, and knee pads throughout work.
Frequently Asked Questions
Can I Level Patio Slabs During Winter or Rainy Weather?
Yes, you can, but winter challenges and rainy weather raise failure risks. Wait for dry, above-freezing days. Clear ice, tarp the work area, use fast-setting materials, compact base thoroughly, and wear slip-resistant boots.
Will Lifting Slabs Affect Nearby Retaining Walls or Stairs?
Like walking on eggshells, yes, lifting slabs can shift loads. Check Retaining wall stability first: inspect cracks, drainage, footing. Then verify Staircase safety considerations: keep tread heights consistent, brace edges, recompact base, monitor movement.
How Long Before I Can Place Furniture Back on the Leveled Patio?
You can typically resume Furniture placement after 24–48 hours; wait 72 hours for heavy pieces. Step-by-step: verify leveling is stable, let fill cure, sweep joints, then test-load gradually. Follow Safety precautions: gloves, eye protection.
Are There Eco-Friendly Alternatives to Polyurethane Foam Leveling?
Why not go greener? You can use eco friendly materials like limestone screenings, recycled aggregate, or low-cement grout. Try alternative leveling methods: lift slabs, excavate, compact base, add fill, re-seat, seal joints safely.
Do I Need a Permit or HOA Approval to Level Patio Slabs?
You might need Permit requirements or HOA approval; verify first. Step 1: call your city/county building office. Step 2: read HOA CC&Rs. Step 3: document scope, drainage, access. Step 4: get written approvals.
Conclusion
Now you’ve diagnosed the cause, chosen sand or foam, and leveled each slab methodically. Double-check height with a straightedge, then compact and lock joints with polymeric sand to stop washout. If you used foam, trim flush and seal gaps. Regrade soil so water drains away, and keep downspouts off the patio. Work slow, wear gloves and eye protection, and never put fingers under a lifted slab—it can drop like a ton of bricks.
About the Author