Start by mapping puddles after a heavy rain and tracing runoff from downspouts, paths, or uphill neighbors, then redirect that water with pipe extensions or a shallow swale pitched 1–2% to a safe outlet. Run a quick drainage-hole test and probe for a compaction pan, then relieve it with hollow-tine aeration or a broadfork. Top-dress with 1–2 cm compost, keep mulch 5–7 cm deep, and fill minor low spots in thin lifts. Next, you’ll see how to add overflow storage without digging deep.
Key Takeaways
- Map puddles after heavy rain and run simple hole tests to pinpoint compaction, low spots, and perched-water layers.
- Redirect roof downspouts and hardscape runoff using solid pipe extensions and slight regrading to keep extra water out of beds.
- Relieve compaction with hollow-tine aeration or a broadfork, repeating annually to reopen pore channels without digging.
- Top-dress with 1–2 cm compost and build low spots in thin lifts, shaping a gentle slope to shed water away.
- Use breathable mulch 5–7 cm deep, kept off stems, and add shallow swales to guide surface water to a safe outlet.
Why Your Garden Stays Waterlogged
Although it looks like “too much rain” is the culprit, a waterlogged garden usually stays saturated because water can’t move through your soil profile fast enough. If your soil composition skews heavy clay, fine particles pack tightly, pore space collapses, and infiltration slows; water perches above dense layers and roots sit in hypoxic conditions. Compaction from foot traffic or repeated cultivation worsens it by sealing the surface and restricting gas exchange.
You’ll also see prolonged saturation when a shallow hardpan or abrupt texture change creates a perched water table. Plants then show yellowing, stunting, and root rot because feeder roots can’t respire. Start solving it by matching plant selection to wet tolerance while you improve structure with organic matter and gentle aeration.
Check for Runoff: Downspouts, Paths, Neighbors
Check where water enters your beds by tracing roof downspouts, hardscape edges, and any flow crossing the property line. You’ll protect root zones by redirecting downspout discharge to a drain line or rain garden and by regrading paths and patios to shed water away from planting areas. If a neighbor’s runoff concentrates on your side, you can intercept it with a shallow swale, curb, or inlet tied to solid drainage.
Redirect Downspout Discharge
When your garden stays soggy after a normal rain, start by tracing where roof water and surface runoff actually land. If downspouts dump beside beds, they saturate the root zone, reduce oxygen, and intensify Soil compaction from foot traffic on wet ground.
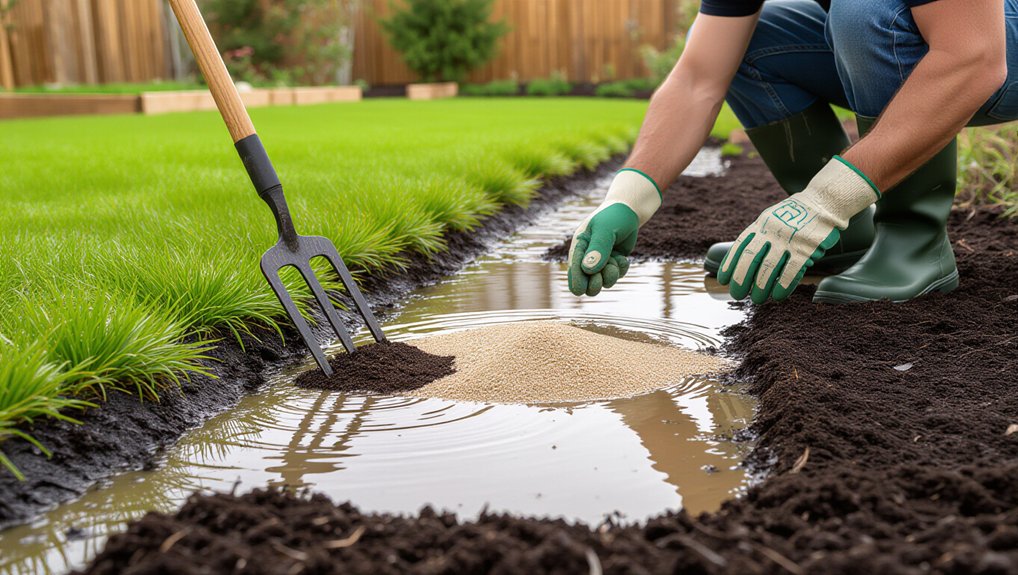
Redirect discharge with solid pipe extensions or buried tightline to a safer outlet: a lawn area, street curb (where legal), or a gravel-filled dispersion trench set away from trunks and crowns. Add a leaf screen and cleanout so flow stays reliable. If you want Rainwater harvesting, connect a sealed diverter to a rain barrel or cistern, then overflow to the same tightline so storms don’t backflood. Keep outlets 6–10 feet from foundations and 3+ feet from plant stems to prevent rot.
Regrade Paths And Patios
Redirecting downspouts fixes one major source of saturation, but hard surfaces can still funnel sheet flow straight into your beds. Inspect paths and patios during rain: if water hugs the edge and runs toward plantings, you need Path regrading or patio leveling to restore positive drainage away from roots.
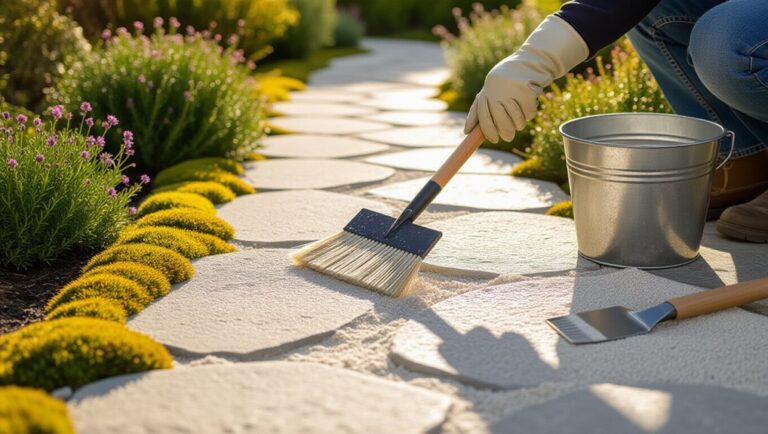
For Path regrading, loosen and add compactable base (decomposed granite or crusher fines) to create a 1–2% cross-slope that sheds water to a safe outlet, then compact in thin lifts. Keep the high edge slightly above adjacent soil so runoff can’t spill into beds.
For patio leveling, reset low pavers or add a thin screed to eliminate birdbaths and direct flow toward a gravel strip or catch basin. Protect crowns and reduce anaerobic stress.
Address Neighbor Runoff
Even if your own drainage upgrades work perfectly, uphill runoff from a neighbor’s downspouts, swales, or hardscapes can still overload your root zone and keep soils saturated. During storms, walk the boundary and trace flow lines, splash zones, and sediment fans. If a downspout discharges toward you, propose an extension to a tightline or dry well on their side. Where runoff crosses a shared path, add a shallow, vegetated berm as a Water barrier and stabilize it with deep-rooted grasses and fibrous shrubs. Then intercept sheet flow with a Rain garden sized to the contributing area, using layered media and overflow to a safe outlet. Protect woody plants by raising planting rings or moving crowns above the wettest zone.
Map Puddles After Rain (10-Minute Survey)
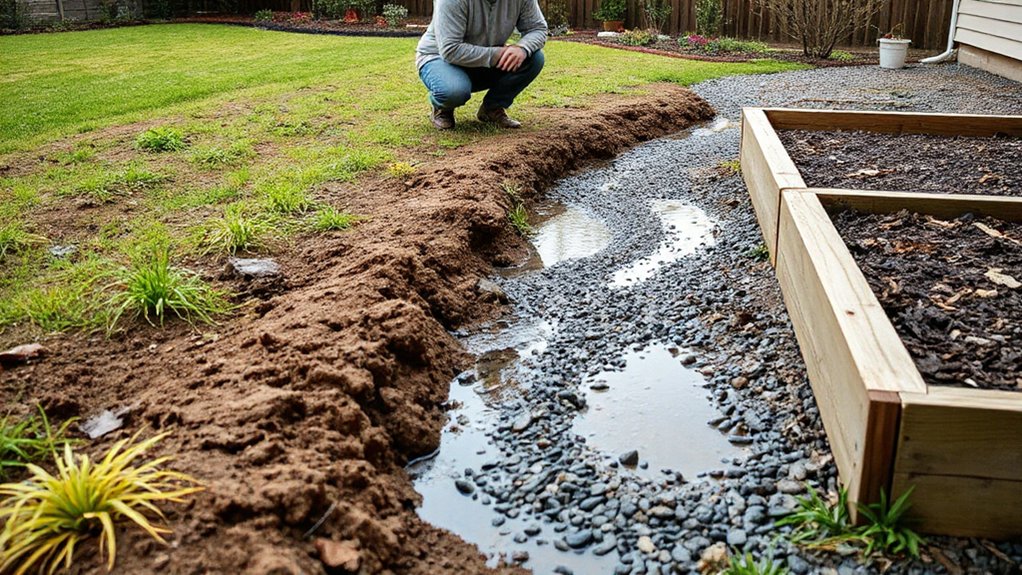
After a solid rain, grab a notepad or use your phone and do a quick 10-minute walk-through to mark every puddle and soggy patch in your garden. Note depth, size, and how water spreads from downspouts, paths, or compacted lawn. This puddle survey reveals micro-topography: low bowls, hardpan zones, and flow corridors that starve roots of oxygen. Flag areas where perennials show yellowing, stunting, or crown rot, and where turf thins or moss dominates. Sketch arrows for runoff direction and circle spots that stay shiny or squishy longest. Then match patterns to plant-led fixes: shift moisture-loving natives to wet zones, reserve higher ground for drought-tolerant species, and target the wettest basin for a Rain garden. Keep notes for comparisons after storms.
Do a Simple Drainage Hole Test
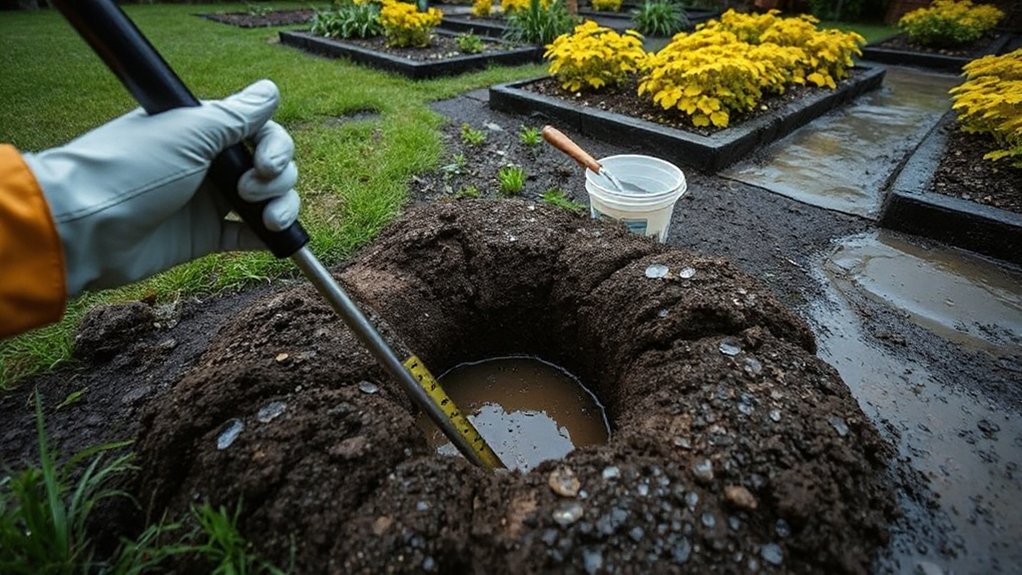
Before you start moving soil or installing drains, run a quick drainage hole test to see whether your plants are fighting a perched water table, compaction, or naturally slow subsoil. Choose a representative soggy spot near stressed roots, dig a 12-inch-wide, 12-inch-deep hole, and roughen the sides so water can move laterally. Fill it with water twice; the first soak pre-wets the profile. Refill and time the drop in water level. If it drains faster than 2 inches per hour, surface puddling likely comes from grading or localized thatch. At 1–2 inches per hour, tolerateable for many shrubs, you’ll still need raised planting zones. Under 1 inch per hour signals restrictive subsoil—keep beds clean with Plant pruning to boost airflow and reduce Garden pests drawn to damp foliage.
Fix Compaction With Targeted Aeration
Your drainage hole test tells you when the real bottleneck is compaction—a dense layer that blocks root penetration and slows water movement even when the subsoil isn’t inherently slow. To confirm soil compaction, push a screwdriver or soil probe down; sudden resistance at a consistent depth flags a pan.
Use targeted aeration techniques rather than broad digging. In turf, run a hollow-tine aerator when soil is moist, not wet, and make two passes at right angles to open continuous channels. In beds, use a garden fork or broadfork: insert tines vertically, rock back slightly to fracture the layer, then lift out without turning soil. Work around perennials’ drip lines to protect feeder roots. Repeat annually to keep pores open and restore oxygen diffusion.
Top-Dress to Help Soil Drain (No Digging)
When you need better drainage but can’t disturb established roots, top-dressing lets you improve soil structure from the surface down. Apply 1–2 cm of screened compost or leaf mould as organic matter over the root zone, keeping it 5 cm back from stems and crowns to prevent rot. Follow with a thin layer of sharp sand or fine grit only if your soil already has some structure; otherwise, focus on compost-based soil amendments that build stable aggregates. Water lightly to settle particles into pores, then mulch to buffer rainfall impact and reduce surface sealing. Repeat seasonally, targeting drip lines of shrubs and perennials. Over time, you’ll increase macroporosity, boost earthworm channels, and improve oxygen diffusion for roots.
Use Gypsum for Clay: When It Actually Works
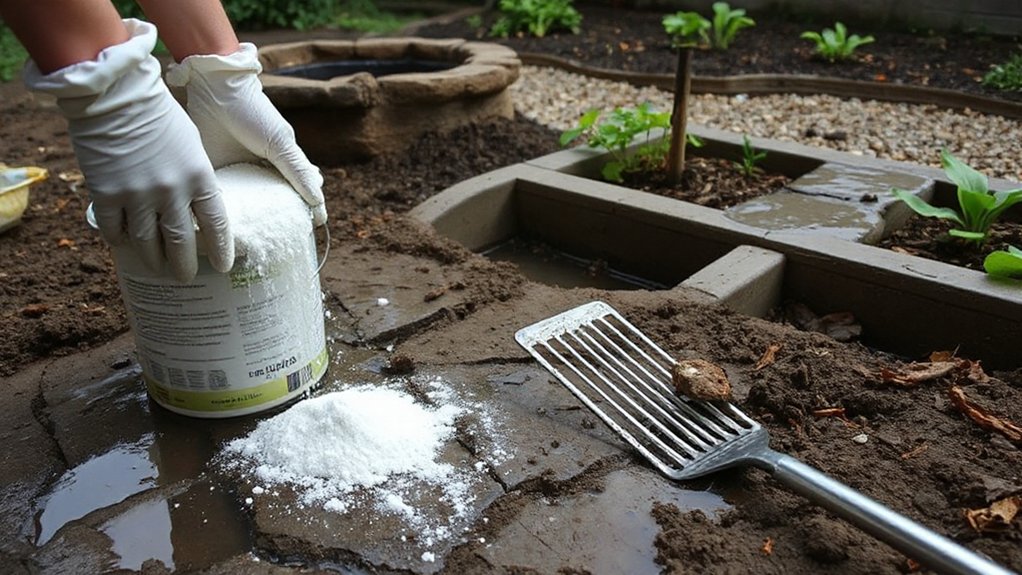
Although gypsum gets recommended for “fixing” heavy clay, it only improves drainage in specific clays where excess sodium has dispersed soil particles and collapsed pore spaces. You’ll see results mainly in sodic Clay soil, often indicated by crusting, poor structure, and water that puddles after light irrigation. Confirm with a soil test reporting high sodium or high ESP; otherwise, gypsum won’t create lasting pores.
For effective Gypsum application, spread the labeled rate evenly and irrigate to move calcium into the root zone. Calcium replaces sodium on exchange sites, allowing aggregates to reform, which increases Water infiltration and oxygen for roots. Pair gypsum with other Soil amendments only after testing, and avoid overapplying; excess salts can stress sensitive perennials and seedlings. Monitor infiltration after storms and adjust.
Mulch That Won’t Trap Water Around Plants
If you use mulch strategically, it sheds rain, buffers soil temperature, and suppresses weeds without sealing the surface or keeping crowns and stems damp. Prioritize mulch selection that maintains pore space: shredded bark, pine fines, or arborist wood chips outperform dense, matted leaf mold in soggy beds. Keep depth to 5–7 cm; thicker layers can reduce oxygen diffusion and increase anaerobic stress on roots. Pull mulch back 5–10 cm from stems, crowns, and graft unions so airflow dries tissues and discourages rot. Avoid plastic or landscape fabric in wet soils; they impede gas exchange and can worsen perched water above compacted layers. Re-topdress lightly as it decomposes, balancing water retention with infiltration and aeration year-round.
Level Small Low Spots With Gentle Regrading
You’ll fix waterlogging fast when you map recurring low-spot patterns where puddles persist around root zones after rain or irrigation. Build those depressions up by adding screened topsoil in thin lifts, watering lightly and tamping between layers so it settles without smothering crowns. Then you’ll blend the grade into surrounding soil with a rake, shaping a gentle slope that sheds water away from stems and toward a drain path.
Identify Low Spot Patterns
After a heavy rain, walk the garden and map where water lingers, since those persistent puddles reveal the micro-depressions that suffocate roots and invite rot. Mark edges with flags, then note whether Water pooling tracks along paths, downspouts, or fence lines, which often indicate subtle grade reversals. Probe each spot with a screwdriver or soil knife: if you hit resistance at 2–4 inches, Soil compaction is likely creating a perched water layer. Compare plant signals—yellowing, stunting, and crown dieback—to your puddle map to confirm chronic saturation zones. Use a straight board and level, or a laser level, to read fall between stakes and identify recurring basins. Sketch flow arrows so you can regrade minimally and restore oxygen to root zones.
Add Topsoil In Layers
Once you’ve flagged the persistent basins, build them up with thin lifts of quality topsoil rather than dumping a thick mound that seals the surface and buries crowns. Spread 1–2 inches at a time, then let rain or irrigation settle it before adding more. This staged approach reduces Soil compaction and keeps pore space open for oxygen, protecting roots from anaerobic stress. Choose a loamy, screened topsoil with stable aggregates, and avoid fine, silty fills that crust. If your soil is heavy clay, mix in Organic amendments like finished compost in modest proportions to improve structure without creating a perched water layer. Keep added soil slightly proud of surrounding grade so it can settle to level, and maintain original planting depths for perennials and shrubs.
Blend Slopes With Rake
Let those thin topsoil lifts settle, then use a landscape rake to feather the edges and create a continuous, gentle fall that sheds surface water instead of feeding isolated puddles. Start at the high point and pull material downslope in long, overlapping passes; don’t chop or dig, just skim the surface so you keep existing root zones intact. This rake technique works best when soil is slightly moist, not sticky, so particles knit without smearing and sealing. Check your grade with a straight board and level, aiming for a subtle 1–2% pitch away from crowns and trunks. Finish slope blending by tamping lightly and top-dressing with compost to stabilize aggregates, then mulch to reduce crusting. Recheck after rain and touch up minor settles.
Cut a Shallow Swale to Move Surface Water
When surface water keeps pooling faster than your soil can absorb it, cut a shallow swale to intercept that runoff and guide it to a safe outlet. Lay it on contour just upslope of the soggiest garden bed, so flow slows and spreads instead of scouring roots. Aim for a broad, shallow U-shape: 10–20 cm deep, 30–60 cm wide, with gently sloped sides you can mow. Maintain a slight fall (1–2%) only where you need conveyance toward a ditch, driveway drain, or rain garden. Keep the swale bottom above the seasonal water table to avoid turning it into a trench pond. Stabilize with dense grasses, sedges, or rushes; mulch the berm lightly and regrade after storms.
Build a Small Soakaway Pit for Overflow
If your swale still overflows during heavy rain, build a small soakaway pit at its low point to store runoff briefly and infiltrate it into deeper, better-aerated soil. Mark a 60–90 cm wide, 60 cm deep pit; keep it clear of tree roots and building footings. Line sides with geotextile, then fill with washed gravel over a 10 cm coarse sand layer to reduce silting. Cap with turf or a grated inlet so water drops in fast. If you’ve installed drainage pipes, route their outlet into the pit with a silt trap. Plant moisture-tolerant edging species nearby, or link the pit to Rain gardens via a shallow spillway, so peak flows spread without drowning crowns.
Prevent Waterlogging: Maintenance and Smart Watering
You’ll prevent waterlogging by keeping soil structure stable and roots oxygenated with the right mulch depth and regular organic-matter maintenance. You’ll also schedule irrigation around plant demand and real soil moisture, not the calendar, so the root zone never stays saturated. You can pair a moisture probe or simple finger test with shorter, less frequent watering cycles to maintain field capacity and protect root health.
Mulch And Soil Health
Although drainage starts belowground, mulch and soil management often decide whether your garden stays saturated or stabilizes after rain. Apply a 5–8 cm coarse, carbon-rich mulch (shredded bark, wood chips) to buffer soil splash, reduce crusting, and keep pore spaces open for oxygen diffusion to roots. Keep mulch 5 cm off crowns and stems to prevent rot in perennials and woody plants.
Prioritize soil enrichment with organic amendments that improve aggregation: finished compost, leaf mold, and well-aged manure in thin, repeated topdressings. These feed fungi and earthworms that build stable crumbs, boosting infiltration without digging. Avoid fine, mat-forming mulches and heavy clay dusting, which seal the surface. If you’ve compacted paths, add a chip layer there too to protect structure year-round.
Smart Irrigation Scheduling
Once your soil structure improves, irrigation timing becomes the main lever that prevents roots from sitting in an oxygen-starved profile. Use smart irrigation controllers paired with rain sensors or soil-moisture probes, and set thresholds by plant type: keep ornamentals slightly drier than turf, and give vegetables deeper, less frequent cycles. Water at dawn so foliage dries fast and the profile has all day to drain.
Audit scheduling efficiency by measuring output: place catch cups, run zones for 10 minutes, then calculate inches per hour. Match runtimes to soil intake rate using cycle-and-soak (short pulses with pauses) to avoid surface sealing and runoff. After storms, skip irrigations until the top 5–8 cm is crumbly, not slick. Recheck settings monthly as roots expand.
Frequently Asked Questions
How Long Will Drainage Improvements Take to Show Results?
You’ll usually see results in 2–6 weeks, with clearer improvement after a full season. You’ll speed response by combining Drainage methods with Soil aeration, keeping roots oxygenated and reducing anaerobic stress around plants.
Which Plants Tolerate Waterlogged Soil Best While Drainage Improves?
You’ll get best tolerance from sedges (Carex), rushes (Juncus), iris, swamp milkweed, and red-twig dogwood. Prioritize Plant selection for saturated zones; add Soil amendments like composted bark to improve structure gradually.
Can I Improve Drainage in Winter or During Heavy Rain Periods?
Yes—you can improve winter drainage during storms, but you’ll work tactically. Use heavy rain solutions: surface channels, mulch sparingly, keep roots aerated, add temporary raised planting mounds, and avoid compaction to protect waterlogging-tolerant plants.
What Are Signs I Need Professional Help for Serious Drainage Problems?
If your roses yellow while puddles linger after 48 hours, you need a pro. You can’t restore root oxygen with Soil aeration alone when water backs up, erodes beds, or floods hardscapes—demand engineered Drainage solutions.
Will Improving Drainage Affect My Garden’s Beneficial Insects and Worms?
Improving drainage can help, but you’ll disturb Beneficial insects and Worm habitats if you over-aerate or remove organic layers. You’ll minimize impacts by using compost topdressing, shallow forking, and moisture-tolerant groundcovers.
Conclusion
You don’t have to rip up the yard to fix waterlogging—you just need to guide water like a root guides nutrients. After a 10‑minute puddle map, you’ll spot the “sinks” stealing oxygen from turf and perennials. When I aerated a compacted strip and cut a shallow swale, one storm dropped 25 mm of rain and the bed drained by morning. Keep downspouts directed, top-dress low spots, and water only when plants ask.
About the Author