
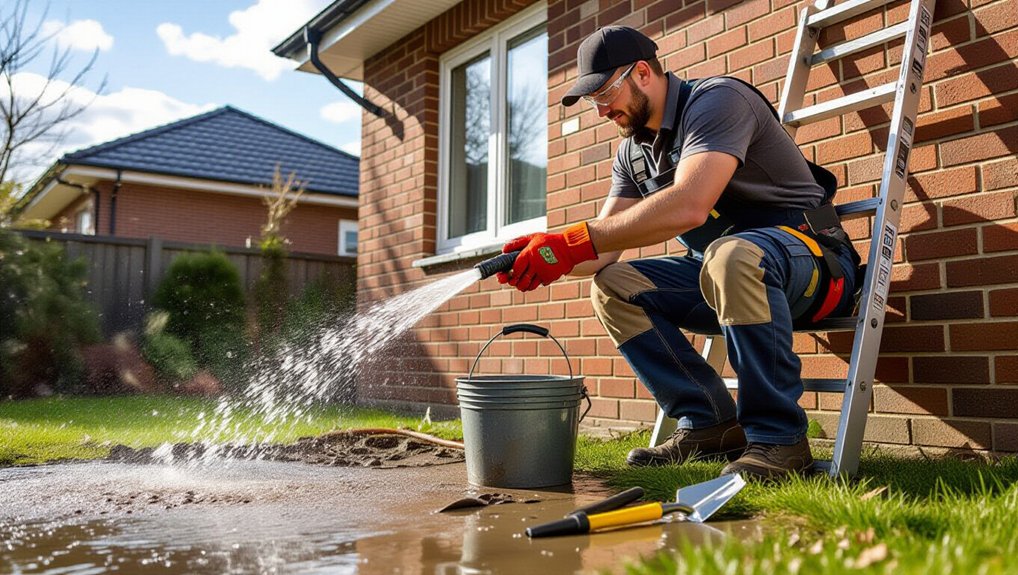
You’ll clear a repeatedly clogged downpipe by isolating the lowest cleanout, shoe, or elbow, then flushing upward with a hose and backflow bladder at low, controlled pressure so you don’t blow solvent-welded joints. Wear eye protection, cut-resistant gloves, and set your ladder 4:1, tied off with three points of contact. If flow stays slow, run a hand auger from the bottom up, extract debris, then water-test each joint for leaks and full-bore discharge. Keep going for blockage locations, drain checks, and prevention.
Key Takeaways
- Confirm whether the blockage is in the downpipe or the underground stormwater drain by checking discharge flow and nearby inspection points.
- Work safely: set a stable ladder at a 4:1 angle, wear eye protection and cut-resistant gloves, and keep three points of contact.
- Open the lowest cleanout or disconnect the shoe, then use a wet/dry vacuum or hand auger to remove debris without forcing fittings.
- Flush upward from the bottom with a hose and backflow bladder at low pressure, pulsing water to break leaf litter, silt, and mud plugs.
- Prevent repeat clogs by adding gutter guards, removable strainers and cleanouts, and replacing cracked, sagging, or separated sections that trap debris.
Signs You’ve Got a Clogged Downpipe
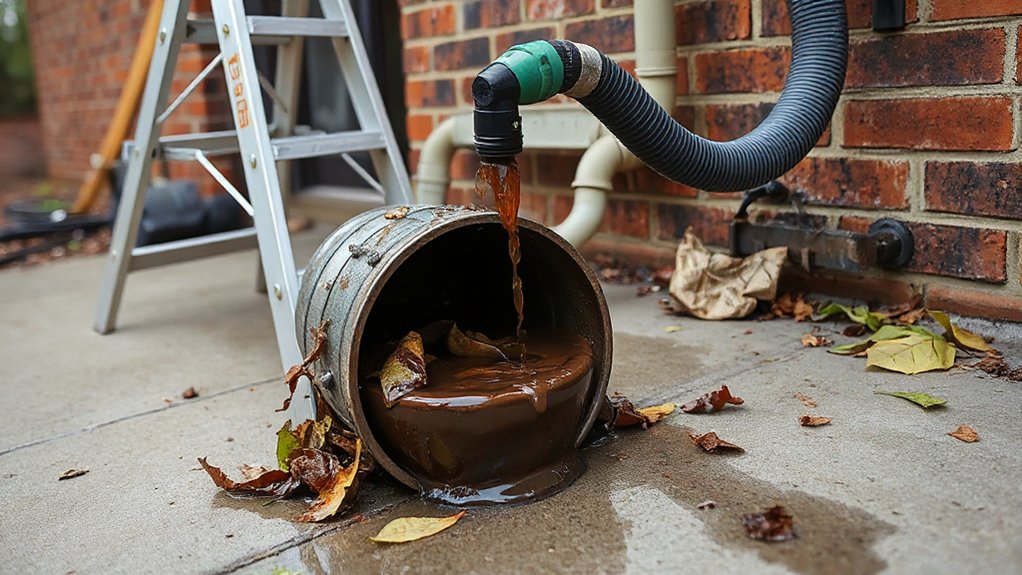
If your downpipe starts clogging, you’ll usually see symptoms before it fully backs up. Watch for gutter overflow at the outlet, slow discharge at the splash block, and water staining on fascia, cladding, or masonry. You may hear gurgling as trapped air burps through the leader, indicating partial blockage. Check for ponding at the elbow, algae growth, or efflorescence on adjacent brickwork from chronic wetting. In freezing climates, recurring ice at the downpipe can signal restricted flow and inadequate drainage capacity. Historical examples of cast-iron leaders show similar failure modes: internal scaling and debris choke points at offsets. That cultural significance matters—well-managed stormwater protects heritage facades and prevents moisture intrusion that can compromise assemblies.
Safety First: Ladder Setup and PPE
Before you clear a clogged downpipe, you’ve got to set your ladder on firm, level ground, maintain the 4:1 angle ratio, and secure it to prevent slip-out or tip-over. Keep three points of contact and don’t overreach; reposition the ladder to stay within your side rails. Wear essential PPE—cut-resistant gloves, safety glasses, non-slip footwear, and a dust mask or respirator if debris is present—so you’re protected from sharp edges, biohazards, and falling material.
Secure Ladder Placement
Although clearing a clogged downpipe looks straightforward, you’ll reduce fall risk by setting your ladder on firm, level ground and securing it to the structure before you climb. Verify the base isn’t on soil, mulch, or wet pavers; use a ladder leveler or solid pads to eliminate rocking for Ladder stability. Set the ladder at a 4:1 angle (one foot out for every four feet up) and extend rails at least 3 feet above the landing. Lock spreaders fully on stepladders, and never stand on the top cap. Tie off the ladder at the top with rated straps, or use a stabilizer bar against the fascia to prevent side slip for Fall prevention. Maintain three-point contact and keep your belt buckle between rails always.
Essential PPE Checklist
A stable, tied-off ladder sets your access point, but PPE controls the remaining hazards you can’t engineer out while you clear the downpipe. Follow site Safety guidelines and wear Personal protective equipment rated for wet, sharp, and biological exposure. Use ANSI Z87.1 safety glasses or a face shield for splashback; add cut-resistant, waterproof gloves (EN388/ANSI A5) for metal edges. Wear long sleeves and durable pants to prevent lacerations, plus a P2/N95 respirator if you’re disturbing dry debris, mould, or bird droppings. Choose non-slip, closed-toe boots with defined tread; avoid smooth soles. Add hearing protection when using a wet/dry vac or pressure nozzle. Keep a hard hat on if working under eaves.
Tools to Clear a Clogged Downpipe
When a downpipe clogs and water backs up at the gutter, you’ll clear it faster and safer by using the right tools rated for wet debris and exterior work. Start with a wet/dry vacuum and sealed adapters to maintain negative pressure without damaging joints. Use a hand auger or drain rod set with flexible couplings; keep torque controlled to prevent splitting PVC or dislodging pop rivets on aluminum.
For verification, use a hose with a backflow-preventer and a high-flow nozzle; avoid unregulated pressure washers unless the system is rated. A borescope helps confirm clearance. Keep spare gaskets, straps, and stainless fasteners for code-compliant reassembly. Material alternatives matter: cast iron, copper, and PVC respond differently than Historical designs with crimped seams. Use nonconductive tools near service drops.
Where Downpipes Usually Block (Tops, Bends, Drains)
You’ll usually find a downpipe blockage at the gutter outlet where leaf litter and roofing grit choke the drop into the pipe, so isolate flow and keep ladder use and fall protection compliant. Next, inspect elbows and bends where hydraulic losses trap debris and create a hard plug, and open joints only after you’ve controlled runoff to prevent splashback. If the vertical run is clear, check the underground drain connection for silt or root ingress, and don’t enter confined spaces or disturb buried services without locating them first.
Gutter Outlet Blockages
Although downpipes can clog anywhere along the run, the highest-risk choke point is the gutter outlet, where roof debris concentrates before it drops into the pipe. You’ll usually find leaf litter, seed pods, granules, and silt matting over the dropper, restricting hydraulic capacity and causing gutter overflow at the fascia.
For safe access, use a rated ladder, stabiliser, and fall protection where required, and keep clear of overhead services. During gutter cleaning, remove the outlet strainer and clear the throat by hand with cut-resistant gloves, then flush from the gutter side with a hose to confirm free discharge. Don’t force tools that could deform the outlet or compromise seals. As part of roof maintenance, trim overhanging branches and fit compliant leaf guards to reduce recurring inlet loading.
Elbow And Bend Clogs
Because downpipes change direction and slow flow at fittings, most repeat clogs form at the top offset and the first elbow, then again at the lower bend or stormwater connection where sediment drops out. Isolate the run: set a stable ladder, wear cut-resistant gloves and eye protection, and don’t work in storms. For Elbow maintenance, undo the union or riveted strap, support the pipe, and remove the elbow. Clear compacted leaves and silt with a nylon bottle brush, then flush from the top with a controlled hose stream. Perform Bend inspection before reassembly: check for cracked PVC, deformed metal, failed seals, and misalignment that creates a step. Refit to manufacturer instructions, maintain fall, and clamp securely to prevent leaks.
Underground Drain Obstructions
When a downpipe disappears into an underground stormwater line, blockages usually shift to the changeover points—at the downpipe shoe/pop, the first buried bend, and the inlet to the gully or stormwater connection—where velocity drops and solids settle. You’ll often find leaf mulch, roof grit, and silt lodged at these junctures, especially if underground piping has minimal fall or slight backgrade.
Before you clear it, isolate roof runoff, wear gloves and eye protection, and confirm you’re not connected to sanitary drainage. Open the inspection opening or gully grate, then probe with a drain rod or jet nozzle from the downstream side to avoid compacting debris. If you notice slow sink-back, check for crushed pipe, root ingress, or soil erosion around joints, then repair to maintain grade and prevent repeat blockages.
Unclog the Downpipe From the Gutter Down
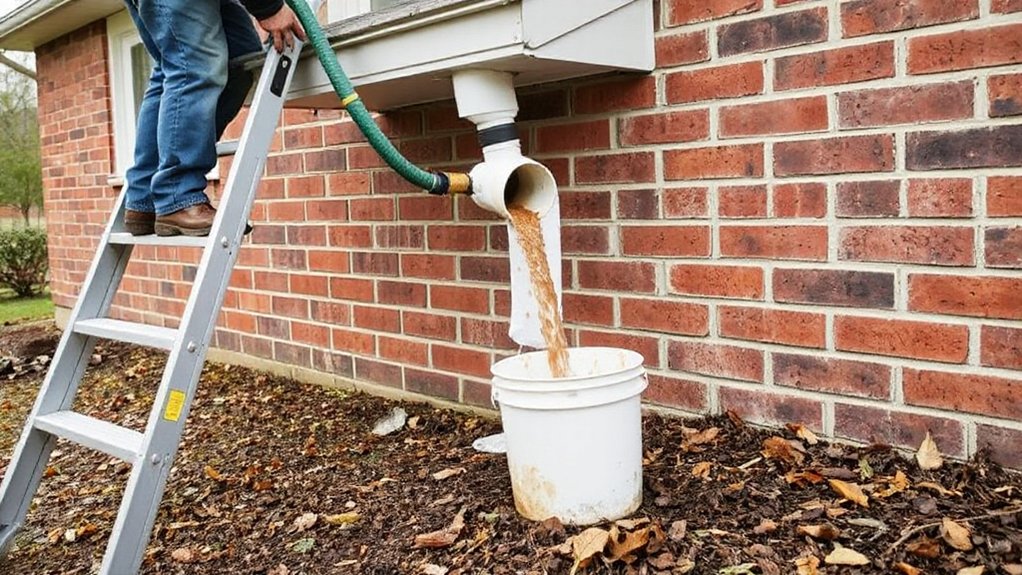
If you can access the gutter outlet safely, you can clear most downpipe blockages by working from the top down. Set a compliant ladder on firm ground, maintain three-point contact, and wear cut-resistant gloves and eye protection. Remove the downpipe strainer or leaf diverter at the outlet.
Scoop debris from the gutter dropper, then feed a non-metallic plumber’s snake or flexible rod into the downpipe to break up leaf mats and sediment without damaging coatings. Flush with a controlled hose stream from the gutter side; don’t use a high-pressure jet that can separate joints. Verify flow at each offset. For rainwater harvesting systems, isolate the first-flush diverter and clean screens to prevent contamination. Finish with routine gutter maintenance and refit fasteners.
Unclog the Downpipe From the Bottom Up
Start at the discharge point and set up safe bottom access by isolating the downpipe, removing the cleanout or lower elbow, and positioning a bucket while you wear PPE. Use a garden hose with a backflush nozzle or drain bladder to drive debris upward in controlled bursts, and stop if you see joints weeping or the pipe pressurizing. Reassemble fittings and run a steady flow to confirm unrestricted discharge, no leaks at couplings, and no overflow at the gutter outlet.
Set Up Bottom Access
Before you force a clog upward, establish safe bottom access so you can work against gravity without damaging the downpipe or fittings. Shut off any rainwater diverter, verify the discharge point, and set a stable ladder only if required; otherwise work from grade. Wear cut-resistant gloves and eye protection, and keep electrical cords clear of splash zones per basic site safety.
Locate the lowest cleanout, shoe, or offset elbow. If none exists, you’ll need a code-acceptable removable section: loosen stainless band clamps or remove screws from a downpipe joint, supporting the pipe to prevent bending. Protect nearby garden decor with a drop cloth. Keep fasteners and gaskets organized. Apply weatherproofing tips: replace cracked seals, use UV-rated silicone at seams, and re-secure straps at proper spacing.
Flush Debris Upward
With bottom access secured and the lowest joint opened or cleanout exposed, you can now use controlled backflushing to drive the clog toward the gutter inlet instead of packing it deeper. Fit a hose with a spray nozzle or backflow bladder into the downpipe’s lower opening, keeping the seal tight to prevent blowback. Start at low pressure, then increase gradually to maintain stable Water flow without exceeding the pipe’s rated working pressure or stressing solvent-welded joints. Hold the hose square to the bore and pulse the stream to break up compacted leaf litter, silt, and shingle grit. Let discharge exit at the open joint into a bucket or drain, using a mesh screen for debris removal. Wear eye protection and gloves.
Confirm Clear Water Flow
How do you know you’ve actually cleared the line instead of just moving the blockage? You confirm by running a controlled flow test. Cap the lower cleanout, then pour a measured bucket of water into the gutter outlet or upper access. Watch the downpipe discharge: you want an uninterrupted, full-bore stream with no pulsing, backing up, or gurgling. Inspect every joint for leaks and verify brackets are secure to meet code intent for stormwater conveyance.
Next, remove the cap and repeat with a hose at moderate pressure. If water drains immediately and you see no sediment, you’re clear. For Rainwater harvesting, check the first-flush diverter and screen for carryover. Finish with gutter maintenance: rinse the gutter run, confirm proper slope, and document results.
Use a Plumber’s Snake on Stubborn Blockages
Although a high-pressure rinse can clear loose debris, a plumber’s snake (drain auger) lets you mechanically break up and extract stubborn obstructions lodged in a downpipe. Shut off any connected pumps, wear cut-resistant gloves and eye protection, and secure ladder footing per OSHA guidance. Remove the cleanout or disconnect the elbow at grade, then feed the auger cable upward to avoid driving debris into underground drainage. Rotate the drum clockwise with steady pressure; don’t force the head, which can score interiors and accelerate pipe corrosion. Use the correct tip and cable diameter for material compatibility (PVC vs. galvanized steel). When you feel release, retract while spinning to pull material out. Reassemble with approved couplings, then run water to confirm uninterrupted discharge.
Break Up the ‘Mud Plug’ (Sludge and Roof Grit)
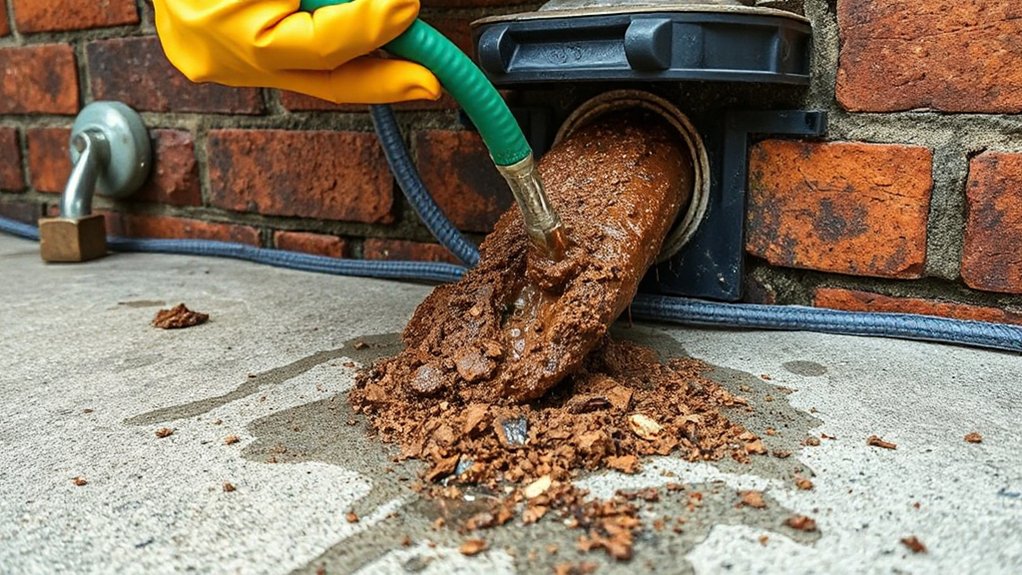
When a downpipe repeatedly backs up even after snaking, a compact “mud plug” often forms from roof grit, decomposed leaf fines, and sediment that packs into a dense, low-permeability slug. Isolate the area first: set a stable ladder, wear cut-resistant gloves and eye protection, and keep hands clear of sharp sheet-metal edges. Remove the downpipe cleanout or disconnect the lowest joint so you’re working from grade, not overhead. Use a blunt probe or drain rod to fracture the plug’s face, then rotate and retract to pull material out in small lifts. You’re targeting Mud buildup and Roof grit bound together, so work slowly to avoid driving the mass deeper. Bag debris to prevent re-entry. Inspect fittings for cracks and reseal.
Hose-Flush Test: Confirm the Downpipe Is Clear
After you’ve fractured and removed the mud plug, run a controlled hose-flush to verify the downpipe has full-bore flow and no hidden restriction at an offset or elbow. Set the nozzle to a steady stream (not jet) to reduce splashback and joint stress. Wear eye protection and gloves, and keep your ladder tied off. Feed the hose 200–300 mm into the outlet, then open the tap slowly. You’re looking for immediate, continuous discharge with no surging, gurgling, or backing up at the gutter dropper. If flow pulses, stop and reinsert from the top access point to avoid over-pressurizing solvent-weld or rubber-ring joints. For Rainwater harvesting, flush until water runs clear to protect screens and tanks. Record results for future gutter maintenance checks.
Downpipe or Stormwater Drain? How to Tell
How do you know whether you’re clearing a simple downpipe blockage or a stormwater drain obstruction? Start at the downpipe base. If you’ve got an inspection opening, remove the cap with gloves and eye protection, then look for standing water in the vertical section. If debris is visible above the bend, you’re dealing with a downpipe issue tied to Gutter maintenance.
Next, trace the discharge point. If the downpipe feeds a rainwater tank for Rainwater harvesting, isolate the first-flush diverter and check the inlet screen; restrictions here mimic pipe blockages. If the downpipe connects to a buried stormwater line, run a controlled hose flow: free-flow at the downpipe but slow drawdown in the gully or junction indicates a downstream obstruction. Don’t enter pits.
If It Still Overflows: Next Checks and Fixes
Although you’ve cleared the visible section, persistent overflow usually means the restriction sits at a changeover point—offset elbow, leaf diverter, pop fitting, or the buried stormwater connection—so shut off any hose flow, keep ladders tied and footing stable, and then inspect each junction for a tight bend, trapped silt, or a failed seal that’s forcing water to back up instead of discharging freely. Check for crushed pipe, inadequate fall, or root ingress at joints; these are common causes of clogs. Confirm joints are fully seated and solvent-welded (PVC) or gasketed without deformation. Use Alternative cleaning methods: a hand drain auger from the lowest access, a wet/dry vac at a disconnected section, or low-pressure flushing downstream to avoid hydraulic blowback. If the outlet is submerged, rectify grade or blockage.
Prevent Downpipe Clogs: Guards, Strainers, Cleanouts
Because recurring blockages usually start at the roofline, you’ll prevent most downpipe clogs by fitting compliant debris control and providing service access. Install leaf guards or gutter mesh rated for UV exposure and corrosion; prioritize Material durability so fasteners don’t fail and create loose debris traps. Follow manufacturer installation guidelines for fixing points, overlaps, and fall so water sheds without ponding.
At each downpipe entry, fit a removable strainer or rainhead screen sized for the gutter outlet, and guarantee it’s accessible for routine cleaning. Add a code-acceptable cleanout at the base: a bolted access cap or rodding eye that maintains watertight joints. Keep ladders tied off, isolate power near eaves, and wear cut-resistant gloves when handling sharp mesh edges.
Replace the Downpipe If You See These Signs
If your downpipe keeps blocking up even after you’ve cleaned and rodded it, treat that as a service-life warning and assess the pipe for replacement rather than repeated clearing. Replace it if you see longitudinal cracks, UV-brittle sections, pinhole leaks, or crushed/ovalized areas that reduce hydraulic capacity. Persistent seepage at joints, separated couplings, and sagging runs indicate failed solvent-welds or straps and can violate stormwater discharge requirements. If roots recur, the line likely has fractures or open joints. Evaluate Downpipe material: corroded steel, delaminated PVC, or split HDPE won’t rehabilitate reliably. Verify slope, supports, and cleanout access per local code. Plan replacement costs by length, fittings, excavation depth, and traffic-rated components. Always isolate utilities and use PPE.
Frequently Asked Questions
How Much Does DIY Downpipe Clearing Typically Cost?
You’ll typically spend $10–$80 to DIY clear a downpipe. For cost comparison, renting a drain snake runs $20–$40/day. Tool recommendations: gloves, eye protection, hose nozzle, snake. De-energize nearby circuits, use stable ladder.
Can I Use Chemical Drain Cleaners in a Downpipe?
An ounce of prevention beats a pound of cure: you shouldn’t use chemical drain cleaners in a downpipe; they can corrode piping, violate code, and endanger stormwater. Choose chemical alternatives, follow safety precautions, and use mechanical cleaning.
How Long Should a Cleared Downpipe Stay Clog-Free?
A properly cleared downpipe should stay clog-free for months to years, depending on debris load. Set Maintenance frequency to seasonal inspections. Use Effective tools like gutter guards and drain rods. Isolate flow, wear PPE.
Are Clogged Downpipes Covered by Home Insurance?
You typically won’t get Insurance coverage for clogged downpipes; Home policies usually exclude maintenance and gradual blockage. You’ll get covered only if a sudden, insured peril causes damage. Document inspections, mitigate hazards, and follow code.
Do I Need Council Approval to Modify or Add Downpipe Cleanouts?
You might need council approval; check local Building permits and Plumbing regulations before adding or modifying downpipe cleanouts. Use compliant fittings, maintain access clearances, avoid structural penetrations, and guarantee safe ladder work and sealed joints.
Conclusion
When you’ve cleared the blockage, watch the flow: water should sheet through the gutter, drop cleanly into the downpipe, and rush to the stormwater connection without backing up. Refit strainers and guards, secure brackets, and cap any cleanouts to maintain a weather-tight seal. Step down from the ladder using three-point contact, stow tools, and rinse PPE. If overflow returns, inspect bends, joints, and underground drains for defects or collapse.
About the Author



