

Confirm the leak starts at the tile field, not flashing, vents, gutters, or condensation, then inspect the attic during rain and trace drips upslope along damp sheathing or rusty nail tips. Measure from the ceiling stain to fixed references and transfer that location to the roof, assuming the entry point is higher on the pitch. Scan for cracked, slipped, or poorly seated tiles and verify with a gentle hose test. Replace by lifting adjacent tiles, releasing fasteners, sliding the tile out, and refastening correctly so courses shed water; keep going to refine the exact fix.
Key Takeaways
- Confirm the leak originates in the tile field by inspecting the attic during rain and ruling out flashing, vents, gutters, or condensation.
- Map the ceiling stain to the roof by measuring from fixed interior points and tracing damp sheathing or rafters upslope.
- Scan the projected upslope zone for cracked, slipped, or spalled tiles and use a gentle hose test to isolate the entry point.
- Re-seat intact tiles after clearing debris; replace tiles with cracks, spalls, broken interlocks, warped profiles, or enlarged nail holes.
- Replace by minimally lifting adjacent tiles, cutting fasteners if needed, sliding the tile out, and refastening correctly without damaging underlayment.
Confirm the Leak Is Coming From Roof Tiles
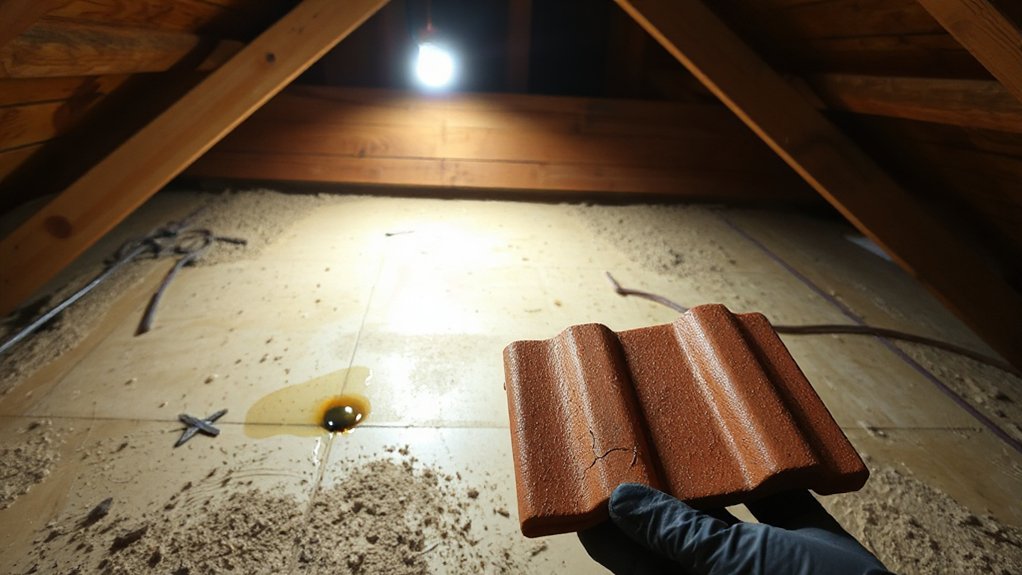
Before you replace any tiles, verify the leak actually originates at the roof covering rather than a flashing joint, vent penetration, gutter overflow, or condensation issue. Inspect the attic during rainfall with a headlamp, and trace active drips to the underside of the deck; note whether water tracks along fasteners or battens, which indicates tile breach. From the exterior, document cracked, slipped, or spalled pieces, and check for missing underlayment exposure at laps. Confirm drainage: clear gutters, verify downspouts discharge, and rule out wind-driven entry at ridges and hips. Compare Roof color variations that suggest prior patching or UV-aged sections, then confirm the Tile material (clay, concrete, slate) matches expected absorption and fracture behavior. Record findings for code-compliant repair planning.
Map Ceiling Stains to the Likely Tile Area
Where should you look on the roof when a stain shows up on the ceiling? Start with Ceiling stain mapping: mark the stain’s center, measure its distance to two fixed interior references (exterior wall lines, ridge beam, or HVAC chase), and transfer those measurements to the attic/roof plan. Then run Interior moisture analysis: follow damp rafters, darkened sheathing, rusted nail tips, or mold tracks upslope, because water travels along framing before dripping. Assume the source is higher than the stain and slightly uphill from the wettest wood. Project a cone from the stain toward the roof pitch, expanding as you move upslope to account for lateral flow. On the roof, inspect tiles within that projected band, especially around valleys, hips, penetrations, and tile edges.
Decide DIY vs. Call a Tile Roofing Pro
Although you can replace a cracked field tile yourself, you should call a tile roofing pro when the leak involves steep or high elevations, fragile or tightly interlocked profiles, valleys/hips/ridge caps, penetrations (vents, skylights, chimneys), or any suspected underlayment or flashing failure—those conditions require controlled tile removal, proper waterproofing details, and safe access equipment.
Choose DIY only when you’ve isolated a single, accessible field tile and the Roofing material matches exactly (profile, thickness, finish, and fastening method). Verify the replacement won’t disturb adjacent courses or the headlap. Plan around Weather considerations: don’t open the roof if rain, wind, or freezing temperatures are forecast, and don’t attempt adhesive or mortar repairs outside manufacturer limits. If you can’t confirm fastening, underlayment condition, or code-compliant flashing interfaces, stop and schedule a pro inspection.
Safety Gear for a Roof Tile Inspection
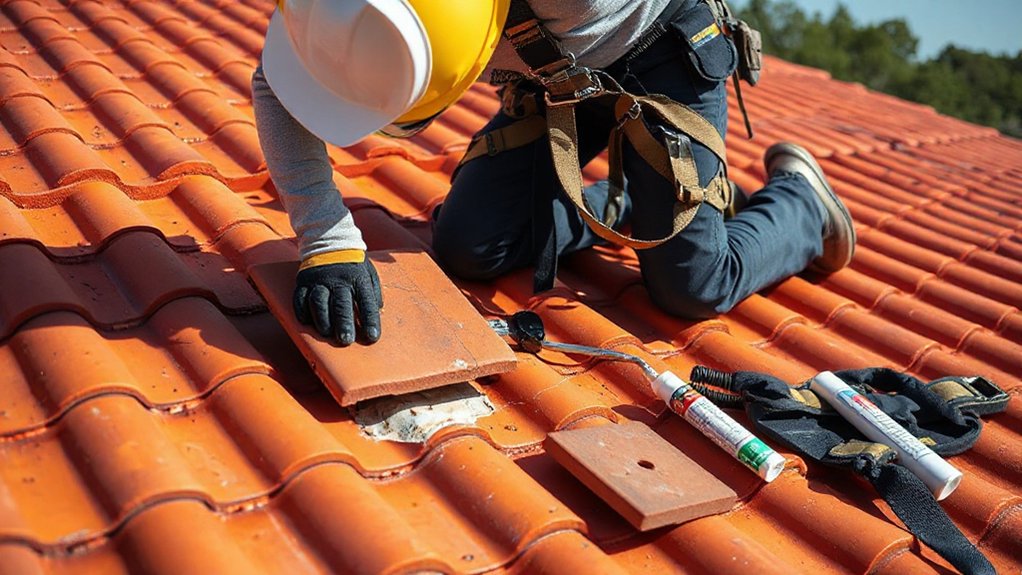
Before you step onto a tile roof to trace a small interior leak, you’ll need essential fall protection, including a properly anchored harness and lifeline. You should also wear slip-resistant footwear and cut-resistant gloves to maintain traction and protect your hands while handling sharp tile edges. Finish your setup with safety glasses and a hard hat to reduce injury risk from debris and unexpected tile movement.
Essential Fall Protection
Since a tile roof’s slope and brittle surfaces amplify slip and trip hazards, you’ll need fall protection that meets OSHA requirements and fits the work area. Use a full-body harness rated for your weight plus tools, and connect it to a shock-absorbing lanyard or self-retracting lifeline. Anchor to a certified point (5,000 lb per worker or engineered) placed above your work zone to reduce swing fall. Install a temporary ridge anchor or utilize approved structural members—never roof ornamentation. Set up a rope grab on a vertical lifeline for controlled movement during tile-by-tile inspection. For edges, deploy a warning line, guardrails, or a personal fall arrest system. Maintain three-point contact while checking chimney flashing progressions and valleys nearby.
Footwear And Gloves
When you’re stepping across brittle tiles on a pitched surface, wear slip-resistant, soft-soled roofing boots (ASTM F2913 or equivalent) that provide high-friction traction without crushing the tile profile, and choose a snug fit to prevent heel roll on ridges and hips. Verify Footwear grip by checking tread depth and clearing clay dust or algae before each ascent; replace soles that harden or delaminate. Keep boots dry, and use removable traction pads only if they don’t concentrate point loads on tile edges.
For hand protection, select cut-resistant gloves with tactile fingertips so you can lift, align, and fasten tiles without over-gripping. Use glove insulation matched to ambient conditions to maintain dexterity; bulky liners reduce control and increase breakage risk. Ensure cuffs fit under sleeves to block grit, and inspect for tears daily.
Eye And Head Protection
Although tile roofs look stable from the ladder, you should treat every inspection as a falling-debris and impact hazard by wearing ANSI Z87.1-rated safety glasses (or sealed goggles if you’re disturbing dust) and an ANSI/ISEA Z89.1 hard hat that fits snugly and stays level as you move. Use Eye protection that wraps or seals to block grit from broken tiles, mortar, and wind-driven granules while you scan flashing lines and valleys. Choose anti-fog lenses so you don’t lift them on a steep pitch. For Headgear safety, set the suspension to keep the brim off your brow and the shell centered; replace hard hats after impacts or UV damage. Secure straps before bending or reaching. Keep a clear face shield available for tile cutting or prying operations.
Scan for Cracked, Slipped, or Missing Tiles
Before you start pulling tiles, inspect the roof plane methodically to pinpoint cracked, slipped, or missing units that can funnel water under the underlayment and into the interior. Work upslope in straight lanes, checking each course for hairline fractures, corner breaks, and impact chips. Confirm alignment by referencing the tile pattern; offsets or uneven exposure often indicate a slipped tile or failed fastener. Look for lifted edges, widened joints, and debris lines that suggest water backtracking. Mark suspect locations with removable tape and photograph them for reassembly order. As you plan repairs, note profiles and dimensions for replacement, and document color matching so new pieces don’t create thermal or fit issues. Replace any tile that rocks under light hand pressure.
Inspect Flashing, Valleys, and Roof Penetrations
Damaged tiles often show where water enters, but leaks frequently originate at the roof’s metal details, so inspect flashing, valleys, and every penetration next. Check roof flashing at chimneys, walls, skylights, and dormers for lifted edges, punctures, pinholes, or missing fasteners. Confirm step flashing laps correctly with each course, and verify counterflashing is embedded and sealed, not face-caulked only. Inspect roof valleys for debris dams, cracked mortar, split valley metal, or worn underlayment exposed at tile edges; make sure valley lining isn’t buckled and that tile cut lines leave a clear, open channel. At vents and pipe boots, look for UV-cracked rubber, loose clamps, and gaps at bases. Re-secure, re-seal with compatible sealant, or replace damaged components per manufacturer specs.
Use a Controlled Hose Test to Confirm the Entry Point
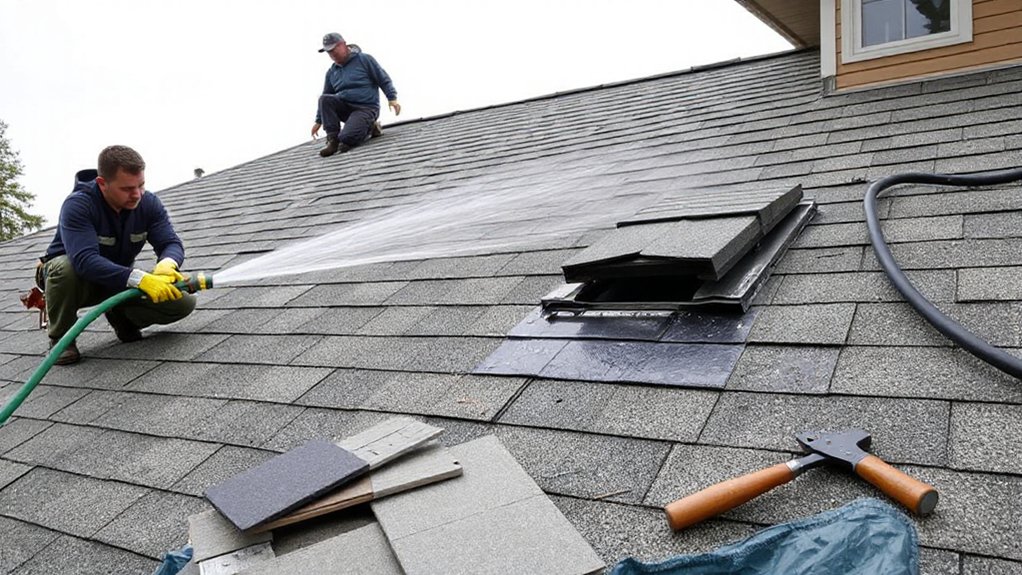
Once you’ve inspected the likely failure points, run a controlled hose test to pinpoint the actual entry path. Work with a spotter inside who watches the stain or attic sheathing. Start low on the roof and wet one small zone for 3–5 minutes, then pause and check. Move upslope in short increments so you don’t mask the source with runoff. Keep the spray gentle to simulate Rainwater infiltration; don’t blast under laps like a pressure washer. Isolate components: first the tile field, then a valley, then flashing edges, then penetrations. Confirm gutter drainage by running water into the gutter and observing overflow, backflow, or fascia wetting. Record the exact section where leakage begins.
Re-Seat Tiles vs. Replace Them: What to Choose
Now that the hose test has narrowed the leak to a specific tile course or detail, decide whether you can re-seat the existing tiles or need to replace them. Re-seat when the tile is intact, its interlock isn’t chipped, and it sits flat once debris and mortar nibs are cleared. Confirm you haven’t lost headlap, side lap, or alignment; minor slippage often channels water onto a joint. Replace when you find cracks, spalls, broken noses, enlarged nail holes, or warped profiles that compromise Tile durability. Also replace if repeated movement indicates fastener failure or chronic uplift at that location. Compare Replacement cost to risk: a single matching tile is cheap; ongoing interior leakage isn’t. Document findings and source identical profile and color.
Replace Roof Tiles Without Tearing Underlayment
Although you’re swapping a tile in a tight, interlocked field, you can usually replace it without disturbing the underlayment by lifting the surrounding tiles just enough to release the fastener and slide the unit out, while keeping tools and weight off the membrane. Use foam pads or a roof ladder to distribute load, and work from stable footing.
Mark the target tile so you preserve Tile patterns and match Roof color during replacement. Slip a flat pry bar under the upper course, lift minimally, and remove nails or clips with end cutters. If the fastener binds, cut it with a thin metal blade rather than levering against the deck. Pull the tile straight down-slope to disengage side locks. Keep debris out of headlaps, and don’t drag tile edges across exposed felt.
Secure Tiles and Avoid Mistakes That Worsen Leaks
Secure each replacement tile with the correct fastener type, length, and placement, and lock it to the intended headlap so wind and capillary action can’t drive water underneath. Don’t overdrive nails, crack corners, misalign courses, or smear incompatible sealants—each mistake opens a new leak path and can trap moisture against the underlayment. You’ll verify bite and seating, then confirm water-shedding continuity before you step off the roof.
Fasten Tiles Properly
Before you reinstall any replacement tile, fasten it to the roof system exactly as the tile profile and local code require, because loose or over-driven fasteners can crack the tile, lift it in wind, and open capillary paths that feed small interior leaks. Use the specified fastener type, length, and corrosion rating for your deck and underlayment assembly. Drive nails or screws flush, not countersunk, and keep spacing consistent with the manufacturer’s layout. Where the system allows, apply tile adhesive only in approved beads so you don’t block drainage channels or roof ventilation paths beneath the tile. Confirm each tile seats fully on battens or lugs, then verify headlaps and sidelaps stay aligned. Finish by tug-testing for uplift resistance and rechecking that fastening didn’t fracture corners.
Prevent Leak-Worsening Errors
Once you’ve locked a suspect area down, don’t create a larger leak by forcing tiles to “fit” or by sealing details that need to drain and breathe. Keep headlaps aligned, and never grind tile edges to close a gap; you’ll crack the glaze and invite capillary pull. Don’t overdrive fasteners or smear mastic under overlaps—use approved clips, foam closures, and manufacturer-rated sealants only where specified. Maintain flashing paths so water exits onto the next course, not into underlayment seams. If you must lift tiles, support them and reset without levering on adjacent pieces. Verify attic ventilation stays unobstructed and insulation baffles remain clear. Afterward, inspect Interior drywall for new staining to confirm you didn’t redirect flow.
Frequently Asked Questions
How Much Does Roof Tile Replacement Typically Cost per Tile?
You’ll typically pay $10–$30 per roof tile for tile pricing, plus labor; installed cost estimate often runs $25–$75 per tile. Steep roofs, specialty tiles, and underlayment repairs increase total.
How Long Do Concrete or Clay Roof Tiles Usually Last?
Concrete tiles usually last 40–60 years, while clay tiles often reach 50–100 years. You’ll maximize Roof longevity with routine Tile maintenance: inspect annually, replace cracked pieces promptly, keep flashings sealed, and clear debris.
Can I Replace Roof Tiles in Rainy or Freezing Weather?
You can, but you shouldn’t: speed tempts, physics punishes. In rain or freezing conditions, Weather considerations demand you postpone. If unavoidable, follow Safety precautions—use fall protection, non-slip footwear, staged materials, and tarping.
Do I Need Permits or HOA Approval to Replace Roof Tiles?
You might need permits or HOA approval to replace roof tiles. Check local permit requirements for like-for-like repairs versus structural changes, then submit HOA approval requests early. Document scope, materials, and contractor licensing to stay compliant.
Will Matching Replacement Tiles Be Difficult on an Older Roof?
Matching replacement tiles can feel like finding a needle in a haystack, but you can manage it. You’ll need matching color and tile availability checks; you should source salvage, verify profiles, and document batches.
Conclusion
You’ve traced a faint ceiling stain to a single tile—small mark, big consequence. You’ve chosen safe access, verified the entry point with a controlled hose test, and inspected for cracked, slipped, or missing pieces. Now you act: re-seat sound tiles, replace damaged ones, and keep the underlayment intact. Secure fasteners correctly and maintain overlap—tight where it must be, flexible where it should be. Fix the tile, stop the leak.
About the Author



