
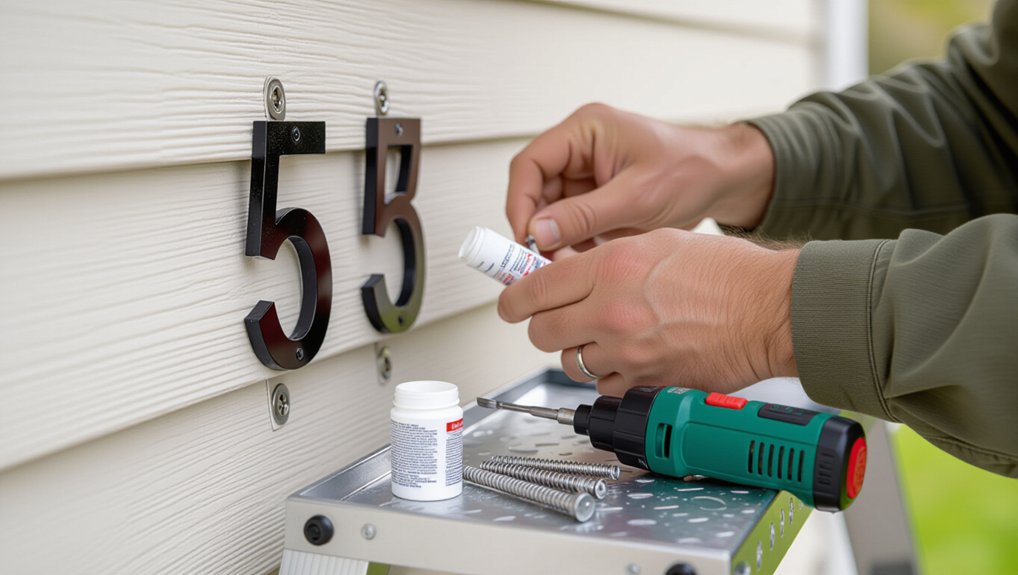
Start by matching the fix to your surface. Wiggle each number, then remove it by loosening set screws or warming adhesive and slicing with floss. For wood, predrill and drive stainless screws, repairing soft spots with consolidant and epoxy. For vinyl siding, lift with a zip tool, predrill into backing, and use stainless pan-head screws with neoprene washers or standoffs—snug, don’t crush. For masonry, drill shallow, blow dust out, set anchors, and tighten gently. Next, you’ll learn clean hole-repair and sealing tricks.
Key Takeaways
- Identify your wall material (vinyl, wood, masonry, metal) and choose compatible fasteners, anchors, standoffs, or adhesive to avoid cracking or crushing.
- Test each number for wobble, inspect screws/anchors for rust or stripping, and probe the surrounding surface for rot, crumbling, or soft spots.
- Remove numbers gently by loosening hidden set screws or caps; for adhesive, warm it and cut with floss to prevent paint or stucco tear-out.
- Repair damaged holes with exterior filler or epoxy, then redrill proper pilot holes; replace failed anchors instead of tightening into crumbling material.
- Reinstall with stainless hardware, predrill carefully, tighten snug (not overtight), and add a thin silicone bead behind pieces to block water intrusion.
Quick Fix Guide: Pick Your Wall Type
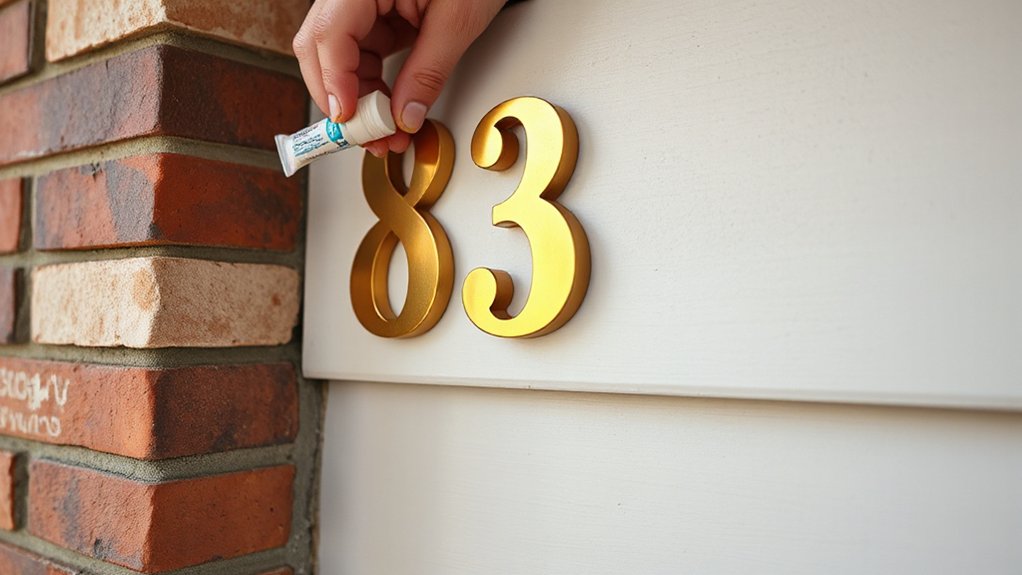
Before you grab a drill or adhesive, identify what your house numbers are mounted to—vinyl siding, wood trim, brick, stucco, or metal—because each surface needs a different fastener or bonding method.
Vinyl: don’t crush it; use stainless siding hooks or short screws into backing, not the panel. Wood trim: predrill, add exterior wood filler if holes are blown, then drive stainless screws. Brick: drill mortar with a masonry bit, tap in plastic anchors, and screw in. Stucco: match the surface texture; drill gently, inject exterior epoxy, and set anchors or threaded studs. Metal: scuff, clean, and use VHB tape or rivnuts. If you must touch up, spot-prime and blend wall paint after mounting. Clean with alcohol first.
Why House Numbers Loosen (5-Minute Checklist)
Grab a screwdriver and give each number a quick wiggle test, then check for cracks or gaps that show weather and temperature swings have worked things loose. Next, inspect the screws, anchors, and standoffs for rust, stripped heads, or wallowed-out holes that signal mounting hardware wear. Finally, probe the surface (wood, stucco, brick, siding) for rot, crumbling mortar, or soft spots so you can spot wall material breakdown fast.
Weather And Temperature Swings
Although they look static, exterior house numbers move a little every day as temperatures swing—metal expands, vinyl softens, wood swells, and then everything contracts again at night. These temperature effects slowly open tiny gaps around fasteners and create wiggle you can feel.
Do this quick check: 1) Grab a pencil and trace a light outline around each number. 2) In the morning and late afternoon, compare the outline to the edge; any shift shows movement. 3) Press each number in four directions; note where it lifts first. 4) Look for hairline cracks in paint or caulk at the contact points. 5) Plan seasonal adjustments: re-check after the first cold snap and the first heat wave, then tighten your setup accordingly.
Mounting Hardware Wear
When your house numbers start to wiggle, worn mounting hardware usually sits at the center of the problem—screws back out, plastic anchors deform, and standoffs oval out their holes. Grab a #2 driver, small wrench, and a flashlight, then check each fastener for spin, rust, or stripped heads.
Next, pull one number off and inspect the threads: if they’re shiny, flattened, or gritty, replace the screw or stud. Test the anchor by gently tugging with needle-nose pliers; if it compresses or slips, swap it for a same-size anchor. If you use standoffs, verify the barrel seats flat against the wall surface and the set screw bites cleanly. Reinstall with a drop of blue threadlocker and snug—don’t overtighten.
Wall Material Breakdown
Tight, new hardware won’t stay put if the wall around it is failing, so check the mounting surface next. Identify your wall material: wood, brick, stucco, siding, or EIFS. Press around each fastener hole; if it flexes, crumbles, or feels spongy, the substrate’s compromised. Scrape loose paint or stucco with a putty knife, then vacuum dust. For brick or mortar, probe joints with an awl; sandy mortar needs repointing before you reanchor. For wood, look for rot and soft fibers; dig to sound wood and harden with consolidant. For siding, confirm you’re not anchored only in thin vinyl. Finish with surface preparation: degrease, dry, and seal exposed edges before reinstalling.
Remove Loose House Numbers Without Wall Damage
First, you’ll check how the numbers are mounted—adhesive, screws, or studs—using a flashlight and thin putty knife to probe the edges. If you find adhesive, you’ll warm it with a hair dryer and work dental floss or fishing line behind the number to cut the bond without gouging the surface. If it’s mechanically fastened, you’ll locate and back out any hidden screws or set screws (often on the bottom edge), then pull the number straight off to avoid cracking the wall.
Assess Attachment Type
Before you pry anything loose, identify how the numbers are attached so you don’t tear paint, stucco, or siding. Start with a flashlight and a thin plastic putty knife. Check the edges for a bead, gaps, or wobble. Look for visible screws, nail heads, or keyhole slots—common fastener types. If you see a cap, pop it gently with the putty knife to reveal a screw. For stud-mounted numbers, look for tiny set screws underneath; use an Allen key to confirm. Tug lightly to feel whether it’s anchored at points or along the whole back. Note the wall texture: rough stucco and deep-grain siding hide hardware and demand slower, shallower probing. Mark each attachment point with painter’s tape.
Loosen Adhesive Safely
Once you’ve mapped where the fasteners are and where the number is stuck, soften the adhesive so it releases without pulling paint or gouging siding. Identify adhesive types: foam tape, silicone, construction adhesive, or hot-melt. Warm the area with a hair dryer on low for 60–90 seconds; keep it moving. For silicone, mist isopropyl alcohol along the edge; for foam tape, use citrus adhesive remover sparingly. Slide dental floss or 10–20 lb fishing line behind the number and saw gently, reheating as needed. Don’t pry with metal tools. Wipe residue with a plastic scraper and a damp microfiber. Finish surface preparation: rinse, dry, and lightly scuff glossy paint only if you’ll re-bond later. Work slowly.
Remove Hidden Fasteners
Where are the fasteners hiding—behind decorative caps, inside the number’s body, or under a thin adhesive pad? Start by inspecting the face and edges with a flashlight. Pry off caps with a plastic putty knife, not a screwdriver. If you spot a set screw, loosen it with the correct hex key. For thru-bolts, hold the number steady and back out screws with a hand screwdriver to avoid cam-out. If Hidden fasteners sit under tape, lift the pad with dental floss, then peel it back to expose heads. Keep pressure straight, and stop if the wall starts to flex. Note the mounting techniques you find, bag the hardware, and label parts for reassembly.
Fix Stripped Holes for House Numbers (Fillers, Anchors, Epoxy)
If your house numbers keep loosening even after tightening the screws, you’re probably dealing with stripped holes in the siding, brick, or trim. Pull the number off, then probe each hole with a toothpick or drill bit to confirm it’s wallowed out. Blow out dust and grit.
For small gaps, pack exterior-rated filler compounds with a putty knife, overfill slightly, let cure, then predrill a pilot hole sized for the screw shank. For larger holes, switch to the correct anchor: plastic expansion for masonry, stainless toggle for hollow siding, or a screw-in masonry anchor for brick. If the substrate crumbles, do epoxy repairs: inject two-part epoxy, insert a short dowel/anchor, let set, then re-drill and reinstall.
Reattach House Numbers on Wood or Trim
Stripped holes and fresh anchors won’t help much if the wood or trim itself is loose or rotten, so start by checking the mounting surface. Probe with an awl; if it’s soft, dig out punky wood, harden with wood consolidant, then fill with exterior epoxy or wood filler and sand flush.
Next, predrill pilot holes with a bit slightly smaller than the screw shank. If you’re using nail-on numbers, swap to stainless trim screws for better bite. Add a dab of exterior-grade polyurethane adhesive behind each digit to stop wobble, but don’t rely on glue alone.
For Wall mounting, use rustproof fasteners and seal each hole with paintable caulk. Reattach any Decorative accents after everything cures fully.
Reattach House Numbers on Vinyl Siding (No-Crack Methods)
Because vinyl siding flexes and cracks easily under point pressure, you’ll get a longer-lasting reattach by fastening through a solid backing—not just the vinyl face. Pop the siding up with a zip tool, and locate sheathing or a stud behind the mounting spot. Mark the holes, then predrill through the siding and into the backing with a small bit. Use stainless pan-head screws with neoprene washers, or screw-in standoffs if your numbers need clearance. Snug the fasteners; don’t overtighten or you’ll dimple the Vinyl siding. If holes are stripped, move the number slightly and redrill, or add a small PVC backer strip behind the panel. Snap the siding back in place, then check alignment so your Exterior decor reads clean from the street.
Reattach House Numbers on Stucco, Brick, or Concrete
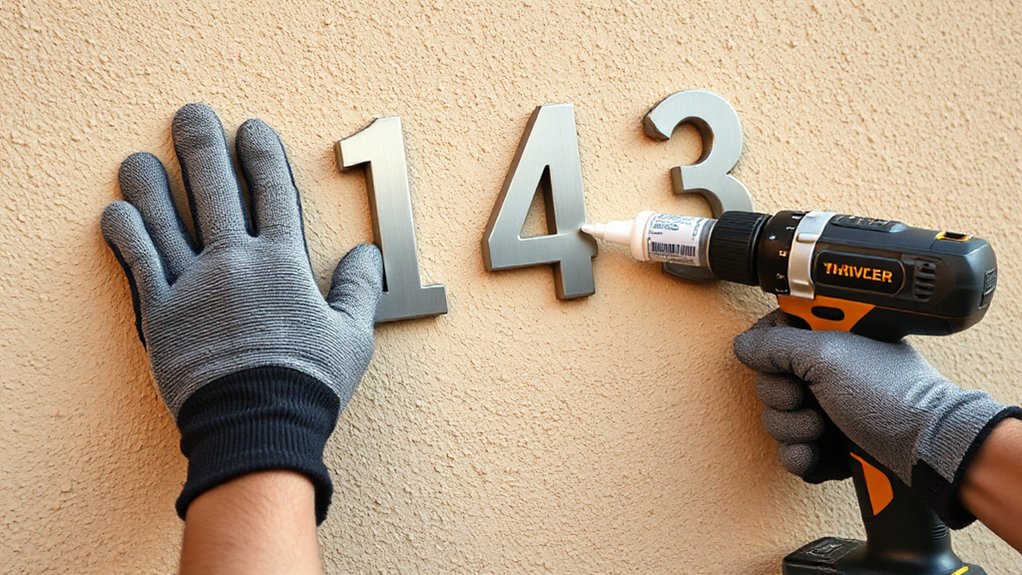
While stucco, brick, and concrete feel rock-solid, you’ll get the best hold by anchoring into the masonry—not just patching the old hole. First, remove the numbers and brush out dust with a stiff nylon brush. Mark new pilot points with painter’s tape so your Wall texture won’t chip. Drill with a masonry bit and hammer drill (or regular drill on low), staying shallow and level. Blow out debris, then tap in plastic or lead masonry anchors sized to your screws. For stud-mounted numbers, set stainless screws into anchors and snug them—don’t overtighten. For pin-back styles, inject exterior epoxy into the holes, press pins in, and tape until cured. Add a thin silicone bead behind Decorative accents to stop water and wobble.
Frequently Asked Questions
Do I Need to Reseal Around House Numbers to Prevent Water Intrusion?
Yes, you should reseal to stop water intrusion. Clean and dry the area, then do sealant application with exterior-grade silicone. Use caulk gun, smooth bead, and check gaps yearly as part of weatherproofing methods.
What Adhesive Works Best for Metal House Numbers in Freezing Weather?
You’ll get best results with a cold-rated two-part epoxy or polyurethane construction adhesive for Metal bonding and Freezing adhesion. Warm parts, roughen metal, clean with alcohol, apply, clamp/tape, and let cure per label.
How Do I Align and Level New Numbers Before Final Installation?
Pretend you’re a fussy architect: tape a baseline, mark centers for number positioning. Dry-fit with painter’s tape. Use a torpedo level for leveling techniques, adjust spacing, then trace holes with pencil. Double-check sightline.
Can I Reuse Old Mounting Hardware, or Should I Replace It?
You can reuse old mounting hardware if it’s straight, rust-free, and grips tightly; otherwise replace it. Hardware reuse: test-fit and tug. Mounting tips: match screw size, add anchors if needed, tighten evenly, don’t overtighten.
What’s the Best Way to Remove Adhesive Residue Without Discoloring Paint?
Start with residue removal: warm soapy water and a microfiber cloth, then test isopropyl alcohol in a hidden spot. Use a plastic scraper. Avoid acetone. Finish with gentle buffing and paint touch up.
Conclusion
Think of your loose house numbers like a wandering compass: they can’t guide anyone until you pin them true. First, match the wall—wood, vinyl, or masonry—then pull the numbers straight off. Patch stripped holes with filler, epoxy, or the right anchor, and let it cure. Re-drill if needed, then fasten snug, not crushing. Seal edges where water sneaks in. Step back, check alignment, and you’ve set the “north” again.
About the Author



