
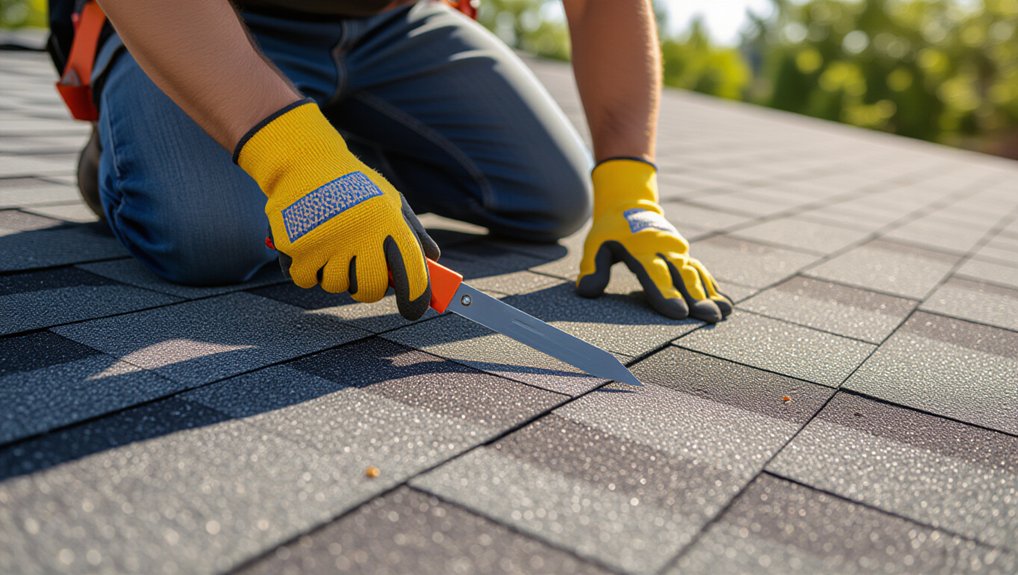
Locate the damaged tile from the ground and confirm its profile and “hand” so you’ve got an exact match. Only climb in dry, calm weather with a stable ladder, harness, and solid decking. Slide a tile ripper under the overlapping course to pop or cut the hidden fastener, then lift that tile 1–2 inches. Wiggle the broken tile up, pull it laterally to release, and remove it. Slide in the replacement, clip/nail it, and recheck alignment—there’s more to know about sourcing and leak checks.
Key Takeaways
- Identify the exact damaged tile from the ground, noting its row and relation to vents, ridges, or valleys.
- Only attempt if conditions are dry and calm, using a stable ladder, roof anchor, harness, and sound decking.
- Match the replacement tile precisely by profile, dimensions, interlock geometry, nail holes, and left/right-hand orientation if applicable.
- Use a tile ripper to release the tile’s fastener through the gap, minimizing movement of overlapping tiles.
- Slide the damaged tile out laterally, clear debris, then slide the new tile in and secure with nail or clip.
Find the Broken Tile and Identify Its Type
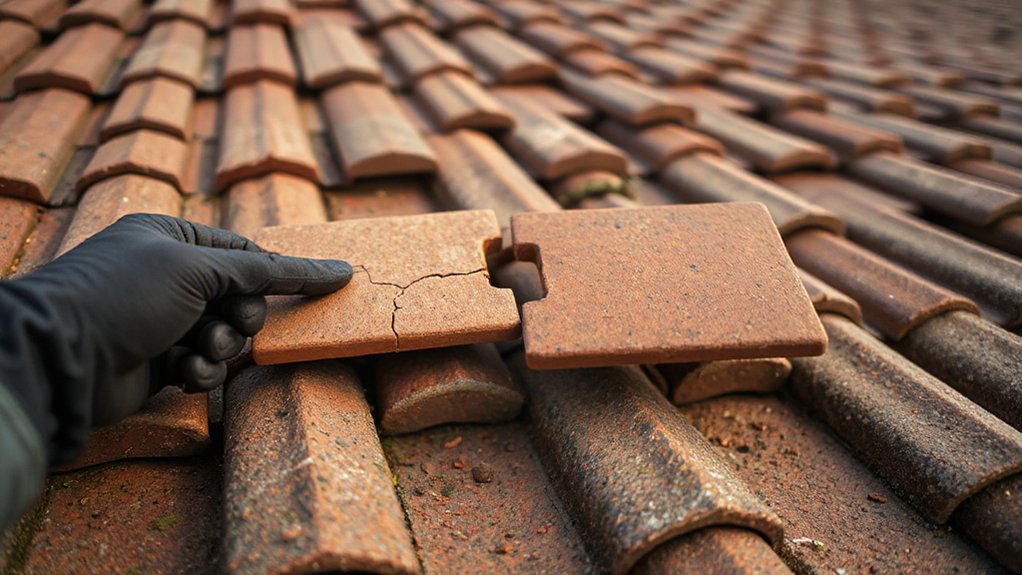
Before you touch anything on the roof, locate the damaged tile from the ground with binoculars, noting its exact row and position relative to ridges, valleys, and vents so you can find it quickly once you’re up there. Photograph the area and mark reference points on a sketch. When you access the roof, confirm the break: cracks, missing corners, spalling, or displaced alignment. Identify tile type by profile (flat, S, mission), size, thickness, and underside lug/nail hole pattern. Check the material: concrete, clay, or slate; that drives Material compatibility for the replacement and fasteners. Record manufacturer stamps if present. Compare finish and weathering for Color matching; bring a sample or high-resolution photo to the supplier. Verify left/right-handed tiles where applicable.
Decide If You Can Safely DIY This Repair
Although replacing a single tile looks straightforward, you shouldn’t DIY it unless you can control the fall risk and the roof won’t fail under your weight. First, check weather conditions: no rain, frost, or high winds; tiles get slick fast. Next, verify access: a stable ladder on firm ground, tied off, with a roof anchor and rated harness. Inspect the roof deck from the attic for rot, sagging, or water damage; don’t step on compromised sheathing. Confirm pitch and height; if you can’t maintain three points of contact, stop. Plan your footing on rafters, not tile edges. Finally, review insurance coverage; if DIY work could void claims or warranties, hire a roofer.
Match and Source the Replacement Roof Tile
Once you’ve confirmed the roof is safe to access, match the replacement tile to the existing roof by identifying its material (clay, concrete, slate, or composite), profile (flat, S/Spanish, interlocking), and exact dimensions—length, width, thickness, and side/head lock geometry—because even small differences can compromise water-shedding and wind uplift resistance. Photograph the underside stamps and take the broken tile down for a template if possible. Check manufacturer catalogs to confirm model and “hand” (left/right) pieces. For matching color, compare in daylight; order one extra since batches vary and tiles weather. Prioritize sourcing materials from the original supplier, salvage yards, or roofing distributors that stock discontinued lines. Verify nail hole locations and minimum headlap before you buy, so the new tile seats without binding.
Do Roof Safety Checks Before Climbing
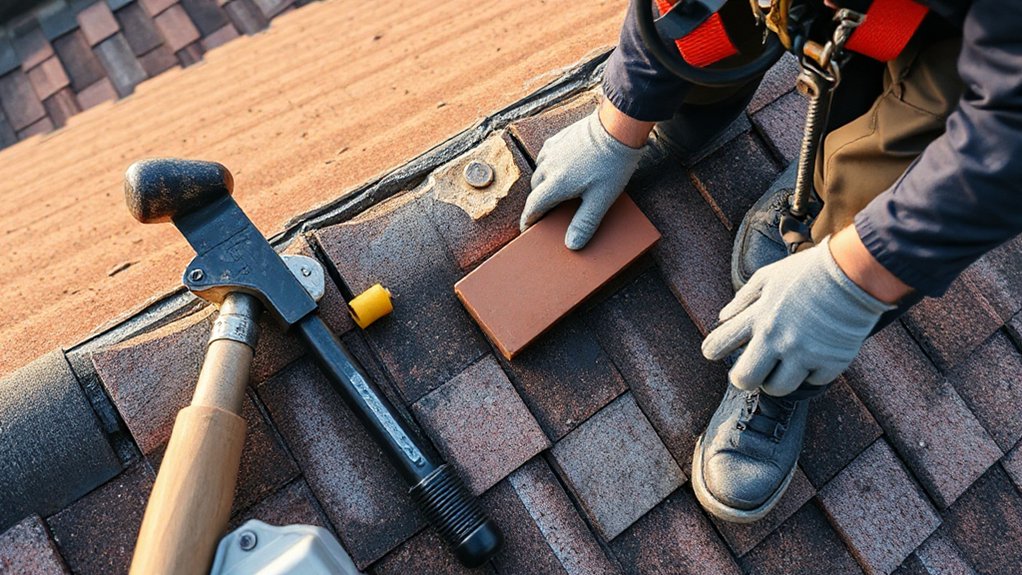
With the correct replacement tile identified and in hand, start by confirming you can access the roof without exposing yourself to a fall or collapse hazard. Walk the perimeter and look for soft decking, rot at eaves, cracked rafters, or unstable gutters. If the roofline sags or surfaces feel spongy, don’t climb.
Next, apply Weather precautions: postpone work during rain, frost, high winds, or heat that can soften underlayment and reduce traction. Check forecast timing, not just current conditions.
Complete equipment inspection before you leave the ground. Verify your ladder’s feet, locks, and rails; set it on firm, level support. Inspect harness, lanyard, and anchor points for cuts, corrosion, and proper rating. Confirm you can maintain three-point contact throughout ascent.
Gather Tools to Replace One Roof Tile
Before you step onto the ladder, stage every tool you’ll need so you won’t make extra trips or handle loose items while climbing. Pack a tool belt or bucket and keep weight balanced for control. Bring a matching replacement tile, tape measure, and marker to confirm profile and exposure. Add a flat pry bar, hammer, and galvanized roofing nails or approved clips for your tile system. Include a cordless drill/driver with bits if fasteners require it. Carry a stiff brush to clear grit, plus sealant only if your manufacturer specifies it. Wear cut-resistant gloves, safety glasses, and non-slip boots. For Roof tile maintenance and DIY home repair, you’ll also want a small tarp and magnetic nail holder to prevent debris loss.
Lift the Overlapping Tile Using a Tile Ripper
After you’ve staged your tools and PPE, start by freeing the tile that overlaps the damaged one so you can access the fasteners without cracking adjacent courses. Set your ladder on firm ground, keep three points of contact, and work from a stable roof ladder or hook ladder.
Slide the tile ripper up under the lower edge of the overlapping tile until you feel the nail head or clip. Use the Ripper technique: keep the tool flat, hook the fastener, then pull straight down with controlled force to avoid levering against the tile. If resistance spikes, reposition and repeat rather than yanking. Confirm the fastener is released by gently lifting the overlapping tile 1–2 inches. This creates safe clearance for tile extraction without disturbing surrounding tiles.
Remove the Damaged Single Roof Tile
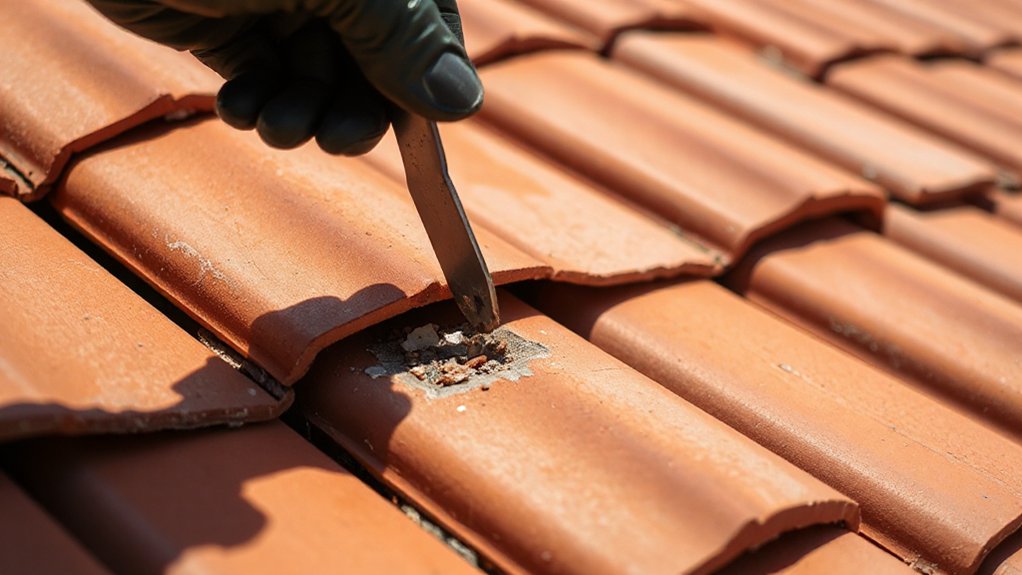
Now that you’ve lifted the overlapping tile and confirmed the fastener is free, slide your gloved hand under the raised course and locate the damaged tile’s head and side interlocks. Keep three points of contact, and brace your weight on a secured roof ladder or hook. Wiggle the tile upward to disengage the head nibs from the batten, then pull it laterally to unlock the side lap without prying against adjacent tiles. If grit binds the joint, sweep the seam with a stiff brush instead of forcing it. Note Roofing material types: clay, concrete, slate, and fiber-cement vary in brittleness and edge profiles, so match your force to the material. Respect Roof tile history—older tiles may be thinner, weathered, and fragile. Lower the removed tile into a bucket, never toss it.
Install and Secure the Replacement Roof Tile
Once you’ve confirmed the batten and underlayment are intact, slide the replacement tile up into the open space, keeping it flat to avoid chipping the edges. Verify Tile material compatibility (clay, concrete, slate) and thickness before pushing it home so the nibs seat on the batten. Confirm Roof color matching now, since you can still swap tiles without disturbing adjacent courses. Lower the tail end until it rests evenly on the tiles below. If the system uses a clip, hook it over the tile’s edge and fasten it to the batten with the specified corrosion-resistant screw. If it’s nail-fixed, drive the nail through the preformed hole at the manufacturer’s angle, then stop at snug—don’t crack the tile. Clear debris from the joint.
Check Alignment and Test for Leaks
Before you call the repair finished, sight down the course and the vertical joints to confirm the new tile sits flush with its neighbors and maintains the same headlap and side gap as the surrounding field. Check that the butt edge seats tight and doesn’t rock under hand pressure. Verify Roof color matching in full daylight; mismatched sheen can signal the wrong profile or finish.
Next, apply Leak prevention techniques: inspect the fastener point, sealant bead, and any underlayment you can view at the lower edge. Clear debris from channels so water can drain. Then run a controlled hose test from upslope only, keeping pressure low to avoid driving water laterally. Watch the attic or underside for drips for 10–15 minutes, and recheck after drying.
Frequently Asked Questions
Will a Single Missing Tile Affect My Home Insurance Coverage?
Yes, a single missing tile can jeopardize your insurance coverage if you don’t mitigate damage. Document it, notify your insurer, arrange prompt repair, and check your home warranty for exclusions. Prevent leaks and secondary loss.
Can I Replace a Roof Tile During Winter or Freezing Temperatures?
Yes, you can—if you treat Winter weather like a loaded tool. Check forecasts, avoid freezing temperatures and ice, wear traction gear, secure a harness, warm materials, work quickly, and stop if surfaces slick.
How Much Does Professional Single-Tile Replacement Typically Cost?
You’ll typically pay $150–$450 for pro single-tile replacement. Get a cost estimate: 1) Inspect access/safety setup. 2) Match tile type. 3) Replace/secure. Pricing factors include height, pitch, underlayment damage, and travel.
Do I Need a Permit to Replace One Roof Tile?
Usually you don’t need a permit for one tile—but check first. Verify Roof tile permits with your city; document repairs for Insurance implications. Work safely: inspect code triggers, confirm material match, then schedule inspection if required.
How Can I Prevent Future Tile Breakage From Foot Traffic?
Prevent future breakage by limiting access: use foot traffic prevention routes with roof ladders and walk pads. Step on lower thirds over battens, wear soft shoes, and add tile reinforcement clips/foam.
Conclusion
You’ve swapped that cracked tile without disturbing its neighbors, like replacing one missing scale on a shield. Recheck your footing, then scan the courses for straight lines and tight overlaps. Tug the new tile gently to confirm it’s seated and fastened. From inside, inspect the underlayment for damp spots, then run a controlled hose test upslope to verify runoff. Log the tile type and location, and you’ll keep future repairs fast and safe.
About the Author



