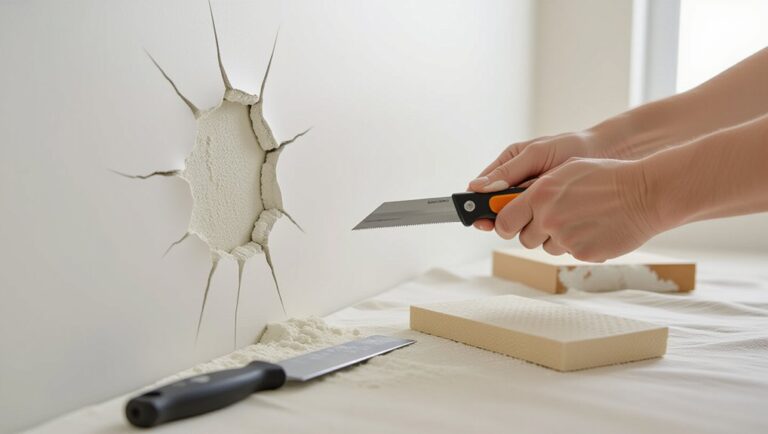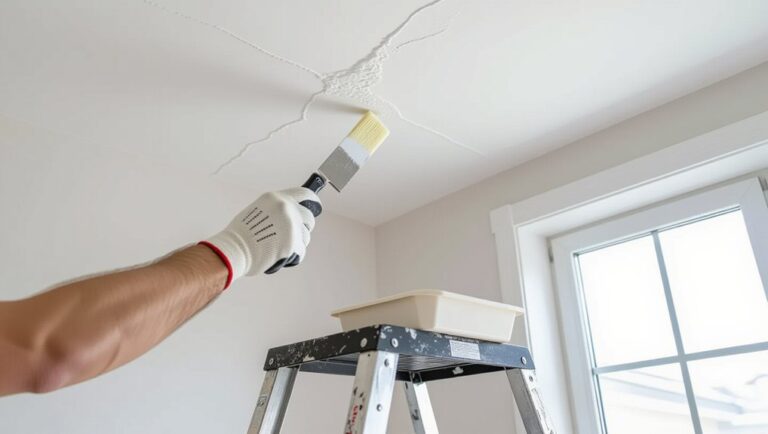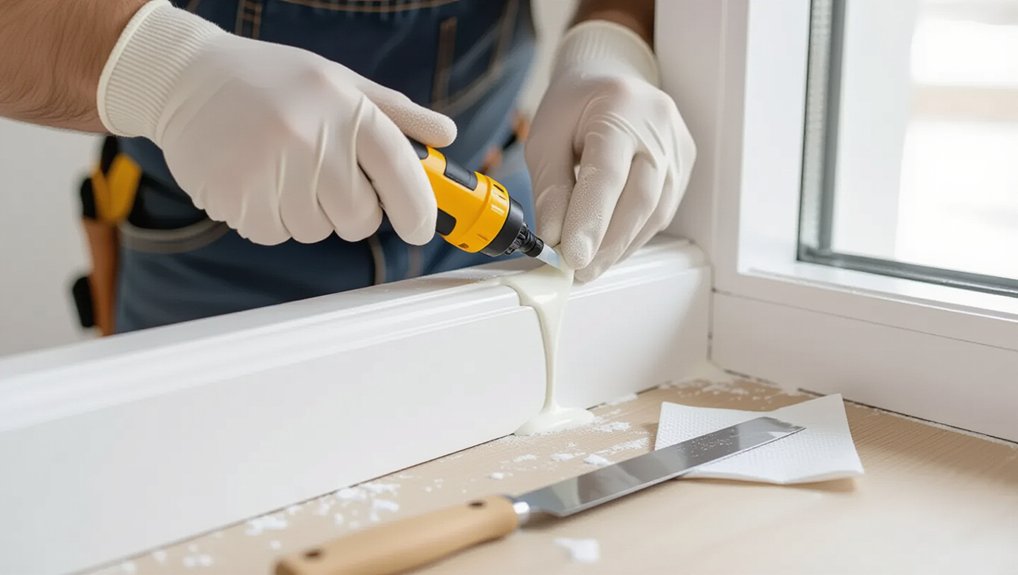
You’ll repair an interior window frame seal by spotting cracks, gaps, discoloration, or tacky/crumbly caulk, then removing the failing bead with a utility knife and scraper. Vacuum debris, wipe with isopropyl alcohol, and confirm the joint is fully dry. Mask both edges with painter’s tape. For wide voids, install backer rod or minimal low-expansion foam, then trim flush. Apply interior-rated silicone (wet areas) or acrylic (paintable), tool immediately, ventilate, and let it cure—next you’ll pick the best bead profile.
Key Takeaways
- Inspect for cracks, gaps, discoloration, mildew, or musty odors to confirm failing caulk and possible moisture intrusion.
- Remove old caulk by scoring edges, peeling carefully to sound substrate, and vacuuming debris to prevent scratches and contamination.
- Clean and dry the joint fully, wipe with isopropyl alcohol, and mask both sides with painter’s tape for crisp sealant lines.
- For deep or uneven gaps, insert closed-cell backer rod or low-expansion foam, then trim flush to leave an even recess.
- Apply interior-rated silicone or paintable acrylic caulk, tool immediately for adhesion, and keep the joint dry until fully cured.
How to Tell Interior Window Caulk Is Failing
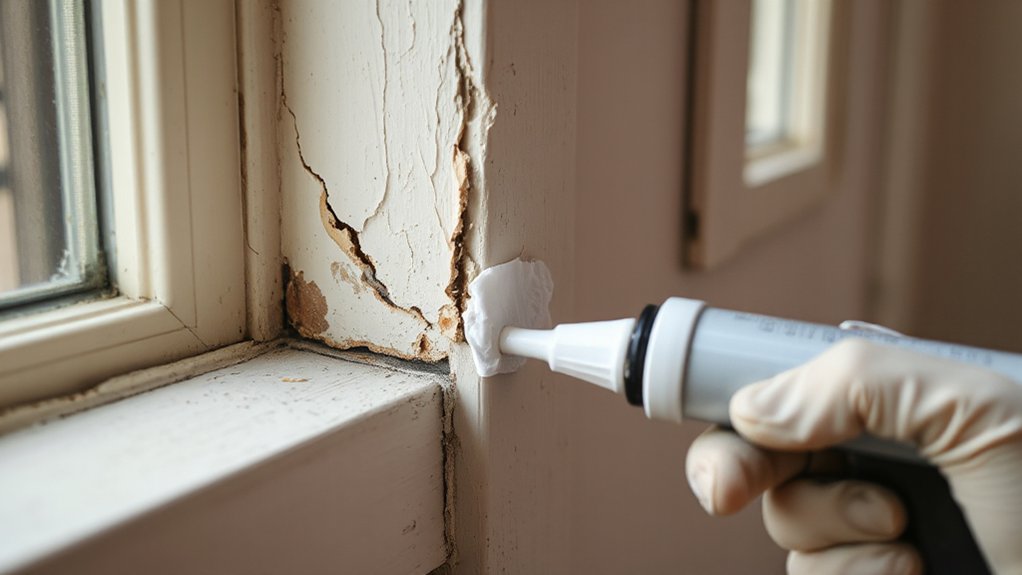
Although interior window caulk is meant to form an airtight, watertight seal between the frame and surrounding trim or drywall, it fails in predictable ways you can spot during a close inspection. Look for hairline cracks, gaps at miters, and sections pulling away from either surface. Check caulk color changes: yellowing, dark staining, or mildew specks can indicate moisture intrusion or poor adhesion. Run a gloved fingertip along the bead; crumbling, powdering, or tackiness shows breakdown. Watch for shrinkage that exposes raw drywall paper or unfinished wood. Inspect corners and junctions where the window frame shape changes, such as arched heads or deep jamb returns; stress concentrates there first. If you see condensation tracks, soft trim, or musty odor, treat it as a potential hidden leak.
Choose the Right Interior Window Sealant (Silicone vs Acrylic)
When you replace failing interior caulk, you need to match the sealant to the joint’s movement and moisture exposure. You’ll choose silicone when you need maximum flexibility, water resistance, and long-term adhesion, especially near condensation-prone glass and trim. You’ll use acrylic caulk where paintability and easy tooling matter most on stable, low-moisture interior seams, and you should confirm ventilation and VOC ratings before you apply either product.
Silicone Sealant Advantages
Before you choose an interior window sealant, weigh silicone’s performance advantages against acrylic’s ease of tooling, because the wrong product can fail early and compromise the frame. Silicone cures into a flexible, low-shrink gasket that maintains adhesion under thermal cycling and vibration, improving window insulation by limiting air leakage at the sash-to-trim interface. You’ll also get superior moisture resistance, which helps prevent condensation-driven rot at internal frame joints. Use a neutral-cure, low-VOC silicone to reduce odor and corrosion risk near metals, and ventilate the work area. Silicone bonds well to glass, glazed ceramics, and many plastics, but verify paint compatibility: most silicones resist paint and can cause fisheyes on adjacent coatings. Mask carefully, tool once, and keep solvents away from fresh bead.
Acrylic Caulk Best Uses
Silicone shines where you need maximum flexibility and water resistance, but acrylic caulk fits interior window joints that you plan to paint and that see modest movement. Use it at drywall-to-frame seams, along primed wood, and around Decorative window trims where a clean, paint-ready bead matters.
Choose a high-quality, paintable acrylic latex (or siliconized acrylic) and confirm it’s rated for interior gaps you’re sealing. Tool the bead immediately, keep it off glass, and wipe smears with water before it skins. Maintain ventilation and wear gloves to limit skin sensitization. Let it cure per label before repainting or closing the window to prevent adhesion failure. When applied continuously without voids, acrylic caulk reduces drafts and supports Energy efficiency enhancements without the glossy, paint-repelling surface of silicone.
Tools and Materials to Reseal an Interior Window Frame
Although resealing an interior window frame looks straightforward, you’ll get cleaner, longer-lasting results if you stage the right tools and materials up front. Choose a high-quality acrylic-latex or silicone caulk rated for interior windows, plus a compatible primer if the manufacturer requires it. Load it in a smooth-rod caulk gun for controlled dispensing, and keep a caulk finishing tool or plastic spoon for consistent bead shaping.
Wear nitrile gloves, safety glasses, and a P2/N95 mask if you’ll be working near dust or old paint. Use painter’s tape to protect drywall edges, Decorative window trims, and adjacent paint lines. Keep denatured alcohol or mild detergent, clean rags, and a shop vacuum for final surface prep. Include Energy efficiency tips: use low-shrink sealant and backer rod for wide gaps.
Remove Old Caulk From the Interior Window Frame Cleanly
Once you’ve staged your gear and masked nearby surfaces, remove the old caulk in controlled passes so you don’t gouge the jamb, sash, or drywall. Score both edges of the bead with a sharp utility knife, keeping the blade shallow and pulling away from your body. Lift a starting tab with a caulk remover or 5‑in‑1 tool, then peel steadily; if it tears, re-score and continue. For stubborn silicone, apply a silicone softener per label, ventilate well, and wear nitrile gloves and eye protection. Scrape only until you reach sound substrate, especially around Decorative trim, where slips ruin Window aesthetics. Vacuum fragments as you work to prevent grit from scratching painted surfaces and glass.
Clean, Dry, and Mask Interior Window Frame Gaps
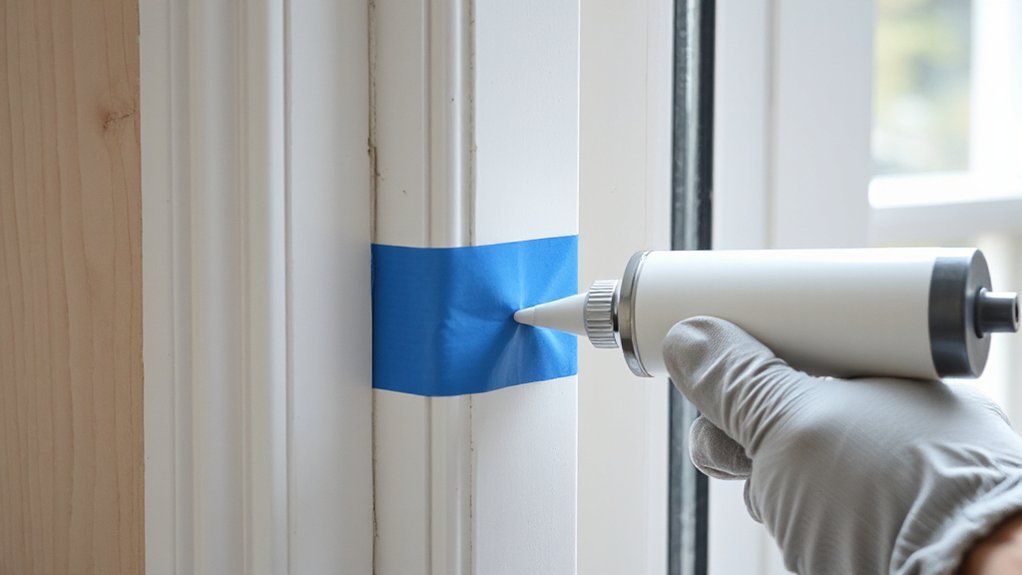
Vacuum or brush out loose debris and dust from the frame gaps, and wear eye protection to prevent irritation. You’ll need the joint completely dry before sealing, so wipe with a clean cloth and allow adequate drying time to avoid adhesion failure. Apply painter’s tape along both edges of the gap to control bead width and protect finished surfaces.
Remove Old Debris
Before you apply any filler or sealant, how clean and dry are the gaps in your interior window frame? Remove loose paint, crumbling caulk, and dust so the new bead bonds properly and doesn’t telegraph bumps that ruin Window frame aesthetics. Put on cut-resistant gloves and safety glasses, then score old sealant with a sharp utility knife and lift it with a stiff putty knife, keeping the blade flat to avoid gouging wood or PVC. Vacuum the joint with a crevice tool, then wipe with a lint-free cloth lightly dampened with isopropyl alcohol to strip oils and residue. Mask both sides of the gap with painter’s tape to control bead width and support crisp edges, especially when comparing Sealant color options. Dispose of debris safely.
Ensure Complete Dryness
Although the joint may look clean, you’ve got to confirm it’s completely dry so filler or sealant adheres instead of trapping moisture behind the bead. After debris removal, inspect the gap for dark staining, dampness, or a musty odor—signs of Moisture infiltration. Use a dry lint-free cloth to wipe the channel; if it drags or picks up moisture, stop and dry further. Speed drying with gentle airflow and moderate heat, keeping tools away from paint and glazing to prevent damage. Check corners and end-grain carefully, since they hold water longest. Don’t seal over condensation or wet timber; it can promote rot and mold. When the surface feels dry, verify by pressing clean tissue against it for 10 seconds. A dry joint supports reliable paint adhesion.
Apply Painter’s Tape
Once the frame and joint are fully dry, mask the repair area with painter’s tape to control squeeze-out and protect painted trim and glazing. Use a low-tack tape rated for interior Painting preparation, and press it down with a plastic putty knife so sealant can’t creep under the edge. Run tape parallel to the gap, leaving a consistent reveal that matches the bead width you’ll tool. Keep tape off weatherstripping and hardware to prevent adhesive transfer. For tight corners, tear short segments and overlap slightly; don’t stretch tape, or it’ll lift. Wear gloves when handling solvents or primers, and keep blades capped until needed. Accurate masking improves Window frame insulation by maintaining a continuous, uniform seal line. Peel tape immediately after tooling while sealant’s wet.
Fill Wide Gaps (Backer Rod/Foam) Before Sealing
When the gap between the window frame and the surrounding trim or wall exceeds about 1/4 in. (6 mm), you should pack it with backer rod or low-expansion foam so the sealant doesn’t slump, crack, or waste material. Choose closed-cell backer rod 25–30% wider than the joint, then press it in with a blunt putty knife for proper Backer rod installation; don’t puncture it or it’ll absorb moisture.
For irregular voids, use Foam filling techniques: shake the can, apply minimal beads, and keep the nozzle moving to avoid overfill and bowing trim. Wear gloves and eye protection, and ventilate the room. Trim cured foam flush with a utility knife, leaving a consistent recess for sealant depth control.
Apply, Smooth, and Cure a Neat Interior Window Caulk Bead
With the gap properly packed using backer rod or trimmed foam, you can lay a controlled caulk bead that bonds to the two faces of the joint without sagging into the void. Cut the nozzle at a 30–45° angle, size it to the joint, and puncture the seal. Mask both edges if you want crisp lines and easier color matching. Hold the gun steady and pull it toward you to maintain constant pressure and bead width. Tool immediately with a dampened caulk tool or gloved finger, pressing lightly to wet both sides, not the backer. Ventilate the room and wear nitrile gloves. Keep the joint dry during cure; avoid washing or painting until fully cured. Proper curing improves sealant lifespan.
Frequently Asked Questions
How Long Does Interior Window Sealant Typically Last Before Needing Replacement?
Interior window sealant typically lasts 5–10 years; Sealant durability depends on UV exposure, humidity, and movement. For safe Replacement timing, you should replace it when you see cracks, shrinkage, gaps, or persistent drafts.
Can I Paint Over Fresh Interior Caulk, and When Is It Safe?
Yes—you can paint over fresh interior caulk; but don’t rush: haste makes waste. For Painting preparation, wait until it’s fully cured (24–72 hours). Choose paintable acrylic/latex; avoid silicone. Confirm Caulk color options.
Will Resealing Interior Frames Reduce Drafts and Lower Energy Bills Noticeably?
Yes—if you seal gaps well, you’ll get Draft reduction and improved energy efficiency, often noticeable in comfort and bills. Use low-VOC, paintable caulk, ventilate, and avoid sealing weep paths to prevent moisture damage.
Is It Safe to Caulk Around Windows in Older Homes With Lead Paint?
Yes, you can, but treat it as Lead paint safety work: don’t sand or scrape; mist surfaces, use HEPA vacuum, wear P100 respirator, seal chips. For Old window maintenance, choose low-VOC caulk, and clean carefully.
Should I Reseal Interior Window Frames During Humid Weather or Wait?
Wait if you can; high humidity slows curing, harms adhesion, and reduces sealant durability. Reseal only when indoor RH is 30–50% and surfaces are dry—key Weather considerations. Ventilate, dehumidify, and follow manufacturer cure times.
Conclusion
Once you’ve stripped the old caulk, cleaned the frame, and laid a fresh bead, you’ve basically turned that drafty window into a fortress. Don’t rush: let the sealant cure exactly as the label states, or you’ll undo all that prep in a heartbeat. Keep ventilation on, wear gloves, and cut the nozzle for a controlled bead—sloppy application can look like a caulk avalanche. With the right sealant and backer rod, gaps won’t stand a chance.
About the Author