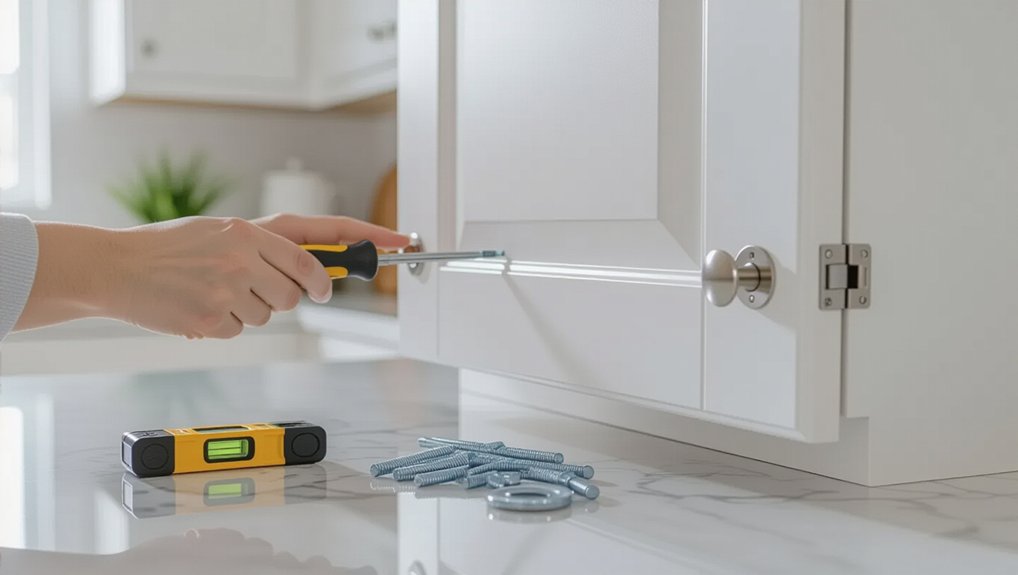
Start by opening and closing the door to spot binding, spring-back, or interference from shelf pins, drawer fronts, debris, or paint buildup. Tighten loose hinge screws, repair stripped holes with glued toothpicks, then adjust Euro hinges for height, side-to-side reveal, and in/out depth until gaps are even and the door sits flush. Clean and reset the catch and strike plate in 1–2 mm moves, and replace bumpers if it rebounds. Next, you’ll see how to handle warped doors and worn soft-close parts.
Key Takeaways
- Inspect for hinge looseness, door warp, or obstructions like shelf pins, drawer fronts, or debris causing binding before latch engagement.
- Clean hinge cups, strike areas, and door edges; remove grease, paint overspray, and replace flattened bumpers to reduce friction and rebound.
- Tighten all hinge screws and repair stripped holes with glued toothpicks, then re-drive screws snug while supporting the door.
- Use hinge adjustments to level, shift side-to-side, and set depth so reveals are even and the door sits flush with adjacent panels.
- Reposition or replace the catch/strike plate in 1–2 mm steps so it snaps firmly shut without forcing or spring-back.
Diagnose Why Your Cabinet Doors Won’t Close
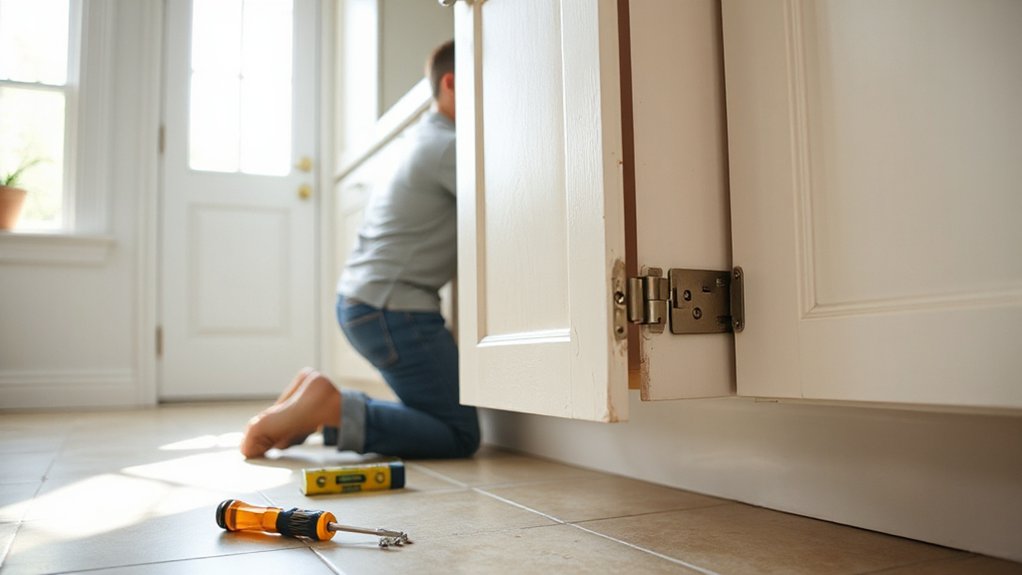
Before you adjust anything, pinpoint the failure point by checking the door’s movement from open to fully closed. Watch for binding, spring-back, or a stall before the latch meets the strike. Note whether the gap is uniform or tapered; a taper indicates hinge misalignment or a racked box.
Inspect hinge screws for looseness, stripped holes, or bent arms. Verify the door isn’t warped by placing a straightedge along its stile. Check for interference: shelf pins, drawer fronts, or face-frame edges that contact early. Look for debris buildup; cabinet cleaning residue can dry into a ridge that blocks full closure. Also check for Kitchen paint on hinge knuckles, bumpers, or along the reveal, since overspray increases friction. Confirm the magnetic catch aligns and pulls evenly.
Tools to Fix Cabinet Doors That Won’t Close
Once you’ve identified where the door binds or springs back, gather a short set of tools that let you adjust hinges, correct minor alignment issues, and confirm clearances without guesswork. Use a #2 Phillips and a 3/32-inch hex key to access common hinge adjustment screws. Keep a small flathead for bumper removal and clip-style hardware releases. Measure reveals with a 6-inch combination square and verify cabinet face flatness using a compact torpedo level. Mark rub points with painter’s tape and a soft pencil. A feeler gauge set helps you quantify gaps at the latch side and near shelves. For cabinet cleaning that affects closure, use a nylon brush and degreaser-safe cloth to clear hinge cups and strike zones. Protect Kitchen decor with a drop cloth.
Tighten Loose Hinges to Stop Sagging Doors
With your screwdriver, hex key, and square in hand, start by eliminating the most common cause of a door that sags and won’t stay aligned: loose hinge fasteners. Open the door fully and support its weight so you don’t strip screws while tightening.
Check each hinge leaf: first the screws into the cabinet box, then the screws into the door. Drive them snug, not crushed; stop when the hinge stops shifting under hand pressure. If a Euro hinge uses a hex socket, tighten that fastener to the maker’s spec. Confirm the hinge sits flat against the surface; gaps signal debris or a bent leaf. After Cabinet painting, remove paint buildup from screw heads before tightening. Reinstall Decorative hardware only after the door holds position.
Adjust Hinges Up/Down for Level Doors
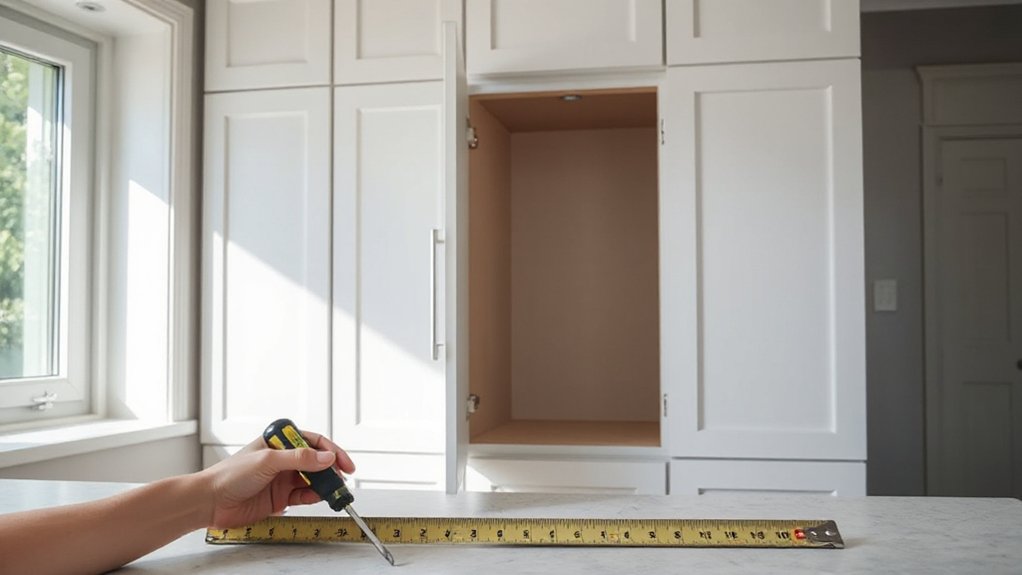
Locate the vertical adjustment screws on each hinge, typically on the mounting plate, and loosen them just enough to allow movement. Shift the door up or down in small increments, then retighten the screws to lock the position. Recheck reveal gaps and edge alignment against adjacent doors and the cabinet frame, and repeat until it’s level.
Locate Vertical Adjustment Screws
Before you start turning screws at random, identify the hinge’s vertical adjustment screw—the one that moves the door up or down to level it with adjacent doors. On most European concealed hinges, you’ll see three screws: one mounts the hinge cup to the door, one mounts the hinge arm to the cabinet plate, and one adjusts. The vertical adjuster usually sits on the mounting plate or hinge arm and drives the arm in slotted tracks. Confirm by watching which screw changes the gap at the top and bottom during a tiny test turn, then return it to the start position. Note each hinge placement: top hinge influences the upper reveal more; bottom hinge affects the lower reveal. This isolates vertical alignment control for each hinge pair.
Raise Or Lower Door
How do you level a cabinet door that sits high on one side or drags low on the other? Support the door with one hand to remove hinge strain. Use a #2 Phillips or Pozi bit on the vertical adjustment screw you located. Turn clockwise to raise that hinge-side edge; turn counterclockwise to lower it. Work in quarter-turn increments, alternating between the upper and lower hinges so the door stays stable and the hinge plates don’t bind. If the door needs more travel than the cam allows, slightly loosen the mounting screws, slide the hinge plate up or down, then retighten firmly. Protect Decorative hardware by masking adjacent pulls and knobs. Keep Cabinet lighting on so you can see the reveal while you adjust.
Recheck Door Alignment
With the door now sitting at the right height on each hinge, recheck its alignment so the top and bottom edges read level and the reveal stays even. Close the door gently and inspect the gaps along the stile and rail; measure with a feeler gauge or a credit card for consistency. If the top gap widens, loosen the mounting screws slightly and shift the hinge plate up; if the bottom gap widens, shift it down. Tighten screws firmly without crushing Cabinet materials like MDF or particleboard. Reopen and close twice to confirm repeatability, then verify the latch engages without force. Protect Door paint by using a padded driver bit and masking tape near screw heads to prevent chipping. Recheck once more under full closure.
Adjust Hinges In/Out to Stop Rubbing
If your cabinet door rubs the face frame or the adjacent door, dial the hinge depth (in/out) adjustment to shift the door closer to or farther from the cabinet box without changing its height. Open the door, locate the depth screw on each European hinge, and turn it in small increments (about 1/8 turn). Turning clockwise usually pulls the door inward; counterclockwise pushes it outward—confirm by watching the door edge move relative to the frame. Adjust both hinges equally to keep the door parallel, then fine-tune one hinge if the rub is localized at the top or bottom. Recheck the reveal with the door closed. After door painting, clear any paint buildup around the hinge cup and screws. Finish with hinge lubrication to reduce drag while testing.
Replace Bumpers or Catches so Doors Latch
Check the door edge and face frame for worn, missing, or compressed bumpers that prevent full contact and leave the door unlatched. Select a catch type that matches the door weight and closing action—magnetic, roller, or ball—then confirm alignment with the strike plate. Install the new bumpers or catch hardware with pilot holes, then adjust position and tension until the door closes flush and latches consistently.
Identify Worn Bumpers
Why won’t the door stay shut even though the hinges look fine? Check the bumpers. Open the door and inspect each corner of the frame and the door edge for missing pads, flattening, glazing, or adhesive creep. A worn bumper reduces stand-off, so the door overtravels and rebounds instead of seating. Press a fingernail into the bumper: if it doesn’t rebound quickly, it’s spent. Measure thickness with calipers and compare corners; uneven compression can twist alignment and mimic hinge issues. Clean the contact area and look for shiny impact marks that indicate hard wood-to-wood contact. Note decorative bumper options and do a bumper material comparison (felt, rubber, silicone) based on resilience, grip, and noise control. Document locations before replacement.
Choose Proper Catch Type
Although fresh bumpers restore the stand-off, the door still won’t latch reliably until you match the catch to the door’s closing force and the cabinet’s construction. Start by identifying what’s already there: magnetic, roller, ball, or friction. Use magnetic catches for light doors and for Modern cabinet styles where clean, low-profile hardware matters. Choose roller or ball catches when the door has more mass or when the face frame may rack slightly, because they tolerate minor misalignment and hold tension. For inset doors, favor ball catches or rare-earth magnets to prevent “spring-back.” Verify catch materials against Choosing cabinet finishes: plated steel can stain in humid kitchens, while nylon rollers and stainless components resist corrosion. Confirm the strike plate geometry matches the door overlay.
Install And Adjust Hardware
How do you get a door to latch every time? You replace worn bumpers or catches, then set alignment under light preload. First, do cabinet cleaning: remove grease so adhesives and screws hold. Peel off flattened rubber bumpers; scrape residue with a plastic putty knife. Install new bumpers at the door’s top and bottom corners, equal distance from edges, and press 30 seconds. If the door still rebounds, replace the catch. Mark the current strike plate position, then remove hardware. Mount the new catch square to the face frame; don’t overtorque screws. Close the door and shift the strike plate in 1–2 mm steps until you feel a firm snap. Tighten screws, recheck gaps, and confirm your Kitchen decor stays flush and quiet.
What to Do if a Cabinet Door Is Warped
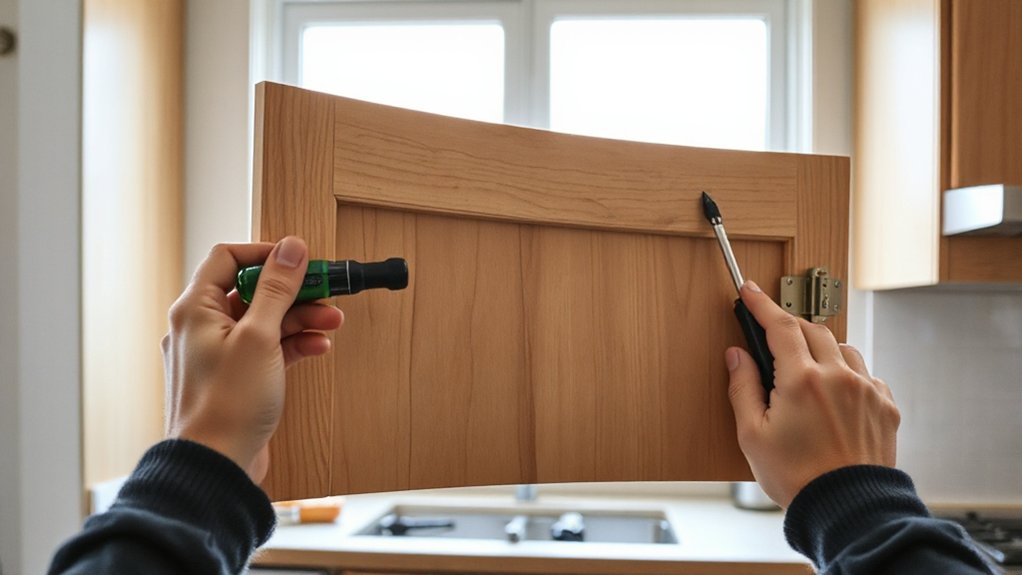
When a cabinet door warps, start by removing it and confirming the distortion with a straightedge across the stiles and rails, noting whether it’s a twist, bow, or cup. Mark the high corners with pencil so you can track progress.
For solid wood, stabilize moisture first: move the door into the kitchen for 48 hours, then check again. Clamp the door flat on a rigid surface with cauls; use wax paper to prevent sticking. Add shims at low areas to counter-cup, then leave clamped 24–72 hours. If the warp persists, plane or sand the hinge-side edge lightly to regain clearance, then seal all faces and edges evenly to reduce future movement. This Cabinet door maintenance supports reliable closure and cleaner Kitchen decor updates.
Replace Worn Hinges or Soft-Close Hardware
If your cabinet door starts sagging, clicking, or refusing to stay shut, replace the worn hinges or soft-close hardware before you chase alignment issues elsewhere. Open the door and inspect hinge cups, plates, and screws for stripped threads, bent arms, or ovalized holes. Test soft-close dampers by pushing the door to 30°; if it slams or rebounds, the damper’s failed.
Remove the door, label each hinge position, and swap parts like-for-like (overlay, inset, face-frame). If holes are blown out, glue in hardwood toothpicks, trim flush, and re-drive screws. Set hinge depth, side, and height adjustments to center reveals, then verify smooth closure. Reinstall Decorative hardware last so you don’t chip Custom paint.
Frequently Asked Questions
Why Do Cabinet Doors Pop Open After Closing?
Cabinet doors pop open because Door latch mechanics don’t engage or rebound under misalignment. You’ll often find hinge wear adjustment issues: loose screws, sagging hinges, or warped doors. Tighten, realign, and confirm latch strike alignment.
Can Humidity Seasonally Affect Cabinet Door Alignment?
Yes, humidity seasonally affects alignment. You’ll see Humidity fluctuations drive seasonal expansion and contraction in wood, shifting hinge offsets and reveal gaps. You can confirm by measuring door-to-frame clearances monthly, then adjusting hinges incrementally.
How Can I Childproof Cabinets That Won’T Stay Shut?
You can childproof cabinets that won’t stay shut by using Child safety magnetic locks or strap latches. Perform latch installation on the frame, align catches precisely, clean mounting surfaces, drill pilots, and torque fasteners securely.
Should I Upgrade to Concealed Hinges or Keep Surface-Mounted Ones?
Upgrade to Concealed hinges if you want clean lines, like a hidden latch in a spy novel. You’ll gain adjustability and safer closure. Keep Surface mounted hinges if you need quick retrofit, minimal drilling.
Will Repainting Cabinet Doors Change Hinge Alignment or Closing Clearance?
Repainting won’t shift hinges, but added paint finish can tighten closing clearance at edges and around hinge barrels. You’ll likely need minor hinge adjustment after curing; sand high spots, avoid paint buildup on hinge leaves.
Conclusion
You’ve now pinpointed why your cabinet doors won’t close and applied the right correction: tighten loose hinges, fine-tune hinge height and depth, and reset in/out alignment to eliminate rubbing. You’ve replaced worn bumpers or catches so the door latches reliably, and you’ve evaluated warping before forcing a bad fit. If hardware is fatigued, you’ve swapped hinges or soft-close parts. Like a well-wound pocket watch, everything shuts cleanly—repeat checks quarterly.
About the Author