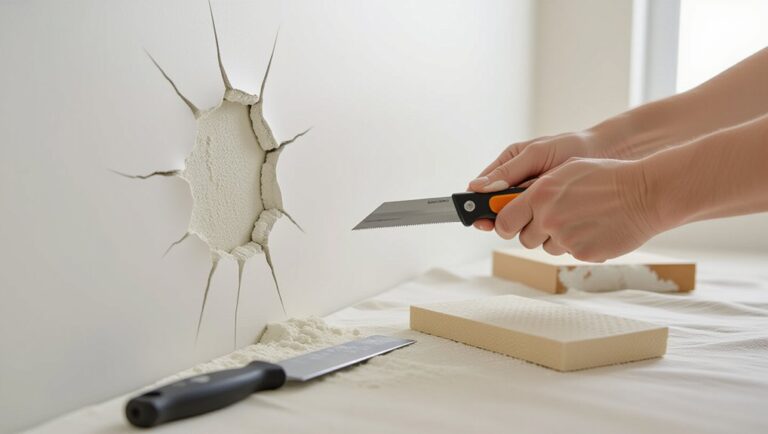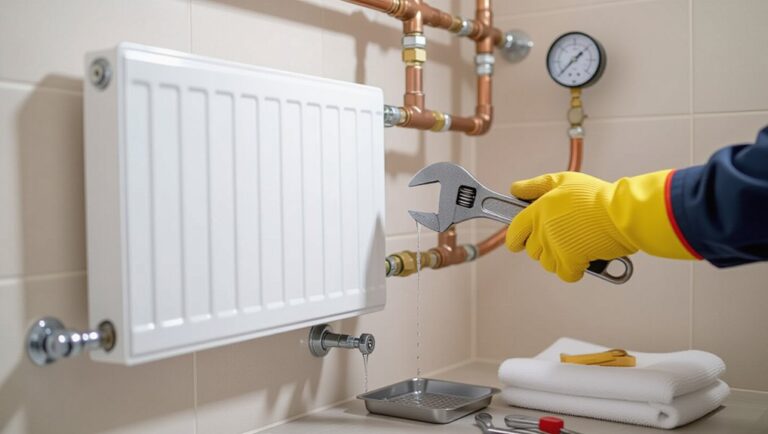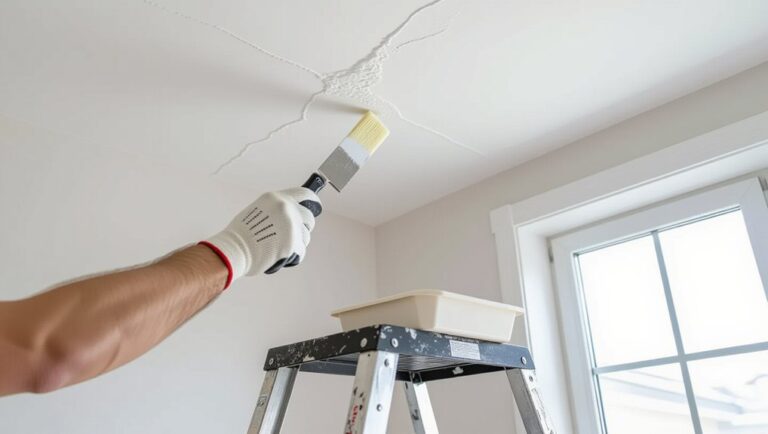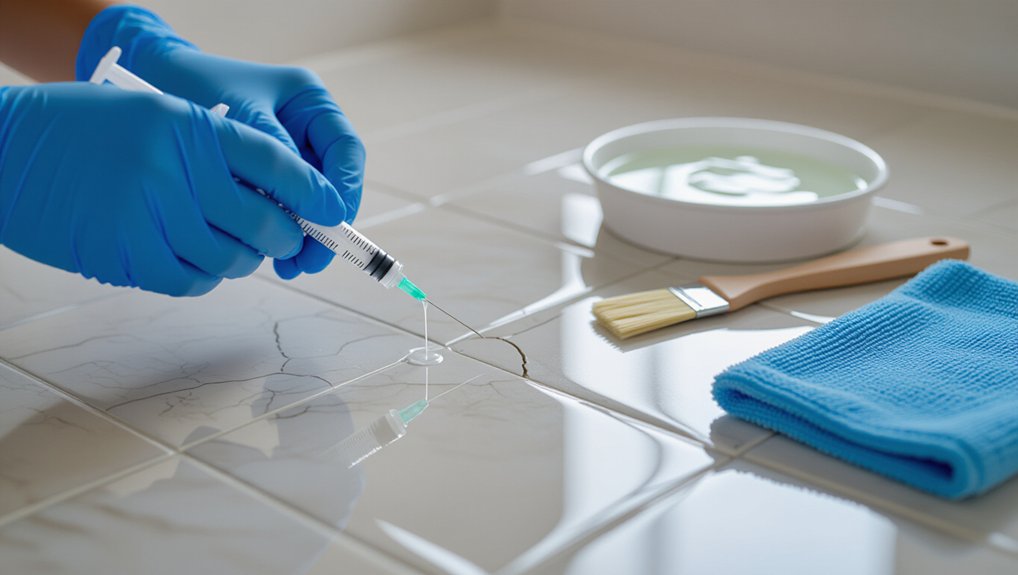
Start by diagnosing the crack: tap for hollow sounds, press nearby tiles for flex, and map repeating cracks that suggest subfloor movement. If it’s a hairline crack, clean and degrease, mask edges, then inject color-matched flexible grout caulk or epoxy and tool it smooth before sealing. For chips, pack tinted two-part epoxy, cure, wet-sand, and polish. Replace only wide or spreading cracks by removing the tile, re-thinsetting, and regrouting. Next, you’ll see how to verify subfloor rot and reinforcement.
Key Takeaways
- Identify the crack cause—impact, hollow tile, or repeating pattern—since recurring cracks usually mean subfloor movement.
- Sound-test and press tiles for looseness; fix squeaks, rot, or moisture above 20% before any cosmetic repair.
- For hairline cracks, clean and deglaze the groove, then fill with color-matched grout caulk or epoxy and seal.
- For chips, undercut the glaze, degrease, lightly scuff, pack tinted two-part epoxy, then wet-sand and polish after curing.
- Replace only badly cracked tiles by scoring grout, breaking inward, resetting with fresh thinset, then regrouting and sealing.
What Caused Your Bathroom Tiles to Crack
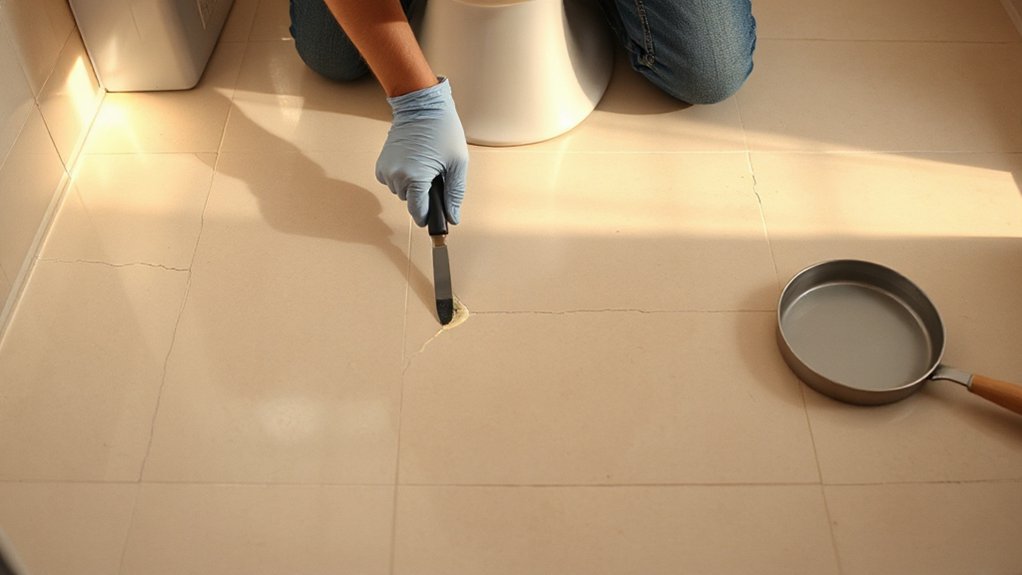
Three root problems typically make bathroom tiles crack: movement in the substrate, stress from improper installation, or direct impact. First, check for substrate movement: press around the crack; if you feel flex or hear squeaks, the subfloor or backer board isn’t rigid. Next, inspect installation stress: look for cracked grout lines, hollow sounds when you tap, or cracks radiating from corners—signs of poor thinset coverage, no movement joints, or tiles butted too tight. Then rule out impact: a localized starburst crack often matches a dropped object. Finally, map the crack relative to Tile color and design patterns; repeating cracks along a pattern line can indicate lippage, uneven support, or a joist seam beneath.
Decide: Repair Cracked Tiles or Replace Them
Once you’ve identified whether the crack comes from substrate movement, installation stress, or impact, decide if you can stabilize and patch the surface or if you need to pull the tile and rebuild the support. Start by checking if the tile is still firmly bonded: tap it; a hollow sound or edge lift means replacement. If the tile is solid and the crack is hairline, clean the groove, deglaze, and fill with color-matched epoxy or grout repair, then seal. If the crack crosses corners, widens, or chips out, replace to restore strength and water resistance. Confirm you can match tile color and decorative patterns; if not, swap multiple tiles in a controlled area so the layout still looks intentional. Test-fit and level before bonding.
Check the Subfloor for Movement and Rot
Press on the cracked and adjacent tiles to confirm movement, then trace likely causes such as a loose underlayment, failed thinset, or joist deflection. Pull a nearby vent cover or remove a small section at the edge to inspect the subfloor for dark staining, softness, swelling, or mold that indicates rot. If you find flex or damage, you’ll stiffen the assembly by replacing compromised panels, adding blocking or sistering joists, and re-fastening the subfloor before you reset tile.
Identify Tile Movement Causes
Because cracked tiles often trace back to a shifting base, start by checking the subfloor for movement and rot before you plan any tile repair. Clear the area, then remove the toilet trim or threshold only if it blocks access. Walk the floor in slow passes and note any bounce, squeaks, or clicking at grout lines. Place a 4‑ft straightedge across multiple tiles; mark lippage changes with tape so you can track drift. Check along seams and gradual changes where movement concentrates. If your tile color or design patterns “break” at a crack line, map it; repeating offsets often mirror joist spacing. From below, probe fasteners: tighten loose screws, add blocking, and recheck deflection until it’s stable.
Inspect For Subfloor Rot
After you’ve checked for bounce and tracked where the tile field shifts, verify the subfloor itself hasn’t degraded from moisture. Shut off water, remove the toilet if needed, and lift a floor register or transition strip to access edges. Probe the exposed wood with an awl: sound plywood resists; rot feels soft, fibers crush, and the tool sinks. Check around the tub, vanity, and toilet flange for dark staining, delamination, or a musty odor. From below, inspect joist bays for damp insulation, mold, or rusty fasteners. Measure moisture with a pin meter; readings above ~20% suggest active wetting. Document locations for later Tile cleaning and design coordination so patch boundaries won’t changeover through grout lines.
Reinforce Weak Subfloor Areas
Where does the floor actually move when you load it—at a seam, around the flange, or across a joist bay? Find it by walking heel-to-toe while a helper watches for tile-edge lift. Pull the nearest cracked tile or remove a vent cover to view the subfloor. Probe dark areas with an awl; if fibers crumble or feel spongy, you’ve got rot and must cut back to sound wood. If it’s only flex, drive 2-1/2 in. deck screws every 6 in. into joists, then add blocking between joists under seams. Glue and screw a 3/8 in. exterior plywood patch, staggering joints. This stiffens the base, improves Tile maintenance, and protects Bathroom decor.
Tools and Materials for Cracked Tile Repair
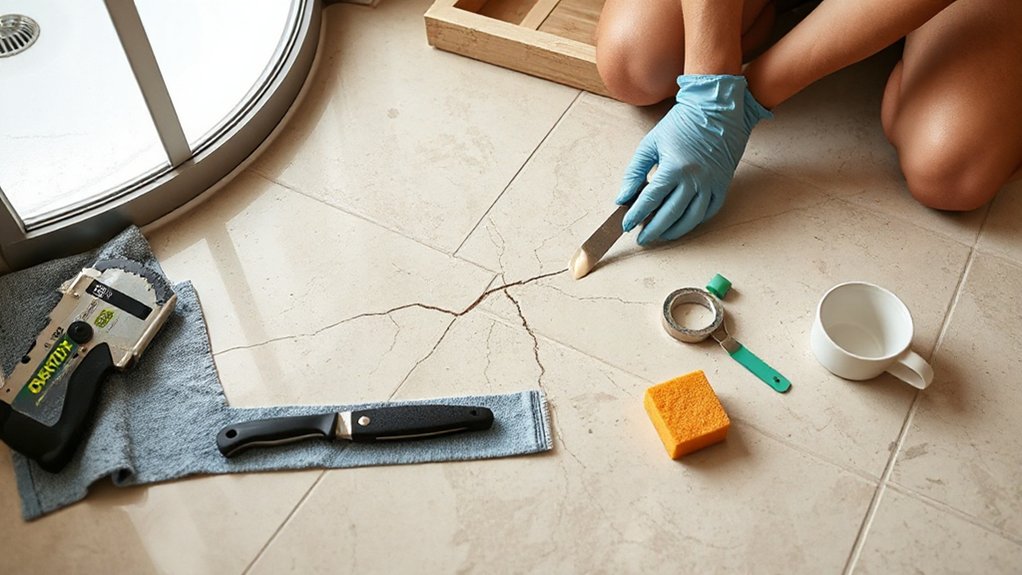
Start by staging essential repair tools: a utility knife, grout saw or oscillating tool, cold chisel, putty knife, notched trowel, mixing cup, and a sponge. Next, choose your patch and adhesive system—two-part epoxy filler for hairline cracks, thinset mortar for replacement tiles, or a polymer-modified repair compound for small chips. Finish by setting out grout and sealant supplies, including matching grout, grout float, caulk for change-of-plane joints, and a penetrating sealer for the cured repair.
Essential Repair Tools
Before you touch the cracked tile, gather the repair tools and materials you’ll need so the job moves in a controlled sequence. Start with safety gear: nitrile gloves, safety glasses, and a P100 dust mask. Lay down painter’s tape and a drop cloth to protect Bathroom decor and preserve surrounding tile patterns from scratches.
Next, stage your removal and prep tools. Use a utility knife for scoring grout lines and trimming tape. Keep a grout saw, carbide scraper, and cold chisel with a small hammer for controlled chip-out. Add a shop vacuum, stiff nylon brush, and microfiber cloths for dust control and surface cleaning. Finally, set out a straightedge, marker, calipers, and a small level to verify alignment and thickness before you proceed.
Patch and Adhesive Options
Although a cracked tile can sometimes be stabilized without full removal, you’ll get the most reliable repair by matching the patch or adhesive to the tile type, crack width, and substrate movement. First, choose a low-viscosity, two-part epoxy for hairline cracks; it’ll wick into the fracture and bond edges. For wider voids or missing corners, use an epoxy paste or polymer-modified repair mortar rated for wet areas. Next, confirm adhesive compatibility: porcelain needs high-bond epoxy or modified thinset, while natural stone may require non-staining formulations. Tint epoxy with pigment to match tile color, then test on a scrap cure. Finally, inject or pack the material, clamp with painter’s tape, and let it cure per label before loading the floor.
Grout and Sealant Supplies
Once you’ve stabilized the crack with the right patch or adhesive, gather grout and sealant supplies that match your joint type and exposure to water. Choose sanded grout for joints wider than 1/8 inch and unsanded for tighter joints to prevent scratching. Match Grout color by dry-fitting a sample against damp tile; lighting shifts tone. Keep a margin float, grout sponge, microfiber cloth, bucket, and measuring cup for consistent ratios.
Mix grout to a peanut-butter consistency, let it slake 5–10 minutes, then remix. Pack joints diagonally, strike flush, and clean haze after initial set. After full cure, apply a penetrating grout sealer or use epoxy grout. Finish edges and changes-of-plane with 100% silicone; tool smooth for Sealant longevity.
Fill and Seal Hairline Bathroom Tile Cracks
How do you stop a hairline tile crack from pulling in moisture and growing? Start with tile maintenance: vacuum grit, then degrease the tile with pH-neutral cleaner and dry it fully. Mask both sides of the crack with painter’s tape to keep edges crisp for aesthetic enhancement.
Next, force a color-matched, flexible grout caulk into the crack using a narrow nozzle. Work in short passes, pressing firmly so the sealant bridges the fracture and bonds to both sides. Tool it immediately with a damp fingertip or silicone tool to flatten and remove voids. Peel tape before a skin forms.
Finally, keep the area dry and untrafficked for the manufacturer’s cure time, then inspect for pinholes and touch up if needed.
Fix Chipped Bathroom Tiles With Epoxy Filler
Before you spread epoxy, you’ll get a stronger, less visible repair by prepping the chip like a bonding surface, not a cosmetic flaw. Mask around the damage with painter’s tape. Undercut loose glaze with a sharp utility knife, then vacuum grit. Degrease with isopropyl alcohol and let it dry fully. Lightly scuff the chip with 220-grit to create tooth without enlarging the crater.
Mix a two-part epoxy filler on a nonporous board, keeping the ratio exact. Tint small batches to match Tile color; test-cure a dab. Pack epoxy into the chip with a plastic putty knife, overfilling slightly. Shape to follow design patterns and edge radii. After cure, wet-sand 400–800 grit flush, then polish. Remove tape and wipe clean.
Replace One Cracked Bathroom Tile (Step-by-Step)
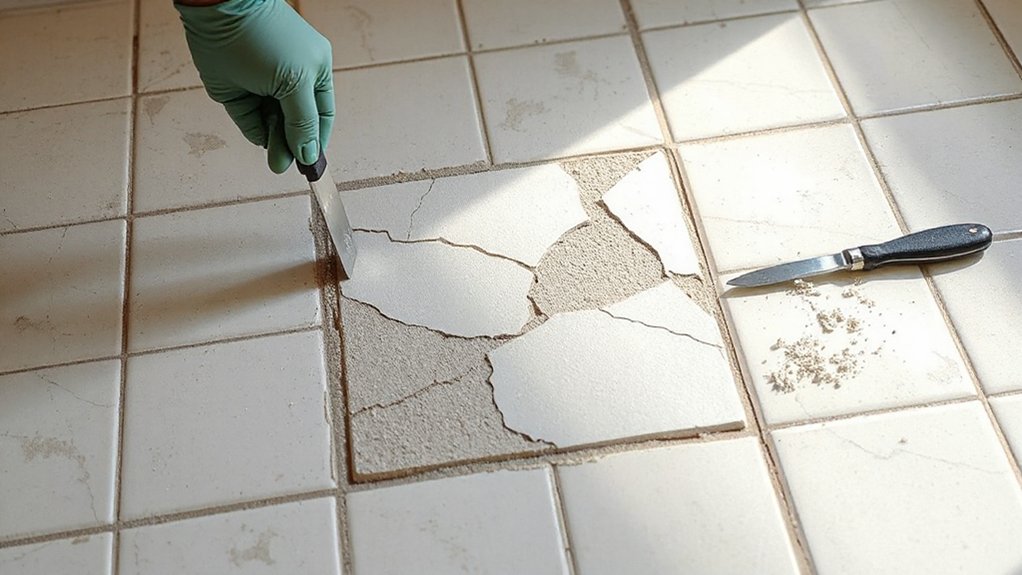
Although a single cracked tile looks like a surface problem, you’ll get a longer-lasting fix by removing and resetting that one tile without disturbing the surrounding field. Start with Tile color matching: confirm the replacement tile’s lot, sheen, and size before you touch anything. Mask adjacent tiles, then score the perimeter with a utility knife. Drill a few shallow holes in the cracked tile, then break it inward with a cold chisel, keeping the chisel angled away from edges. Scrape out old thinset to a flat, solid base and vacuum dust. Key in fresh thinset, comb with the correct notch, and press the tile flush using spacers. After cure, pack matching grout, focusing on grout color coordination for a seamless blend. Buff haze.
Repair Cracked Grout Lines to Block Water
When grout lines crack, water takes the easiest path into the setting bed and wall or floor assembly, so you need to remove the failed material and reseal the joint—not just smear new grout over it. Score the line with a grout saw or oscillating tool, then vacuum dust. Wipe with a damp sponge and let it dry fully. If the joint meets a tub, wall, or change of plane, fill it with color-matched 100% silicone; tool it smooth. For field joints, mix repair grout to match grout color, pack it firmly with a rubber float, and strike it flush. After cure, apply penetrating sealer to block moisture and preserve tile aesthetics. Keep the area dry per manufacturer times.
When Cracked Bathroom Tiles Need a Pro
Sealing and regrouting can stop water at the joints, but a cracked tile can still signal movement or a failed substrate under the surface. First, map cracks: if they run through multiple tiles or repeat after repair, you’ve got structural stress. Next, sound-test: tap with a coin; hollow tones mean debonding or a weak mortar bed. Then check elevation: a lip between tiles suggests subfloor flex or joist deflection. If you see dark grout, persistent dampness, or mold odor, you may have waterproofing failure. Call a pro to open a test section, assess underlayment, and correct framing or backer board. You’ll protect Tile design and preserve Bathroom aesthetics while preventing hidden damage.
Frequently Asked Questions
How Long Should I Wait Before Using the Shower After Repairs?
Wait 24–72 hours before showering, depending on product cure time. Step-by-step: check label, maintain ventilation, avoid moisture, verify grout hardness, then apply sealant. Follow timing considerations and waterproofing tips to prevent leaks.
Will Repaired Tiles Match the Original Color and Gloss Finish?
You can’t guarantee an exact match; you’ll usually get close with careful color matching and gloss finish control. You’ll test pigments, cure fully, sand lightly, then clear-coat, and compare under wet/dry lighting conditions.
Can I Repair Cracked Tiles in a Rented Apartment Without Permission?
You usually can’t repair cracked tiles without permission; check your lease and tenant rights first. Ask for written repair permissions. Document damage, request landlord repair, or propose a licensed fix. Keep receipts, photos, communications.
What’s the Best Way to Prevent Future Cracks After Fixing Tiles?
You’ll prevent future cracks by ensuring 80% coverage—pros aim higher. 1) Clean, dry substrate. 2) Re-bed with flexible tile adhesive. 3) Keep grout joints clear. 4) Seal edges. 5) Reduce impacts for crack prevention.
Do I Need to Reseal Nearby Grout or Tiles After the Repair?
Yes—you should reseal adjacent grout and any unglazed tiles. Start with grout cleaning, rinse, and dry 24 hours. Confirm tile matching for porosity, then apply penetrating sealer with brush, wipe excess, and cure.
Conclusion
You don’t need to rip out the entire bathroom floor like it’s a disaster zone. First, confirm the cause: check for subfloor movement or rot. Next, match the fix to the damage—seal hairline cracks, pack chips with epoxy, or replace a single tile. Then regrout and seal to stop water from turning a tiny crack into a flood-level failure. If cracks keep spreading, call a pro before the floor collapses.
About the Author