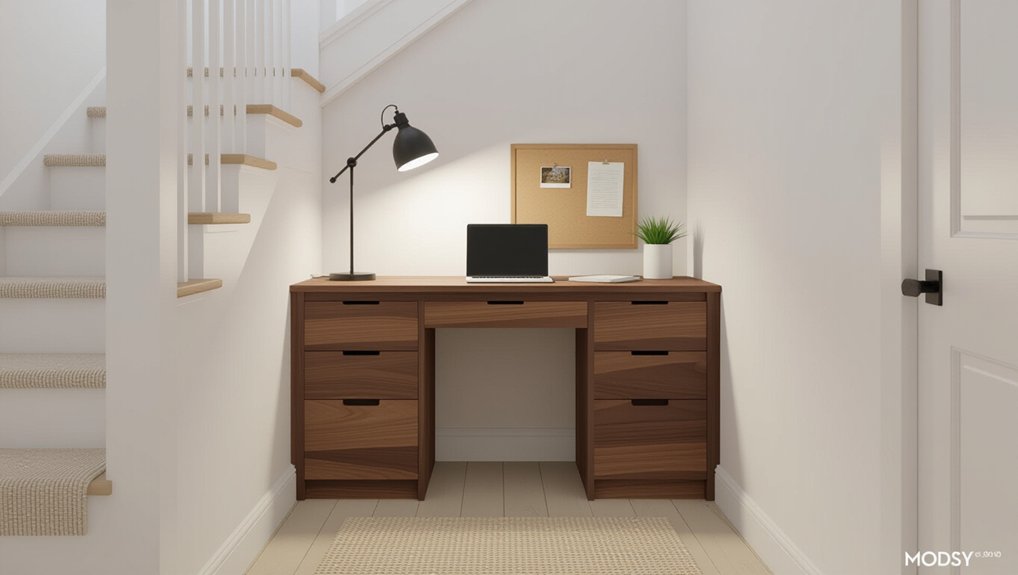
Start by confirming your landing’s safety: keep top and bottom steps visually open, preserve a clear walking band, and tape out door-swing zones. Measure width, depth, and rail projections, then choose a nook, wall, or corner layout that stays parallel to traffic. Use a slim 12–18 inch floating desk with a tuck-under chair, add vertical shelves, and hide cords in raceways. Layer warm-neutral task lighting and soft acoustics to make it feel finished; next, you’ll see smart layout and privacy upgrades.
Key Takeaways
- Measure the landing, map door swings and rail projections, and keep a clear walking band to protect circulation and safety.
- Choose a nook, wall, or corner layout that tucks work surfaces out of sightlines and avoids blind corners at stairs.
- Use slim or wall-mounted desks (12–18 inches deep) with tuck-under chairs to prevent crowding and maintain openness.
- Add vertical storage—floating shelves, wall pockets, peg rails—and keep the desktop clear with built-in or shallow cabinetry.
- Layer ambient and task lighting, and manage power with discreet outlets, raceways, and cable trays for a clean, functional workspace.
Confirm Landing Clearance, Safety, and Sightlines
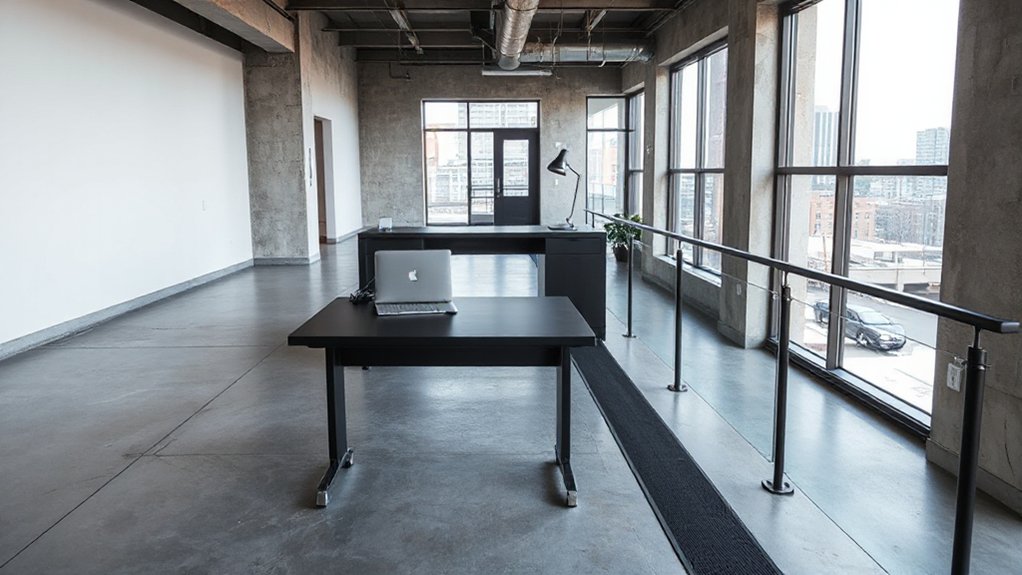
Before you place a desk, console, or reading chair on the landing, confirm you’re not stealing the space the stairs need to function safely. Keep the top and bottom steps visually open so you don’t create a blind corner or a stumble point. Prioritize Landing safety by preserving a clear approach to handrails, doors, and light switches, and by avoiding sharp furniture edges where bodies naturally pivot. Maintain sightline visibility from both directions on the stair run; you should see the landing surface, not the back of a chair. Choose low-profile pieces, tuck cords away, and use wall-mounted lighting to free floor space. If the landing feels compressed or interrupts traffic flow, scale back and edit.
Measure the Landing and Walking Space
Start by measuring the landing’s full width and depth so you know exactly what footprint you can style and work within. Then mark a clear, comfortable walking path through the area to keep movement safe and the layout visually calm. Finally, map each door’s swing zone so your desk, chair, and storage never clash with the arc.
Assess Landing Dimensions
How much usable square footage does your landing actually give you once you respect the walking line? Start by mapping the landing as a simple rectangle, then note every edge that steals depth: door swings, trim, rail posts, and baseboard projections. Record width, depth, and ceiling height, because vertical clearance shapes what furniture can visually “belong” there. Photograph the spot straight-on to judge proportions and Landing aesthetics before you buy anything.
Next, translate dimensions into workable modules: a slim desk zone, a perch seat, or a storage band. Sketch to scale and test footprints with painter’s tape so you feel the layout. Let Material selection support the plan—lighter finishes expand tight landings; warm woods add purpose without bulk.
Ensure Safe Walkway Clearance
Where does your body naturally travel as you step off the stairs and head toward the next room? Trace that path and treat it as your nonnegotiable corridor. For landing safety, measure from the stair edge to the nearest obstruction and keep a clear, consistent band of walking space that won’t pinch at corners.
Stand at the top step and swing your arms as you walk; if you brush walls, rails, or furniture, you’ve stolen comfort. Mark the route with painter’s tape, then adjust your walkway design so the line stays straight, calm, and visually open. Tuck the workspace to one side, align storage with the wall plane, and keep the floor free of baskets, cords, and protruding legs. Let circulation read first, work second.
Map Door Swing Zones
Before you commit to a desk or built-ins, map every door swing that touches the landing so nothing clips your path or steals usable floor. Open each door fully, then trace the arc on painter’s tape, including hardware and trim. Mark your clearance zones: the full swing radius plus the space you need to step through comfortably without pivoting sideways.
Next, measure the remaining rectangle of stable floor where furniture can actually live. Keep the desk edge outside the taped arc, and reserve a clean walking lane to the stairs and adjacent rooms. If two doors compete, consider a slimmer profile cabinet, a wall-mounted surface, or switching to a pocket or outswing door. Your layout will look intentional, not squeezed, and it’ll function smoothly daily.
Choose a Landing Workspace Layout (Nook, Wall, Corner)
Although every entryway comes with its own quirks, you can get a landing workspace that looks intentional and works hard by choosing a layout that matches your available surface and traffic flow. Start with a nook if you’ve got a recessed bay: it frames the zone, supports ergonomic design with a centered stance, and keeps sightlines calm for aesthetic harmony. Pick a wall layout when your entry is linear; align your work zone parallel to movement so bags and elbows don’t collide. Use a corner layout in tight plans; it tucks activity into a visual “dead spot” while opening the main path. Whichever you choose, anchor it with a clear edge, consistent materials, and lighting aimed at the task, not the doorway.
Use Slim Furniture for a Landing Desk Setup
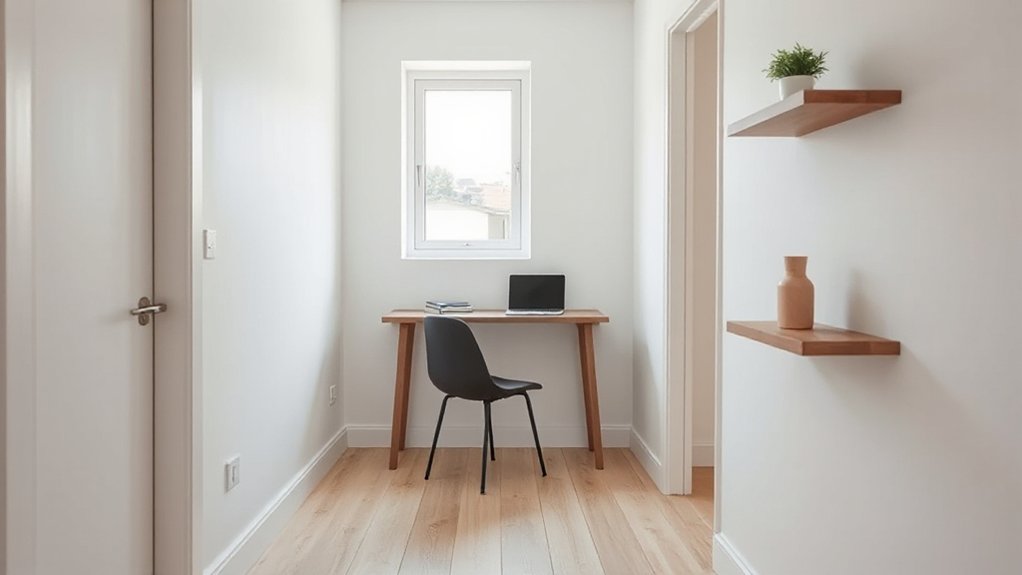
Start by measuring depth and clearance so your landing stays open and walkable. Choose wall-hugging desk pieces with a slim profile that look intentional, not temporary. Add built-in storage—drawers, shelves, or a tidy ledge—so work essentials disappear and the space reads clean.
Measure Depth And Clearance
Since a landing area usually doubles as a passageway, you’ll want to measure depth and clearance first so your desk setup feels intentional, not cramped. Mark the walk line and keep a comfortable corridor, then choose a surface depth that lets you work without snagging shoulders or bags. Use painter’s tape to outline the desk and chair footprint, and test it with real movement—opening doors, turning corners, carrying laundry.
Next, dial in height measurement: match the worktop to your seated elbow level and confirm knee clearance before you buy anything. Finish with material selection that supports the tight zone—lighter tones and low-sheen finishes reduce visual bulk, while durable edges handle high-traffic bumps. If storage slides under, measure that clearance too.
Choose Wall-Hugging Pieces
When your landing has to work like a hallway and an office, wall-hugging pieces keep the setup sleek without stealing your walk line. Choose a slim console or floating desktop that’s 12–18 inches deep, then pair it with a tuck-under stool or an armless chair that slides in cleanly.
Keep the visual weight light: thin legs, open bases, and a narrow profile help the space read wider. Match finishes to your Color schemes—warm oak for cozy neutrals, matte black for modern contrast, or white for airy minimalism—so the workstation blends instead of shouts. Add control with small Decorative accents: a low tray for essentials, a compact lamp, and one framed print aligned to the desk width. You’ll get a purposeful work zone that still feels like a landing.
Add Built-In Storage
A slim desk keeps your landing open, but built-in storage makes it work harder without adding bulk. Frame the setup with shallow cabinetry or a recessed niche so the work surface feels intentional, not temporary. Run a tight drawer stack under one side for chargers, pens, and mail, and keep knee space clear for comfort.
Extend storage upward, not outward. Install Modular shelving above the desk to hold books, baskets, and a printer while preserving the walkway. Use closed fronts on lower compartments to hide visual noise, then balance them with a few open cubes for display. Add Decorative wall panels behind the desk to unify cables, shelving, and lighting into one clean vertical plane. Finish with matched hardware and a single task sconce for polish.
Add Built-In or Vertical Storage to Keep the Landing Clear
Even if your landing area is small, built-in or vertical storage keeps the surface clear and the whole space looking intentional. Start by framing the desk zone with slim cabinets or a shallow niche so papers, chargers, and tools disappear behind clean lines. If you can’t build out, build up: mount floating shelves, a peg rail, or wall pockets to push everyday items off the worktop and into Vertical organization.
Choose Decorative storage that earns its place—lidded boxes, matching magazine files, and a tray for keys and earbuds—so visual noise doesn’t creep in. Add a hidden drawer insert for pens and cords, and dedicate one shelf to a laptop stand or printer. When everything has a vertical “home,” you’ll reset the landing in seconds.
Get Lighting Right for a Landing Workspace
Because a landing workspace often sits between rooms and light sources, you’ll get better focus—and a calmer look—by layering lighting instead of relying on one overhead fixture. Start with soft ambient lighting that washes the walls and ceiling to visually expand the tight zone and reduce harsh shadows. A small flush-mount or slim sconce keeps the profile clean and circulation-friendly. Then add task illumination where you read, write, or use a laptop: a compact adjustable lamp, a directional picture light above a shelf, or a discreet under-shelf strip aimed at the work surface. Choose warm-neutral LEDs (2700–3000K) for comfort, and a higher CRI for truer color on paper and screens. Put lights on separate switches so you can tune mood versus focus fast.
Add Outlets and Hide Landing Workspace Cords
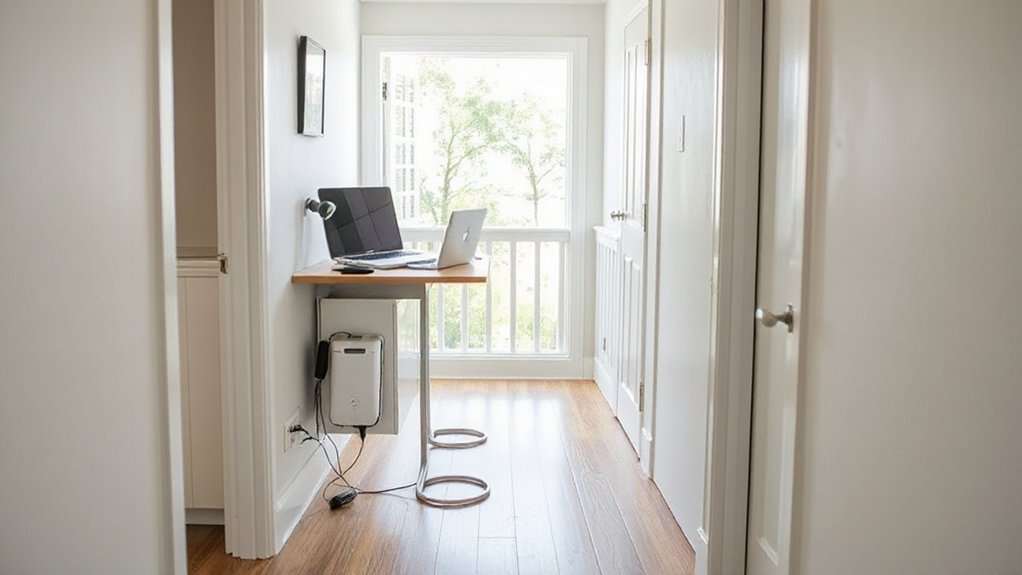
While you’re dialing in a landing workspace, plan power and cord control at the same time so the area reads intentional instead of improvised. Start with smart power outlet placement: put a duplex outlet or a slim USB-C receptacle at desktop height, centered behind your chair, so plugs don’t drape across the surface. If you can’t add wiring, use a paintable surface raceway to route power neatly from an existing outlet. Mount a low-profile power strip under the desk or inside a cabinet bay, then run one discreet cord to the wall. Choose cord management strategies that match the millwork: adhesive cable clips, a cable tray, and a grommeted pass-through keep chargers hidden yet reachable. Label adapters so resets stay quick.
Add Privacy and Cut Noise (Without Closing It In)
If your landing workspace sits in a hallway or open-plan zone, you can add privacy and reduce noise without turning it into a box. Start with soft layers: a wool runner, a dense rug pad, and upholstered seating to absorb footfall and chatter. Mount felt tiles or a slatted wood panel behind your desk for soundproofing solutions that look intentional, not technical.
Next, shape the sightlines. Use visual privacy options like a reeded-glass screen, a half-height bookcase, or a ceiling-mounted curtain you can pull during calls. Angle your desk away from traffic, and add a slim task lamp to create a focused pool of light. Finish with a high-back chair and a few plants to buffer sound and calm the view.
Frequently Asked Questions
Do I Need a Building Permit to Add a Landing Workspace?
You’ll likely need a permit if you change walls, stairs, or load-bearing elements; otherwise, maybe not. Check local Building codes and Structural requirements so your landing workspace stays safe, sleek, and functional.
Will Converting a Landing Affect My Home’s Resale Value?
Converting a landing can boost resale value if you create appealing, functional square footage, but it can hurt if it feels cramped. You’ll win buyers with clean built-ins, smart Home automation, and layered lighting options.
What Flooring Works Best for Rolling an Office Chair on a Landing?
Like butter on glass, choose luxury vinyl plank or low-pile commercial carpet tiles; you’ll get flooring durability and low rolling resistance. Add a clear chair mat to protect edges, keep lines sleek, and reduce noise.
How Do I Keep Pets From Disturbing a Landing Workspace?
You’ll keep pets from disturbing your landing workspace by adding a baby gate, training boundaries, and providing a cozy pet zone. Use cord covers for pet safety and a rug pad for noise reduction.
What Are the Best Paint Colors to Make a Landing Workspace Feel Larger?
Like a rotary phone, you’ll make it feel bigger with soft whites, warm greiges, and pale blues. Use color psychology: light, cool hues recede. Try accent wall ideas—one muted shade—while keeping trims bright, reflective.
Conclusion
When you transform your landing into a workspace, you’re not just “using leftover space”—you’re upgrading flow, light, and daily function. Keep clearances generous, sightlines clean, and storage vertical so the area still reads airy. Choose slim furniture, layer task and ambient lighting, and hide cords for a calm, gallery-like finish. It’s worth it: Harvard research suggests clutter can raise stress levels, so a streamlined landing helps you work better.
About the Author