Start by mapping the crack’s location and pattern, then measure width: under 0.2 mm is usually cosmetic, while wider, stepped, or recurring cracks suggest movement. Identify the substrate (drywall, plaster, masonry) so you can match materials. V-groove and vacuum the line, remove loose edges, then reinforce joint-line cracks with paper or scrim tape and a setting compound. Sand flush, prime, and repaint to hide halos. Next, you’ll see how to spot trouble signs and prevent returns.
Key Takeaways
- Identify crack location, pattern, and width; hairline cracks under 0.2 mm are usually cosmetic, while wider or displaced cracks may be structural.
- Check for movement or moisture signs like recurring cracks, staining, or soft drywall; call a professional if cracks widen, step, or doors stick.
- Prep properly: score into a shallow V-groove, remove loose material, vacuum dust, and wipe clean for strong adhesion and smooth finishing.
- Reinforce recurring or wider cracks with paper or scrim tape, then apply setting-type compound in thin coats, feathering well past the crack.
- Sand fully cured repairs with 120–150 then 180–220 grit, use raking light to spot halos, then prime and repaint to blend seamlessly.
Identify Your Internal Wall Crack Type
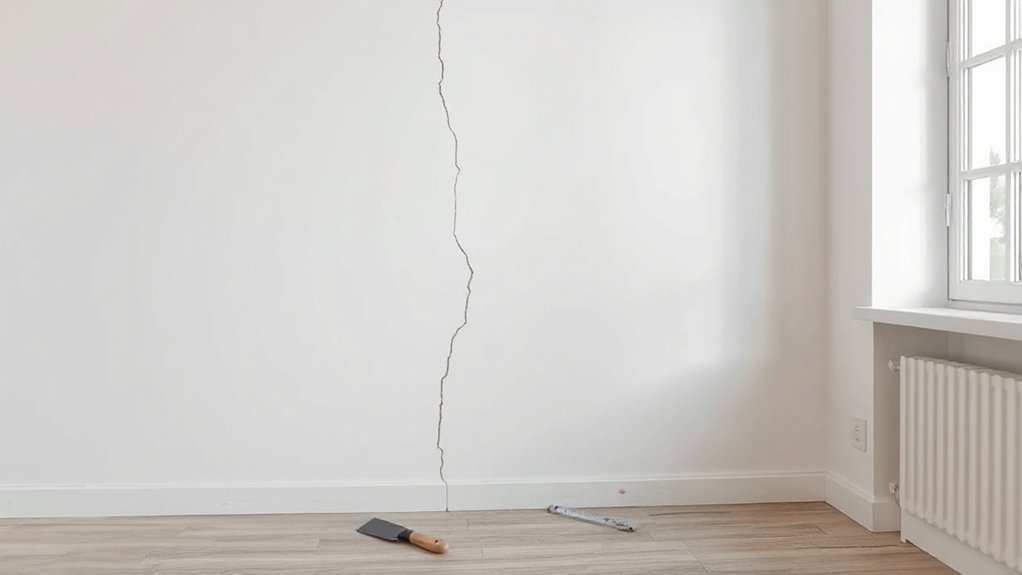
Before you start any repair, you’ll need to classify the crack by its location, orientation, width, and whether it’s moving, because each pattern points to a different cause and dictates a different fix. Note the substrate: drywall, plaster, or masonry, since each fractures differently. Map location—ceiling-to-wall junctions, corners, door and window returns, or mid-field panels. Record orientation: vertical, horizontal, diagonal, or stair-step along joints. Measure width with a feeler gauge or crack card and log length and edge condition (sharp, crumbling, or feathered). Check if it tracks along tape seams, fastener lines, or lath keys. Photograph with a scale and mark endpoints in pencil for monitoring. This documentation protects Interior design and Wall decoration planning.
Check if the Crack Is Structural or Cosmetic
Next, you’ll verify whether the crack indicates structural movement or only surface failure. Look for structural warning signs such as widening gaps, stepped or diagonal cracking, displaced plasterboard, sticking doors, or recurring cracks after prior repair. If the line is a stable, uniform hairline confined to paint or skim coat with no offset, you can treat it as cosmetic and plan a standard filler-and-finish repair.
Identify Structural Warning Signs
How can you tell whether a wall crack signals structural movement or just a surface defect? Start by mapping it: note length, direction, and whether it steps through brick lines or runs from door/window corners. Measure width with a crack gauge; anything widening over days or weeks suggests active movement. Check for displacement by running a straightedge across the crack; a “lip” indicates differential settlement. Look for secondary clues: sticking doors, uneven floors, or new gaps at skirting boards and cornices. Inspect ceiling-to-wall junctions and around load-bearing walls for matching cracks. If cracks reappear after repainting or through Decorative wall finishes, movement’s likely ongoing. Probe behind plaster near Acoustic insulation; crushed batts or shifted studs also flag structural drift.
Assess Cosmetic Hairline Cracks
Where do you start when a crack looks too fine to measure? You treat it as cosmetic until evidence says otherwise. First, map the crack with a pencil line at both ends and date it. Next, run a fingernail across it; if it doesn’t catch and there’s no displacement, it’s likely in paint or skim coat. Check location: hairlines often radiate from corners of doors, windows, or plasterboard joints. Use a straightedge and raking light to confirm the wall plane stays flat. Measure with a crack gauge or feeler; under 0.2 mm is typically cosmetic. Photograph it monthly. If it’s stable, you can patch and repaint without compromising Interior design or Wall decor.
When to Call a Pro for Wall Cracks
Call a pro if the crack shows structural warning signs, such as stair-step patterns in masonry, significant displacement, or adjacent door/window binding. You should also escalate if cracks reappear after patching, widen over time, or extend across multiple surfaces, since that indicates ongoing movement. If you see staining, bubbling paint, musty odors, or visible mold around the crack, bring in a qualified contractor to trace the moisture source and specify repairs.
Cracks Signaling Structural Issues
Sometimes a wall crack isn’t just cosmetic—it’s a load-path warning that the building’s framing or foundation may be moving. You should assess Foundation stability first: check for out-of-level floors, sticking doors, or gaps at baseboards that indicate differential settlement or racking. Next, evaluate Wall material behavior. Plaster often fractures along lath lines, while drywall tends to split at joints; either can still reflect underlying stud movement if the crack crosses framing members or runs from corners of doors and windows.
You should call a structural pro if you see stepped cracking through masonry, diagonal cracks from openings, separation at wall-to-ceiling junctions, or localized bulging. You’ll need assessment before you patch, because cosmetic repairs can conceal active displacement.
Recurring Or Widening Cracks
Even if you’ve patched it cleanly, a crack that reappears or widens points to ongoing movement that you shouldn’t treat as a finish defect. You should document it: mark both ends, date the marks, and measure width with feeler gauges or a crack comparator. If it changes across weeks, or reopens after sanding and repainting, stop patching.
Call a pro when the crack propagates beyond the original line, forms a stair-step pattern, crosses corners, or shows differential offset you can feel with a straightedge. Also act if doors start binding near the area. Don’t “solve” it with interior decor or furniture placement; that only hides symptoms and can delay diagnosis and proper stabilization.
Water Damage And Mold
Cracks that keep returning often share a root cause with water intrusion: movement changes when framing, plaster, or drywall cycles wet-to-dry and loses strength. If you see staining, soft drywall, bubbling paint, musty odor, or efflorescence, verify Water infiltration until proven otherwise. Don’t just patch; you’ll trap moisture and accelerate failure.
Call a pro when moisture readings stay elevated after drying, when the leak source isn’t obvious, or when you find black/green growth, widespread spotting, or compromised insulation. You’ll need controlled demolition to remove damp board, verify cavity dryness, and repair flashing, plumbing, or roof details. Mold mitigation matters if growth exceeds small isolated areas, returns quickly, or affects HVAC. Pros also document conditions and ensure safe containment and drying.
Choose Filler, Tape, and Tools by Crack Type
Before you buy filler or pull out the trowels, identify the crack type and movement risk, because each category calls for a different compound, reinforcement method, and tool set. For hairline, non-moving plaster cracks, use fine surface filler or setting compound, applied with a 2–3 inch filling knife for tight control. For recurring joint-line cracks in drywall, your Filler selection should pair with paper tape (best for strength) or fiberglass mesh (faster, thicker), embedded using a 4–6 inch knife, then feathered with a 10–12 inch knife. For wider, stepped, or slightly moving cracks, use a flexible acrylic filler and reinforce with scrim or paper tape. Keep Tool maintenance strict: clean blades immediately, de-burr nicks, and store knives flat to prevent edge warp.
Prep Internal Wall Cracks for a Lasting Repair
Before you patch anything, you’ll confirm the crack type (hairline, stepped, or recurring) so you don’t use the wrong prep. You’ll then cut, vacuum, and wipe the line clean, and slightly widen it into a sound V-groove so filler can key in and bond. Finally, you’ll check the surrounding plaster for movement, remove loose edges, and stabilize weak areas so the repair won’t re-crack.
Identify Crack Type
Although a hairline split and a wider, shifting gap can look similar at a glance, you’ll get a longer-lasting repair only after you identify exactly what type of crack you’re dealing with. Start by noting location: corners of doors and windows suggest settlement stress, while random, fine crazing often indicates shrinkage in joint compound. Check direction and pattern; stair-step lines near masonry-backed walls can point to movement, common in historical architecture. Press lightly on both sides: if edges flex or sound hollow, you’re likely seeing delamination or failed keys in old plaster. Measure width and look for offset; displaced faces signal active movement. Finally, consider performance: cracks near ceilings may relate to vibration paths that also compromise acoustic insulation.
Clean And Widen Cracks
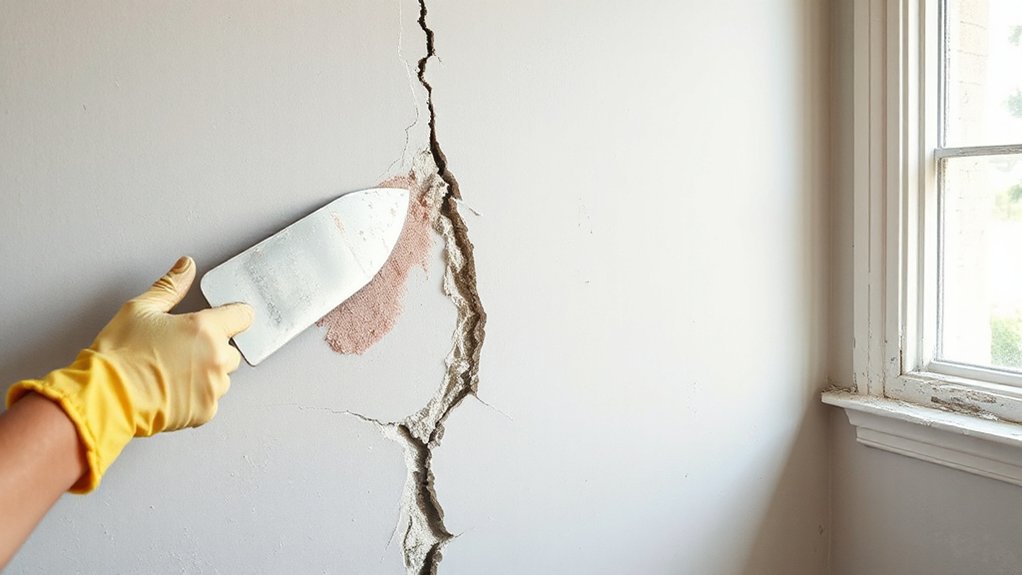
Once you’ve confirmed the crack type, prep it by removing anything loose and creating clean, sound edges that new filler can mechanically lock into. Score along the crack with a sharp utility knife, then rake out crumbly plaster using a scraper or crack rake. Vacuum dust with a brush nozzle, then wipe with a slightly damp sponge so fines don’t weaken adhesion.
Widen the crack into a shallow V-groove: undercut just enough to expose firm material, typically 2–5 mm wide at the surface. Keep the groove centered and consistent to avoid telegraphing through paint or Decorative patterns. Check for depth changes near corners, sockets, or areas over Wall insulation, where board joints can shift. Remove any protruding paper, old caulk, or paint ridges at the edges.
Stabilize Surrounding Plaster
Where cracks tend to reappear is at the weak, drummy plaster around the groove, so stabilize that field area now. Tap with a scraper handle and mark hollow zones that flex or sound dull. Score the perimeter, then remove only loose material until edges are firm. Vacuum dust and apply an acrylic bonding agent, working it under lifted plaster. For Plaster stabilization, inject setting-type plaster or repair compound into voids and press the surface flat with a broad knife. Add plaster washers or ring-shank screws into lath where movement persists, spacing 150–200 mm apart for Wall reinforcement. Tighten just enough to snug the plaster without crushing it. Let everything set hard before you proceed to tape and fill.
Repair Hairline Cracks (Paint-Ready Finish)
Because hairline cracks often reopen if you only paint over them, you’ll get a paint-ready finish by stabilizing the crack, filling it with a flexible compound, and feathering the repair flush with the surrounding wall. First, score the crack lightly with a utility knife to open it just enough for filler, then vacuum dust and wipe with a damp cloth. Apply a thin bead of acrylic caulk or lightweight joint compound, pressing it into the groove with a 100–150 mm taping knife. Scrape tight, then feather 150–200 mm beyond the crack to blend the wall texture. Once dry, sand with 180–220 grit, check with raking light, and spot-prime. Finish with paint matching: test swatches and adjust sheen to hide the repair completely.
Fix Wider Cracks With Scrim Tape and Filler
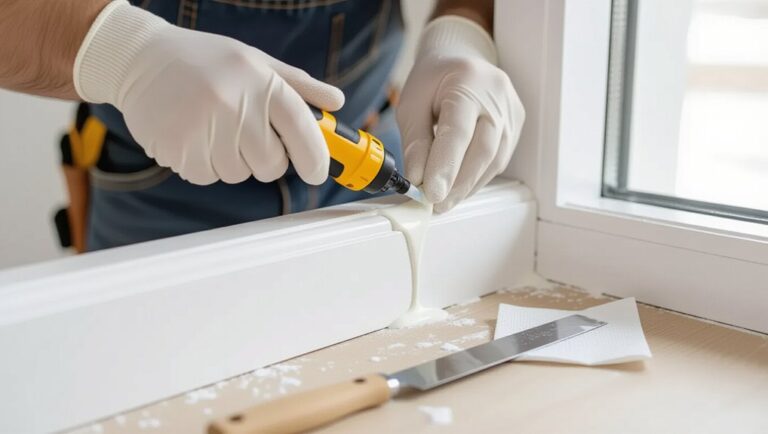
Hairline crack methods won’t hold up when the gap is wide enough to flex, crumble, or print through paint, so reinforce it before you skim it smooth. Open the crack slightly with a scraper to remove loose edges, then brush out dust and wipe clean. For moisture control, let damp areas dry fully and address the source before you fill. Apply self-adhesive scrim tape centered over the crack, pressing it tight so it bridges both sides. Mix setting-type filler to a firm, creamy consistency. Knife on the first coat through the mesh, forcing material into the void, then feather 50–75 mm beyond. After it sets, add a second, wider coat to reduce Crack expansion read-through. Sand flat, then prime.
Patch Deep Cracks and Missing Plaster
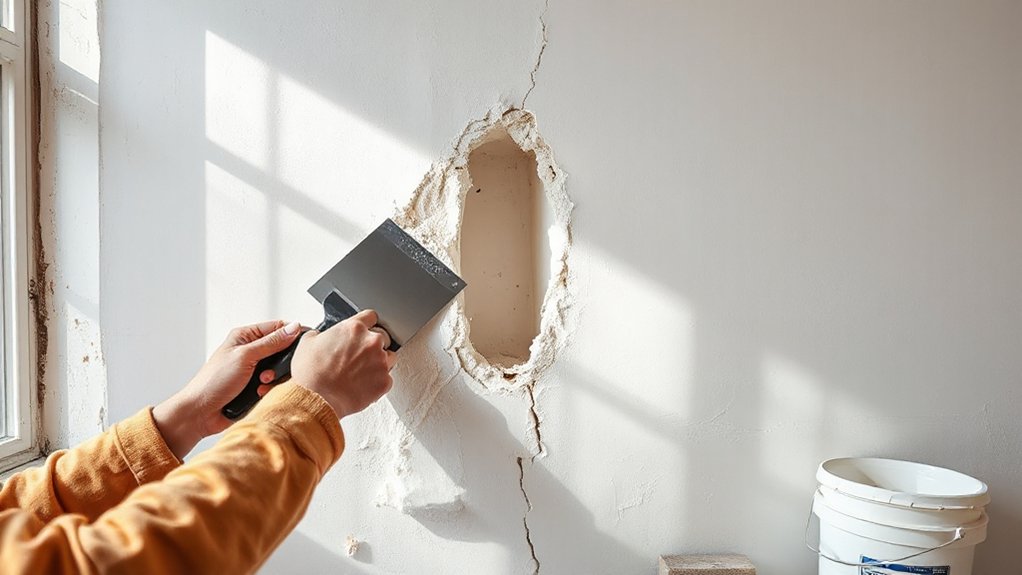
Deep cracks or sections of missing plaster need more than a surface skim—so how do you rebuild a solid base that won’t shrink back or break loose? First, rake the defect back to sound edges and undercut slightly so the patch keys in. Vacuum dust, then mist with water or apply bonding agent to control suction. Pack a setting-type base coat in lifts, pressing firmly to eliminate voids; keep each layer below 10–12 mm and score it for mechanical grip. If you expose lath, masonry, or wall insulation, bridge with metal lath or fiberglass mesh and fasten securely. Check your work under strong interior lighting to spot hollows. Let the base set hard before adding the next layer, keeping edges tight and well supported.
Sand Wall Crack Repairs Flush (No Ridges)
Once your patch has fully set, sand it flush in controlled passes so you don’t leave ridges that telegraph through paint. Start with 120–150 grit on a sanding block to keep the face flat, and feather 6–12 inches beyond the repair so you blend into surrounding Wall texture. Use a raking light at a low angle; if you see a halo, you’re not feathered far enough. Switch to 180–220 grit for final smoothing, then lightly break edges so the gradation disappears. Keep pressure even, and don’t dig into softer compound—let the abrasive do the work. Vacuum dust, then wipe with a barely damp microfiber to reveal scratches. For Paint matching, compare sheen and surface profile; replicate texture now, not later.
Prime and Paint so the Patch Doesn’t Show
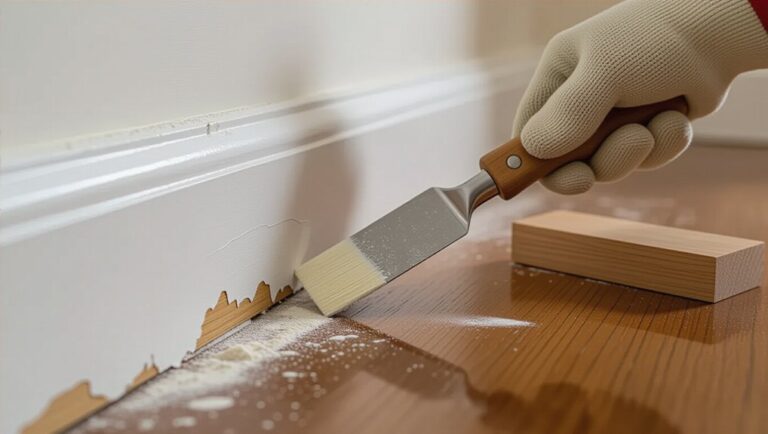
Before you paint, seal the repair with a primer so the porous compound doesn’t “flash” and show as a dull patch under finish coats. Use a stain-blocking or high-build drywall primer, and brush it slightly past the patched area to feather absorption. Let it dry fully, then inspect under raking light; spot-prime any pinholes or burnished edges.
Match sheen and film build to the surrounding wall. If the wall has Decorative wall textures, roll primer and paint with the same nap and direction used elsewhere, or stipple lightly to replicate texture. Maintain Moisture control during curing: keep humidity moderate, ventilate, and avoid wet-wiping fresh paint. Finish with two thin coats, cutting in wide to blend, and keep a wet edge so lap marks don’t frame the patch.
Prevent Internal Wall Cracks From Returning
Paint can hide a repair, but it won’t stop the forces that cracked the wall in the first place, so you need to address movement and stress at the source. First, verify the crack is dormant: mark ends, date it, and recheck after temperature swings. If it grows, correct the driver—repair leaks, improve ventilation, and stabilize framing by tightening loose drywall screws into studs and adding back-blocking at seams. For recurring hairlines, bridge the area with paper tape or fiberglass mesh embedded in setting compound, then feather wider to spread stress. Maintain consistent indoor humidity to limit seasonal expansion. Where you use Decorative wall textures, isolate them from joints and corners. Plan Interior design integration so trim, reveals, or shadow lines conceal high-movement zones without stressing finishes.
Frequently Asked Questions
How Long Should Filler Cure Before Sanding and Painting?
Let filler cure 2–4 hours for light Filler application, 12–24 hours for deep fills; follow label Drying time. You’ll sand when it’s uniformly hard, then prime and paint after full cure.
Can I Repair Wall Cracks in Winter, or Does Humidity Affect Results?
You can repair cracks in winter, but you must control moisture, temperature, and airflow. Winter repair challenges include slow curing. Humidity impact causes poor adhesion. You’ll dehumidify, heat above 10°C, and extend cure times.
What Paint Sheen Best Hides Patched Areas on Internal Walls?
Choose matte/flat Paint finishes to best hide patched areas; low reflectance masks texture. For durability, use eggshell but feather edges. Test sheen choices under raking light, and match existing paint’s angle-dependent gloss exactly.
How Do I Match Existing Wall Texture After Repairing a Crack?
Fire up your abacus: you’ll match existing wall texture by testing Texture matching on scrap, then replicating with Repair techniques—thinned compound, sponge/roller stipple, knockdown knife timing, feathered edges, consistent pressure, and controlled drying.
Is It Safe to Repair Cracks in Walls That May Contain Asbestos?
You can’t assume it’s safe; treat it as asbestos until proven otherwise. Perform Crack inspection, avoid sanding/drilling, damp-wipe debris, isolate the area, and hire certified testing/abatement for proper Asbestos safety compliance.
Conclusion
Now you’ve interrogated your wall like it’s on a witness stand: type identified, structure cleared, pros summoned when the “tiny” crack starts freelancing. You’ve matched filler and tape, cleaned the joint, packed depth, and sanded until ridges surrender. You’ve primed, repainted, and avoided the classic “mystery halo” patch. Finally, you’ve reduced movement triggers—humidity swings, settlement stress—because your wall doesn’t need encore performances.