
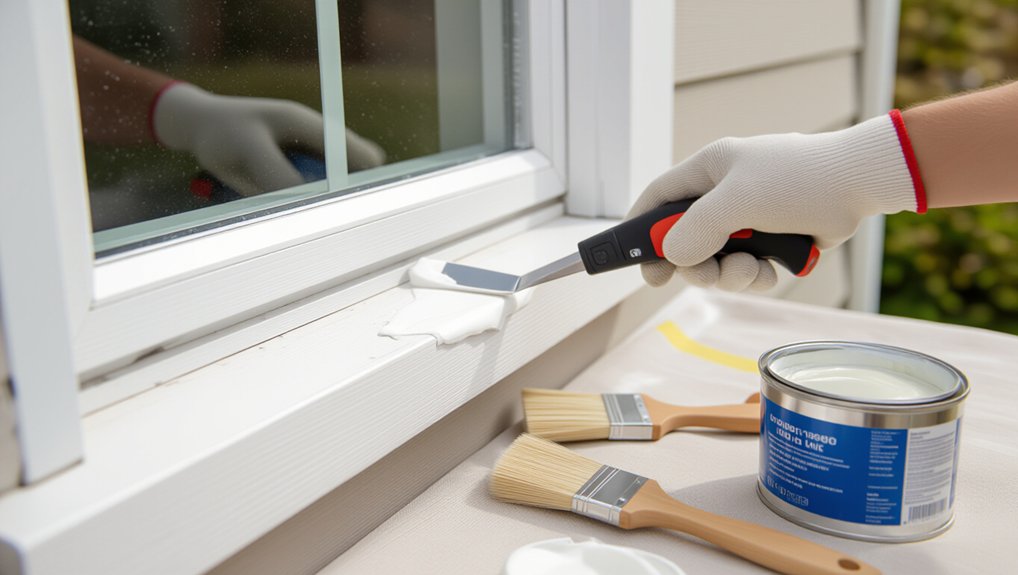
Inspect the window perimeter for cracks, gaps, or separated beads, then probe with a plastic putty knife; if it lifts or fractures, it’s failed. Score and remove all old caulk, brush and vacuum debris, and wipe residue so surfaces are clean and completely dry. Use backer rod for gaps over 1/4 inch, tape edges, and run a steady paintable exterior caulk bead. Tool it smooth, pull tape, let it cure, then prime and paint to match—next you’ll see the key timing details.
Key Takeaways
- Inspect window trim for cracks, gaps, peeling paint, and moisture staining; probe caulk to confirm brittleness or separation.
- Remove failing caulk by scoring edges, lifting strips with a putty knife, and cleaning residue; ensure the joint is dust-free and completely dry.
- Choose paintable exterior caulk compatible with trim and siding; use backer rod for gaps wider than 1/4 inch.
- Tape edges, cut nozzle at 45°, apply a steady bead, then tool smooth; pull tape immediately and follow temperature and rain-free cure requirements.
- After full cure, prime bare wood, then repaint with exterior-grade paint in two thin coats once caulk is no longer tacky.
Is Your Exterior Window Caulk Failing?
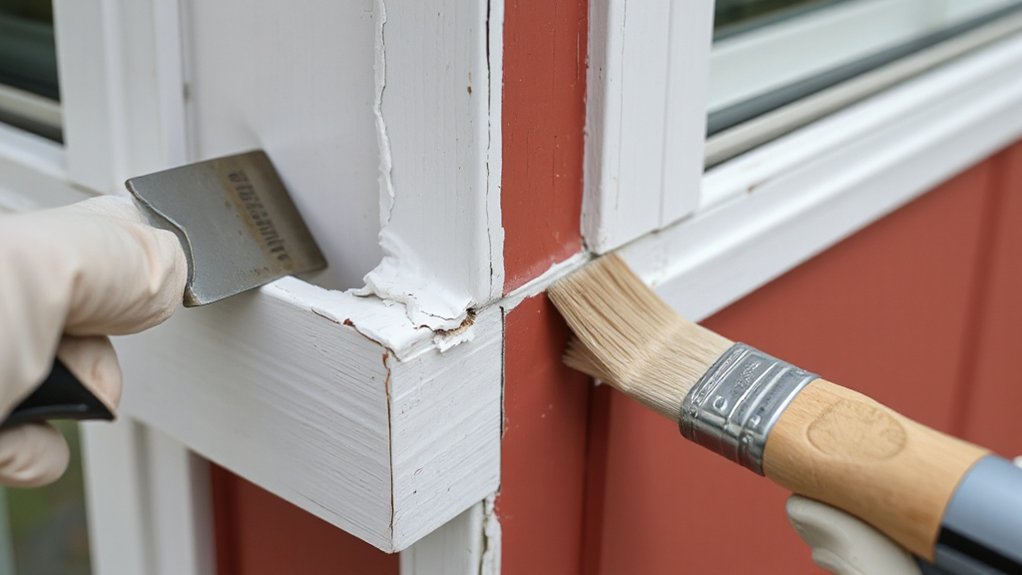
If you’re seeing cracks, gaps, or peeling paint along the window trim, your exterior caulk is likely failing and letting water and air slip behind the siding. Confirm it by inspecting the full perimeter in daylight, then again after rain. Look for separated beads, pinholes, or sections that feel brittle when you press lightly with a gloved finger. Probe suspicious areas with a plastic putty knife; sound caulk flexes, failed caulk fractures or lifts. Check for staining, soft wood, or bubbling paint that signals trapped moisture. Indoors, note drafts, cold trim, or condensation that point to reduced Window insulation. Track how long the seal has been in place; age, sun exposure, and movement reduce Caulk durability. Work from a stable ladder and protect eyes.
Choose Paintable Exterior Window Caulk + Tools
Before you start scraping or painting, pick a paintable exterior caulk that matches your window joint and the weather you’ll face, then stage the right tools so you don’t rush on a ladder. Choose siliconized acrylic or polyurethane labeled exterior, paintable, and low-shrink; confirm it bonds to your siding and trim. Check temperature and cure-time limits, and select a backer rod if gaps exceed 1/4 inch. For Color matching, plan to paint after cure or buy tinted caulk only when the finish coat won’t change. Set up a quality caulk gun with a smooth-rod drive, sharp utility knife for nozzle trimming, painter’s tape, disposable gloves, rags, and a spray bottle of water. Practice application techniques on cardboard for steady beads.
Remove the Old Caulk Around the Window
With your paintable exterior caulk and tools staged, clear the joint by removing every trace of the failed bead so the new sealant bonds to clean, solid surfaces. Put on cut-resistant gloves and safety glasses. Score both edges of the old caulk with a sharp utility knife, keeping the blade shallow so you don’t nick the Window frame or siding. Slide a caulk remover or stiff putty knife under the bead and lift it in long strips; don’t pry hard against trim corners. Use Caulking tools to pull remaining fragments from tight spots, then scrape off any skin that’s still adhered. If you hit resistance, rescore and peel again rather than gouging. Collect debris as you go to prevent tracking it onto paint-ready surfaces.
Clean and Dry the Window Trim Gap
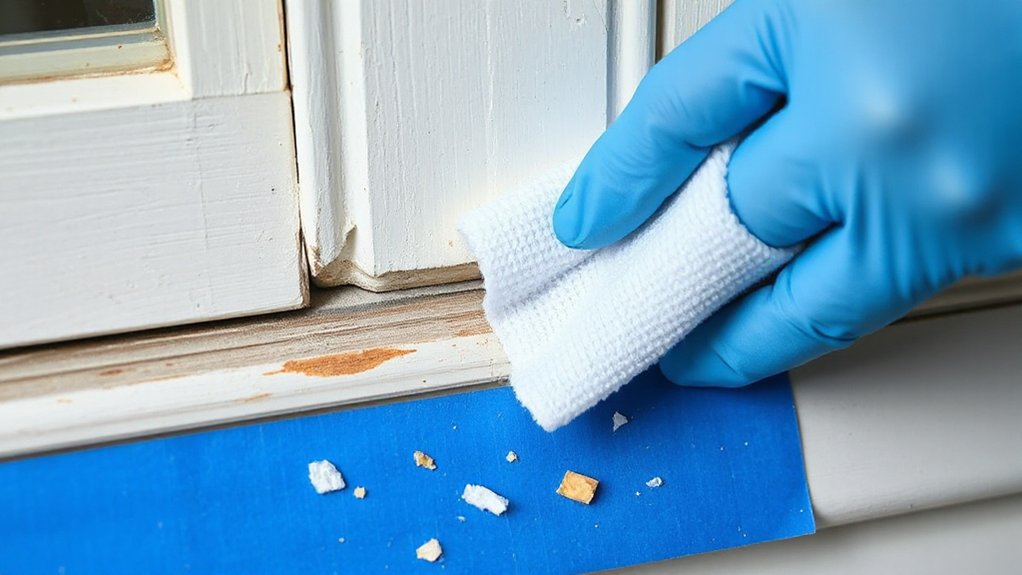
Brush or vacuum out all old caulk crumbs and dust from the trim gap so nothing interferes with adhesion. Wipe the joint with a clean rag and let it dry completely, keeping water and cleaners away from the window’s seams. Don’t apply new caulk until the surface is fully dry to the touch and free of debris.
Remove Old Caulk Debris
Once you’ve cut away the loose caulk, clear every bit of debris from the joint so the new bead can bond properly. Put on safety glasses and gloves, then inspect the gap for remaining fragments from different caulk types (silicone, acrylic latex, polyurethane). Use a stiff nylon brush to loosen crumbs and paint chips without gouging wood or scratching vinyl. Vacuum with a crevice tool to capture fine dust, then run a putty knife lightly along the edges to lift stubborn slivers.
For thorough debris removal, wipe the joint with a clean rag dampened with mineral spirits for polyurethane residue or denatured alcohol for silicone smears; follow the solvent label. Dispose of rags safely and keep sparks away. Check corners twice.
Ensure Surface Is Dry
Before you apply new caulk, make sure the window trim gap is completely clean and dry so the bead adheres and cures correctly. After you’ve removed old caulk debris, wipe the joint with a clean rag to lift dust and chalking paint. If residue remains, use isopropyl alcohol on a cloth; keep it off finished glass and away from flames. Let the gap air-dry, then confirm dryness by pressing a paper towel into corners—any dampness means you must wait. Don’t caulk if rain’s forecast or temperatures fall outside the product range. Use a fan, hair dryer on low, or extra cure time in shade. These Weatherproofing techniques prevent trapped moisture, improve adhesion, and maximize Caulk longevity and paint performance.
Tape Off Trim for Clean Caulk Lines
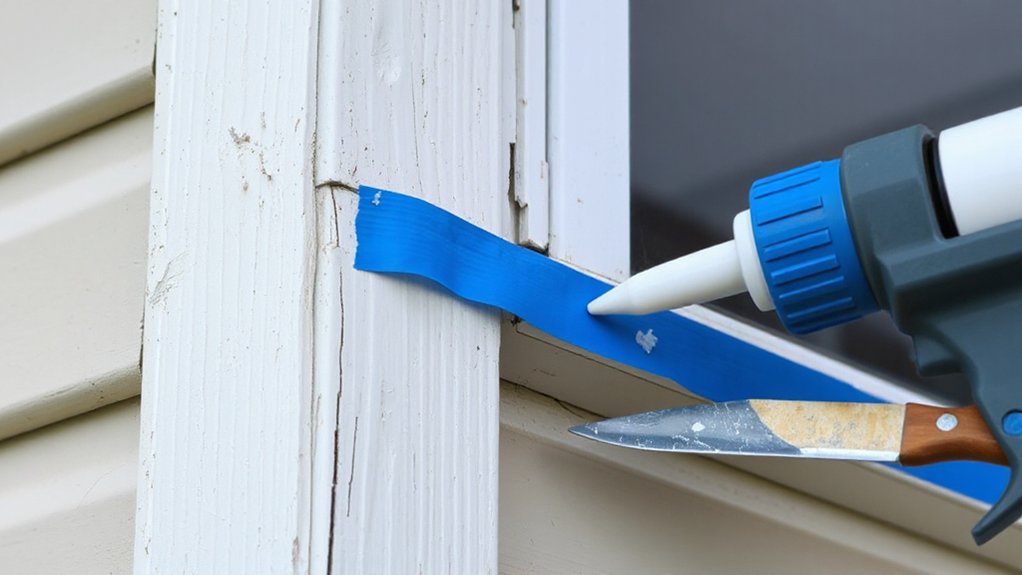
Although it adds a few minutes to the job, taping off the trim gives you crisp caulk lines and protects finished surfaces from smears. Use high-quality masking tape rated for exterior or multi-surface use so it releases cleanly. Apply tape to both sides of the joint, keeping the gap consistent, and press it down firmly with a putty knife or your thumbnail to seal the edge. This prevents bleed-under and delivers clean edges.
Work methodically around the window, overlapping tape ends so wind and dust can’t lift them. Keep tape off weatherstripping and weep holes, and don’t cover drainage paths. If you’re on a ladder, maintain three points of contact and stage tape within reach to avoid overreaching. Replace any tape that wrinkles, loses adhesion, or pulls up paint.
Apply and Tool a Smooth Exterior Caulk Bead
With the trim taped and the joint protected, you can focus on laying a consistent bead that seals without making a mess. Cut the nozzle at a 45-degree angle sized to the gap, then puncture the inner seal. Wear gloves and eye protection, and keep your other hand clear of the gun’s rod. Hold the tip tight to the joint and move steadily, pulling the gun toward you while applying even trigger pressure. These Caulk application techniques reduce skips and air pockets. If you stop, restart by overlapping slightly, not stacking a blob. For Tooling and smoothing, lightly mist the bead or your tool as directed by the caulk label, then draw one continuous pass with a caulk tool or finger to compress and shape the seal. Peel tape immediately.
Let Exterior Window Caulk Cure (Weather + Timing)
Once you’ve tooled the bead and pulled the tape, give the caulk uninterrupted cure time based on the label’s temperature and humidity range, not the clock on the wall. Track weather considerations first: don’t caulk before rain, heavy fog, or overnight freezing, and avoid hot, wind-blown afternoons that can skin the surface too fast.
Keep the joint dry and protected from dust, sprinklers, and washing. If direct sun hits the window, shade it so the bead cures evenly and doesn’t crack from rapid heating. Don’t touch-test with bare fingers; use a gloved knuckle to confirm it’s not tacky. Respect minimum curing time before exposure to water, and extend it when humidity stays high or temperatures drop. Ventilate nearby interiors if fumes collect.
Paint the Repaired Window Trim to Match
After the caulk reaches its full cure, paint the repaired trim to seal the joint and blend the patch into the surrounding finish. Choose exterior-grade paint that matches the existing sheen (flat, satin, semi-gloss). Use Color matching techniques: save a labeled can, compare in daylight, or bring a dry chip to the store for spectrophotometer matching. Clean the trim, scuff-glossy areas lightly, and wipe dust off; wear eye protection and a respirator when sanding.
Prime any bare wood or exposed filler, then cut in along the caulk line with a quality angled sash brush. Follow paint application tips: keep a wet edge, apply two thin coats, and avoid heavy buildup that can crack. Let each coat dry per label before closing windows.
Frequently Asked Questions
What Caulk Type Works Best for Vinyl Windows in Extreme Temperatures?
You’ll get best results with high-performance, paintable polyurethane or hybrid/MS polymer caulk rated for extreme Temperature compatibility; it stays flexible. It delivers strong Sealant adhesion to vinyl. Don’t use pure silicone; it’s hard to repaint.
Can I Caulk and Paint if Rain Is Expected Within 24 Hours?
No—you shouldn’t caulk and paint if rain’s expected within 24 hours; it’s like building on sand. For Weather considerations and Caulking timing, wait for 24–48 dry hours, follow cure times, and protect ladders.
How Do I Fix Gaps Wider Than 1/2 Inch Around Window Trim?
You fix gaps wider than 1/2 inch by inserting foam backer rod or replacing trim, then applying quality exterior sealant. Focus on Gaps filling and Sealant selection. Wear gloves, cut cleanly, tool smoothly, and cure.
Should I Caulk Over Weep Holes or Drainage Channels on Window Frames?
Don’t caulk over weep holes or drainage channels. Like taping a fish tank drain once, you’ll trap water fast. Prioritize Weep hole maintenance and avoid Drainage channel sealing; keep paths clear, inspect regularly, wear gloves.
How Often Should Exterior Window Caulk Be Inspected and Replaced?
Inspect exterior window caulk twice yearly and after severe storms; replace it when you see cracks, gaps, or adhesion loss, typically every 5–10 years. Follow a strict Inspection schedule for Caulk maintenance to prevent water intrusion.
Conclusion
Now you’ve stopped water and air from sneaking past your window trim. You removed failed caulk, cleaned and dried the joint, taped for sharp lines, laid a steady bead, tooled it smooth, and let it cure per the label and weather. Don’t rush paint—protect your lungs with a mask and your hands with gloves. Once painted, your repair works like a gasket on a hatch, sealing tight through seasons.
About the Author



