Confirm the subfloor is solid, clean, and flat—quick-set thinset won’t fix flexing or water damage—then tape off grout lines and wear eye, glove, and dust protection. Score the grout, lift the loose tile, and scrape old mortar from both surfaces without gouging. Vacuum and dry, then dry-fit with spacers to check for rocking and alignment. Mix quick-set per the datasheet, reset the tile with full coverage, clean squeeze-out, and barricade until cure. Continue for timing and troubleshooting.
Key Takeaways
- Confirm quick-set thinset is rated for your tile, substrate, and kitchen conditions; it won’t fix subfloor flex or water damage.
- Remove the loose tile by scoring grout and prying gently; scrape all old mortar from tile and cavity, then vacuum clean.
- Dry-fit the tile with spacers and a straightedge to ensure no rocking and minimal lippage before mixing adhesive.
- Mix small batches to manufacturer ratios and pot life; trowel for full coverage, press and slide tile, then tap flush.
- Clean squeeze-out from joints immediately and let thinset cure undisturbed before regrouting and foot traffic, following product cure times.
Confirm Quick-Set Is Right for This Loose Tile
Before you reach for quick-set mortar, confirm it matches your tile type, substrate, and the conditions around the loose area. Verify the product is rated for floor traffic, wet locations, and your tile’s absorption (porcelain vs. ceramic) per manufacturer data and ANSI requirements. Check that the substrate is sound, clean, and compatible (cement backer, concrete, or properly prepared wood underlayment); quick-set won’t correct flexing or water damage. If the tile rocks, note whether voids or debonding extend beyond one tile—wider failure suggests tile replacement considerations, not spot bonding. Consider alternative adhesive options only if listed for your installation (e.g., epoxy mortar for chemical resistance). Wear gloves and avoid skin contact with cementitious materials.
Gather Tools for a Quick Loose-Tile Fix
Before you mix quick-set, you’ll gather a tight checklist: margin trowel or putty knife, grout saw, shop vac, mixing cup, sponge, level, spacers, and a rubber mallet. You’ll also put on safety glasses, cut-resistant gloves, and a dust mask or respirator as required, and you’ll keep the work area ventilated. Then you’ll prep by clearing the floor, protecting adjacent surfaces, and confirming the subfloor is clean, dry, and stable.
Essential Tools Checklist
Whether you’re resetting one loose tile or several, you’ll work faster and safer if you stage the right tools up front. Match each tool to your tile design and flooring materials so you don’t chip edges or scar adjacent grout lines.
Bring a margin trowel and a 1/4 in. notched trowel for controlled quick‑set spread, plus a grout saw or oscillating tool blade to clear failed grout. Keep a stiff putty knife, cold chisel, and hammer for lifting without cracking. Use a shop vacuum and nylon brush to remove dust that weakens bond. Set a straightedge, level, and tape measure to confirm flatness and tile alignment. Have spacers, wedges, and painter’s tape to hold position while the adhesive sets. Include a mixing bucket, paddle, and clean water for consistent batches.
Safety Gear And Prep
Stage your tools, then suit up and prep the work area so you don’t trade a fast tile reset for an injury or a dusty, weak bond. Put on safety glasses, cut-resistant gloves, and an N95 when scraping thinset or grout. Add knee pads and non-slip shoes to keep stable on a hard, slick floor.
Shut off traffic, clear rugs, and set a drop cloth. Vacuum debris, then damp-wipe to control dust; let the slab dry before you apply adhesive. Use painter’s tape to mark the loose tile and protect adjacent grout joints. Verify ventilation if you’re using solvent-based products, and keep a spill kit and water nearby. Review adhesive options and follow the label’s mix time, pot life, and cure window to support tile durability.
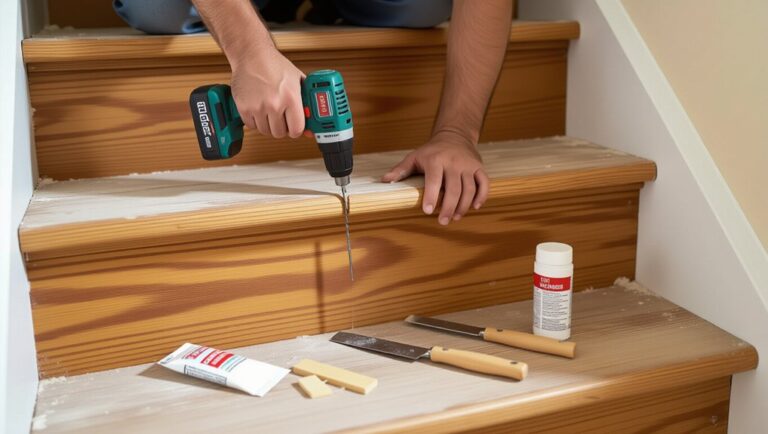
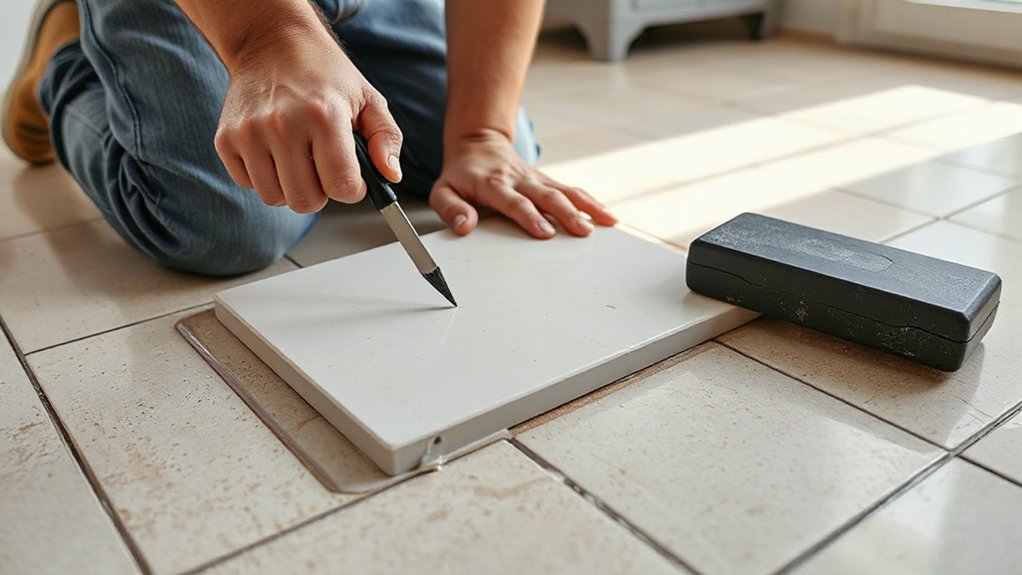
Lift the Loose Kitchen Floor Tile Safely
If the tile has started to rock or lift at an edge, remove it with controlled force so you don’t crack it or damage the subfloor. Score the grout line around the tile with a utility knife to reduce chipping, then slip a thin putty knife under the raised edge. Work from multiple sides, prying a little at a time, and keep the blade flat to avoid gouging. Use a suction cup on smooth surfaces for steadier lift. If the tile won’t release, tap the putty knife lightly with a rubber mallet rather than forcing it. Mark the tile’s orientation so Decorative patterns align during reinstallation, especially at bridges to Different flooring. Set the tile on cardboard. Inspect edges for cracks.
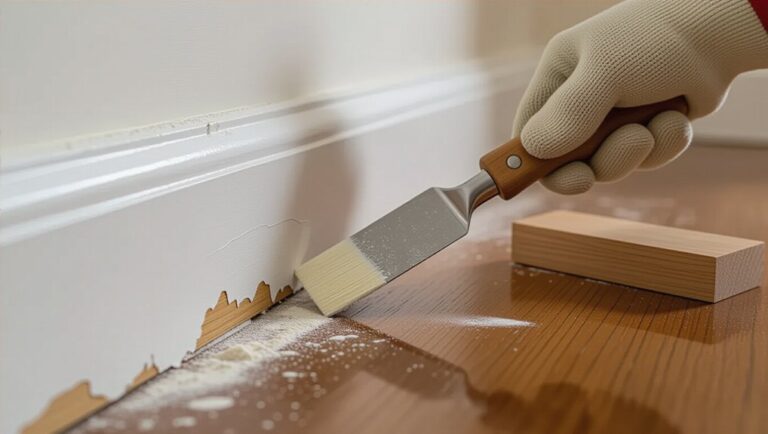
Remove Old Mortar and Vacuum the Tile Base
After you’ve lifted the tile, scrape off the old mortar from the subfloor and the tile’s underside so the replacement bond meets manufacturer specs. Use a stiff putty knife or margin trowel and keep the blade low to avoid gouging cement board or underlayment. Wear cut‑resistant gloves, eye protection, and a respirator if dust is present. For historical tiles or pieces with decorative patterns, work slowly to prevent chipping edges or glazing; don’t strike the tile with metal tools.
Remove all ridges, loose crumbs, and contaminates like grease or paint. Then vacuum the cavity and surrounding joints with a HEPA vac, focusing on corners. Wipe with a barely damp microfiber cloth and let surfaces dry completely.
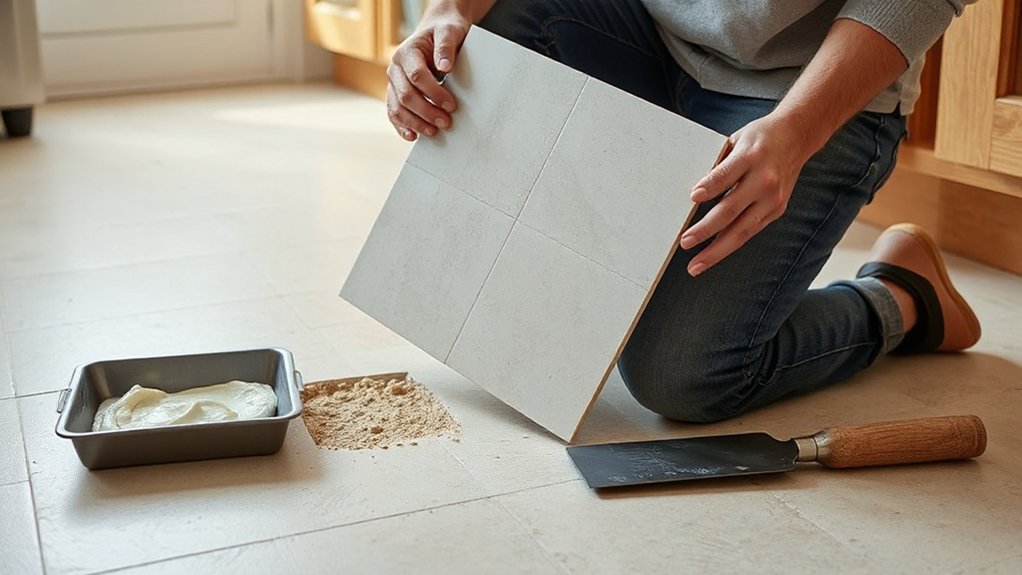
Dry-Fit the Tile and Check Floor Flatness
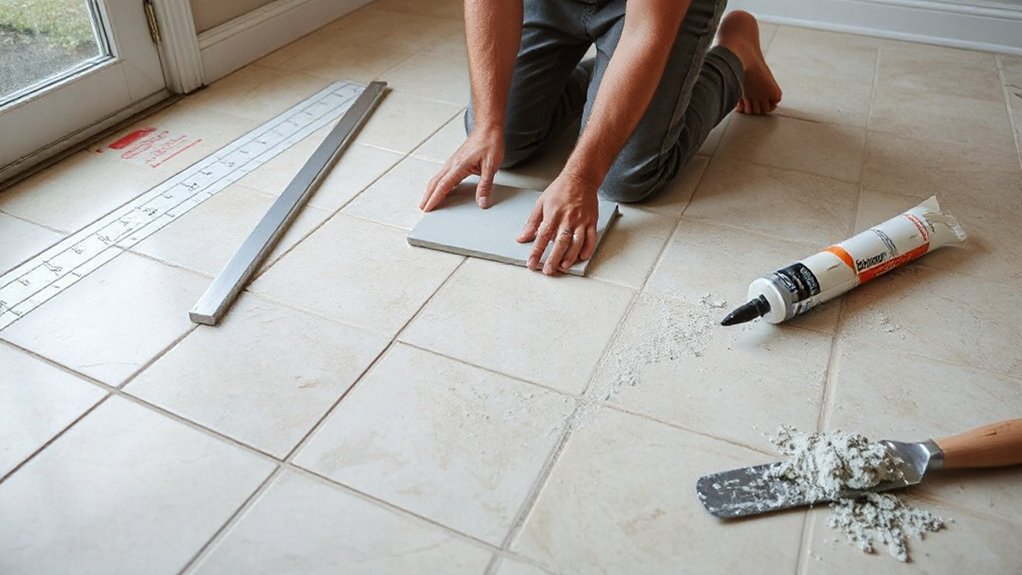
Clean, dry surfaces give you a reliable starting point to test the fit before you spread new mortar. Set the tile in place without adhesive and press it down evenly. Confirm it seats fully on the cleaned base and doesn’t rock or pivot. Check grout-joint width with spacers so the tile lands flush with adjacent joints for pattern alignment. Step back and verify color matching under the room’s normal lighting; rotate the tile only if it keeps the layout consistent.
Now check flatness: place a straightedge across neighboring tiles and the opening. You shouldn’t see gaps or high edges that exceed about 1/16 in over 2 ft. Mark high spots or debris you missed, then re-clean and re-test before proceeding.
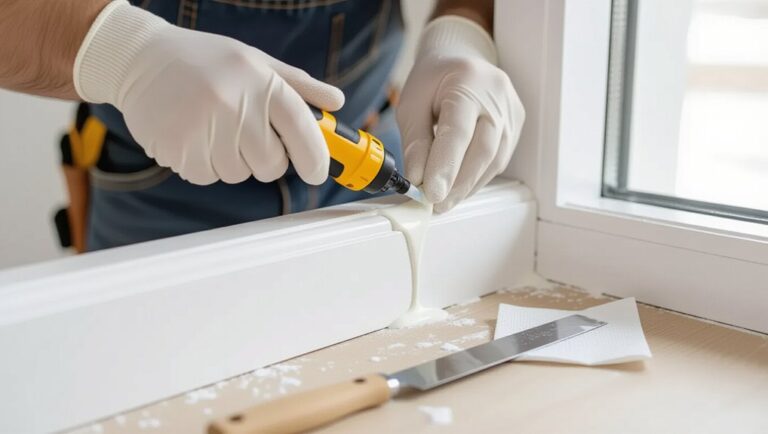
Mix Quick-Set Thinset (Tile Adhesive) Properly
Follow the thinset manufacturer’s instructions and measure the water-to-powder ratio precisely, because quick-set mixes don’t tolerate guessing. Mix with a clean bucket and paddle until you get a smooth, lump-free, peanut-butter consistency that holds a notch without slumping. Wear eye and dust protection, and only mix what you can spread within the stated pot life.
Choose Water-To-Powder Ratio
Because quick-set thinset starts hydrating the moment you add water, you need a consistent water-to-powder ratio so it cures to spec and bonds the tile securely. Read the bag’s technical data sheet and follow the listed range in quarts (or liters) per 50 lb (or kg); don’t guess. Use clean, cool potable water, measured in a graduated bucket or pitcher, and keep the Water ratio identical for every batch. Control your powder measurement too: weigh powder when possible, or use the same scoop and a level strike-off so each portion matches. Don’t “stretch” working time by adding extra water; it lowers strength and can cause debonding. Wear eye and dust protection while measuring, and mix only the amount you can place within the stated pot life.
Mix To Proper Consistency
Once you’ve measured water and powder accurately, mix quick-set thinset to a smooth, peanut-butter-like consistency that holds a notch without slumping. Use a clean bucket and paddle, then mix 2–3 minutes at low RPM to limit air. Let it slake per the bag (often 5–10 minutes), then remix without adding water. The ridges should stand, wet the trowel, and transfer fully to the tile back. If it’s runny, you’ll lose coverage and your tile pattern can drift; if it’s stiff, you’ll trap voids and weaken bond. Wear eye protection and a respirator for cement dust. Keep batches small so set time doesn’t alter grout color at joints.
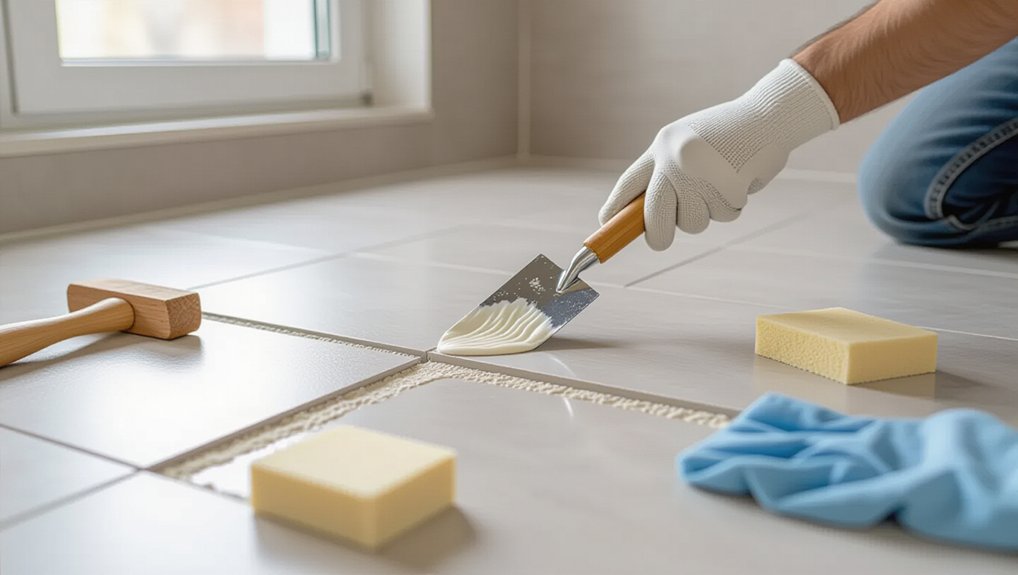
Reset the Loose Tile Level and Weighted
Before the mortar starts to skin over, reset the loose tile so it sits flat and matches the height of the surrounding field. Press it down with firm, even hand pressure, then slide it slightly to collapse ridges and eliminate voids. Use a straightedge across adjacent tiles to verify lippage stays within ANSI A108 tolerance, and adjust by lifting and adding or removing mortar as needed. Keep joints uniform and scrape squeeze-out from edges so it won’t interfere with grout sealing later. Wipe the face clean immediately to protect tile color matching and avoid haze. Set a clean plywood pad over the tile and add a stable weight to hold plane alignment. Don’t overload; you could crack the tile or shift spacers.
Cure Time: When You Can Walk and Regrout
After you’ve reset and weighted the loose tile, let the thinset cure undisturbed per the mortar manufacturer’s data sheet before you allow foot traffic or start regrouting. Maintain the specified temperature and humidity, and keep the area barricaded so the bond isn’t stressed early. If the product lists separate times for light traffic and full cure, follow both, and delay moving appliances until full cure.
Once cured, remove spacers and clean joints to the proper depth. Regrout using the same grout type as the field, and confirm color matching with a small test batch and consistent water ratios. Allow grout to cure per its instructions, then perform grout sealing only when the grout manufacturer permits it. Provide ventilation and wear gloves when handling cementitious materials.
Troubleshoot: Lippage, Hollow Sounds, Squeeze-Out
If the reset tile doesn’t sit flush or still sounds wrong, you need to diagnose the issue immediately so you don’t lock in defects under grout. Check lippage with a straightedge; if you exceed typical residential tolerance, lift the tile before the quick‑set cures and correct the bed thickness. Maintain the tile pattern by aligning edges and joint widths.
If you hear a hollow sound, you’ve got voids. Remove the tile, scrape to sound substrate, and reapply adhesive with full coverage; don’t spot‑bond. Tap down with a beating block and verify support at corners.
For squeeze‑out, stop and clean joints now. Use a plastic scraper and damp sponge, avoid chemicals, and protect your grout color by keeping joints depth consistent and free of adhesive. Wear gloves, ventilate.
Frequently Asked Questions
Can I Fix Loose Tiles Without Removing the Grout First?
You can’t reliably fix loose tiles without removing grout first; you risk poor bonding. For tile removal, cut and clear grout to the substrate, then reset. Finish with grout replacement, and verify curing, flatness, and hazards.
Will Quick-Set Adhesive Work Over Existing Adhesive Residue or Paint?
Like building on sand, you shouldn’t rely on quick-set over old adhesive residue or paint. Adhesive compatibility suffers unless you remove contaminants. Prioritize Surface preparation: scrape, abrade, and vacuum; prime if specified; follow manufacturer data.
How Do I Match Replacement Grout Color After Resetting the Tile?
You’ll match replacement grout by using a manufacturer color chart and test board for color matching; adjust with measured pigment, and use grout blending additives. Wear PPE, mix consistently, and cure per ANSI A108.10.
Is It Safe to Use Quick-Set Thinset Over Radiant Heated Kitchen Floors?
Yes, you can use quick-set thinset over radiant heat if the product is rated for heated substrates. Follow DIY tips and safety precautions: shut system off, allow cooling, meet cure times, then restart gradually.
When Should I Call a Professional Instead of Attempting This Repair?
Call a pro when tiles shift widely, heat wiring’s exposed, or the subfloor’s damaged; like a hairline crack warning, it signals risk. Prioritize DIY safety, follow standards, and get Tool recommendations if you’re uncertain.
Conclusion
You’ve tamed the “one loose tile” that thought it could become a kitchen trampoline. You confirmed quick-set fit the job, prepped clean surfaces, mixed to spec, and set the tile flat, weighted, and aligned—because standards beat luck. Now respect cure times: don’t walk early, and regrout only when the adhesive’s ready. If you get lippage, hollows, or squeeze-out, correct it immediately. PPE on; ventilation matters.