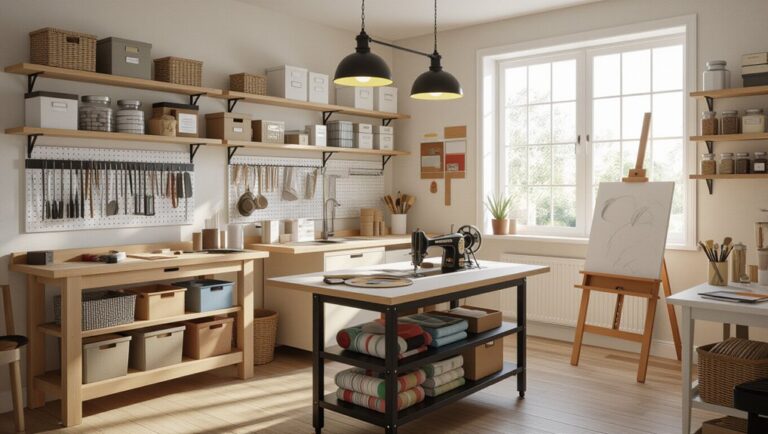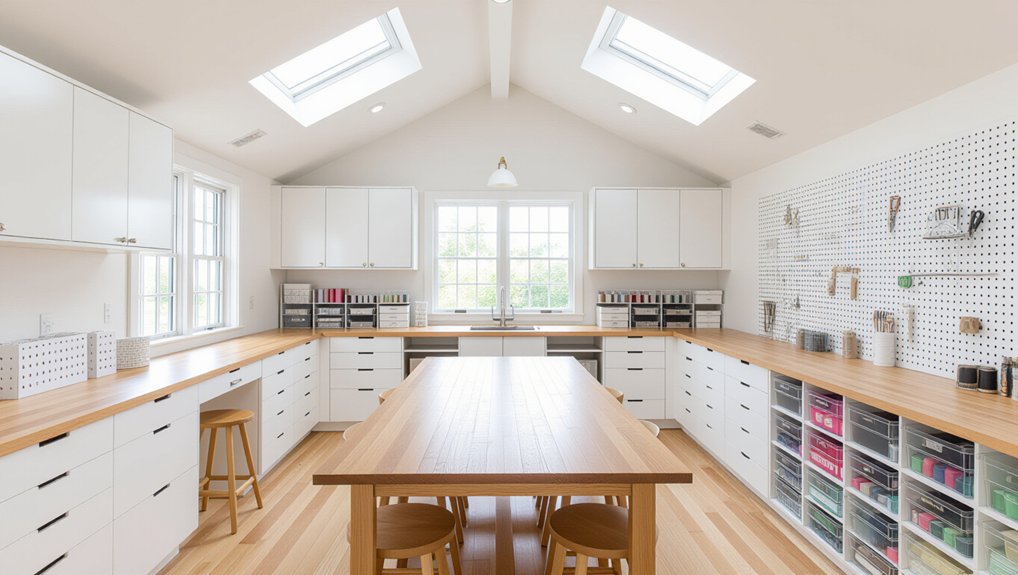
Design your craft room around your workflow, so prep, cut, assemble, finish, and pack each gets its own zone. Start by inventorying and measuring supplies, then size cubbies, drawers, and pull‑outs to what you actually store—like 12×12 paper bays by the cutting surface and deep trays for vinyl rolls. Map doors, outlets, and windows to avoid conflicts and plan lighting. Keep daily tools on task‑based pegboards and stage packing by the door. Next, you’ll see how to fine‑tune every dimension.
Key Takeaways
- Map your workflow (prep, cut, assemble, finish, pack) and assign zones so storage sits where tools are actually used.
- Measure doors, outlets, switches, and windows to avoid clearance conflicts and plan accessible power and lighting around storage.
- Inventory and measure supplies by volume and frequency, then size shelves, cubbies, and pull-outs to fit exact dimensions and refills.
- Use mixed storage—flat paper cubbies, adjustable shelves, pegboard, and full-extension pull-outs—to keep essentials visible and within reach.
- Place packing storage near the door, label every zone, and add task lighting to reduce clutter, shadowing, and wasted movement.
Map Your Craft Workflow (Projects to Tools)
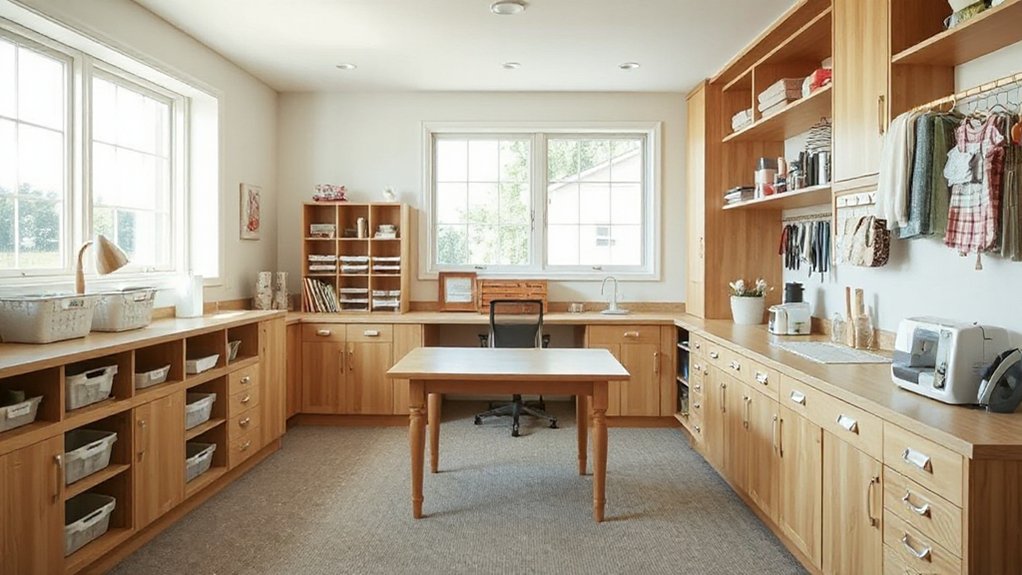
Before you buy a single bin or drawer system, map how you actually craft from start to finish—what you make most often, which tools and materials each project requires, and where bottlenecks happen. Sketch your steps: prep, cut, assemble, finish, and pack. Then assign each step a zone and a surface size, so you’re not carrying heavy tools across the room. Place high‑use tools within arm’s reach of your primary worktop, and position heat, paint, or adhesive tasks near ventilation and wipe‑clean finishes. Align task lighting with your dominant hand to reduce shadows. Choose ergonomic seating options that match your counter height and support long sessions. Use Creative color schemes to visually cue zones and keep your workflow intuitive.
Inventory Supplies to Size Your Storage
Now you’ll catalog every tool and material you actually use, so your storage plan matches your real inventory—not assumptions. You’ll measure bulk and volume (stack height, container widths, and refill quantities) to set exact shelf spacing, drawer depth, and bin sizes. Then you’ll group supplies by use—cutting, adhesives, paper, sewing, finishing—so each zone stores what you reach for together and keeps your workflow tight.
Catalog Tools And Materials
As you plan purpose‑built storage, start by cataloging every tool and material you actually use so your cabinetry and organizers fit the real volume, not a guess. Walk your room zone by zone—cutting, paper, sewing, paint—and list what lives there, plus what migrates between stations. Note frequency: daily tools deserve front‑row access; seasonal gear can move higher or deeper. Record special needs like cord management, blade protection, and upright storage for rolls and rulers. Capture Color coordination requirements for threads, papers, and paints so you can specify clear bins, labeled dividers, or swatch‑matched drawer fronts. Evaluate Lighting options at each task area and inside cabinets to keep labels readable and reduce misplacement. You’ll hand your designer a precise, client‑ready inventory.
Measure Bulk And Volume
Record totals by container type: how many linear inches of ribbon spools, how many gallons of beads, how many cubic feet of fabric. This data lets you specify interior depths, shelf spacing, and pull‑out clearances with confidence. Keep Color coordination in mind by allowing room for visible, front‑facing labels. Add Lighting considerations by planning task lights where deep storage casts shadows.
Group Supplies By Use
Once you’ve quantified what you own by container and volume, sort those supplies by how you actually use them so your storage supports your workflow, not just your inventory. Create zones: cutting, stitching, paper craft, painting, packing, and digital tools. Keep each zone’s core tools within arm’s reach of its work surface, and place refills and backstock higher or deeper. Group adhesives by cure time, paints by medium, papers by size, and fabrics by weight so drawers don’t become catchalls. Use clear bins for fast visual scanning, but assign color schemes to labels so you can spot categories at a glance. Match lighting options to tasks: brighter, cooler light over detail work, warmer light near inspiration boards. You’ll waste less time hunting and protect delicate supplies.
Measure the Craft Room (Doors, Outlets, Windows)
Before you lock in purpose-built storage, you’ll measure the room so every cabinet and workstation fits without pinching circulation. Map each door’s swing and clearance, then mark the exact locations of outlets and switches so power stays accessible above counters and inside tall units. Finally, record window widths, heights, and sill positions so built-ins respect light, trim, and any required opening space.
Map Door Swing Clearances
As you measure doors, windows, and outlets, map each door’s swing arc on your floor plan so your storage doesn’t steal clearance or block access. Sketch the hinge side, handle side, and the full 90–120° path, then confirm it with a tape measure at the floor. Keep walkways clear so you can carry bins, bolts of fabric, or a cutting mat without snagging open doors.
If a swing conflicts with base cabinets or tall storage, adjust depths, shift modules, or specify a pocket or barn-style door. Reserve wall zones behind doors for shallow pegboard or magnetic strips only. Align door placement with color coordination choices so visible panels don’t clash with finishes, and plan lighting options so open doors don’t cast shadows on task areas.
Locate Outlets And Switches
Door swings tell you where storage can’t go; outlets and switches tell you where power and lighting have to stay accessible. Walk the perimeter and mark every receptacle, data jack, and switch on your plan, noting height from finished floor and distance to corners. Flag any outlets that sit behind where cabinets might land so you can plan cutouts, shallow backs, or relocations before fabrication.
Place task zones—cutting, sewing, and heat tools—within easy reach of outlets, and reserve dedicated circuits where you’ll run irons or machines. Confirm which switch controls which lighting fixtures, then keep that switch clear of tall storage and doors. If you’re changing paint colors, note cover plates now so you can match finishes and avoid touch-ups later.
Measure Window Dimensions
Although windows don’t usually block base cabinetry the way doors do, they set the vertical limits for tall storage, worktops, and anything that needs wall space. Measure each window’s rough opening width and height, then note sill height from finished floor and head height to the trim. Record casing thickness and how far the sill projects, since deep stools can interfere with drawer pulls or pegboard panels. Map the window’s centerline on your plan so you can align upper cabinets, shelving bays, and backsplash breaks cleanly. Note which way it opens and any crank clearance for counter-mounted tools. Finally, evaluate daylight at the work surface; it affects Color schemes and drives Lighting options, including glare control for cutting and photographing projects.
Plan Craft Room Zones: Cut, Sew, Glue, Pack
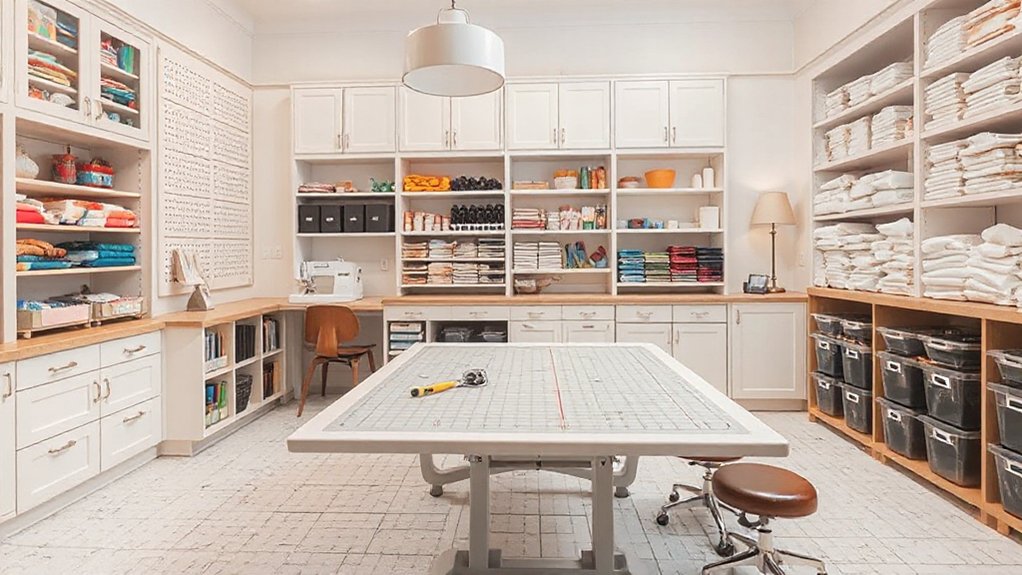
If you divide your craft room into clear zones—cut, sew, glue, and pack—you’ll keep tools where you use them and stop losing time to constant reset. Start with the cut zone near your longest, flattest surface, leaving clean infeed/outfeed space for rulers and mats. Place the sew zone where you can sit comfortably, route cords safely, and keep machine vibration off shared worktops. Reserve a glue zone on a wipeable surface, close to ventilation, with a protected drying area that won’t block pathways. Set the pack zone by the door for labels, mailers, and a staging shelf. Use color coordination to cue each zone at a glance, and add lighting solutions that target task planes without casting shadows.
Choose Craft Room Drawers + Divider Inserts
When you commit to drawers instead of open bins, you gain clean sightlines and fast access because every tool gets a defined footprint. Specify full-extension slides so nothing hides in the back, and size drawers by task: shallow for blades, rulers, and pens; medium for punches and stamps; deep for bulky cutters and corded tools. Add soft-close to protect delicate notions and keep the room quiet during long sessions.Use Custom divider inserts to lock categories in place—removable grids for markers, angled channels for scissors, and lidded micro-compartments for needles, brads, and beads. You’ll stop re-sorting after every project and reclaim minutes daily. Finish with Decorative drawer fronts that match your cabinetry, so storage reads as furniture, not utility, and your workspace stays composed.
Add Craft Room Cubbies for Bins and Paper
Drawers keep small tools disciplined, but you’ll still want open‑front cubbies to handle the bulky, the stackable, and the oversized—especially paper. Size cubbies to your supplies: 12×12 for scrapbook pads, letter for cardstock, deeper bays for punches, canvases, and fabric bolts. Keep paper flat by dedicating wide, low cubbies near your work surface so you can pull one pack without bowing edges. Use Color coded bins to group projects by client, season, or medium, and label the cubby face for quick resets. Mix in Decorative storage for items you don’t mind seeing—finished journals, ribbon spools, or curated jars—so the room reads tidy, not clinical. Add adjustable shelves so cubbies evolve with you.
Hang Daily Tools With Craft Room Pegboards
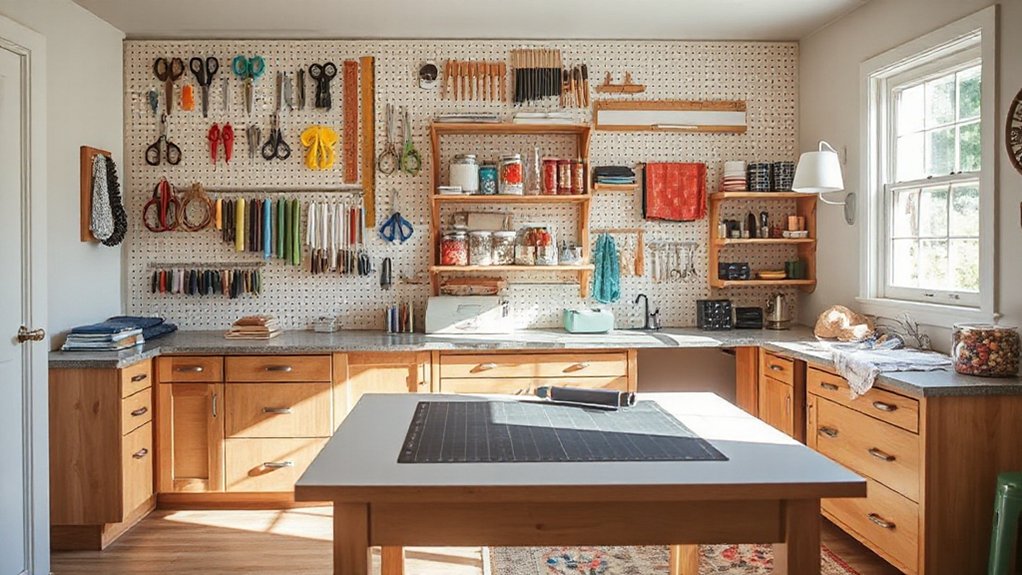
Place your pegboard where you naturally work—above the main counter, beside the cutting mat, or near the door—so you’re not wasting steps or crowding surfaces. Choose hooks, cups, shelves, and specialty holders sized to your scissors, rulers, punches, and tape guns so each tool locks into a dedicated spot. Then map clear tool zones (cutting, measuring, fastening) to keep your daily workflow visible, tidy, and easy to reset.
Pegboard Placement Strategy
Where should a pegboard go so you’ll actually use it every day? Mount it in your primary work zone, within an arm’s reach of your cutting mat or sewing machine, so you don’t break focus to hunt for tools. Place it on the wall you naturally face, not behind you, and keep the bottom edge just above desktop height for easy sightlines and clearance. If you share the room, center it between stations to reduce traffic.
Plan around Color coordination by choosing a board finish that matches cabinetry and backdrops your supplies without visual noise. Add Lighting solutions: aim a slim under‑cabinet bar or adjustable sconce across the surface to eliminate shadows and improve accuracy.
Hook And Holder Options
How you outfit your pegboard matters as much as where you mount it, because the right hooks and holders keep your daily tools visible, grabbable, and easy to reset. Start with straight and J‑hooks for scissors, rulers, and rotary cutters, then add deep baskets for tapes and refill packs. Use spring clips for pattern sheets, elastic loops for markers, and narrow shelves for small jars that must stay upright. Choose locking hooks where you’ll pull with one hand, and cap ends for safety.
Match finishes to your color schemes so the wall reads calm, not cluttered. Add Creative lighting—an under‑shelf LED strip or adjustable puck—so labels and edges pop without harsh shadows. Keep extras in a bin, not on display.
Organized Tool Zones
Because your hands reach for the same tools on repeat, you’ll get the cleanest workflow by dividing your pegboard into organized zones that mirror your actual steps—cutting, measuring, marking, and finishing. Place each zone directly above the counter run where you perform that task, so your arms stay close to your body and you don’t cross paths with supplies. Keep blades and shears in a “cut” column with guarded hooks; cluster rulers, squares, and tape in “measure” with a flat ledge; pin pencils, awls, and chalk to “mark”; reserve “finish” for burnishers, glue, and clamps. Choose Eco friendly materials for bins and backer panels. Add lighting optimization with under-shelf LEDs to eliminate shadows.
Use Pull-Out Organizers in Base Cabinets
If you want your craft room to stay efficient from project to project, install pull-out organizers in your base cabinets so you can access supplies without kneeling, digging, or emptying shelves. Choose full-extension slides so every bin clears the face frame, and size trays to your supplies: deep pull-outs for vinyl rolls, shallow inserts for stamps, labels, and blades. Add dividers and removable cups so categories don’t migrate when you open and close drawers. Place your most-used items closest to your primary work zone, aligned with Ergonomic seating so you’re not twisting to reach. Pair each pull-out with Creative lighting inside the cabinet to eliminate shadows and prevent double-buying supplies. You’ll reclaim floor space, reduce setup time, and keep backups visible.
Build a Cutting Table With Storage Underneath
When you dedicate a central cutting table to your craft room, you gain a stable work surface and a storage hub that keeps tools within arm’s reach. Size it to your largest mat, then leave a clear 36-inch path on all sides so you can rotate fabric without snagging. Build deep drawers or open cubbies underneath for rulers, mats, rotary cutters, and stacks of paper, and add a recessed toe-kick so you can stand close for accurate cuts. Choose durable, low-glare laminate or sealed wood that wipes clean and supports Color coordination with nearby cabinetry. Complete it with smart lighting arrangements: a centered ceiling fixture plus under-shelf LEDs aimed at the surface to eliminate shadows and improve precision.
Label Zones and Keep Craft Storage Flexible
Although your craft room may serve multiple hobbies, you’ll keep it calm and efficient by labeling clear work zones and choosing storage that can shift with your projects. Mark “cut,” “sew,” “paint,” and “pack” areas with slim drawer tags, shelf-edge labels, or vinyl decals so you can reset fast after each session. Use Color coordination for bins and folders—one hue per zone—so supplies return to the right wall without thinking.
Choose flexible pieces: rolling carts that park under counters, pegboards with movable hooks, and adjustable shelves that adapt to tall paper, yarn cones, or tools. Add Creative lighting per zone—task strips under uppers, a swing-arm at the machine, and a spotlight over the packing ledge—so you don’t migrate clutter to the brightest corner.
Frequently Asked Questions
What Lighting Types Best Reduce Eye Strain During Detailed Crafting?
Choose high-CRI, flicker-free LED fixtures in neutral daylight (4000–5000K) to keep colors true and fatigue low. Add adjustable task lighting aimed across your work surface, diffuse glare, and layer ambient light for even coverage.
Which Flooring Materials Handle Spills, Pins, and Heavy Rolling Carts?
Choose Durable vinyl or Waterproof laminate for spills and rolling carts; they resist moisture and dents. Add a dense underlayment to cushion pins and reduce noise. Seal seams, use chair mats, and you’ll maintain smooth movement.
How Can I Soundproof a Craft Room to Reduce Machine Noise?
Measure twice, cut once: you’ll cut noise by sealing door gaps, adding dense rugs, and decoupling walls. Use Soundproofing techniques like mass-loaded vinyl, and compare Acoustic panel options for your layout, budget, and machines.
What Ventilation Is Needed When Using Paint, Resin, or Adhesives Indoors?
You’ll need local exhaust plus fresh-air exchange: use Ventilation systems with a vented hood, inline fan to outdoors, and makeup air. Add air quality management via VOC/HEPA filtration, and monitor airflow and odor daily.
How Do I Childproof Craft Storage While Keeping Tools Quickly Accessible?
Like a seatbelt, you’ll secure storage yet stay fast: install Childproof locks on lower drawers, keep sharp tools up high, add Non slip mats, and use labeled caddies on a reachable shelf for grab-and-go access.
Conclusion
When you design purpose-built storage around your workflow, your craft room starts working for you. You might think you don’t have enough space, but zoning and vertical storage change everything—pegboards lift daily tools off the surface, pull-outs tame deep cabinets, and drawer inserts stop small parts from drifting. With a cutting table that stores bins underneath and clear labels on each zone, you’ll reset faster, find supplies instantly, and stay ready for the next project.
About the Author