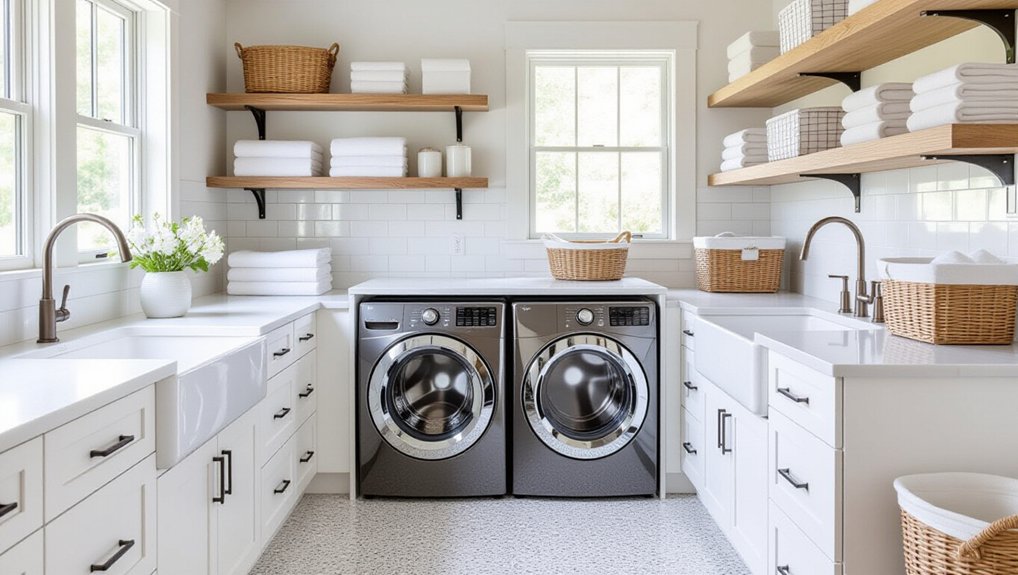
Start by mapping your workflow—drop, sort, wash, dry, fold, store—and lock in appliance clearances, door swings, and 42 inches of circulation. Choose a compact, galley, or L-shaped layout that gives you continuous counters and vertical storage. Keep the dryer near an exterior wall for a short, safe vent run, and add a 36-inch folding counter with a wipeable top and backsplash. Brighten everything with layered lighting and light-reflective finishes—there’s more ahead on layouts, storage, and lighting.
Key Takeaways
- Map the workflow—drop, sort, wash, dry, fold, store—then lock appliance clearances, door swings, and 42-inch circulation paths.
- Choose a layout that fits the room: single-wall for tight spaces, galley for parallel efficiency, or L-shaped for landing zones.
- Brighten work areas with layered lighting: ceiling fixtures plus under-cabinet high-CRI LEDs (3000–4000K) over sorting and folding counters.
- Add a durable folding counter at 36 inches, using moisture-resistant tops and a backsplash; include pull-out surfaces if space is limited.
- Maximize vertical storage with closed uppers, labeled bins, and hanging rods or racks; keep outlets accessible and dryer vent runs short.
Start Your Laundry Room Layout With Workflow + Measurements
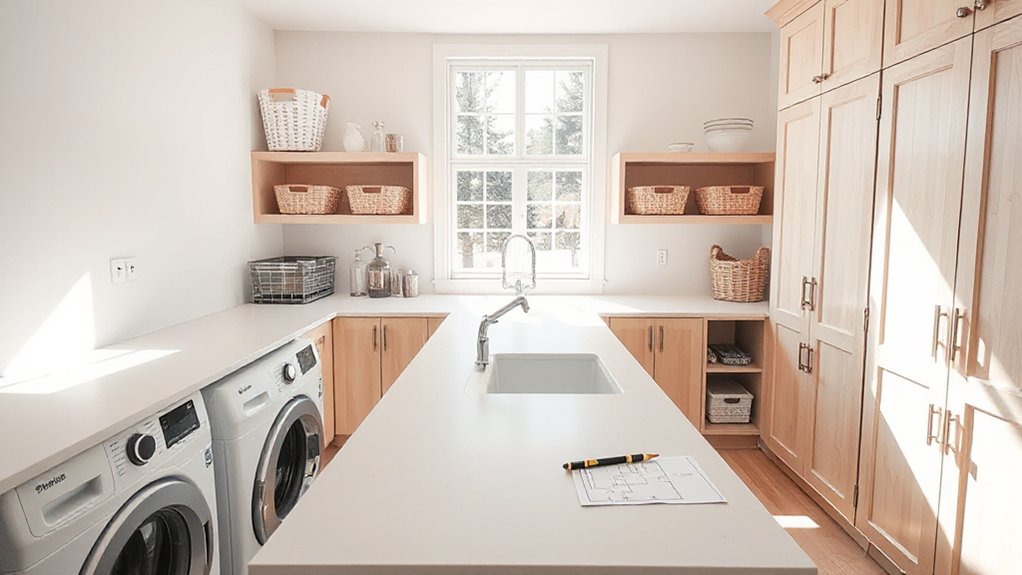
Before you pick cabinets or finishes, map your laundry workflow—drop zone, sort, wash, dry, fold, and store—then lock in the measurements that make each step effortless. Set appliance clearances, door swings, and service access, and keep 42 inches for comfortable circulation. Size your counter for folding at 36 inches high, and add a pull-out surface if you’re tight on depth. Plan task lighting directly over the sort and fold zones, and place switches at the entry. Choose Flooring options that resist moisture and heat: porcelain tile, sealed LVP, or epoxy. Build Ventilation strategies early—dedicated exhaust, make-up air, and a straight, short dryer duct—so humidity, lint, and heat don’t dull your bright finishes.
Choose the Best Laundry Room Layout Type (Small, Galley, L)
Once you’ve locked in your clearances and workflow, pick a layout type that fits your room’s footprint and how you’ll use it: compact, galley, or L-shaped. In a small room, go compact with a single wall and tall cabinetry; choose matte, wipeable laminates or painted wood for durability and a brighter bounce of light. In a galley, run two parallel banks to keep folding and sink tasks separated; add continuous counters and under-cabinet LEDs to eliminate shadows. For an L layout, wrap one corner to gain landing zones and a cleaner circulation path; use a light quartz or solid-surface top to reflect daylight. Build Storage options vertically, then align aesthetic choices with fixtures, hardware, and tile for a cohesive look.
Place Washer and Dryer for Safe, Easy Clearance
If you place the washer and dryer with door swing, venting, and service access in mind, you’ll keep the room safe, quiet, and easy to work in. Start with Washer placement: align hoses to the supply wall, keep a straight drain run, and leave enough side clearance to reduce vibration noise against cabinets. For Dryer positioning, put it closest to the exterior wall so the vent run stays short, rigid, and smooth, lowering lint buildup and heat risk. Maintain manufacturer-specified rear and top gaps for airflow, and plan a service pull-out zone without blocking the aisle. Use a non-slip, water-resistant floor and a metal vent box. Add bright task lighting overhead so you can spot leaks early. Keep outlets accessible, not hidden behind appliances.
Add a Spot to Sort Laundry and Pre-Treat Stains
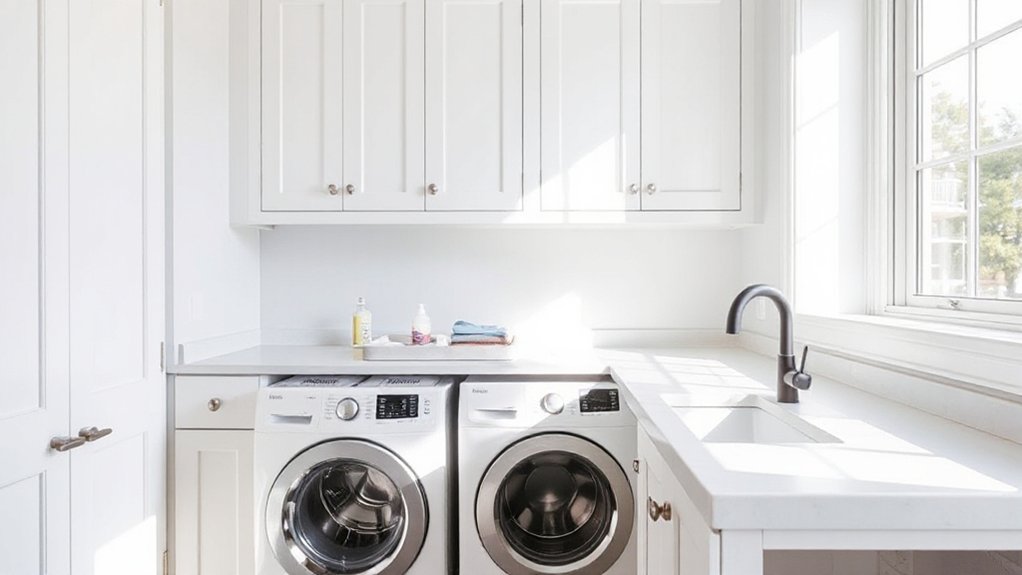
Because sorting and stain work happen at the messiest point in the cycle, dedicate a clear, well-lit landing zone near the washer: a counter at 36–39 inches high with a wipe-clean, water-resistant top (quartz, solid surface, stainless, or sealed laminate) and a short backsplash to catch splashes. Make this your Sorting station by keeping two to three labeled bins below or beside it for lights, darks, and delicates, and add a pull-out hamper to reduce floor clutter. Mount a shallow shelf or cabinet at eye level for detergents and a small caddy for brushes, enzyme spray, and gloves so stain pre treatment stays contained. Add a focused under-cabinet LED (3000–3500K, high CRI) to reveal discoloration quickly, and specify a GFCI outlet for a steamer or remover wand.
Size a Folding Counter for Comfort and Landing Space
Set your folding counter at a height that keeps your shoulders relaxed and your wrists neutral, and align it cleanly over adjacent appliances for a continuous work surface. Give yourself generous landing space for baskets and folded stacks, and choose a durable, low-glare top that handles heat, moisture, and abrasion. Place bright, shadow-free task lighting directly over the counter so you can spot wrinkles and stray stains as you work.
Ergonomic Counter Height
While the machines handle the heavy lifting, a well-sized folding counter keeps your workflow smooth by giving you a comfortable surface and a reliable landing zone for baskets. Dial in counter height so your forearms rest naturally and you don’t hunch; 36 inches works for many, but raise it slightly for tall users or lower it if you’ll sit to sort. Aim for ergonomic design that aligns your shoulders over your hips and keeps wrists neutral during folding. Choose a matte, low-glare surface—quartz, solid-surface, or sealed wood—so task lighting won’t bounce into your eyes. Under-cabinet LEDs at 3000–3500K give even illumination, and a light backsplash helps reflect it without harsh shine.
Generous Landing Space
Even if your room’s footprint feels tight, you can make laundry flow faster by giving yourself generous landing space at the folding counter. Aim for 18–24 inches deep so baskets don’t teeter, and reserve at least 36–60 inches of uninterrupted width for sorting and stacking. Keep the counter clear by tucking hampers below and adding slim storage solutions above for detergents and bins. Choose a durable, wipeable surface—quartz, high-pressure laminate, or sealed butcher block—and run a small backsplash to catch drips. Light it well with an under-cabinet LED strip at 3000–3500K so whites read true and stains show. Finish with restrained decorative accents like a framed print or lidded canisters to soften utility without stealing space.
Build Vertical Laundry Room Storage to Clear Clutter
Because floor space disappears fast in a hardworking laundry room, vertical storage gives you the cleanest path to clearing clutter without widening the footprint. Start by stacking closed uppers to the ceiling so detergents, backups, and seasonal items stay out of sight, supporting true clutter clearance. Add open shelves only where you’ll use bins with labeled fronts, keeping sightlines calm. Specify moisture-resistant materials—melamine, sealed plywood, or powder-coated steel—and edge-band them to prevent swelling. Use a narrow wall rail with hooks for tools and a magnetic strip for small metal parts, freeing the counter. Brighten tall zones with under-shelf LED strips at 3000–3500K so you can spot supplies quickly. Finish with a slim rolling cart that parks neatly between machines.
Plan Hanging Space for Air-Dry and Ironing
Clear vertical storage opens up your walls, so put that newfound order to work by carving out dedicated hanging space for air-dry pieces and ironing-ready garments. Mount a wall track above the counter and add a stainless rod, or choose fold-down racks that disappear when you’re done—smart Hanging space options that keep aisles clear.
Place Air dry stations where dripping won’t hit floors: above a utility sink, over a tray-lined shelf, or beside a vented drying cabinet. Use moisture-tolerant materials like powder-coated steel, sealed hardwood dowels, and rustproof hooks. Add a slim pull-out hanging rail inside a tall cabinet for delicates, and reserve a clear section near your ironing board for shirts and trousers. Keep hangers, clips, and a heat-resistant pad in a shallow drawer beneath.
Pick Lighting and Light Colors to Brighten the Room
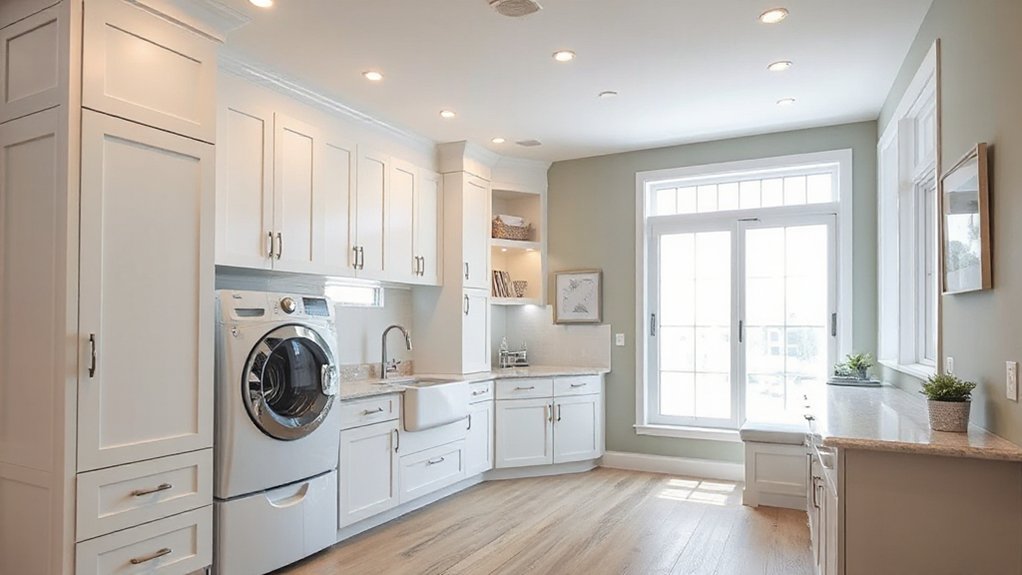
While you’re dialing in storage and workflow, choose lighting and light colors that make stains, lint, and true fabric tones easy to see. Start with layered ambient lighting: a low-glare ceiling fixture or slim LED panel that washes the whole room evenly, then add task lights under upper cabinets and above the sink. Aim for high CRI LEDs (90+), so whites look clean and colors don’t shift, and keep the color temperature around 3500–4000K for a crisp, neutral read. On walls and cabinetry, use light-reflective finishes—eggshell paint, satin laminates, or glossy tile. Soft pastel shades can brighten without feeling clinical; pair them with bright white trim to bounce light into corners.
Frequently Asked Questions
What’s the Best Flooring Material for a Laundry Room Prone to Spills?
Choose luxury vinyl plank or porcelain tile; you’ll get waterproof durability for spills. Specify Eco friendly materials, low-VOC adhesives, and slip resistance. Use Stylish patterns to zone machines, and bounce light with pale, matte finishes.
How Can I Reduce Noise and Vibration From My Washer and Dryer?
You’ll cut washer/dryer noise by leveling feet, adding vibration isolation pads, and using soundproofing techniques like mass-loaded vinyl behind walls. Pull units off studs, add a rubber mat, and soften lighting with acoustic panels.
Do I Need a Floor Drain or Waterproofing for Laundry Room Safety?
If you’re on an upper floor, you’ll want waterproofing and often a drain; a condo owner avoided a costly leak with a recessed pan. Use floor drain options and waterproofing techniques: sheet membrane, sealed seams, coved base.
What Ventilation Options Prevent Humidity and Mold in a Laundry Room?
Choose Ventilation types like a ducted exhaust fan or HRV/ERV, and add humidity control systems like a dehumidifier. You’ll seal drywall, use mildew-resistant paint, and pair task lighting with airflow.
Which Paint Finishes Withstand Moisture and Frequent Cleaning Best?
You’ll get the best moisture and cleaning resistance from satin or semi-gloss acrylic enamel. In one busy condo laundry, you spec’d semi-gloss on splash walls for Paint durability; Moisture resistant finishes stay bright under task lighting.
Conclusion
You’ll get a bright, hardworking laundry room when you start with workflow, measure clearances, and pick a layout that fits—small, galley, or L. Set your washer and dryer with safe access, then add a durable folding counter with landing space, plus a stain-treat/sort zone. Build vertical storage to lift clutter off the floor, and include hanging room for air-dry and ironing. Layer crisp lighting and pale finishes—measure twice, cut once.
About the Author