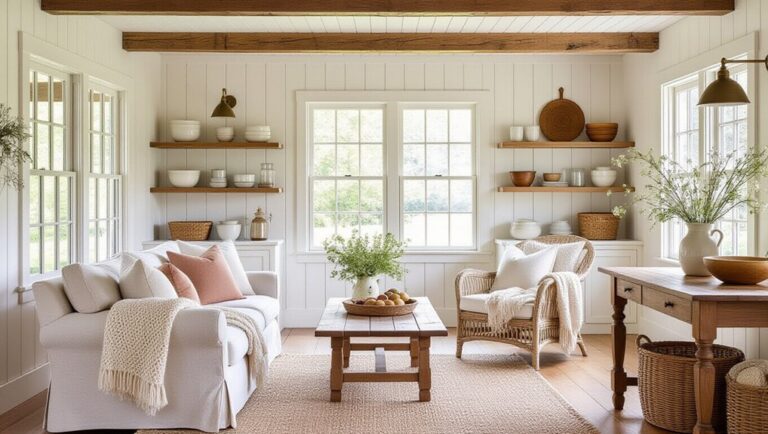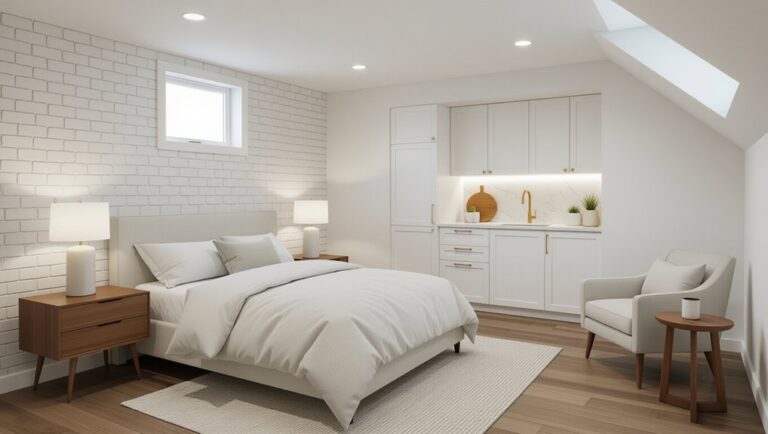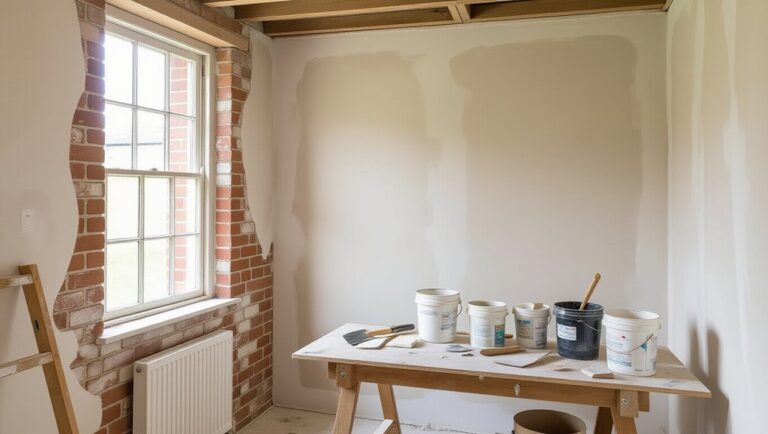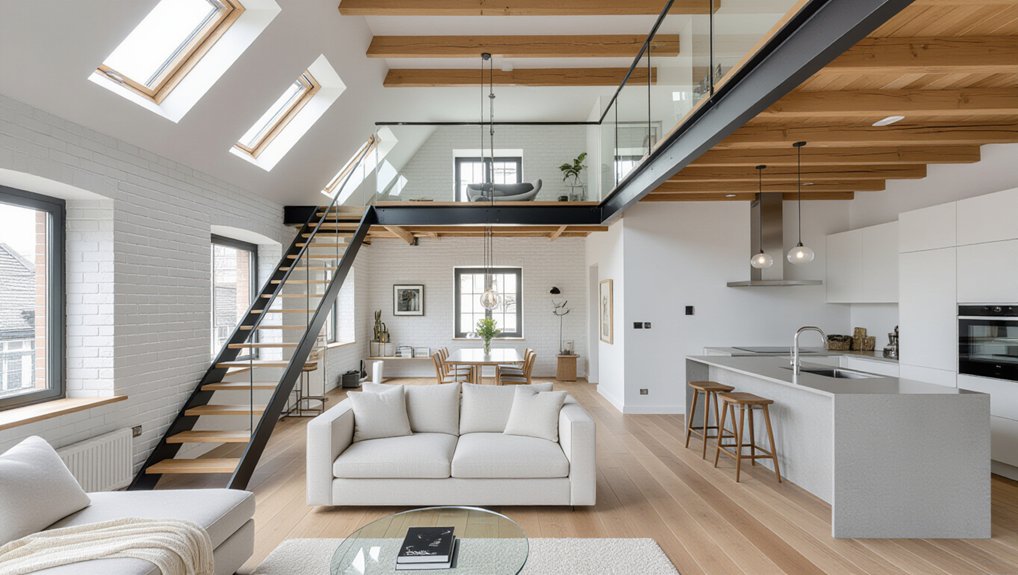
Start by auditing your mews house structure: measure slab‑to‑joist height, map load‑bearing/party walls and joist direction, and confirm stair geometry and escape routes. Set clear split‑level functions and headroom targets, then budget with contingency for steels, acoustic build‑ups, and services reroutes. Zone levels for utilities/entry, kitchen, brightest living zone, and bedrooms, and place a double‑height void where glazing or rooflights can drive daylight deep. Next, you’ll see where permissions, fire strategy, and MEP coordination make or break it.
Key Takeaways
- Survey slab-to-joist heights, joist directions, and load-bearing walls to confirm feasible half-levels, voids, and required steelwork.
- Check planning limits and constraints, including conservation or Article 4 rules, before altering roof volume, height, façade openings, or use class.
- Design stairs to meet safe riser/going ratios and clear landings, avoiding door or glazing conflicts while preserving efficient circulation and privacy zoning.
- Place double-height voids and split-level openings to align with windows or rooflights, maximizing daylight penetration and protecting key sightlines.
- Integrate structure, fire escape routes, acoustics, and MEP service runs early, budgeting contingency for party-wall restrictions and structural surprises.
Check If Your Mews House Suits Split Levels
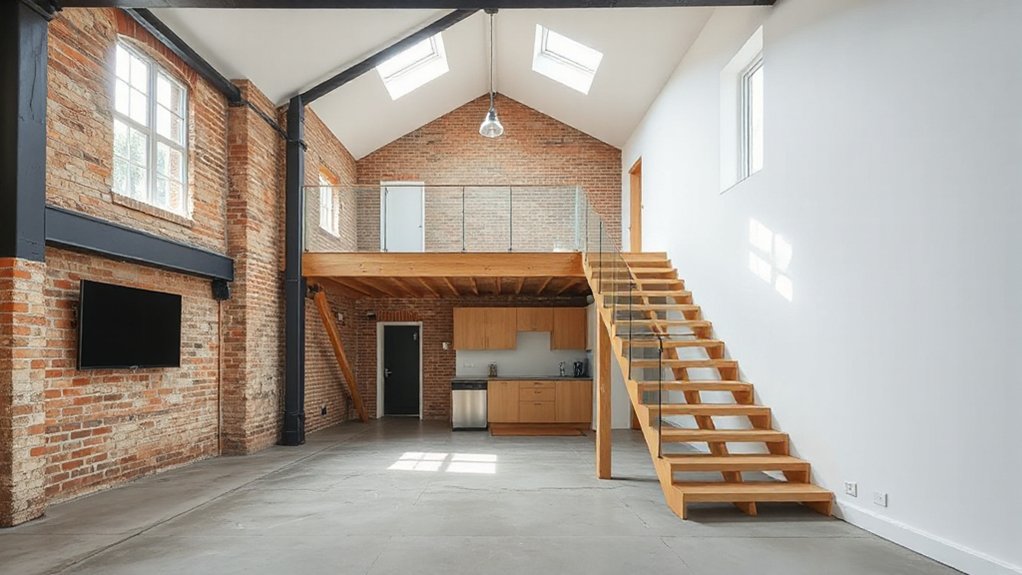
Before you commit to a split-level loft layout, assess whether your mews house has enough clear floor-to-ceiling height to stack half-levels without compressing headroom. Measure slab-to-joist, then subtract finished build-ups: insulation, acoustic mat, services voids, and ceiling linings. Check stair geometry early; you’ll need safe riser/going ratios and a landing that doesn’t collide with doors or glazing. Map loadbearing walls, party walls, and existing joist direction so you can predict where new openings, trimmers, or steel might be required. Confirm daylight paths; half-levels can shadow rear rooms unless you align voids with windows or rooflights. Finally, verify planning constraints: Historical preservation rules and neighborhood aesthetics may limit facade changes, dormers, and new roof penetrations.
Set Your Split-Level Loft Goals and Budget
Once you’ve confirmed the shell can take split levels, set a clear spatial brief and tie it to a cost ceiling: decide which half-levels you’re buying (sleeping mezzanine, raised kitchen, sunken lounge, compact study pod), the target headroom on each platform, and the amount of open void you’ll preserve for light and sightlines. Convert that brief into quantities: new joists or steel trims, stair flights, balustrades, acoustic build-ups, and service reroutes. Allocate contingency for structural surprises and party-wall constraints. If you’re in a conservation area, price historic preservation items early: sash upgrades, lime finishes, and consent drawings. Don’t forget Outdoor landscaping links—threshold steps, drainage falls, and courtyard lighting—because external levels often drive internal floor heights. Lock a spend cap per square metre and iterate.
Zone the Mews House Layout by Level
You’ll assign functions by level, using floor-to-ceiling height, daylight access, and acoustic separation to place cooking, working, sleeping, and lounging where they perform best. You’ll manage sightlines and circulation by aligning openings, guarding privacy at half-landings, and keeping primary routes clear across each split. You’ll connect the levels with built-in storage—stair drawers, under-landing cabinets, and balustrade shelving—so vertical movement doubles as usable volume.
Assign Functions By Level
Because a mews house stacks limited square footage vertically, you’ll get the cleanest split‑level loft result by assigning one primary function to each level and treating stair landings as hard boundaries. Put entry, bike storage, and utility on the lowest level so service runs stay short and acoustic separation improves. Reserve the next level for kitchen/dining where plumbing stacks align; keep appliance banks on one wall to protect circulation width. Place living on the brightest mid level, and dedicate the top level to sleeping plus wardrobe so nighttime noise stays isolated. If you’re integrating Outdoor landscaping, tie it to the level with direct exterior access and specify drains and thresholds. For historic preservation, keep original structural bays legible and avoid cutting new floor openings. Document load paths early.
Manage Sightlines And Flow
After you’ve assigned a primary function to each floor, manage sightlines so the vertical stack reads as one coherent loft rather than a set of chopped rooms. Stand at the entry and plot what you want to see first, then protect that axis with clear spans and consistent openings. Use Focal points—like a stair void, a fireplace wall, or a framed window—so each landing has an intentional draw and no dead ends.
Control Visual continuity by aligning door heads, glazing heights, and balustrade lines across levels. Keep partitions either full-height and decisive or low enough to borrow light and maintain depth. Shape circulation as a loop where possible, and offset turns so you reveal spaces progressively. Place lighting to reinforce the primary view corridors.
Connect Levels With Storage
While the split-level section breaks the house into distinct plates, storage can stitch those plates into one continuous system. You’ll get better level connection when built-ins track the stair run and landings, turning dead riser volume into pull-out drawers or shoe bays. Wrap a low cabinet along the edge of the upper plate to act as a guard, bookcase, and drop zone, keeping the sightline open while defining the step. Under the mid-landing, insert a services cupboard for electrics, router, and cleaning kit, then mirror that footprint above as overhead cupboards to keep a vertical datum. Use consistent door gaps, handle lines, and plinth heights so separate elements read as one band. These storage solutions also control clutter migration between levels.
Decide Where a Double-Height Void Pays Off
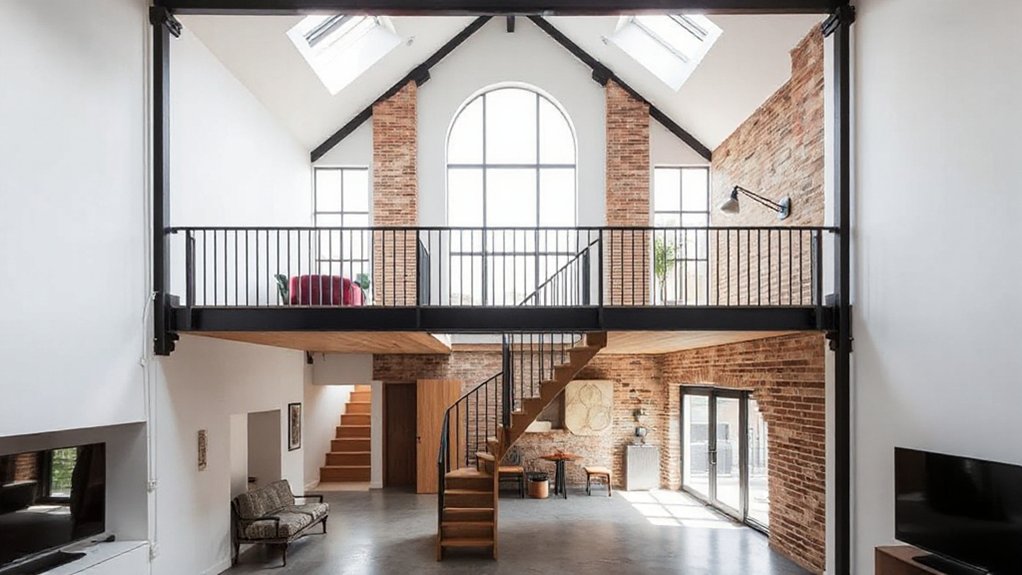
If you’re carving a split-level plan into a tight mews house, place the double-height void where it opens up daylight, circulation, and sightlines at once—typically over the primary living zone or at the stair core rather than above secondary rooms. You’ll get the most value when the double height aligns with glazing, rooflights, or a high-level window, so the stack draws light deep into both halves of the section. Treat void spaces as spatial connectors: keep balustrades visually light, maintain clear headroom over landings, and let the stair act as a viewing axis across levels. Check acoustics and heat stratification early; specify acoustic lining, ceiling fans, or discreet transfer grilles so comfort stays even without killing the volume.
Turn the Garage Into Main Living Space
You’ll re-plan the former garage as your primary living zone, setting clear circulation from the street entry to the stair while allocating wall runs for kitchen, storage, and services. You’ll upgrade the front opening for daylight and controllable ventilation, using glazing, high-level vents, and aligned sightlines to pull light deeper into the plan. You’ll build a full thermal and acoustic envelope—insulated slab, walls, and ceiling, airtight layers, and moisture control—so the space performs like the rest of the home.
Garage-to-Living Layout
Once the garage becomes the main living space, the layout has to shift from vehicle-clearance logic to human-scale zoning. You’ll set a primary circulation spine from the entry to the stair, then place “quiet” and “active” bands to either side. Lock the kitchen run to the party wall to concentrate services, and align appliances with existing drains to limit slab cutting. Use a dropped threshold or step to mark the former door line, giving you a clean datum for interior decor progression. Build storage in the old bay edges to reclaim depth without pinching the path. Your furniture arrangement should respect turning radii and sightlines: float a sofa to define the lounge, keep 900–1000 mm clear behind it, and center the dining zone under the mezzanine edge.
Light, Air, And Insulation
With the circulation spine and furniture zones set, make the former garage perform like a real living room by upgrading daylight, controllable ventilation, and the thermal envelope. Replace the up‑and‑over door with a glazed screen: high-performance sliders plus an insulated spandrel to align sill height with seating and conceal services. Add a rooflight over the new split-level threshold to pull sun deep into plan and reduce reliance on downlights. For Natural ventilation, specify trickle vents at high level, a secure night-latch opening, and a boosted extract tied to humidity in the stair core. Upgrade walls with a continuous insulated lining, taped vapour control, and thermal break at the slab edge. Use Acoustic insulation in stud cavities and resilient channels to cut street noise.
Design Split-Level Stairs With Storage and Light
Because split-level circulation compresses vertical travel into a tight footprint, the stair has to work as a storage spine and a light conduit rather than dead space. You’ll dimension treads to 250–280 mm and keep risers consistent, then thicken the stringer zone to conceal drawers, shoe cubbies, and a cleaning closet. Use push-latch fronts aligned to the nosing so lines read calm and the interior color stays uninterrupted.
You should cut a slim side slot or open riser band on the garden-facing edge, then fit diffusing polycarbonate or timber battens to bounce borrowed light without exposing clutter. Specify a pale soffit and matte balustrade to increase reflectance, and run a concealed LED handrail channel for low-glare wayfinding. Cap it with durable nosing and acoustic underlay.
Pull Daylight Deep Into a Mews House
Treat the stair’s light slot as your starting aperture, then extend that daylight strategy so it reaches the plan’s darkest mid‑zone. Specify clear, low‑iron glazing to sharpen transmission, and keep reveals thin so the aperture reads wider. Add a rooflight aligned to the slot, then use a white, matte stairwell lining to act as a light duct, bouncing photons forward rather than absorbing them.
At the rear, widen the opening to the courtyard but protect garden privacy with a layered screen: high transoms for sky light, lower sliding panels with frit or timber battens for views. On the exterior facade, swap heavy mullions for slender thermally broken profiles and push glazing to the structure’s limits. Inside, choose pale floors and a controlled gloss ceiling band to carry daylight deeper.
Solve Low Ceilings With Smart Level Changes
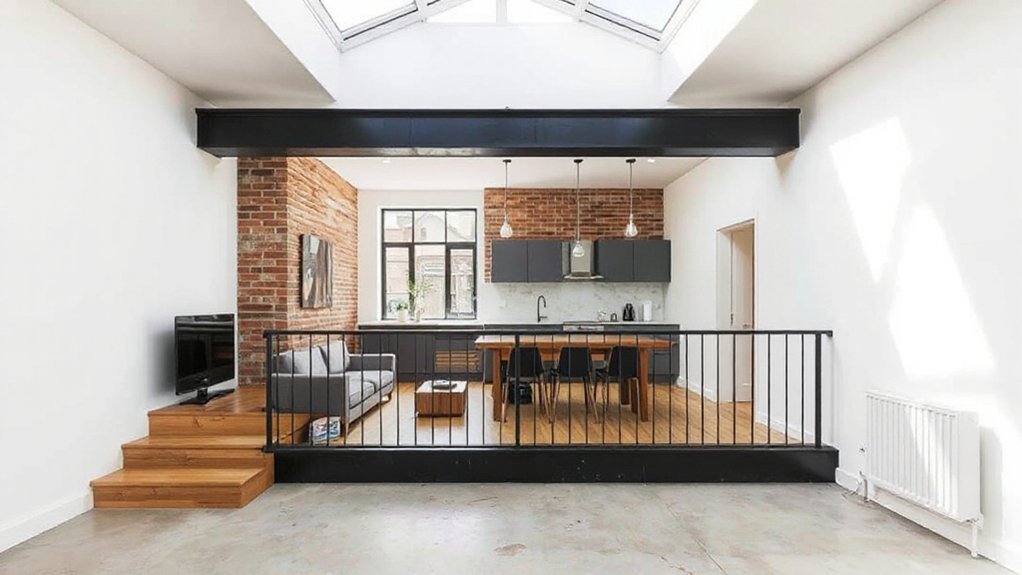
Although a mews house often locks you into low structural headroom, you can recover a sense of height by shifting levels instead of fighting the ceiling line. Drop the circulation zone or kitchen by 150–250 mm to create a visual “volume” next to a raised living platform, then align sightlines to the highest point so your eye reads the bigger section. Use a single, continuous floor finish across steps to reduce perceived fragmentation. Tuck the dining area onto the higher level where chair backs sit against the taller wall, and keep pendant drops tight to avoid cluttering headspace. Build storage into each riser and use slim, open balustrades to preserve light. Add acoustic treatments to soffits and platform undersides to control slap echo in compact, hard-surfaced rooms.
Plan Structure, Fire Safety, and Building Services
Once you introduce split levels and loft cuts in a mews house, you’ll need to coordinate structure, fire strategy, and MEP routes as one package rather than letting each discipline “fit around” the others. Set primary beams early, then align stair openings, balustrades, and any trimmed joists so loads transfer cleanly to party walls or posts you can hide in joinery.
Map escape paths around the new voids: protect the stair, keep smoke travel in mind, and position doors so circulation stays legible from every level. Run ducts, soil stacks, and sprinkler or alarm cabling through dropped edges, step risers, and built-in cabinetry. This keeps ceilings clean, improves acoustics, and preserves interior decor. You’ll also lock furniture arrangement zones away from service access panels.
Get Mews House Planning Permission and Building Regs Right
Before you lock in the split-level geometry, you’ll check whether your loft works within Permitted Development limits for roof volume, height, and external openings. If the mews unit’s existing use doesn’t match your proposed layout—especially where you’re intensifying residential occupation—you’ll confirm any change-of-use requirements and secure the right consent. You’ll then align the build-up thicknesses, stair pitch, headroom clearances, fire separation, ventilation, and acoustic performance with Building Regulations so the new levels sign off cleanly.
Permitted Development Limits
Because mews houses sit tight to boundary lines and access routes, you’ll hit permitted development limits faster than on a typical terrace, so map the envelope early: check whether your property is in a conservation area, is listed, or has an Article 4 Direction, then confirm which PD rights still apply. For lofting, scrutinise roof volume caps, ridge-height restrictions, and the “not facing a highway” test, since many mews front directly onto shared lanes. Keep dormers subordinate, set back cheeks, and avoid balcony platforms that trigger overlooking concerns. Measure eaves depth, party-wall lines, and rear projection limits before you commit to a split-level stair core. Historical preservation and aesthetic considerations mean matching roof pitch, window rhythm, and external materials, even when PD is available, to reduce prior-approval risk.
Change Of Use Requirements
Although a mews house often reads as “just a small dwelling,” you still need to prove the lawful use class and secure any required change‑of‑use consent before you lock in a split‑level loft layout. Confirm whether it’s already C3, mixed residential/ancillary, or a former garage/stable use, using planning history, rateable records, and site evidence. If you’re intensifying occupation, adding a separate unit, or switching from ancillary to independent living, you’ll likely need full permission rather than relying on prior approvals. Map the proposal room‑by‑room so the case officer can read circulation, entry control, and privacy lines without assumptions. In conservation areas, historic preservation policies can block residential conversion or constrain external openings. Check neighborhood restrictions, including local plan parking standards and servicing constraints.
Building Regulations Compliance
Once you’ve fixed the lawful use and the split‑level diagram, you must align the interior structure and room sequence with Building Regulations—especially fire safety, structural alterations, and energy performance—so the loft doesn’t become an unapprovable maze of half‑landings and low headroom. You’ll need protected escape routes, compliant stair pitch, consistent guarding to void edges, and smoke/heat detection on each level. If you open loadbearing walls or insert steel to form mezzanines, get structural calculations and detail padstones, bearings, and vibration limits. Tighten thermal performance with insulated linings, airtightness, and controlled ventilation to prevent condensation in shallow roof build‑ups. In conservation areas, Historic preservation can constrain window upgrades; specify slimline units or secondary glazing. Manage Neighborhood impact by controlling construction noise, access, and party‑wall sequencing.
Frequently Asked Questions
How Do Split-Level Loft Conversions Affect Resale Value in a Mews House?
You’ll often boost resale value by adding usable volume and clear zoning, but you’ll risk discounts if Historical preservation suffers. Buyers expect Structural reinforcement documentation, compliant headroom, daylighting, and acoustics across split levels.
What Insurance Changes Are Needed During and After a Split-Level Conversion?
Like tightening a ship’s rigging, you’ll update your builder’s risk, public liability, and contractor cover during works; declare Structural reinforcement, higher rebuild costs, and Planning permissions. Afterward, switch to revised buildings/contents, add fixtures coverage, and document completion.
How Long Do Neighbours Typically Tolerate Noise and Access Disruption?
Neighbours typically tolerate 4–8 weeks of intense disruption if you control neighbourhood noise and clearly schedule access restrictions. You’ll maintain goodwill by limiting high‑dB tasks to daytime, keeping corridors clear, and issuing weekly notices.
Which Furnishings Work Best for Tight Split-Level Landings and Void Edges?
Choose slim console tables, wall-mounted shelves, and low-back benches with rounded corners; they preserve clearance at landings and void edges. You’ll optimize furniture arrangement with built-ins, and add lighting solutions like recessed step lights, track spots.
What Are the Best Soundproofing Options Between Levels for Bedrooms?
You’ll get the best between-level bedroom soundproofing by pairing silence with structure: dense Soundproofing materials (mass-loaded vinyl, mineral wool) plus decoupled ceilings, resilient channels, sealed penetrations, and floating underlayment—core Noise mitigation techniques for impact and airborne noise.
Conclusion
When you convert your mews house into a split‑level loft, you’ll unlock volume without adding footprint. You’ll verify headroom, structure, and stair geometry, then align levels to clear circulation, acoustic separation, and service runs. A selective double‑height void can justify itself by pulling daylight past party walls and balancing heat stratification. You’ll reassign the garage to primary living, resolve low ceilings with half‑landings, and keep to code—because measure twice, cut once.
About the Author