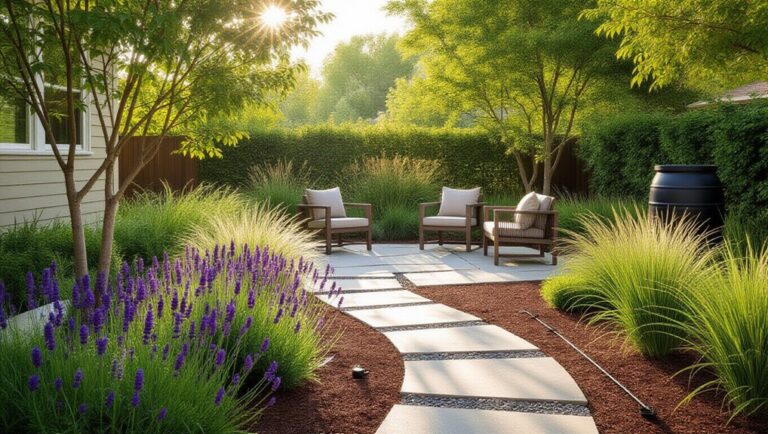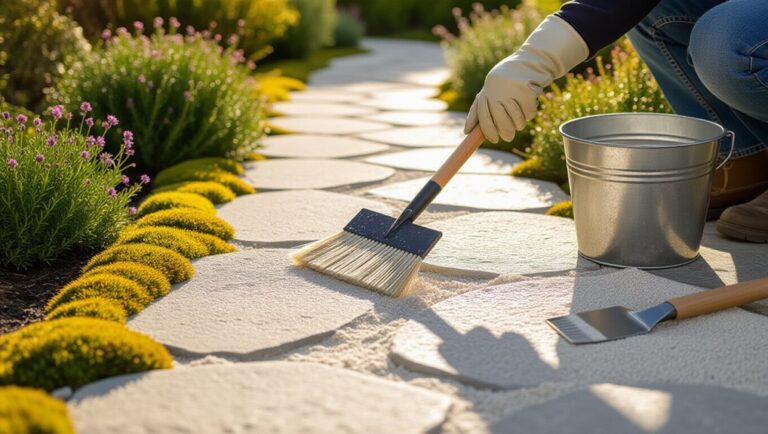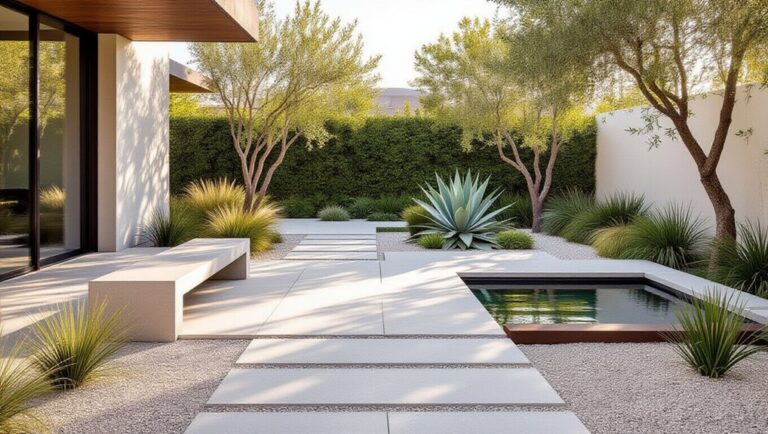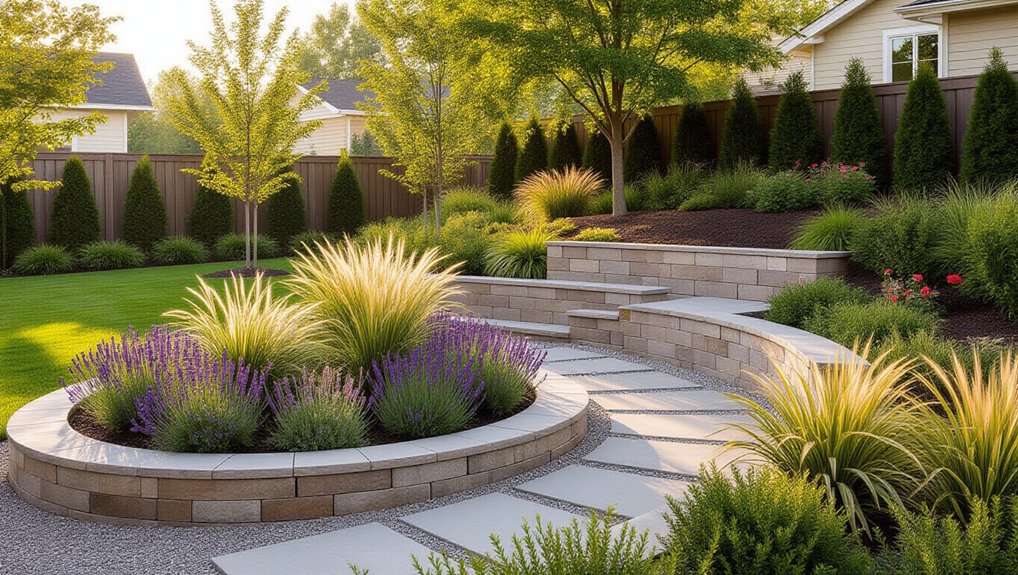
Walk your site and map low pockets, windy corridors, and key sightlines, then pick 2–3 spots for height. Add instant lift with raised beds (keep them under 4 feet wide), trellises at path ends or fences, and gentle mounds 4–8 inches high with feathered edges. Layer plants in 12–18 inch height steps, spacing for mature width, and repeat the sequence every 4–6 feet. Add shrubs as mid-level “beams” and a wind-firm small tree where it won’t crowd structures. Next, you’ll see where each element works best.
Key Takeaways
- Walk the site, map low spots and sightlines, and prioritize 2–3 places where added height improves views and function.
- Create gentle soil mounds 4–8 inches high, feather edges, and pitch 1–2% back toward planting pockets for drainage.
- Add instant height with raised beds, trellises, screens, or arches placed at fences, path ends, or patio edges.
- Layer plants in 12–18 inch height steps, spacing by mature width, and repeat the sequence every 4–6 feet for rhythm.
- Place tall plants and structures behind seating and sightlines, avoiding front-edge “spikes” that block views and reduce depth.
Map the Spots Your Flat Garden Needs Height
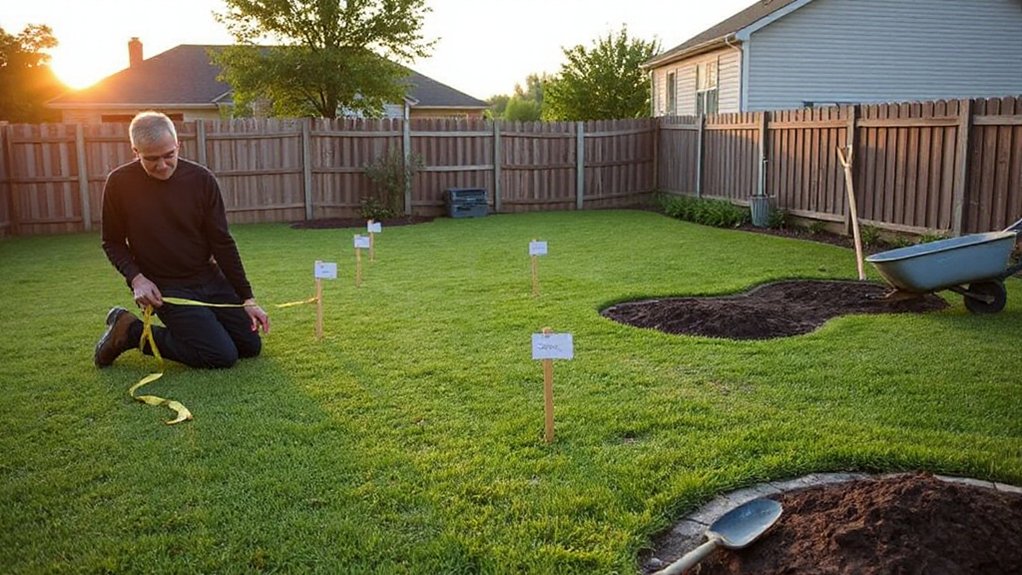
Before you add a single berm, boulder, or raised bed, walk the site and mark where vertical change will solve a specific problem or strengthen a view. Flag low pockets that hold water, windy corridors that desiccate plants, and sightlines from doors, patios, and key windows. Use a level, tape, and stakes to note subtle grades and existing utilities. Then map task zones: compost, bins, hose reach, and mower turns, so added height doesn’t complicate garden maintenance. Identify places where you need screening, backdrops, or a focal node at path intersections. At dusk, test outdoor lighting positions; height works best where fixtures can wash surfaces, avoid glare, and highlight texture. Transfer notes to a scaled plan and prioritize two or three intervention points.
Fast, Low-Cost Ways to Add Vertical Interest
Once you’ve mapped the flat zones that need lift, you can add height fast without blowing your budget. You’ll get immediate vertical structure with budget-friendly raised beds, quick trellises and screens placed to frame views or block utilities, and low-cost mounded planting to shift grades and improve drainage. Use these moves to create clear height shifts at edges, corners, and along sightlines, so the garden reads layered instead of level.
Budget-Friendly Raised Beds
If your yard reads as a single flat plane, budget-friendly raised beds deliver immediate vertical structure by lifting planting zones 6–18 inches above grade. Place them where you need sightline breaks—along a fence run, at patio edges, or to step down a mild slope. Use rot-resistant boards, concrete blocks, or reclaimed pavers; keep widths under 4 feet so you can reach the center without compacting soil.
Square the corners with basic Gardening tools, then level on compacted gravel to prevent racking and frost heave. Fill with a fast-draining mix: 60% topsoil, 30% compost, 10% mineral aggregate, plus soil amendments like gypsum for clay sites or sulfur for high-pH fill. Cap with 2 inches mulch to sharpen bed edges visually.
Quick Trellis And Screens
Because vertical lines read instantly from the patio and windows, quick trellises and screens give a flat yard height without excavation or major carpentry. Set 2×2 posts in surface-mount brackets on a concrete edge or deck, then screw on lattice, welded-wire panels, or slatted cedar. Keep panels 50–75 mm off soil to prevent rot and allow airflow. Align screens to frame views and block service areas, not every sightline. Place one behind Garden furniture to create a “room” and add wind buffering. Use a narrow screen as a backdrop for Water features so splashing reads as intentional, not exposed. Anchor ends with diagonal braces, and stagger heights to avoid a rigid fence effect. Paint dark for depth, pale to brighten.
Low-Cost Mounded Planting
Where can you gain a noticeable lift in a flat garden without building anything? You can mound soil to create micro-topography that reads as height from every viewpoint. Start with a 2–4 inch lift across a 4–6 foot diameter “berm,” then feather edges to grade so mowing and drainage stay clean. Use free-fill: compost, chipped leaves, or screened topsoil, capped with 1 inch of compost for planting. Place mounds where sightlines need emphasis—near entries, path turns, or the back of a border—and orient them perpendicular to primary views. Treat the crest as a Vertical planting zone: taller grasses, spiky perennials, or dwarf shrubs. Combine with Container gardening on the summit for instant elevation and seasonal swaps. Add mulch to lock shape and reduce erosion.
Build Instant Height With Raised Garden Beds
Start by selecting a raised-bed height and shape that fits your site’s sightlines, access paths, and root depth requirements. You’ll get the strongest visual lift by sizing beds from 8–24 inches high and using rectangles for clean edges or curves to steer circulation. Build elevation fast by layering drainage-ready base fill and quality topsoil to hit your finished grade without settling.
Choose Bed Height And Shape
Even if your yard reads as a flat plane, you can introduce immediate vertical structure by selecting a raised-bed height and footprint that match your site’s drainage, access paths, and sightlines. For seated tending, cap beds at 12–18 inches; for stand-up ergonomics, push 24–30 inches and keep widths under 4 feet so you can reach the center without stepping in.
Use long rectangles to reinforce axis and guide circulation, or curves to soften hard property lines and frame views from patios and windows. Set corners to avoid downspout splash zones and preserve swales that move water offsite. Tie bed edges to Garden art plinths or align them with Water features so the vertical mass reads intentional, not improvised.
Layer Soil For Elevation
Once you’ve locked in bed height and geometry, you create that elevation by layering soil to form a stable, well-drained profile inside the frame. Start by loosening native ground 6–8 inches to knit the bed to subgrade and prevent perched water. Lay coarse mineral fill (3/8-inch gravel or sandy loam) in low sites where Water drainage is slow, sloping it 1–2% toward an outlet edge. Add a structural base: 40% screened topsoil, 40% compost, 20% sharp sand for balanced Soil composition and load-bearing stability. Cap with 2–3 inches of finer topsoil/compost blend for planting depth. Water each lift to settle voids, then top up to finish grade, keeping the surface slightly crowned to shed storms.
Add Subtle Lift With Mounded Borders
If your beds read as a single flat plane from the main viewing angle, build a gentle rise by mounding the border soil 4–8 inches above adjacent grades and feathering it back into the lawn or path. Keep the crest 12–18 inches wide so it won’t slump, and compact lightly in 2-inch lifts to reduce settling while preserving pore space.
Aim the mound to steer surface water: crown it on the bed side, then pitch 1–2% back toward planting pockets, not onto hardscape. In garden design, use the raised edge as a visual frame that hides drip lines and defines curves. For plant selection, place drought-tolerant perennials on the upper shoulder, moisture-loving plants at the toe, and anchor corners with low shrubs for year-round structure.
Put Up a Simple Trellis (and Where It Works Best)
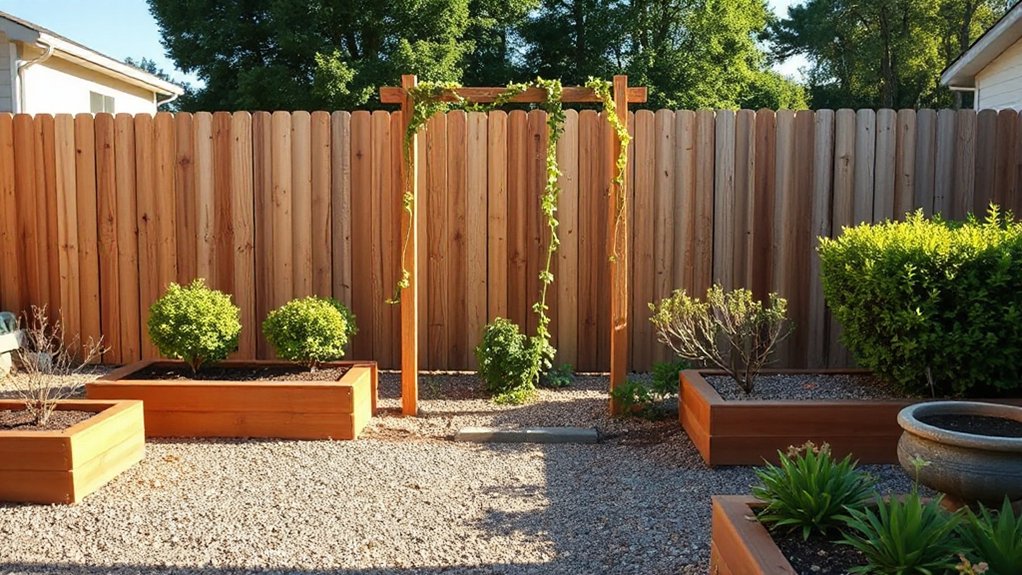
Place a simple trellis where it adds vertical structure without blocking light—against a sunny fence line, at the end of a path as a focal stop, or on the north side of beds to keep shade off lower plantings. Set posts plumb and anchored (spiked or concreted), then tension the panel or wires so they don’t rack under wind or vine load. Match the grid and height to your climber—clematis and sweet peas for fine mesh, jasmine and climbing roses for sturdier spacing, and beans or cucumbers for seasonal screens.
Best Trellis Locations
Because a trellis reads as both structure and backdrop, its location matters as much as the plants you train on it: install a simple panel where it can anchor to something solid (fence, wall, or two driven posts) and where it frames a view rather than blocking circulation. Place it at the end of a path to create a visual “stop” and pull you forward. Set it behind Garden furniture to define an outdoor room without adding bulk; keep a 36–48 in. clearance so chairs slide back. Use it as a screen to hide bins or utilities, but align openings with sightlines to keep depth. Near Water features, offset the trellis to avoid trapping humidity against it, and position it to catch reflected light for climbers.
Easy Installation Steps
Once you’ve picked a trellis spot that frames a view and clears traffic, install it so it won’t rack in wind or loosen in wet soil. Call utility locations, then mark post centers 18–24 inches from fences or garden furniture so you can clean, prune, and pass behind it. Set posts plumb in 24–30-inch holes; widen the base in sandy soils and add 4 inches of compacted gravel for drainage. In clay, bell the hole and backfill with tamped native soil, or use concrete where freeze-thaw is severe. Fasten the panel with exterior screws and washers, leaving a 1/2-inch gap above grade to prevent rot. Orient slats to filter sightlines without shading wildlife habitats excessively. Recheck plumb after rain and retighten annually.
Ideal Climbing Plants
After you’ve anchored a simple trellis where wind can pass through and you can reach both sides, choose climbers that match the exact light, moisture, and footprint around the posts. For full sun on a heat-reflective wall, train grape, hardy kiwi, or climbing roses; they tolerate drier root zones if you mulch 3 inches and add drip at the base. For east-facing, evenly moist soil, clematis (group 3) or honeysuckle gives layered bloom without overheating. In shade under eaves, use climbing hydrangea or evergreen jasmine, but keep the trellis 4–6 inches off siding for airflow. Use twining Climbing plants on wire grids; use tendril types on mesh. For fast Vertical greenery, pick annuals like scarlet runner bean.
Use Arches or Pergolas for Overhead Height
While your planting beds may read as a flat plane from the main viewing angle, an arch or pergola immediately adds overhead structure and a clear vertical datum. Place it to terminate a path, frame a gate, or mark the shift from patio to lawn so sightlines lift and depth increases. For Arches installation, set posts outside root zones, verify plumb, and embed footings below frost line; align the span to the primary approach so it reads as intentional, not incidental. Size the opening for circulation and maintenance access, then specify galvanized brackets for racking resistance. Keep Pergolas maintenance predictable: slope the top members for drainage, seal cut ends, and schedule fastener checks after winter. Add discreet lighting for night height.
Pick Tall Plants for Sun, Soil, and Wind
Because tall plants behave like living structural elements, you need to match their mature height and sail area to your site’s sun exposure, soil profile, and prevailing winds before you shop by looks. In full sun, choose Taller trees with strong branch architecture and deep anchoring roots; avoid brittle, fast-wooded species in gust corridors. On compacted clay, specify drought-tolerant, clay-adapted cultivars or amend planting pits and guarantee drainage so roots don’t suffocate. In sandy soils, plan for irrigation and mulch to stabilize moisture and reduce blow-over risk. Map wind: place wind-firm trees where they won’t funnel turbulence toward patios or fences. For north sides or under eaves, pick Shade plants that tolerate dry shade and reflected heat, and verify mature spread clears structures and lines.
Layer Planting Heights for a “Designed” Look
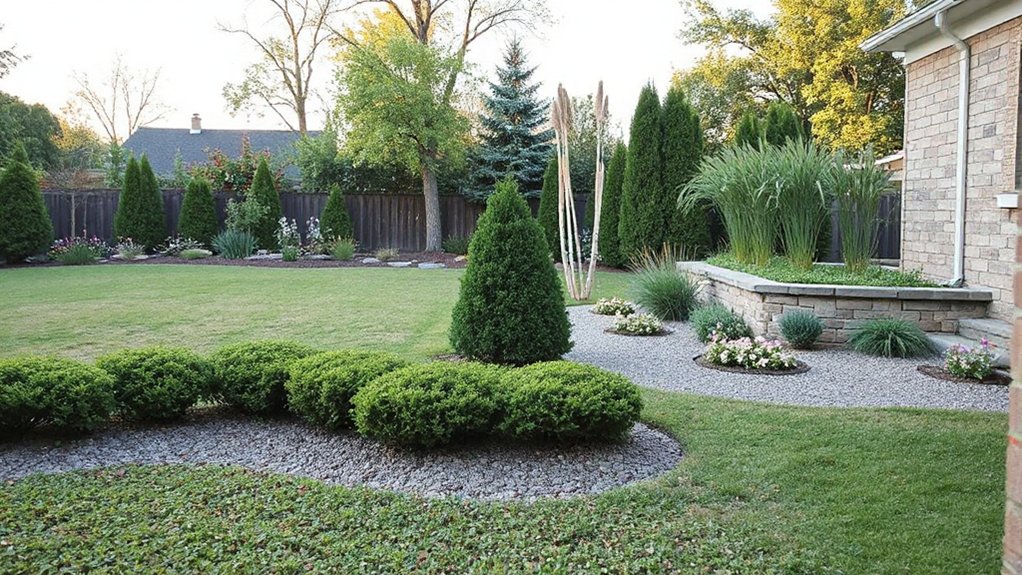
Even if you’ve nailed the right tall “anchor” plants, the planting bed won’t read as intentional until you build a clear height hierarchy from back to front (or from the bed’s centerline out). Set anchors at the rear edge of a border or along a fence line, then step down in 12–18-inch increments so sightlines taper cleanly. Use clumping perennials in the mid band and low edging plants at the front to lock the grade change visually. Repeat the same height sequence every 4–6 feet to keep rhythm across a long run. Match spacing to mature widths, not nursery pots, so layers don’t collapse. Improve Soil nourishment with compost topdressing and targeted drip emitters per layer. Tight layers also aid pest control by reducing bare-soil refuges.
Use Shrubs to Create Mid-Level Structure
Once you’ve established your tall anchors and low edging, add shrubs to hold the middle band so the bed reads as a continuous mass rather than a stack of isolated plants. Set them 60–90 cm off hard edges so canopies can knit without spilling onto paths. Use Evergreen shrubs as the structural “beam”: choose forms with predictable mature widths and place in repeating groups to echo sightlines and maintain rhythm. Then punctuate with Flowering bushes at focal nodes—entry corners, bench views, or path turns—so bloom reads as intentional highlights, not scatter. Step heights from 40–80 cm by mixing mounded and upright habits, and stagger in a loose triangle for depth. Keep mulch rings tight and prune for silhouette, not shearing.
Add a Small Tree Without Crowding the Space
Where can you add real vertical lift without shrinking the bed? Place a Small tree at a bed corner or along a sightline break, not the center. Start with Space planning: mark the mature canopy radius and trunk flare on the soil, then keep that circle clear of shrubs and hardscape edges. Choose a columnar or vase-form cultivar sized to your zone and soil, and match root tolerance to drainage and compaction. Set the trunk 3–5 feet from paths or fences so branches can be limbed up without shading key plants. Underplant with low groundcovers that tolerate dappled light, and use a wide mulch ring to emphasize the vertical stem while protecting roots from mower traffic.
Mistakes That Make Garden Height Look Awkward
Before you start stacking height into a flat bed, audit the proportions and sightlines, because the most common mistakes make vertical elements read like random spikes instead of intentional structure. Don’t place tall obelisks or grasses at the front edge; they block views and shrink the perceived depth. You’ll also create awkward scale if you ignore nearby garden furniture—match vertical accents to seat-back height, then step up gradually behind it. Avoid single, isolated “hero” planters; repeat uprights in a loose rhythm to guide the eye. Keep canopy and column widths proportional to bed depth, or everything feels top-heavy. Finally, don’t uplight every vertical; mis-aimed garden lighting flattens texture and casts harsh shadows. Layer light low-to-high, shielded, and aligned with paths.
Frequently Asked Questions
How Can I Add Height to a Flat Garden Without Blocking Neighbors’ Views?
Use low berms for a gentle garden slope, keeping peaks below fence height. Build planting layers: groundcovers front, mid shrubs, and columnar trees placed centrally. Set taller elements away from boundaries to preserve sightlines.
Do I Need Planning Permission for Pergolas, Trellises, or Raised Beds?
Usually you don’t need planning permission; it’s a green light—until you exceed local height, boundary, or listed-building limits. Verify setbacks, drainage, and overlays; design for sustainable planting and wildlife habitats. Check your council.
What’s the Best Way to Add Height Safely Around Underground Utilities?
You’ll add height safest by locating services first, then designing shallow, non-penetrating features: surface-decked planters, anchored pergolas, or geogrid berms. Maintain utility safety clearances, use hand-dig trial holes, avoid deep underground installation.
How Do I Estimate the Cost of Adding Vertical Features to My Garden?
You estimate cost estimation by itemizing vertical elements, measuring quantities from your site plan, and pulling unit prices locally. Add design fees, permits, delivery, footings, and 10–20% contingency. Use budgeting tips: phase builds.
Which Materials Last Longest Outdoors for DIY Vertical Garden Structures?
Like armor in a storm, you’ll get the longest life from galvanized steel, powder-coated aluminum, or rot-resistant cedar/redwood. Prioritize Material durability with stainless fasteners, UV-stable ties, drainage gaps, and match Plant selection to load and exposure.
Conclusion
Once you’ve mapped low spots, you can add height where it reads best from paths, patios, and key sightlines. Mix quick vertical elements—raised beds, modest berms, and a trellis on a fence line—then layer plant heights to control scale. Use shrubs for mid-level mass and place one small tree off-center to anchor views without crowding. Remember, measure twice, cut once: uneven proportions make “height” look forced.
About the Author